
If someone asked you right now whether your WordPress site is safe, where would you go to check?
For a lot of Jetpack users, the honest answer was “a few places.” Scan results lived in one spot, fixing a threat meant a trip to Jetpack Cloud, and the firewall and login settings were tucked under Settings → Security. Some of it showed up again in My Jetpack, At a Glance, or the Jetpack Protect plugin.
Starting with Jetpack 16.4, it all lives in one place, Jetpack → Protect.
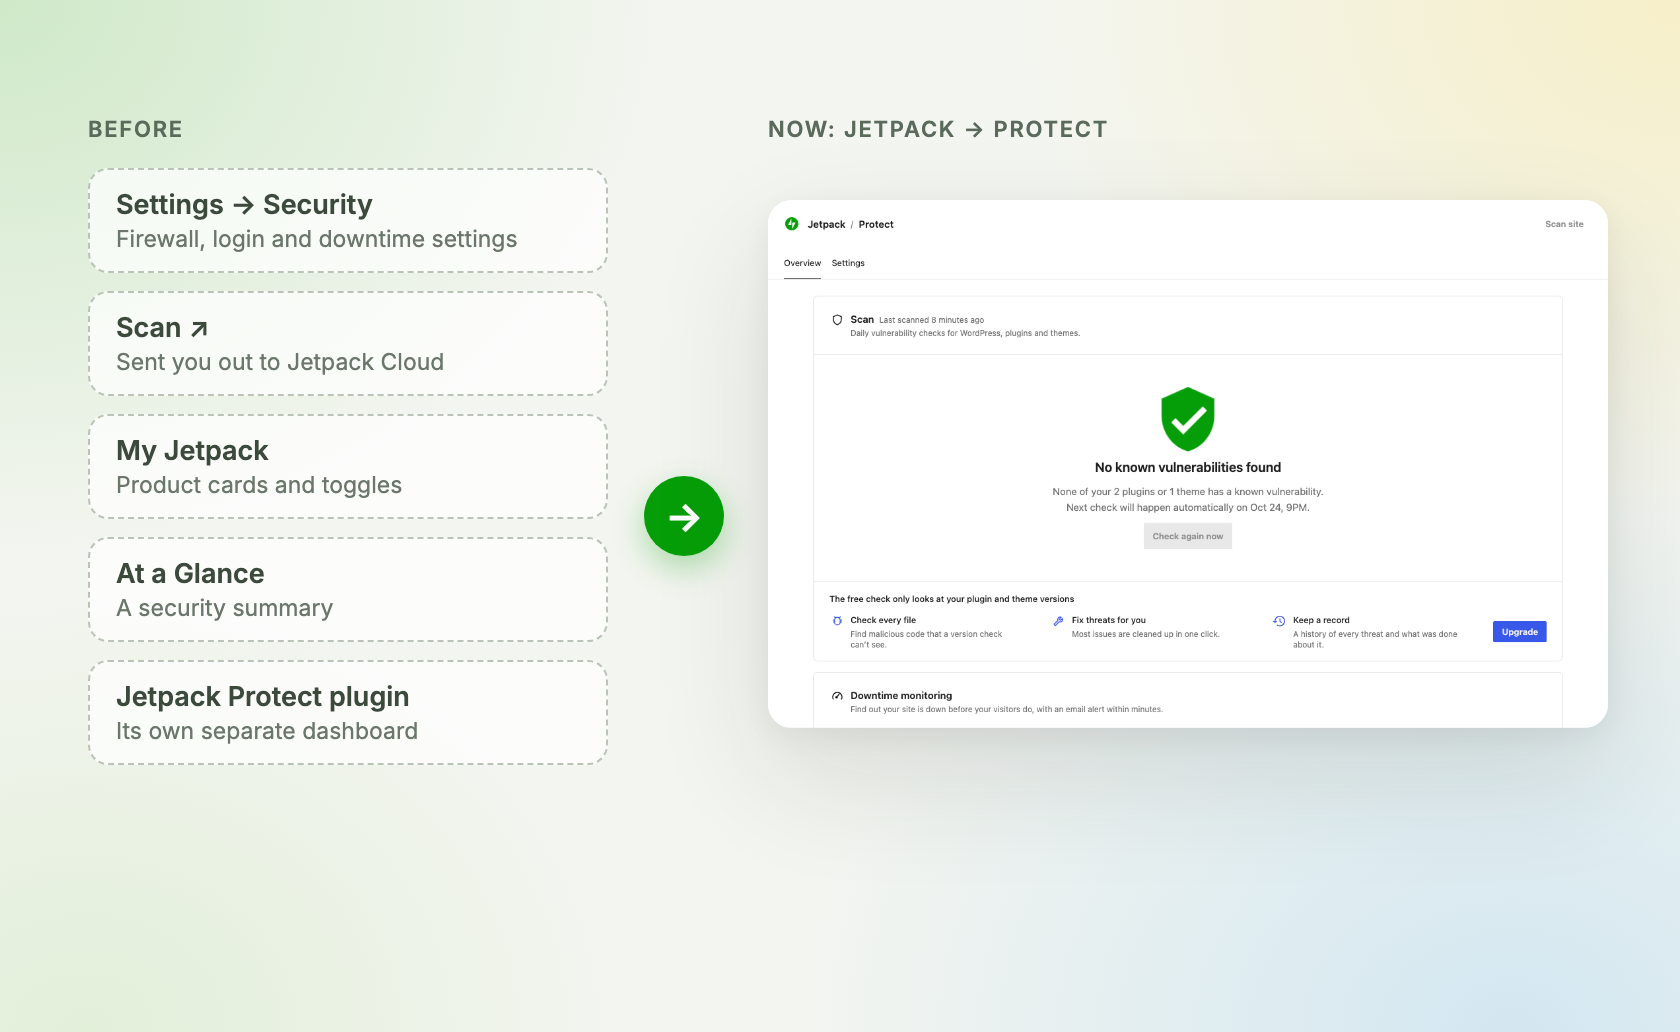
Why we did this
We heard it in support conversations over and over. People weren’t sure where their security tools were, or which ones they’d actually bought. Some clicked “Scan” in the Jetpack menu and ended up on a different website altogether.
It wasn’t only about finding things, either. A few settings, like the list of IP addresses that should never be blocked, could be changed from as many as four different screens. That’s a lot to keep track of when all you want to know is whether your site is ok.
So we brought everything onto one page in wp-admin, under one name. Protect is the page, and Scan, Firewall, Login protection and Downtime monitoring are the features on it.
One page, three tabs
“Overview” has a card for each protection. “History” shows the threats that were fixed or ignored, and it appears once your site has Scan. “Settings” has every option for every card in one place.
The idea is that you can see whether your site is safe, and fix what’s wrong, without leaving your dashboard.
Find and fix threats without leaving wp-admin
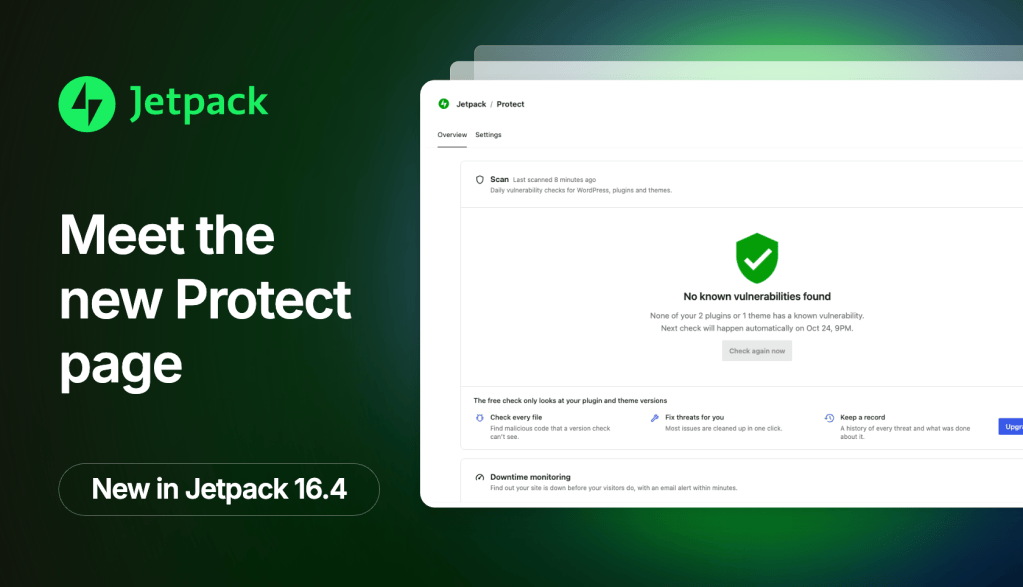
The Scan card sits at the top. It shows when your site was last scanned, how many plugins and themes were checked, and every threat Jetpack found, with how severe each one is.
Click “View” on a threat to see what Jetpack found and how to resolve it, right next to the list. You can “Auto-fix” or “Ignore” a threat from its row, or select a few and handle them all at once.
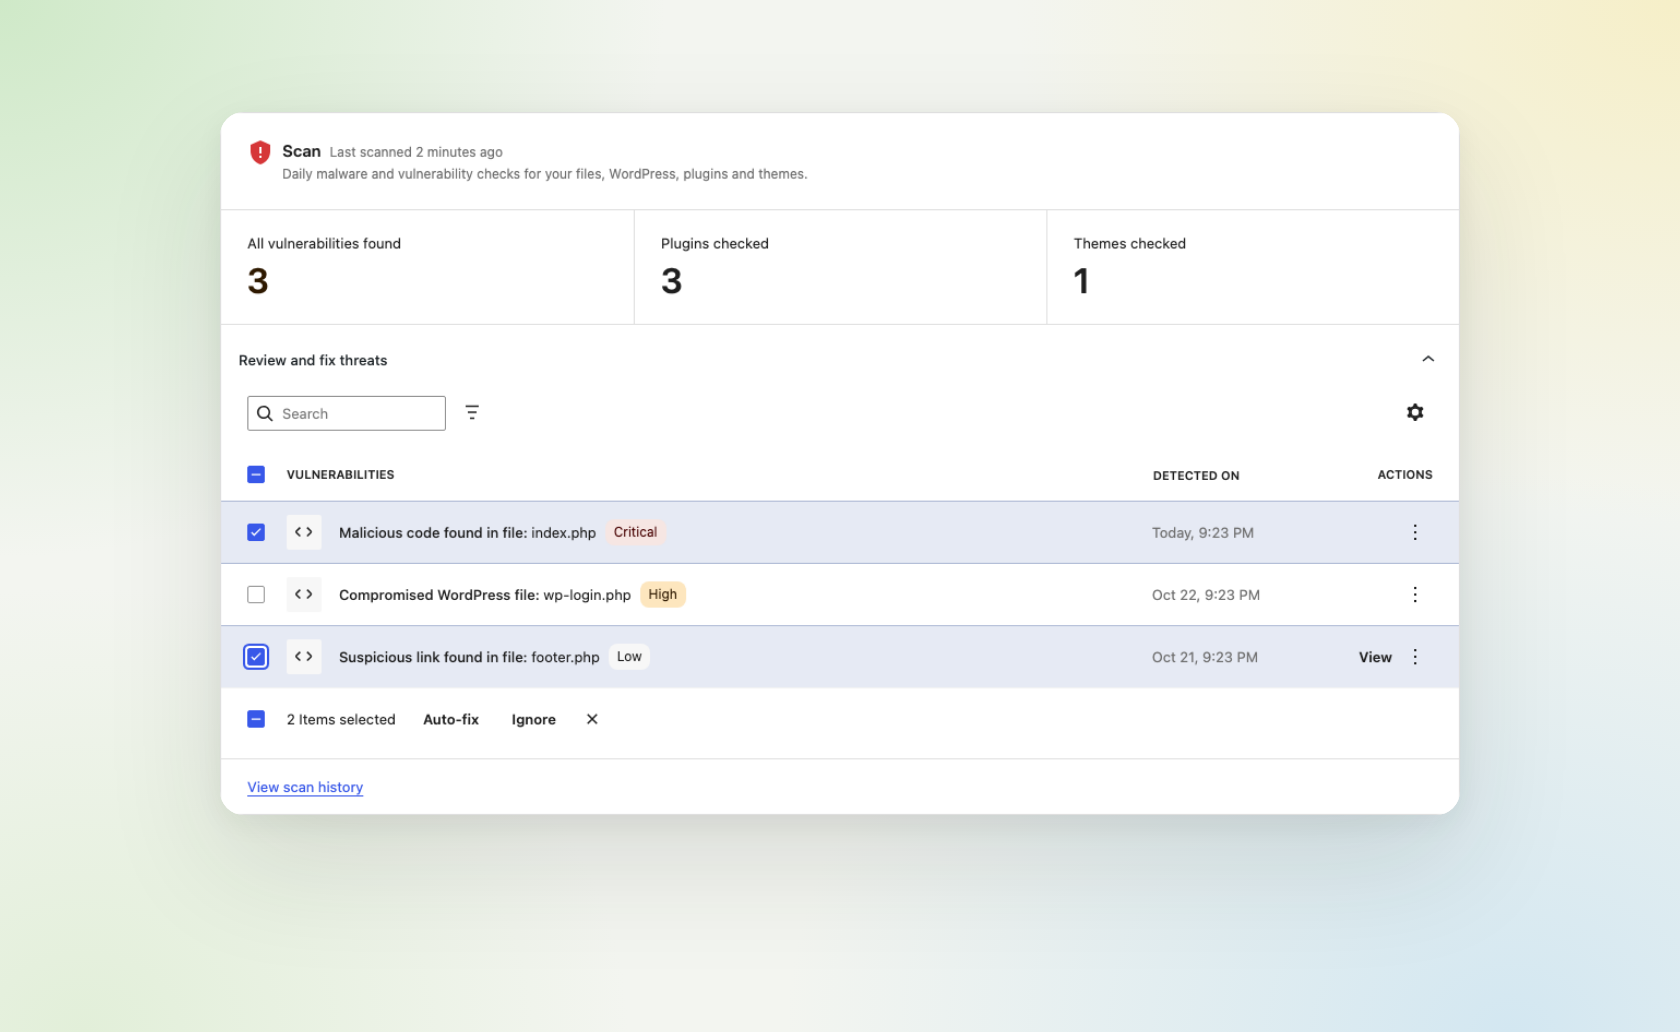
You don’t have to go looking for problems either. When Jetpack finds something, “Threats found” in the admin bar and the badge next to Protect in the sidebar both bring you straight here.
Clear answers on the free plan
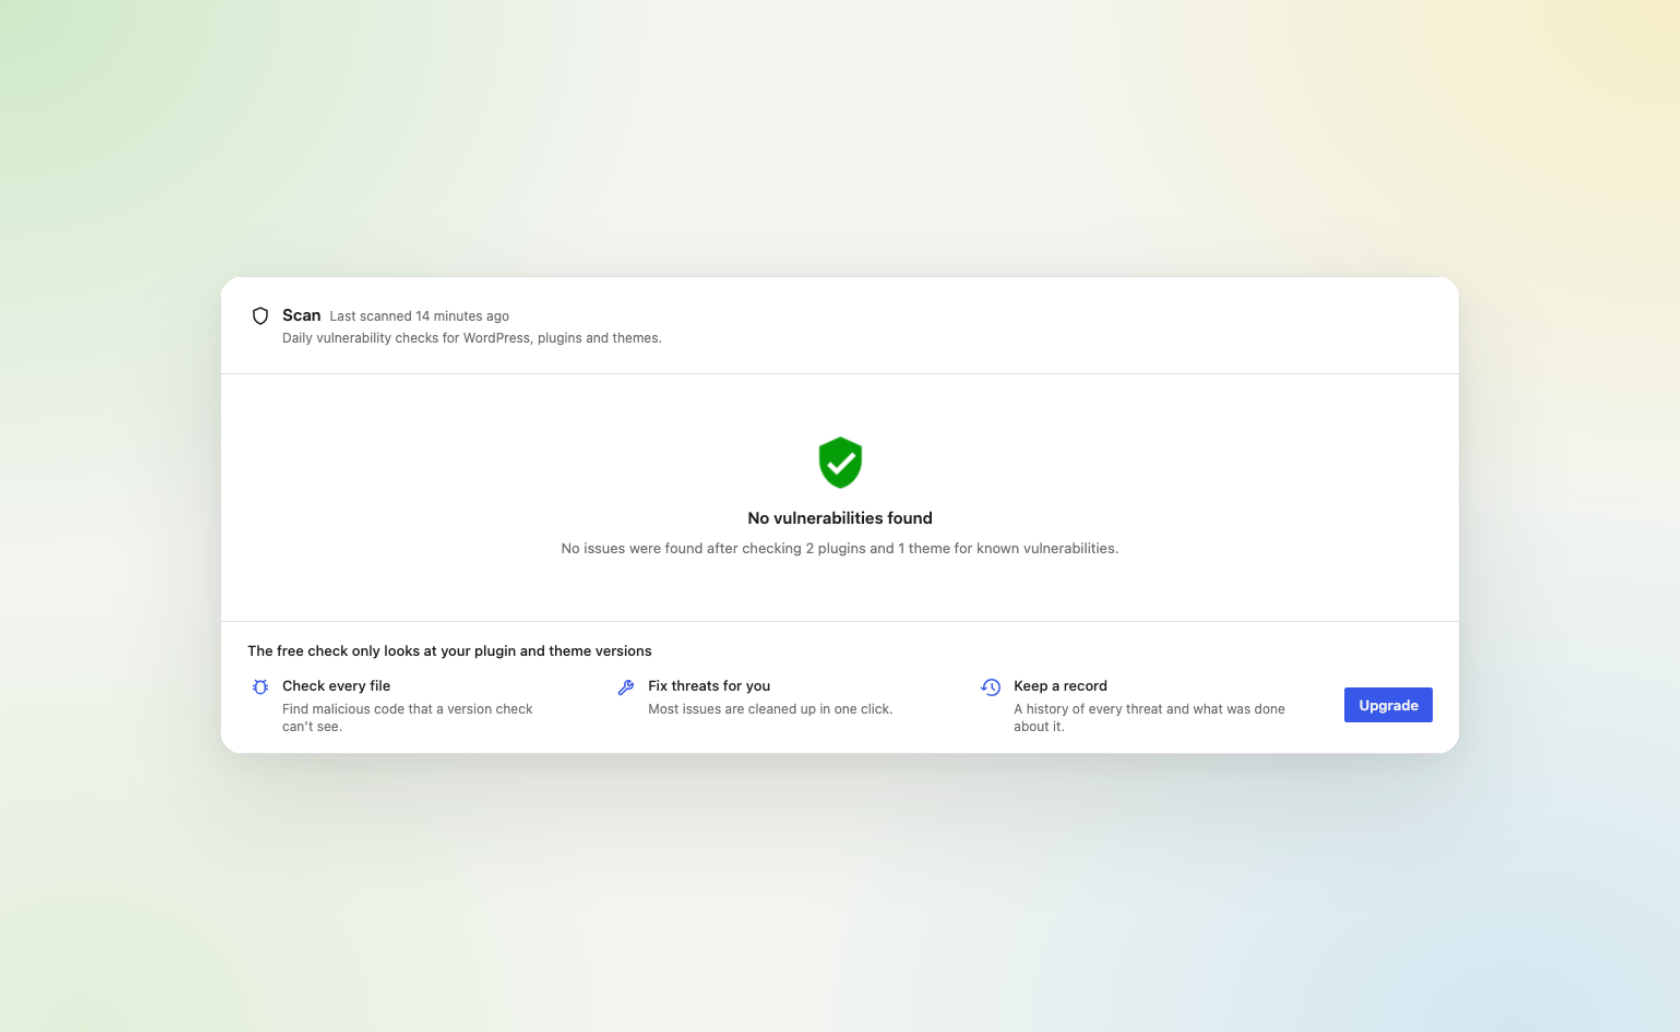
On the free plan, Scan checks your plugins and themes once a day for known vulnerabilities. The card tells you exactly what it looked at, like “No issues were found after checking 2 plugins and 1 theme for known vulnerabilities,” so you’re never left guessing what an all clear covers.
Right below that, it shows what Scan adds: checking every file for malicious code, fixing most issues in one click, and a record of every threat and what was done about it.
See your firewall at work
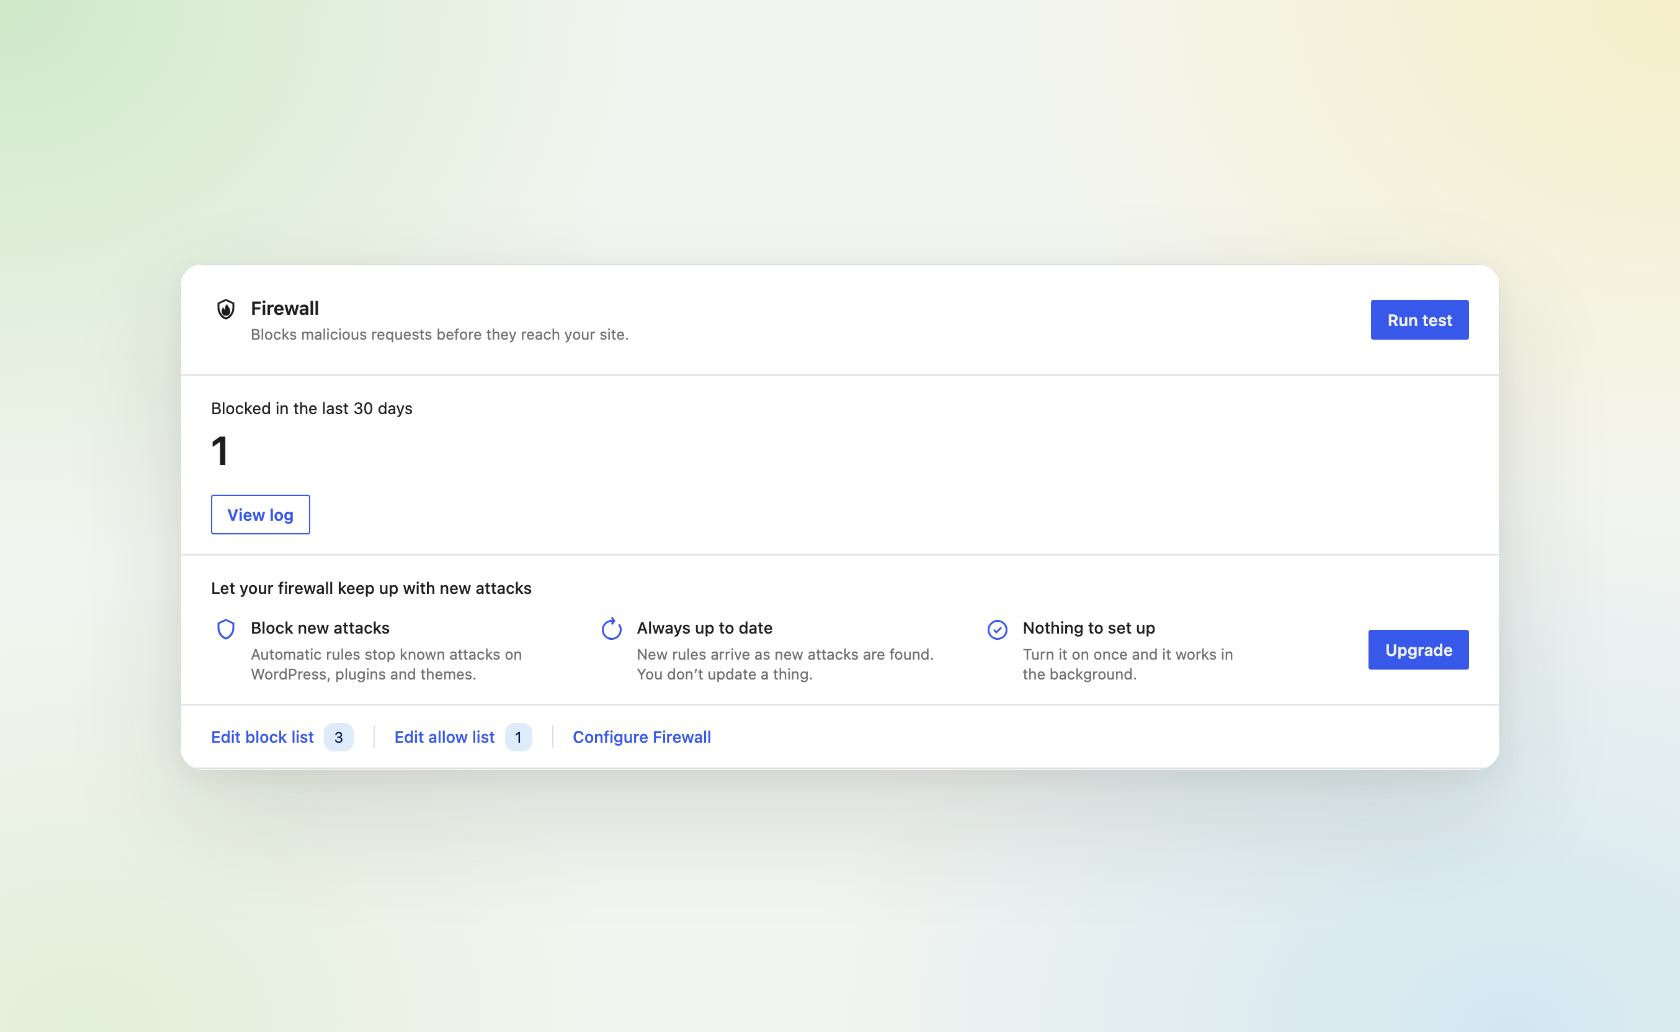
The Firewall card shows how many malicious requests were blocked in the last 30 days, with a log of each one. Want to know it’s on? Press “Run test” and Jetpack sends a harmless test request to your site so you can watch the firewall block it.
Your block and allow lists are right there too. If you add your own IP address to the block list by accident, Jetpack won’t save it, so you can’t lock yourself out of your own site. And anyone who does get blocked now sees a message explaining what happened.
Automatic firewall rules, which update on their own as new attacks are found, come with Scan.
Login protection and downtime alerts
Brute force protection has a new name, Login protection. It blocks password-guessing attacks, and the same card is where you turn on account protection for administrator and editor accounts, plus WordPress.com login with two-step authentication.
Downtime monitoring checks your site every five minutes and emails you within minutes if it goes down, so you find out before your visitors do. The card shows your uptime for the last 40 days at a glance.
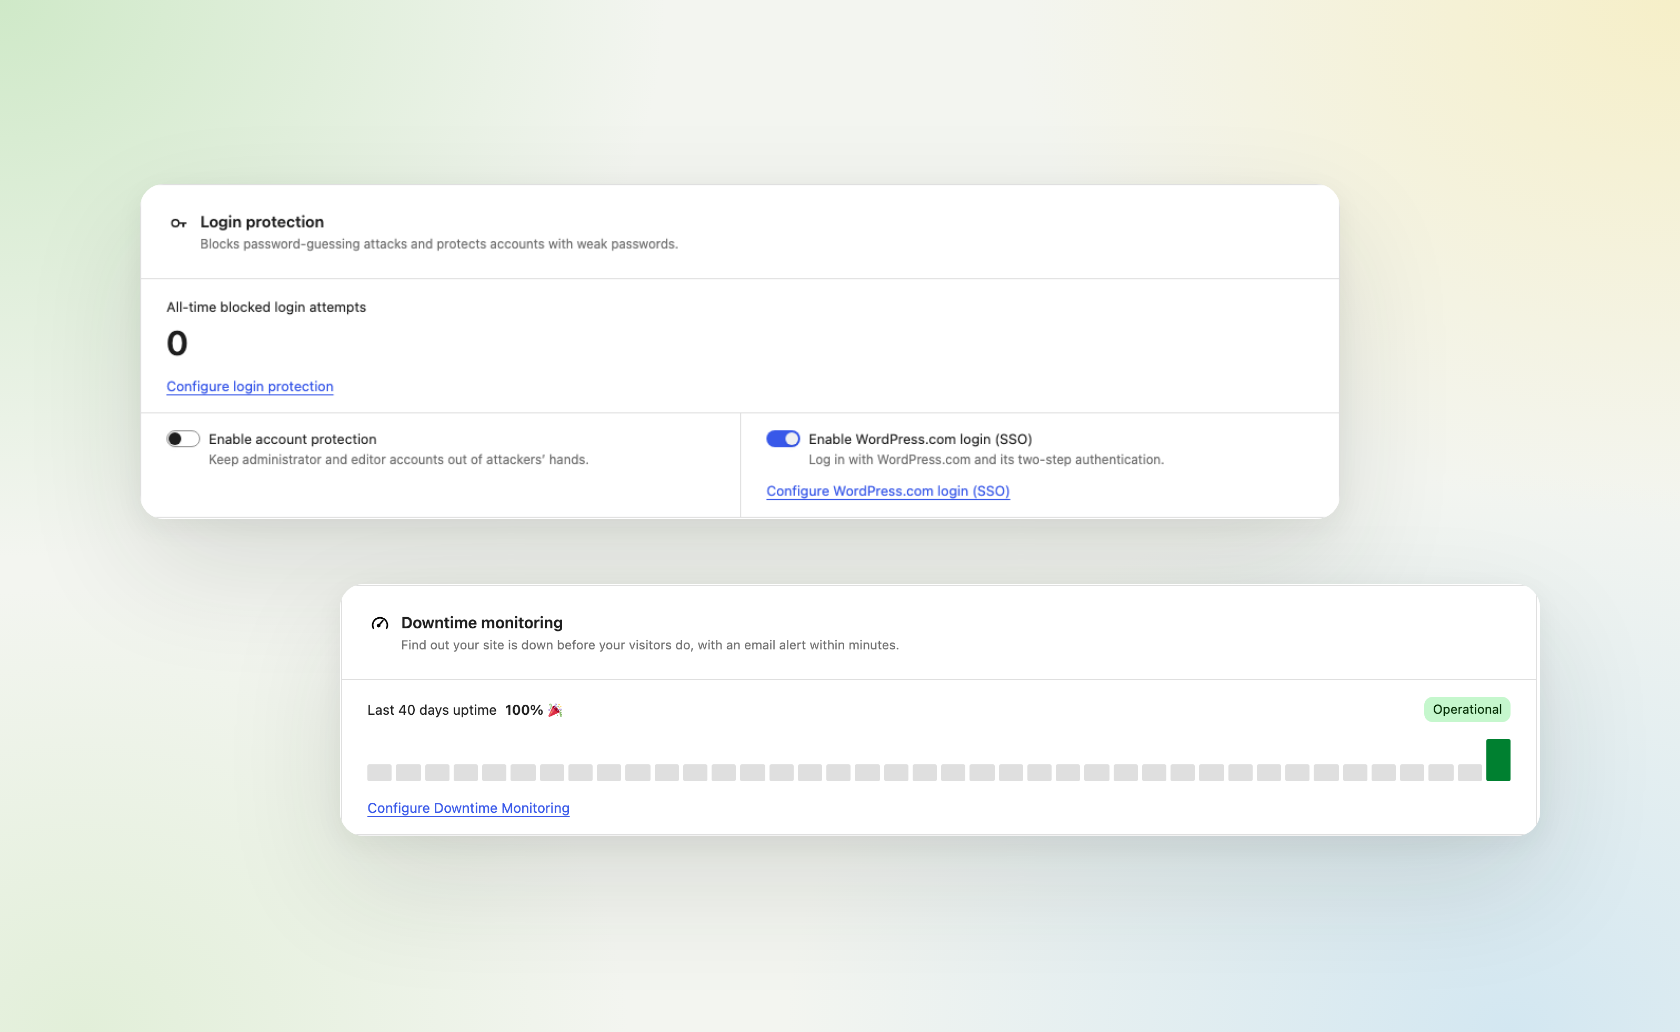
History and Settings
With Scan, the “History” tab keeps a record of every threat that was fixed or ignored, and when. Open one to see its details again.
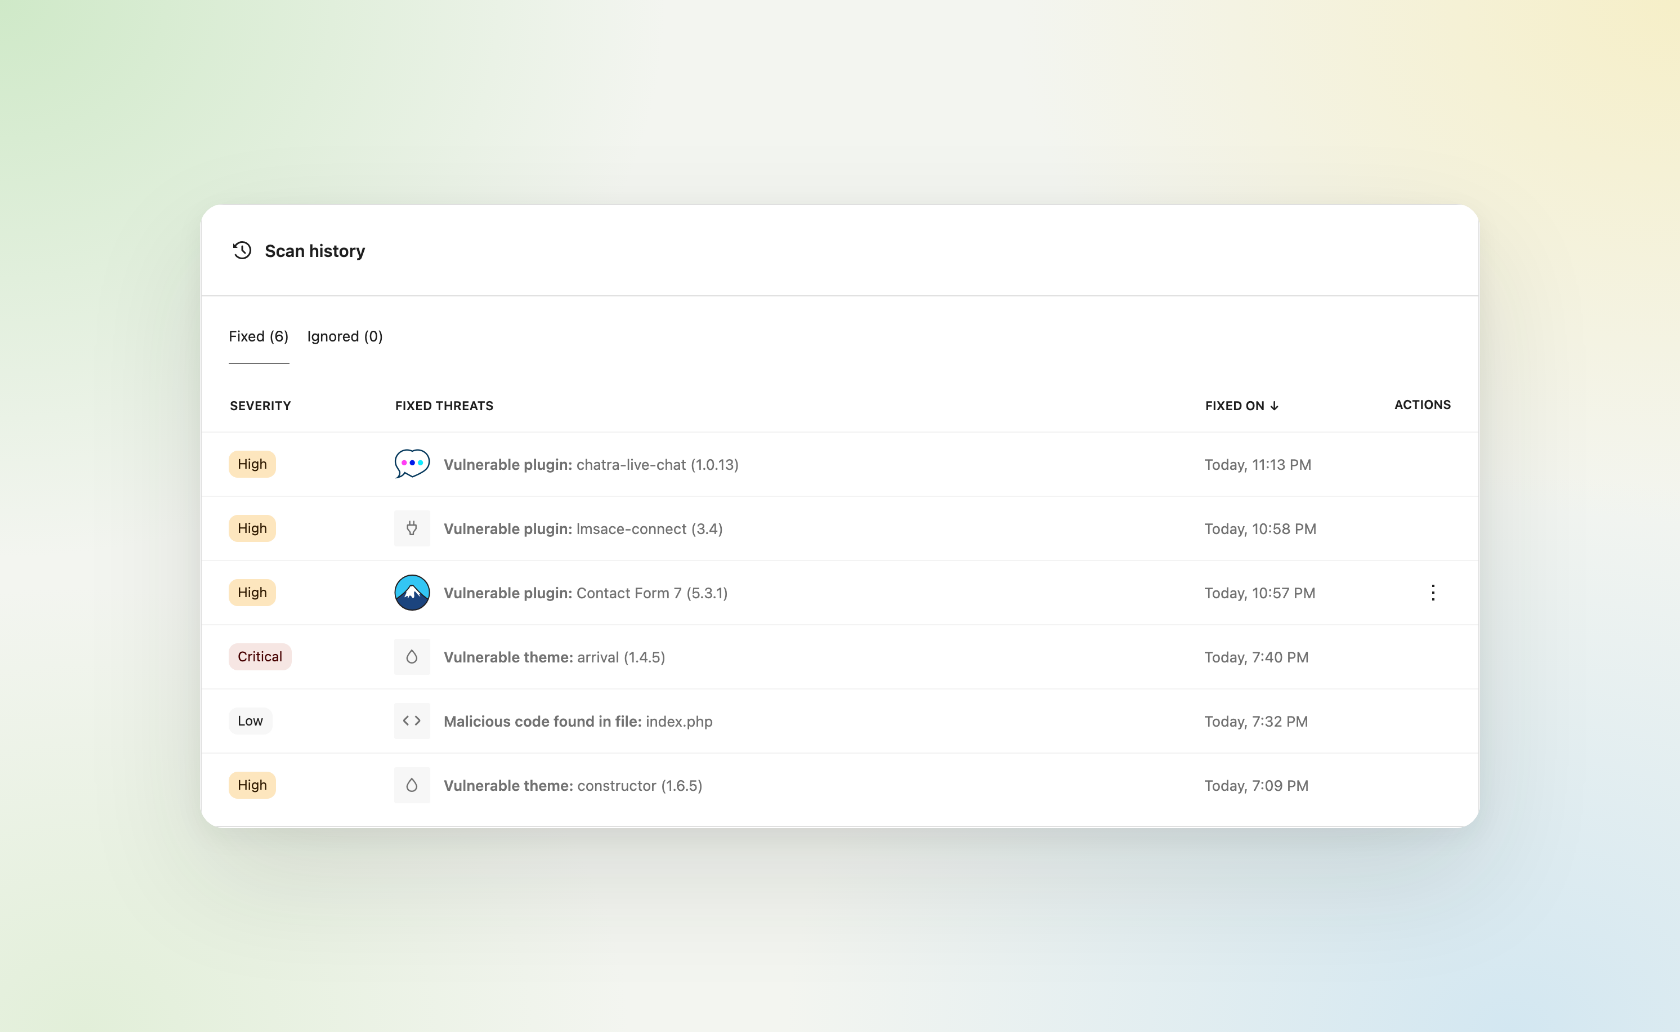
The “Settings” tab is where every option lives now. Each setting has one home, and anywhere else in Jetpack that used to repeat a control now links you here instead.
How to get it
Update to Jetpack 16.4 and look for “Protect” under Jetpack in your dashboard. It’s on by default for sites connected to WordPress.com. The “Scan ↗” link and the Settings → Security tab are gone. Their security settings moved to the new page, and Backup and Anti-spam still have their own pages.
If you use the standalone Jetpack Protect plugin, nothing changes yet and you’ll keep the dashboard you’re used to. And if your site is on WordPress.com with a Business plan or higher, the same page is coming to you soon.
On the free plan? Open Jetpack → Protect to see what Scan would add for your site. If you want the whole package, Jetpack Pro includes Scan, with malware scanning, one-click fixes and automatic firewall rules, plus backups, spam protection and the rest of Jetpack.
What’s next
We’ll keep improving the page based on what you tell us. If something is confusing, or a setting isn’t where you expect it, let us know on our feature request board or reach out to Jetpack support.
Thanks to Brandon Kraft and Enej Bajgorić for building the page, to Josh Boland, who’s bringing it to WordPress.com, and to everyone who tested it and sent feedback along the way.