

Installer Jetpack
Ce document explique comment installer, activer et connecter Jetpack sur votre site WordPress. Il présente les prérequis nécessaires, explique comment configurer Jetpack depuis WP Admin et connecter votre compte WordPress.com, et répond aux questions fréquentes concernant le processus de connexion.
Prérequis pour installer et exécuter Jetpack sur un site WordPress
Avant d’installer Jetpack, vérifiez que votre site répond aux prérequis suivants :
- Un hébergeur web utilisant au minimum les versions de PHP (7.4 ou ultérieure) et de MySQL (8.0 ou ultérieure), ou de MariaDB (10.5 ou ultérieure), indiquées dans les WordPress prérequis pour l’hébergement.
- La dernière version de WordPress. Si votre version de WordPress n’est pas à jour, une invite vous permettant d’effectuer automatiquement la mise à niveau en un seul clic s’affichera, ou vous pouvez mettre à niveau manuellement.
- Un compte WordPress.com. Si vous n’en avez pas, inscrivez-vous pour créer un compte WordPress.com, ou créez-en un pendant le processus de connexion à Jetpack. Pour plus de détails, consultez pourquoi la connexion à WordPress.com est importante pour Jetpack. Vous n’avez besoin que d’un seul compte WordPress.com pour accéder à tous les services, notamment Akismet Anti-spam, Crowdsignal, Gravatar et WordPress.com lui-même. Si vous utilisez l’un de ces services, vous disposez déjà d’un compte WordPress.com que vous pouvez connecter à Jetpack. Si nécessaire, vous pouvez réinitialiser votre mot de passe WordPress.com.
- Un site WordPress accessible au public : aucune protection par mot de passe ni extension Coming Soon / Maintenance Mode n’est utilisée.
- Un fichier accessible au public au format XML-RPC
- Si vous avez des difficultés à vous connecter à Jetpack après avoir rempli toutes les conditions ci-dessus, consultez le liste des problèmes connus, et déboguez votre connexion à https://jptools.wordpress.com/debug/. Si vous avez toujours des difficultés à vous connecter à Jetpack, consultez Résoudre les problèmes de connexion de Jetpack.
Installer et configurer Jetpack depuis WP Admin
Vous pouvez installer Jetpack depuis le WP Admin. Pour installer Jetpack depuis WP Admin, suivez les étapes suivantes :
- Accédez à Extensions → Ajouter une extension.
- Recherchez Jetpack. La dernière version apparaît dans les résultats de recherche. Recherchez « Jetpack – WP Security, Backup, Speed, & Growth » dans les résultats.
- Cliquez sur Installer maintenant.
- Cliquez sur Activer.
- Après l’activation, vous serez invité à configurer Jetpack. Cliquez sur Boostez mon site.
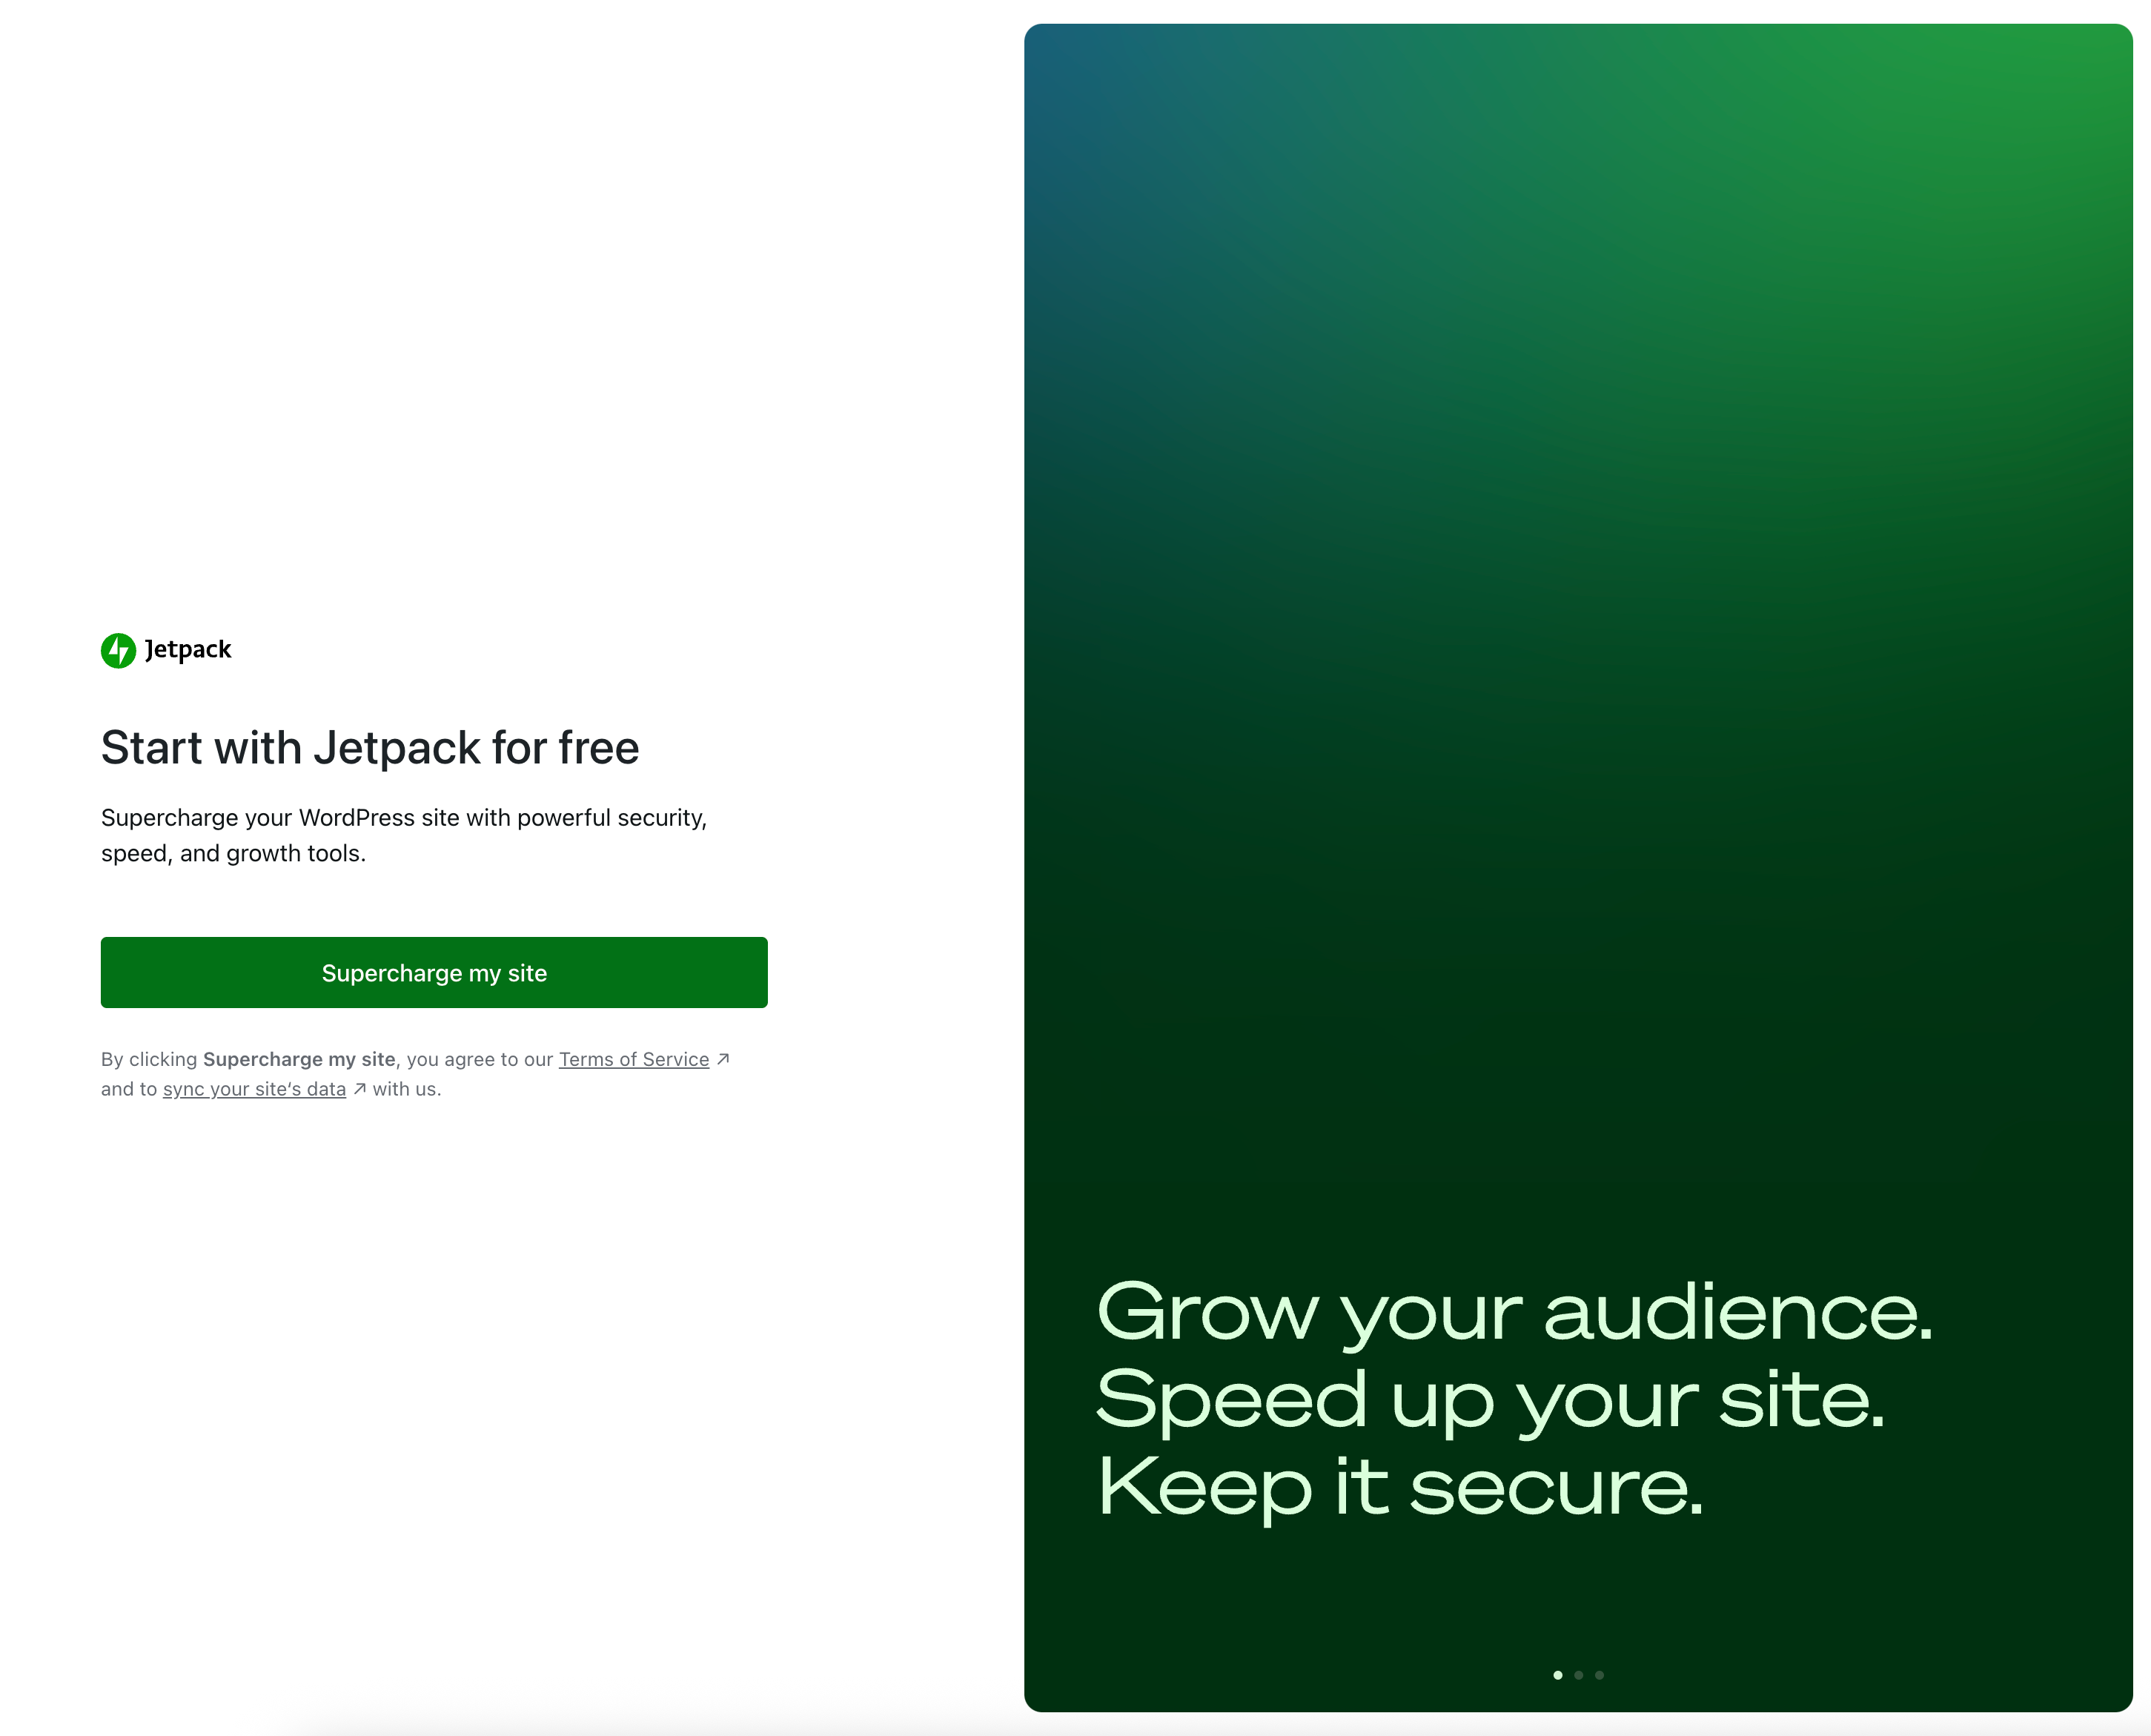
- Lorsque vous y êtes invité, cliquez sur Connecter mon site pour connecter votre site à WordPress.com. Cette connexion est nécessaire pour utiliser de nombreuses fonctionnalités de Jetpack. Pour plus de détails, consultez les fonctionnalités qui nécessitent une connexion à WordPress.com.
- Après avoir approuvé la connexion à WordPress.com, vous revenez à la section My Jetpack dans WP Admin.
- Pour confirmer que votre site est connecté à WordPress.com avec votre compte, faites défiler la page jusqu’en bas et vérifiez la connexion du compte sous Connexion.
Utiliser un compte administrateur pour connecter Jetpack
Lorsque vous connectez votre site à WordPress.com pendant la configuration de Jetpack, connectez-vous en tant qu’administrateur WordPress. Jetpack nécessite des droits d’administrateur pour activer ou gérer les offres Jetpack sans problème d’autorisation. Un compte administrateur permet également d’accéder à l’ensemble des fonctionnalités de Jetpack. Si vous connectez Jetpack sans disposer des droits d’administrateur, certaines fonctionnalités sont limitées.
Pour vérifier votre rôle, suivez les étapes suivantes :
- Dans WP Admin, accédez à Utilisateurs → Tous les utilisateurs.
- Vérifiez que votre compte utilisateur WordPress est indiqué comme administrateur.
Si vous n’êtes pas administrateur, connectez-vous avec un compte administrateur avant de connecter Jetpack.
Les administrateurs secondaires (à l’exception de l’utilisateur principal) peuvent associer leurs propres comptes WordPress.com sans affecter la connexion du site. Pour associer un compte d’administrateur secondaire, suivez les étapes suivantes :
- Accédez à Réglages → Connecteurs.
- Cliquez sur Détails sur la carte WordPress.com.
- Sélectionnez Connecter le compte.
Le panneau de détails affiche également le nom et l’identifiant de connexion WordPress.com de l’utilisateur principal, à titre de référence.
Connexion au site uniquement ou connexion utilisateur dans My Jetpack
Lors de la première activation de Jetpack, votre site peut passer à un état de connexion au site uniquement. Dans cet état, le site est connecté à WordPress.com, mais aucun compte utilisateur WordPress.com spécifique n’est encore associé.
Vous pouvez reconnaître l’état de connexion au site uniquement dans My Jetpack aux signes suivants :
- Une bannière en haut de la page indique Connexion utilisateur manquante avec un bouton Connecter votre compte utilisateur.
- De nombreuses cartes de fonctionnalités (notamment Jetpack VaultPress Backup, Jetpack Social, VideoPress et Jetpack AI Assistant) affichent Compte utilisateur requis.
- En bas de la page, la section Connexion affiche Site connecté avec un lien vers Connecter mon compte.
Vous pouvez également consulter et gérer l’état de la connexion depuis Paramètres → Connecteurs. La WordPress.com affiche l’état actuel de la connexion :
- Connecté — Le site et le compte utilisateur actuel sont tous deux liés à WordPress.com. Cliquez Détails pour afficher le nom, l’identifiant, l’adresse e-mail du compte connecté et les extensions qui utilisent la connexion.
- Site connecté — Le site est enregistré auprès de WordPress.com, mais le compte utilisateur actuel n’est pas encore lié. Cliquez Détails, puis Connecter le compte pour lier votre compte WordPress.com.
- Non connecté — Le site n’a aucune connexion WordPress.com. Cliquez Connecter pour commencer la configuration.
Pourquoi connecter un compte utilisateur
Un compte utilisateur associe votre compte WordPress.com individuel à la connexion du site. Un compte utilisateur est nécessaire pour :
- Déverrouillez l’accès aux fonctionnalités cloud Jetpack réservées aux utilisateurs, telles que Jetpack VaultPress Backup, Jetpack Scan et le journal d’activité.
- Autorisez l’accès aux fonctionnalités de Jetpack qui nécessitent la connexion utilisateur WordPress.com à fonctionner.
- Définissez l’Utilisateur principal (propriétaire de la connexion). Le premier administrateur qui se connecte devient l’utilisateur principal et est propriétaire des données de Jetpack et contrôle les demandes d’assistance.
- Offrez toutes les fonctionnalités à l’application mobile Jetpack.
Comment connecter votre compte utilisateur
Pour connecter votre compte utilisateur WordPress.com, procédez comme suit :
- Dans l’interface d’administration de WordPress, accédez à Jetpack → My Jetpack.
- Sous Connexion, trouvez le lien Connecter mon compte ou le bouton Connecter votre compte utilisateur.
- Connectez-vous avec vos identifiants WordPress.com ou créez un compte si vous n’en avez pas.
- Approuvez la connexion.
Une fois la connexion établie, votre site passe d’une connexion limitée au site à une connexion complète du site et de l’utilisateur.
Questions fréquentes sur l’installation de Jetpack
Cette section répond aux questions courantes concernant l’installation et la connexion de Jetpack, notamment les installations multisites, les installations locales, le dépannage, la prise en charge des langues, les raisons de se connecter et la configuration de Akismet Anti-spam.
Que faire si j’utilise une installation multisite ?
Jetpack ne se connecte pas à l’ensemble d’un réseau multisite en une seule fois. Si vous utilisez le multisite de WordPress, vous devez connecter séparément Jetpack à WordPress.com sur chaque site du réseau où vous souhaitez une connexion Jetpack. N’importe quel administrateur de ce site peut créer la connexion Jetpack. La connexion ne doit pas nécessairement utiliser un autre compte administrateur ou un autre compte utilisateur WordPress.com pour chaque site.
Puis-je utiliser Jetpack sur une installation locale de WordPress ou sur un site privé ?
Oui. Vous pouvez utiliser de nombreuses fonctionnalités de Jetpack sur un site local ou privé. Pour ce faire, activez le mode développement de Jetpack.
Comment résoudre les problèmes de connexion de Jetpack à WordPress.com ?
Commencez par consulter la documentation sur la résolution des problèmes de connexion de Jetpack. Si les problèmes persistent, consultez l’autre documentation de dépannage.
Comment installer Jetpack dans ma langue ?
Une fois que vous avez installé WordPress dans votre propre langue, Jetpack passe automatiquement dans votre langue, pourvu qu’un fichier de traduction soit disponible. Pour plus de détails, consultez comment installer Jetpack dans votre langue et contribuer aux traductions.
Pourquoi devrais-je connecter Jetpack ?
Jetpack fournit plusieurs services pour votre site WordPress. Les plus populaires sont :
- Statistiques et analyses concernant le trafic de votre site.
- Protection contre les attaques par force brute (également appelée protection de la connexion) pour vous protéger contre les tentatives de connexion malveillantes.
- Un réseau de diffusion de contenu gratuit (CDN) qui accélère automatiquement vos images et vos photos.
- Outils de sécurité notamment les sauvegardes en temps réel, l’analyse des logiciels malveillants et la protection contre le spam dans les sections de commentaires et les formulaires.
Comment résoudre les problèmes d’installation ou de connexion de Akismet Anti-spam à WordPress.com ?
Certains forfaits Jetpack incluent la protection anti-spam d’Akismet Anti-spam. Si vous rencontrez des difficultés pour configurer Akismet Anti-spam, consultez la documentation d’activation de Akismet Anti-spam.
Still need help?
Please contact support. We’re happy to advise.
In this section
- Feature Hints Avoid installing unnecessary plugins; Feature Hints tell you what Jetpack can already do. Jetpack offers many useful features,…
- Fix Jetpack Issues Having trouble connecting Jetpack to WordPress.com? If so, here are eight key steps that can potentially help you…
- Get help with the Jetpack app Is something not working with the Jetpack app (iOS or Android)? Follow this guide to get help and…
- Install Jetpack and Connect Your New Plan Are you ready to blast off with Jetpack? Great! Get started and connect your website. What do I…
- Install Jetpack Plugins Blast off with Jetpack by installing our full plugin or just the individual plugins with the features you…
- Jetpack features for nonprofits and charities Use Jetpack to enhance your non-profit's site. While Jetpack offers a huge suite of features, in this documentation,…
- Known issues Some plugins and themes are known to conflict with some of the features implemented in Jetpack. Until these…
- My Jetpack Manage all of your Jetpack products in one place with the My Jetpack dashboard. My Jetpack is available…
- Troubleshoot Jetpack connection error messages Do you experience issues when trying to connect your site to your WordPress.com account? Start by checking the…
- Use Jetpack and Cloudflare on your WordPress site Here are a few steps to follow to configure CloudFlare on your site, before installing the Jetpack plugin.
- Use Jetpack in your language You can use Jetpack in the language of your choice and suggest new translations using GlotPress, our translation…

