
Running multiple WordPress sites on localhost helps you test themes, plugins, and configurations without affecting live environments. Whether you’re developing, designing, or troubleshooting, local sites offer a fast, safe, and flexible workspace.
This guide shows you how to locally manage multiple WordPress sites using WordPress Studio, a free local development tool that runs sites directly on your machine. WordPress Studio includes containerized environments, quick site creation, built-in developer tools, and a clean interface.
You’ll learn how to install WordPress Studio, manage multiple sites, configure each one based on your project needs, and stay organized as you work. Let’s get to it.
What is localhost?
Before you get started, there are a few basics about how local development works.
Localhost refers to your computer acting as a server, letting you run websites in a private environment without deploying them to the internet. This setup is often used for development, testing, or learning WordPress.
To install and run WordPress locally, you typically need a server stack that includes:
- A web server like Apache or Nginx
- A database server like MySQL or MariaDB
- A scripting engine like PHP to process server-side code
Some local development tools, including WordPress Studio, bundle these components automatically so you don’t have to configure them yourself.
Why run multiple WordPress sites locally?
Running multiple local sites supports a wide range of development and testing workflows.
Common use cases include:
- Testing different themes or plugins without affecting live sites
- Working on separate client projects in isolated environments
- Simulating site networks by running multiple separate WordPress installs
- Preparing and troubleshooting local versions of a site before pushing updates online
Why use WordPress Studio instead of traditional stacks?
WordPress Studio uses a container-based system to separate site environments and minimize manual setup. Compared to traditional stacks like XAMPP or MAMP, WordPress Studio streamlines the process by:
- Installing and configuring PHP, MySQL, and Apache automatically
- Creating local domains without the need to edit virtual hosts or modify the hosts file
- Reducing the risk of port conflicts or permission issues
- Including a built-in code editor, WP-CLI access, and debugging tools
WordPress Studio supports modern development workflows and simplifies the process of running multiple local WordPress sites at once.
How to install WordPress Studio on your machine
Before you create your first local site, you need to install WordPress Studio.
Step 1: Download and install WordPress Studio
To get started, visit the official website and download the installer for your platform (macOS or Windows).
Follow the on-screen instructions to install the software.
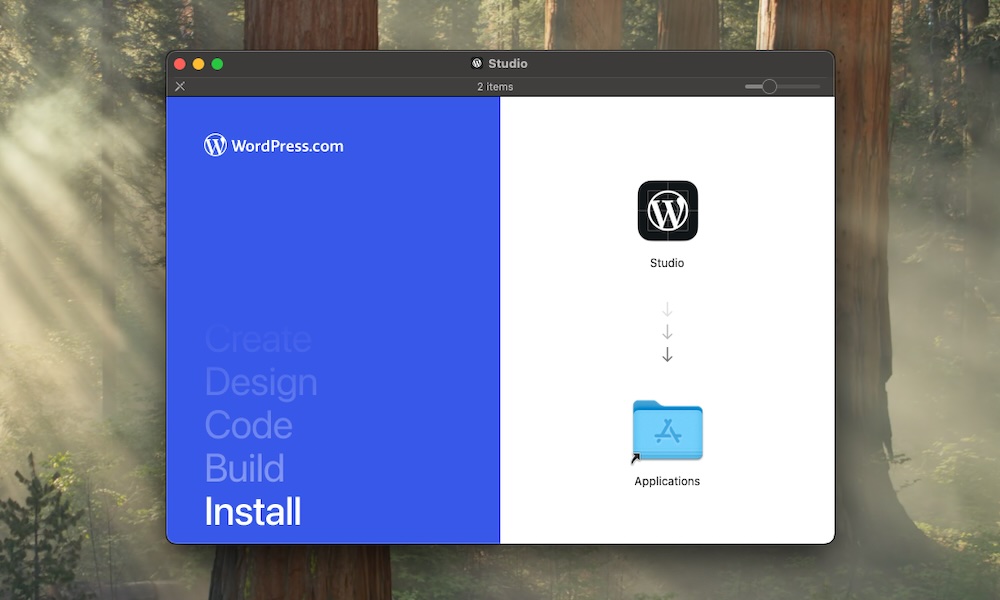
Then, launch WordPress Studio after installation completes. WordPress Studio installs a containerized runtime behind the scenes, so you don’t need Docker or any other dependency.
Step 2: Grant necessary permissions
The first time WordPress Studio runs, it may request permissions to install background services and manage the local network. Grant these permissions to ensure everything runs correctly.
Once installed, WordPress Studio is ready to create and manage multiple WordPress instances.
Creating your first local WordPress site
WordPress Studio makes this process fast, with just a few inputs.
Step 1: Create a new site
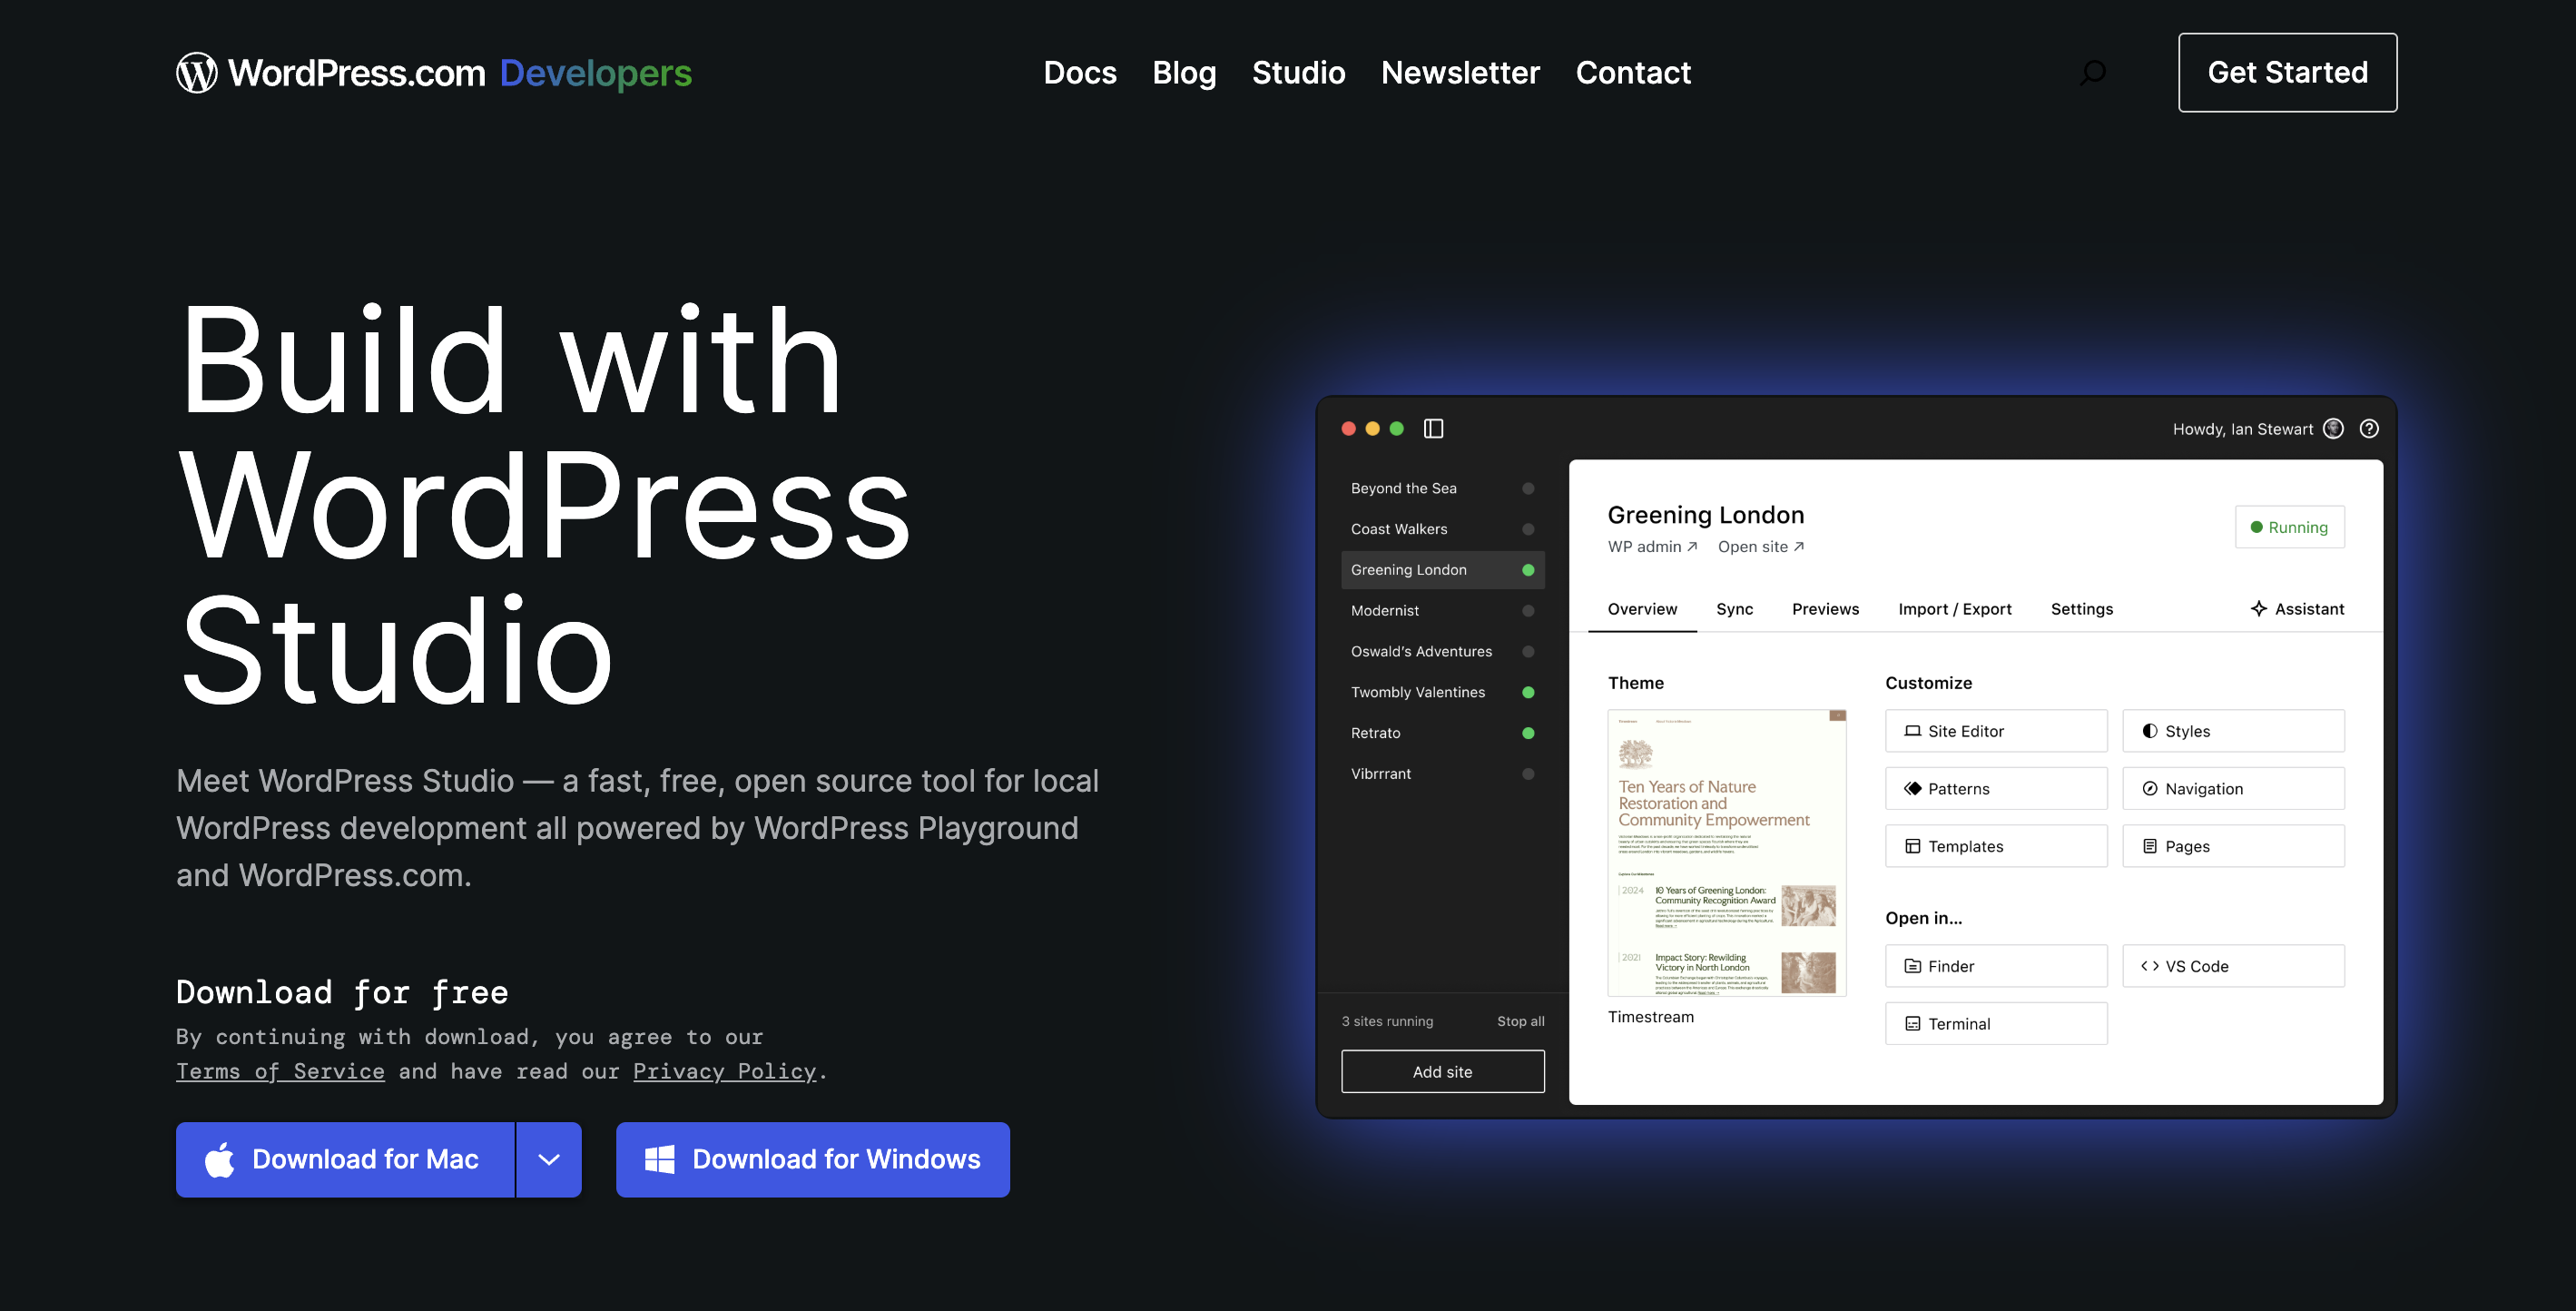
To get started, open WordPress Studio, then input a name under Site Name and click Add site.

WordPress Studio automatically creates a new isolated container with WordPress installed. Each site gets its own environment with a dedicated database, a containerized PHP and NGINX stack, and a unique local domain like “site1.studio.local”.
Step 2: Access the local site
Once the environment is created, click Open site to open it in your browser or WP Admin to log into the WordPress dashboard.
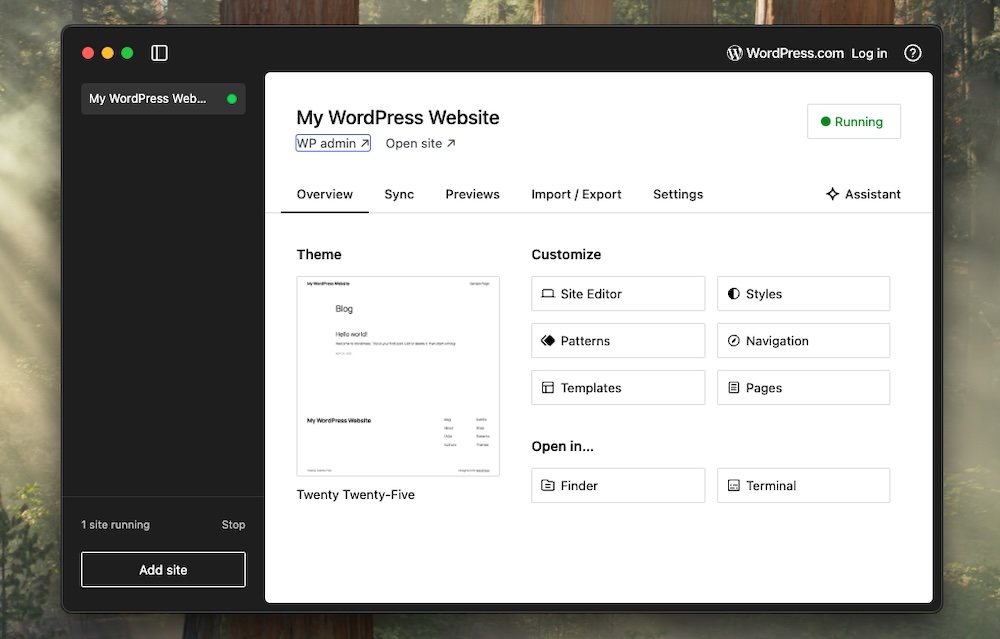
WordPress Studio logs you in automatically, so there’s no need to enter credentials.
WordPress Studio will handle certificate generation and installation. On macOS, you may need to manually trust the certificate to avoid browser warnings, however.
Creating multiple WordPress sites
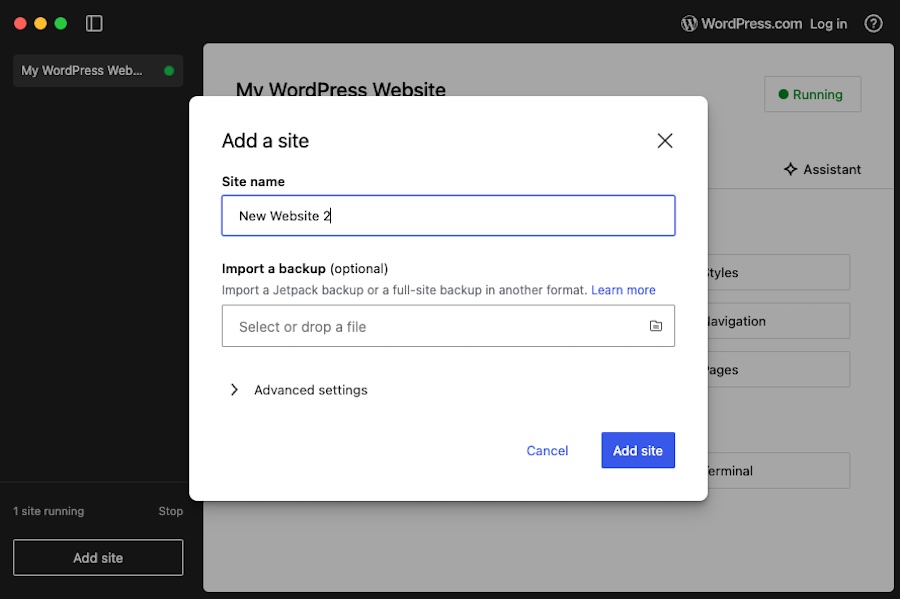
You can repeat the site creation process as many times as needed. While still viewing your new site’s information within WordPress Studio, click the Add site button on the bottom-left side of the panel.
Here, you can enter a new site name, then click Add site and WordPress Studio will handle the configuration and provisioning automatically. Each site runs in an isolated container. This means you won’t encounter conflicts between PHP versions or plugins or deal with shared databases. Plus, you’ll benefit from separate file systems.
You can run all sites at the same time without changing ports or editing any config files, too.
Switching between sites
The WordPress Studio dashboard displays all your local WordPress sites, whether they’re active or inactive.
From this interface, you can:
- Start or stop a site environment
- Open the site in your default browser
- Access the site’s files in your code editor
- Go to your site’s WordPress dashboard
WordPress Studio provides full control over each local environment, which means you don’t have to jump between tools to access and work on your sites.
Customizing each local site
WordPress Studio offers per-site customization options, providing flexibility for various development needs.
1. Set PHP and WordPress versions
During or after site creation, you can select the PHP version you want to use. Choose from versions 7.4 through 8.4. You can also specify which WordPress version to install. Select from versions 5.9 and up, including the latest beta releases.
This helps when testing compatibility or replicating production environments. Access these options in the Advanced Settings section during site creation or adjust them later in the site’s Settings tab.

2. Use your preferred code editor
WordPress Studio allows you to work with your preferred code editor. Open the site directory directly in editors like Visual Studio Code, Sublime Text, or PHPStorm.
3. Install themes and plugins
Each site you create functions like a regular WordPress installation, which means you can install themes and plugins however you prefer. You can upload a .zip file directly through the WordPress dashboard, search and install options from the official WordPress repository, or use WP-CLI from the WordPress Studio terminal if you want to work from the command line.
You have full access to the site’s files and settings, so you’re free to experiment, build, and customize as needed.
Using WP-CLI and terminal tools
WordPress Studio includes WP-CLI out of the box so you can manage your WordPress sites directly from the command line.
To access the terminal for a specific site, click the terminal icon in the WordPress Studio dashboard. This opens a shell session within the site’s container, allowing you to execute WP-CLI commands like:
wp plugin install debug-bar --activate

wp theme install twentytwentyfive --activate

wp db export backup.sql
These commands facilitate advanced operations, scripting, and testing within your local development environment.
Access logs and error output
WordPress Studio provides access to logs for PHP, NGINX, and database processes, which are essential for debugging and monitoring. To view these logs on macOS, open Terminal, then run this code:
open ~/Library/Logs/StudioOr, if on a Windows machine, open Command Prompt and run this code:
start %APPDATA%\Studio\logsThese logs assist in identifying problems like plugin or theme errors, deprecated warnings, and performance issues.
Managing and organizing multiple local sites
Effectively managing multiple local WordPress sites in WordPress Studio enhances your development workflow. Here’s how to keep your environments organized and efficient:
1. Use a naming convention
Assign clear and descriptive names to your local sites to easily identify their purpose. For example:
- clientA-landing.studio.local
- Plugin-dev-v1.studio.local
- multisite-test.studio.local
This helps when managing several environments for different use cases. Using the .wp.local top-level domain (TLD) is recommended for WordPress Studio sites.
2. Group related sites using folders
Although WordPress Studio isolates each site, you can organize related site folders manually on your machine. Create a WordPress Studio Projects folder and store each one under a client or project folder.
This structure keeps related sites grouped together so navigation and management are more straightforward.
3. Back up your environments regularly
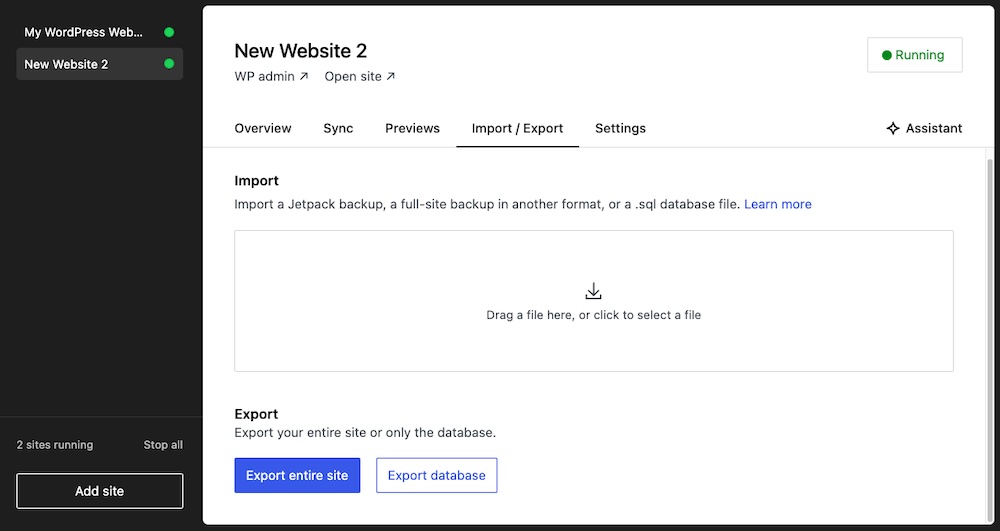
WordPress Studio allows you to export your entire site into a .tar.gz file, which includes the database, wp-content folder, and WordPress configuration.
To export a site:
- Select the site from the WordPress Studio site view.
- Go to the Import / Export tab.
- Click Export entire site to generate the .tar.gz file.
- Choose the destination and click Save.
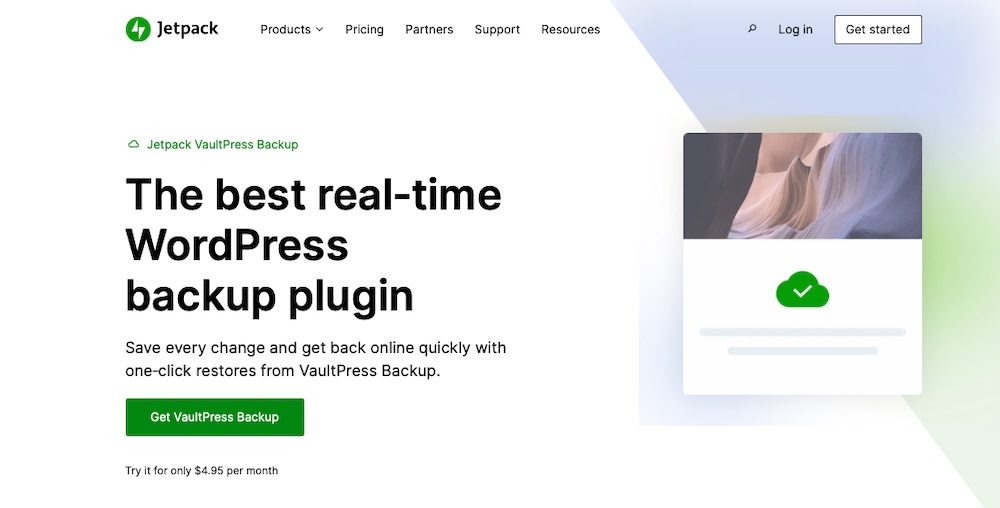
You can use this backup for version control, sharing with team members, or restoring the site, if needed. You can also import a backup from Jetpack VaultPress Backup, making it more straightforward to bring a live site into your local WordPress Studio environment.
4. Use Git for version control
If you’re developing themes or plugins, version control helps you track changes, collaborate with others, and keep your codebase clean.
You can initialize a Git repository inside the wp-content directory, exclude system files with a .gitignore file, and push your work to a remote platform like GitHub. WordPress Studio gives you full access to your site’s file structure, so you can use any Git workflow that fits your project.
Advanced features and tips
Once you’re comfortable working with local sites in WordPress Studio, take advantage of advanced features to customize, extend, and speed up development workflows.
1. Set up multisite
WordPress Studio allows you to enable WordPress Multisite functionality within any local environment. To activate this feature, add the following line to your wp-config.php file, just above the comment that says: “/* That’s all, stop editing! Happy blogging. */”:
define('WP_ALLOW_MULTISITE', true); After saving the file, go to Tools → Network Setup in your WordPress dashboard to configure your multisite network. WordPress Studio fully supports subdomain and subdirectory multisite configurations.
2. Sync with remote environments
WordPress Studio is built for local development, but it works well alongside remote staging or production servers. You can transfer files and data between environments using SFTP, the WordPress dashboard, or WP-CLI.
For example, you can manually export a database, move theme or plugin files, and update site URLs using the wp search-replace command. This gives you flexibility when working across local and hosted sites.
3. Customize environment settings
WordPress Studio doesn’t include a built-in interface for advanced environment settings, but you can still customize your setup by editing configuration files manually.
You can enable xDebug by modifying your PHP configuration, define environment variables using a .env file or system-level settings, and adjust PHP limits by editing the php.ini file. These changes give you more control over your local development environment and are helpful when replicating specific server conditions.
Build better, faster, and safer with WordPress Studio
WordPress Studio gives developers a powerful and efficient way to manage local WordPress sites. It removes the friction of traditional local stacks, automates setup, and provides the tools needed to build high-quality themes, plugins, and full websites in a controlled environment.
With support for multiple isolated containers, convenient switching between sites, built-in WP-CLI, and code editing, WordPress Studio by WordPress.com provides a complete development platform. Once configured, use it to manage multiple projects, simulate production environments, and test with confidence — all without leaving your local machine.
