
Seeing the ‘Error Establishing a Database Connection’ message on your WordPress site can be stressful, but it’s almost always fixable. This error simply means your website can’t communicate with its database, which holds all your content.
In this guide, we’ll discuss why your site may be struggling to connect to its underlying MySQL database. We’ll then share eight steps to fix the “Error establishing database connection” issue in WordPress.
What “Error Establishing a Database Connection” means in WordPress
The “Error establishing database connection” error means that WordPress is unable to make a connection to the database.
WordPress stores all of your website data and content in a database. Every time someone visits your site, the Content Management System (CMS) connects to this database and retrieves the necessary information. When you encounter this error, it means that your site is inaccessible to everyone, including admins and site visitors.
There are several reasons why WordPress could be struggling to make a connection. This issue may be caused by incorrect database information in your WordPress configuration file or corrupt files in your database. You might also encounter this message if the database server is down.
Since there are various causes, there are also several solutions. This makes the database connection error notoriously tricky to troubleshoot.
8 steps to fix “Error establishing database connection”
“Error establishing database connection” is one of the most common WordPress errors and it isn’t always easy to diagnose. In this troubleshooting guide, we’ll help you get to the root of the problem so you can get your site back on track.
1. Enable WP_DEBUG for more insight
Before you start changing things, let’s get more information. The default error message is vague. WordPress has a built-in debugging mode that can often tell you why the connection is failing.
- Connect to your site via FTP and open your wp-config.php file.
- Find the line that says define( ‘WP_DEBUG’, false );.
- Change false to true.
- Add the following two lines directly below it:
define( ‘WP_DEBUG_LOG’, true );
define( ‘WP_DEBUG_DISPLAY’, false );
Save the file. Now, reload your website. The error might change or provide more detail. Check for a new file named debug.log in your /wp-content/ folder. This log file often contains the specific PHP error causing the failure.
2. Check your database credentials
To connect to the database, WordPress needs the database name, username, password, and server. These credentials are stored in wp-config.php, which is your site’s configuration file.
If any of this information is incorrect, then WordPress will be unable to connect to the database. To check these credentials, you’ll need to connect to your server using a File Transfer Protocol (FTP) client like FileZilla.
After connecting to your site over FTP, you’ll need to locate your configuration file. You’ll usually find this in your website’s root directory, which is typically called public_html or is named after your site’s domain. Open this folder and look for a file called wp-config.php.
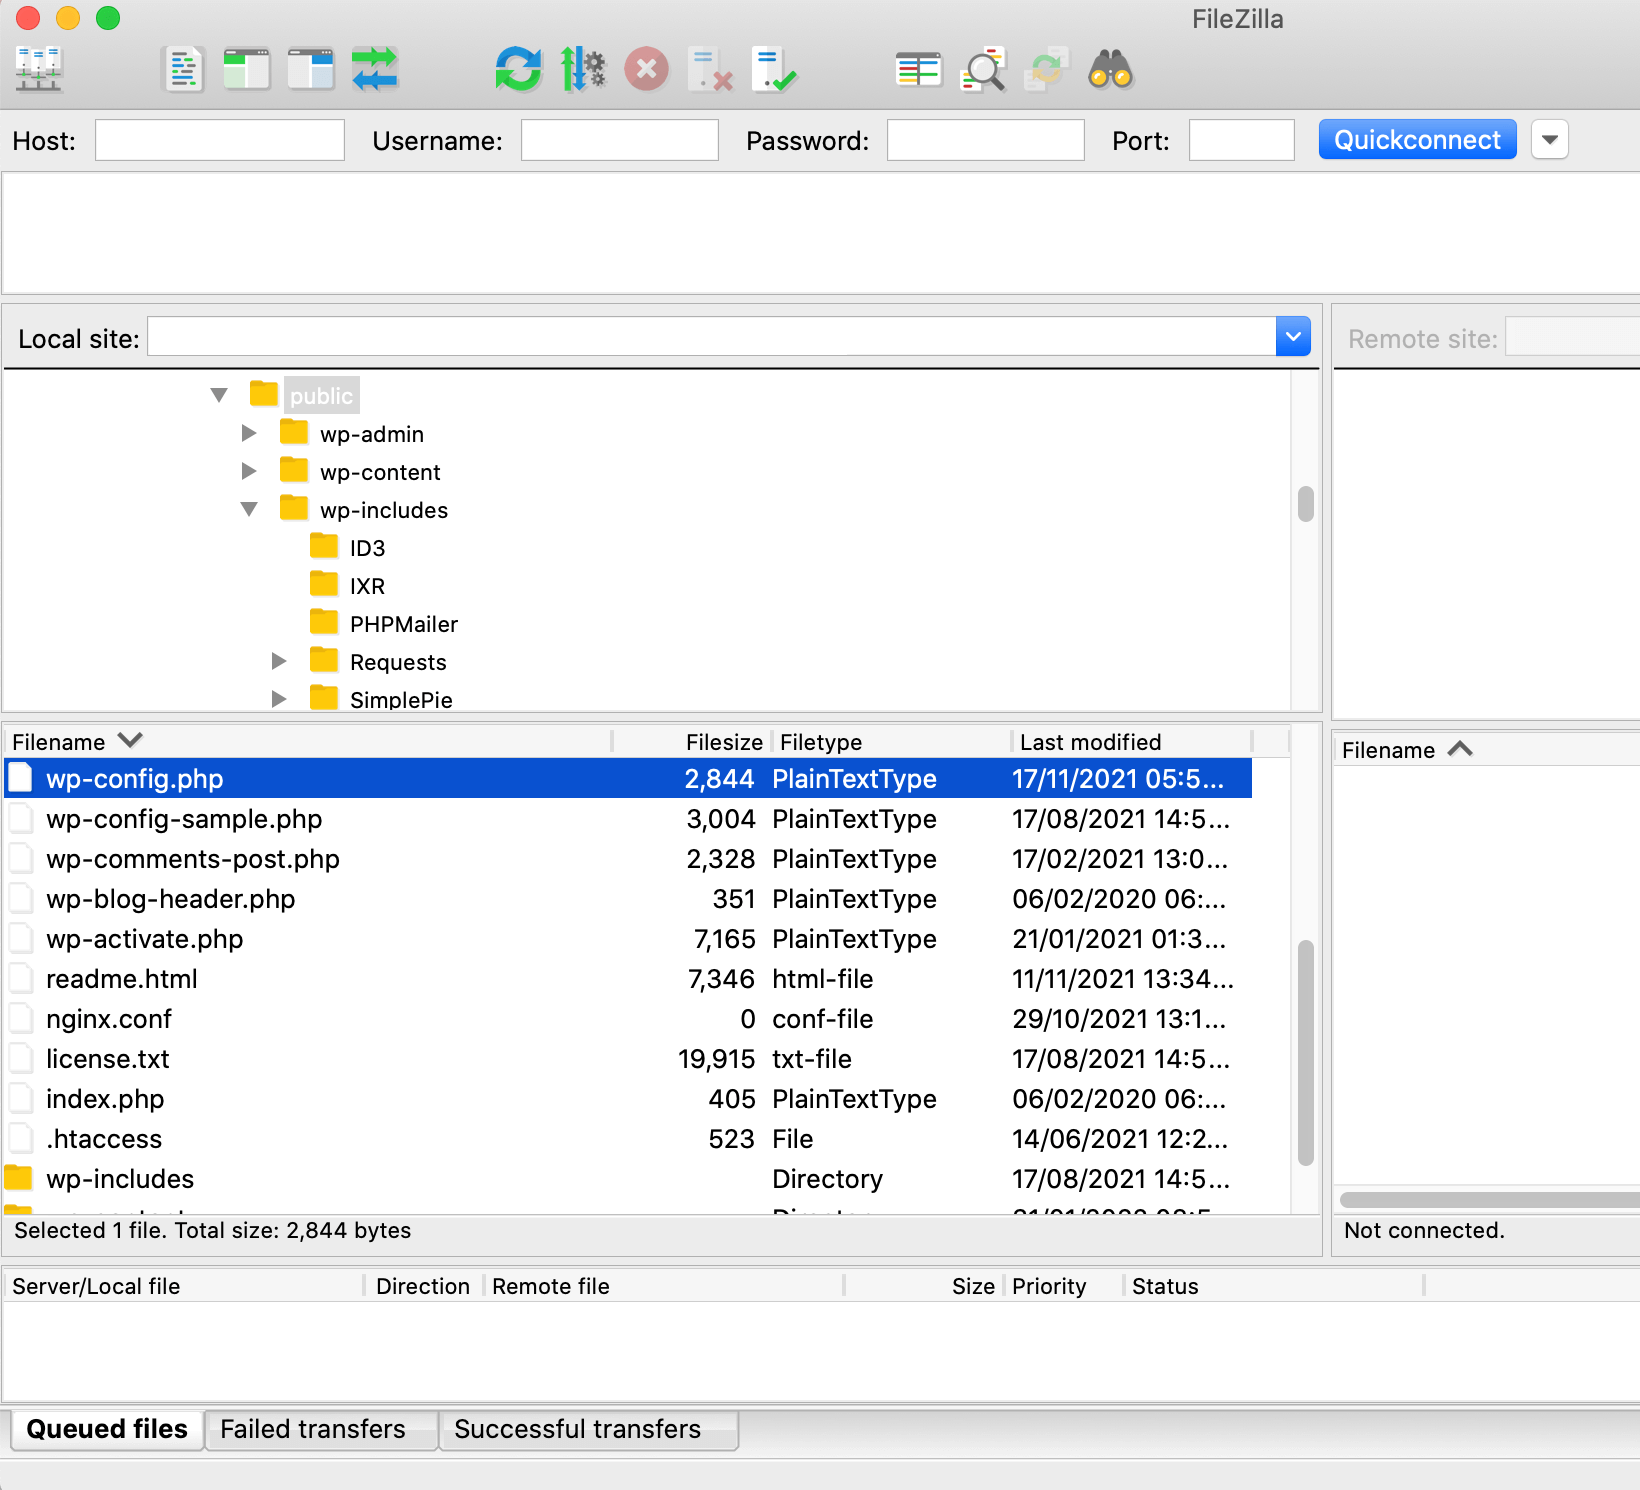
Then, control-click this file and select Open. FileZilla will launch it in your computer’s default text editor.
The MySQL settings section contains the credentials that WordPress uses when attempting to access your database. To check whether this information is correct, you’ll need to log into your hosting panel. The location of this information will vary depending on your provider, but be on the lookout for any settings labeled Database or MySQL.
Then, check that the database name, username, password, and host match the information stored in your wp-config.php file. If there’s a discrepancy, you’ll need to update your configuration file.
In your FTP client, control-click the wp-config.php file and choose Download. Open this file for editing and update your database credentials. After making this change, you can re-upload the modified wp-config.php file by dragging it into FileZilla.
3. Check your database host information
Your MySQL hostname defines where your database is hosted. If you want to connect to your database, you’ll need to use the correct MySQL hostname.
Most WordPress hosting companies use localhost, but some providers host their databases on separate servers. This is particularly true for managed WordPress hosts.
If you’ve verified that your database name, username, and password are correct, then it’s worth checking that you’re using the correct database location. This typically requires you to contact your hosting company.
Alternatively, you may be able to retrieve this information manually using the phpMyAdmin tool. If your provider supplies cPanel, then you can typically find phpMyAdmin by logging into your cPanel dashboard. Then, search for the phpMyAdmin option.
Inside phpMyAdmin, find the Database Server block. This displays information about your server setup, including its location. For example, if it lists your server as “LocalHost via UNIX socket,” then your server is located at localhost.
To check this against your database credentials, connect to your site using FileZilla and open your wp-config.php file. You’ll find the MySQL hostname in the following section:
/** MySQL hostname */
define( ‘DB_HOST’, ‘localhost’ );
If this is incorrect, then you can download the wp-config.php file to your local computer and update this information in any compatible text editor. Then, simply reupload the edited file to your server. WordPress should now be able to connect to your server at the correct location.
4. Repair the database
Over time, the files in your WordPress MYSQL database can become corrupted. Fortunately, WordPress includes a tool that promises to repair a scrambled database with the click of a button.
To enable this repair tool, download your wp-config.php file using FileZilla. You can then open it in a text editor and add the following line:
define('WP_ALLOW_REPAIR', true);Now, save your changes and reupload the modified wp-config.php file to your server. Next, enter your site’s domain name and append the following: /wp-admin/maint/repair.php.
For example, if your website is located at https://www.mysite.com, you’ll need to head over to https://www.mysite.com/wp-admin/maint/repair.php. This will launch WordPress’ built-in database repair tool.

You can now choose whether to repair or repair and optimize your database. Fine-tuning and cleaning up your WordPress database may improve your site’s performance, which can boost your position in search engine rankings. It’s also great for the overall visitor experience.
With this in mind, we recommend that you select Repair and Optimize Database. WordPress will now attempt to repair your database and display a page of code once it completes the process.
As we’ve just seen, accessing the database repair tool is as simple as appending wp-admin/maint/repair.php to your domain URL. This is a security risk, so it’s important to disable this tool as soon as you’ve performed your scan.
You can use FileZilla to open your wp-config.php file and remove the ‘WP_ALLOW_REPAIR’ line. Then, re-upload this modified file to your server. This will disable the database repair tool and close the potential security loophole.
5. Check whether your database server is offline
Occasionally, your database server may go down. In particular, this might occur if your site experiences a period of heavy traffic.
You’re also at a greater risk of downtime if you’re using shared hosting or opted for budget-friendly hosting that offers limited resources. If your server is offline, WordPress will be unable to connect to your database and you’ll encounter an error.
If you run multiple sites on the same server, it’s worth visiting all of these sites in your web browser. If they all display the same database error message, then you’ll know that this problem isn’t tied to a specific website. In this scenario, it’s likely that your database server is offline.
Assuming that you’re running multiple sites on the same hosting account, you can also attempt to connect to your database via phpMyAdmin. If you encounter errors, or strange behavior inside this tool, then an unresponsive server may be to blame.
If you suspect your database server is offline, then it’s a good idea to contact your hosting provider. Your web host may be able to give you a timeframe for when they expect to resolve this problem. They may even be completely unaware that your database is offline.
If you have a dedicated server, local server, or Virtual Private Server (VPS), you can try rebooting your server manually. This process will vary depending on your setup and hosting provider, so you may need to check your web host’s documentation for more information. Alternatively, if you’re unsure how to restart your server, you can always contact your provider for assistance.
6. Update your site URL
Some WordPress users have reportedly resolved this error by updating their WordPress site URL. You can make this change via the phpMyAdmin tool.
After logging into the phpMyAdmin dashboard, select the database that’s causing problems. Then, select the SQL tab.

You’ll now need to enter the table name, which is displayed in the left-hand column of the phpMyAdmin dashboard. This is usually wp_options by default.

You can now enter the following MySQL query, being sure to replace MY_URL with the URL of your WordPress website. You’ll also need to change wp_options to your own table name:
UPDATE wp_options SET option_value='MY_URL' WHERE option_name='siteurl'After running this query, try re-accessing your website. This may have resolved your database error.
7. Check if your themes or plugins are corrupted
WordPress’ huge community of themes and plugins are one of the platform’s greatest strengths. Sadly, adding third-party code to your website can result in conflicts, errors, and other strange behavior.
There’s also a chance that this code may become corrupted. In particular, if you’ve recently added some new software, run any updates, or manually edited your site’s code, then a theme or plugin may be causing the database error.
Fortunately, there’s an easy way to deactivate all of your themes and plugins. You can then test whether this resolves your database error.
Using an FTP client like FileZilla, navigate to your wp-content folder. You can then control-click on the plugins directory and opt to rename it. You can use any title, as long as it’s not plugins (e.g. plugins.bak).

This will deactivate every plugin across your website. If this resolves the error, then you’ll know that third-party software is to blame. You can now rename this folder back to plugins in order to reactivate all of your plugins.
In order to pinpoint the culprit, open this folder and rename each plugin in turn. As soon as the database error disappears, you’ll have successfully identified the plugin that’s causing so many problems.
If deactivating every plugin doesn’t resolve the error, you can repeat this process with your themes directory. If neither of these tricks resolve the issue, then you’ll know that your third-party software isn’t contributing to your database issue.
8. Restore default WordPress files
There’s a chance that the core WordPress files may become corrupted. In some cases, a hacker may attempt to break into your site by editing the WordPres code. Or you might edit some of the core files by accident. It’s even possible that a plugin may make some modifications to the WordPress code without your knowledge.
If this is the case, you may be able to restore your database connection by reinstalling a fresh version of WordPress. The easiest method is to download a clean copy of WordPress core.
Then, unpack the archive and delete the wp-content folder. This is crucial, as it ensures that you’re not overriding all of your content with a completely empty directory. You’ll also want to back up your site to ensure that you don’t lose any valuable information.
When you’re ready, drag all of the fresh WordPress core files into your FTP client. When prompted, opt to override all of your previous files.
You can now attempt to access your site. If this has resolved the error, then it’s wise to spend some time exploring your site. It’s possible that installing a fresh copy of WordPress may remove some of your site modifications or settings. In this case, you may need to customize the fresh install.
How to avoid the “Error establishing database connection” issue in WordPress
While there’s no way to protect your site against all database connection errors, there are ways to minimize your chances of encountering this problem.
In some scenarios, you may need to contact your hosting provider for assistance. Here, it helps to have a web host who offers 24/7 customer support or fast response times. This can help you resolve the error and get your site back online fast.
For this reason, it’s smart to invest in a quality hosting provider who can offer the expertise and quick turnaround times you need in the event of a database connection error. It’s also a good idea to opt for a provider who specializes in WordPress. These hosts often optimize their offerings for the WordPress platform, which can reduce your chances of encountering the database error.
It’s also smart to regularly create a backup of the WordPress database and files. This ensures that you always have the option to restore an earlier version of your website. Depending on the nature of the database error, this may be enough to resolve the problem.
There are plenty of WordPress backup plugins to choose from, but Jetpack Backup can save up all of your content, including your database in real time. You can also access and restore backups even if your site is completely down.

If you’re out and about when you notice the database error message, you can restore a backup from your mobile device, using the Jetpack mobile app. Jetpack also creates redundant copies on multiple servers, so you can be confident that you can restore a working version of your site.
Frequently asked questions
What is the most common cause of the “Error Establishing a Database Connection”?
The most frequent cause of this error is incorrect database credentials within your wp-config.php file. This file acts as the bridge between your WordPress files and your database.
If the database name, username, password, or database host information is wrong, the connection cannot be made. This often happens after moving to a new web host or making server-side changes. Always double-check these four values first, as a simple typo is a very common source of the problem.
Will I lose all of my website data because of this error?
No, you will almost certainly not lose any data. This error message indicates a connection problem, not a data deletion event. Your website’s posts, pages, user profiles, and settings are stored safely in the database.
The issue is that your WordPress files cannot communicate with the database to retrieve that information and display it. Once the connection is restored by fixing the underlying issue, your content should reappear exactly as it was before the error occurred. The data itself remains untouched and secure.
Can a WordPress plugin or theme cause this database error?
Yes, a plugin or theme can absolutely cause this error. This can happen if a recently installed or updated plugin or theme has faulty code that interferes with the database connection.
It can also occur if the plugin or theme corrupts your database. To check if this is the issue, you can temporarily disable all your plugins by renaming the plugins folder inside wp-content via FTP. If your site comes back online, you know a plugin is the culprit. You can then reactivate them one by one to find the source.
How can I prevent the database connection error from happening in the future?
Prevention involves a few key practices. First, use a high-quality managed WordPress hosting provider, as they offer stable server environments and support.
Second, always create a full website backup before you update WordPress core, themes, or plugins. This gives you a quick restoration point. Third, limit the number of plugins you use to only those that are essential and well-maintained. Finally, protect your wp-config.php file by setting its file permissions to 644 to prevent unauthorized edits.
What is a database, and why does WordPress need one?
A database is an organized collection of data. For WordPress, it is the system that stores all of your website’s content. It holds every post, page, comment, category, user account, and site setting in a structured format using tables.
WordPress needs a database because it is a content management system. When a visitor comes to your site, WordPress queries the database to get all the necessary information, like your latest blog post text and its title, and then assembles it into a webpage for the visitor to see.
Is ‘localhost’ always the correct database host?
No, localhost is not always the correct database host. While it is the standard value for many shared hosting environments, it is not universal. localhost simply tells WordPress that the database is located on the same server.
However, many managed WordPress hosts and premium hosting providers keep databases on separate, optimized servers. In these cases, your database host will be a unique URL or IP address. You can find the correct database host information in your hosting account’s control panel or by asking your host’s support team.
How is this error different from the WordPress “white screen of death”?
The “Error Establishing a Database Connection” is a specific server-side problem. It tells you exactly where the failure is: between the PHP files and the MySQL database.
The “white screen of death,” on the other hand, is a more general error. It is a blank white screen with no information. It is usually caused by a PHP error or memory limit issue, often stemming from a problematic plugin or theme. While a database error is specific, the white screen requires more general debugging to find the source.
How do I restore my website from a backup if I cannot fix the error?
Restoring your website from a backup is a reliable way to fix the error. If you use a backup plugin like Jetpack Backup, you can typically restore your site with one click from your hosting control panel or an external dashboard.
If you have a manual backup, the process involves two parts. First, you must upload your website files (the /wp-content/ folder) via FTP. Second, you must import your database backup file (an .sql file) using a tool like phpMyAdmin, which is available in your hosting account.
Can a hacker or malware cause the database connection error?
Yes, it is possible for a malicious attack to cause this error. A hacker could gain access to your site and intentionally change your database credentials in the wp-config.php file, breaking the connection. They could also drop your entire database, which would also result in a connection error, though this is less common.
If you suspect your site has been compromised, you should run a security scan using a plugin like Jetpack Scan, change all of your passwords, and then proceed with the standard troubleshooting steps.
Can a database connection error hurt my website’s SEO?
Yes, this error can significantly hurt your SEO if it is not fixed quickly. When search engine bots like Googlebot try to crawl your site and receive this error, they cannot access your content.
If this happens for an extended period, Google may assume your site is permanently gone and de-index your pages, causing you to lose all your rankings. A short downtime of a few hours is unlikely to cause lasting damage, but it is critical to resolve the error as quickly as possible to avoid any negative impact on your search visibility.
Fixing the WordPress “error establishing database connection” problem
If you can’t access your WordPress website, then neither can anyone else — including potential customers. Therefore, you’ll want to resolve the “Error establishing a database connection” issue right away.
There are many reasons why your site may be struggling to connect to its database, but it’s always a good idea to check your database credentials, including your host information. WordPress also includes a built-in database repair tool, which can help restore corrupted database files.
If you do encounter this error message, then a recent backup can be a lifesaver. By installing Jetpack Backup on your website, you’ll always have the option to restore a working copy of your content. This includes a recent version of your WordPress database.
