
Adding visuals to your WordPress website is a great way to make your pages more engaging. But finding the perfect image is only half the battle. Sometimes, you’ll need to adjust how the graphic displays to make it more attractive or optimize it for web performance.
Fortunately, it’s easy to edit your images in WordPress. You can resize a photo completely, crop out irrelevant sections, and even optimize it for a WooCommerce product page.
In this guide, we’ll show you how to edit images in WordPress. Then, we’ll discuss image optimization and how it can improve your loading times. Let’s get started!
How to easily edit images in WordPress (8 ways)
There are a few different ways to edit images in WordPress. Let’s start by talking about editing image sizes.
1. How to resize an image in WordPress
You may want to resize your images in WordPress because smaller images load faster. If you only have one or two photos on your site, this might not make a noticeable difference. But image-heavy sites require lots of processing to load content.
Additionally, you may want to resize your images to specific dimensions for design purposes.
To resize your images in WordPress, navigate to Media → Library. Then, upload a new file or select an existing one. Next, click on Edit Image.

Under Scale Image, enter your new dimensions, specifying an exact width and height. Then, hit Scale.

To use your resized version of the photo, head back to your Media Library and select it. Then, copy the file URL.

Finally, paste the URL wherever you want to use it on your site.
Or, you can simply reinsert the image into the Image block on your page.
2. How to crop images in WordPress
Cropping an image trims your photo rather than resizing it entirely. Therefore, it allows you to cut out less important parts of the image and draw focus to a specific object within the frame.
To crop an image in WordPress, navigate to Media → Library. Then, upload your photo. Next, click on Edit Image and select Crop.

At this point, you’ll be able to physically drag the editor around to crop out parts of your image that you don’t need.

When you’re happy with your new photo, click on Crop again to execute the changes. Then, hit Save.
3. How to flip an image
You may also wish to flip an image in WordPress. While not as common as other image edits, flipping can have great artistic effects.
For instance, flipping can adjust the photograph’s focus, leading your visitor’s eye toward important elements. Plus, it can reinforce themes in an image or evoke certain emotions.
To flip an image in WordPress, head to Media → Library → Edit Image. The next action depends on how you want to flip your image. You can either choose Flip vertical or Flip horizontal.

Flipping vertically will show your image upside down, whereas the horizontal option will create a mirror-image effect. When you’re happy with your changes, click on Save.
4. How to rotate an image
You can also rotate an image in WordPress, either by turning your image counterclockwise or clockwise. This is an easy way to fix matching or alignment issues on your page.
To get started, you’ll need to go to Media → Library → Edit Image. There, click on Rotate left or Rotate right.
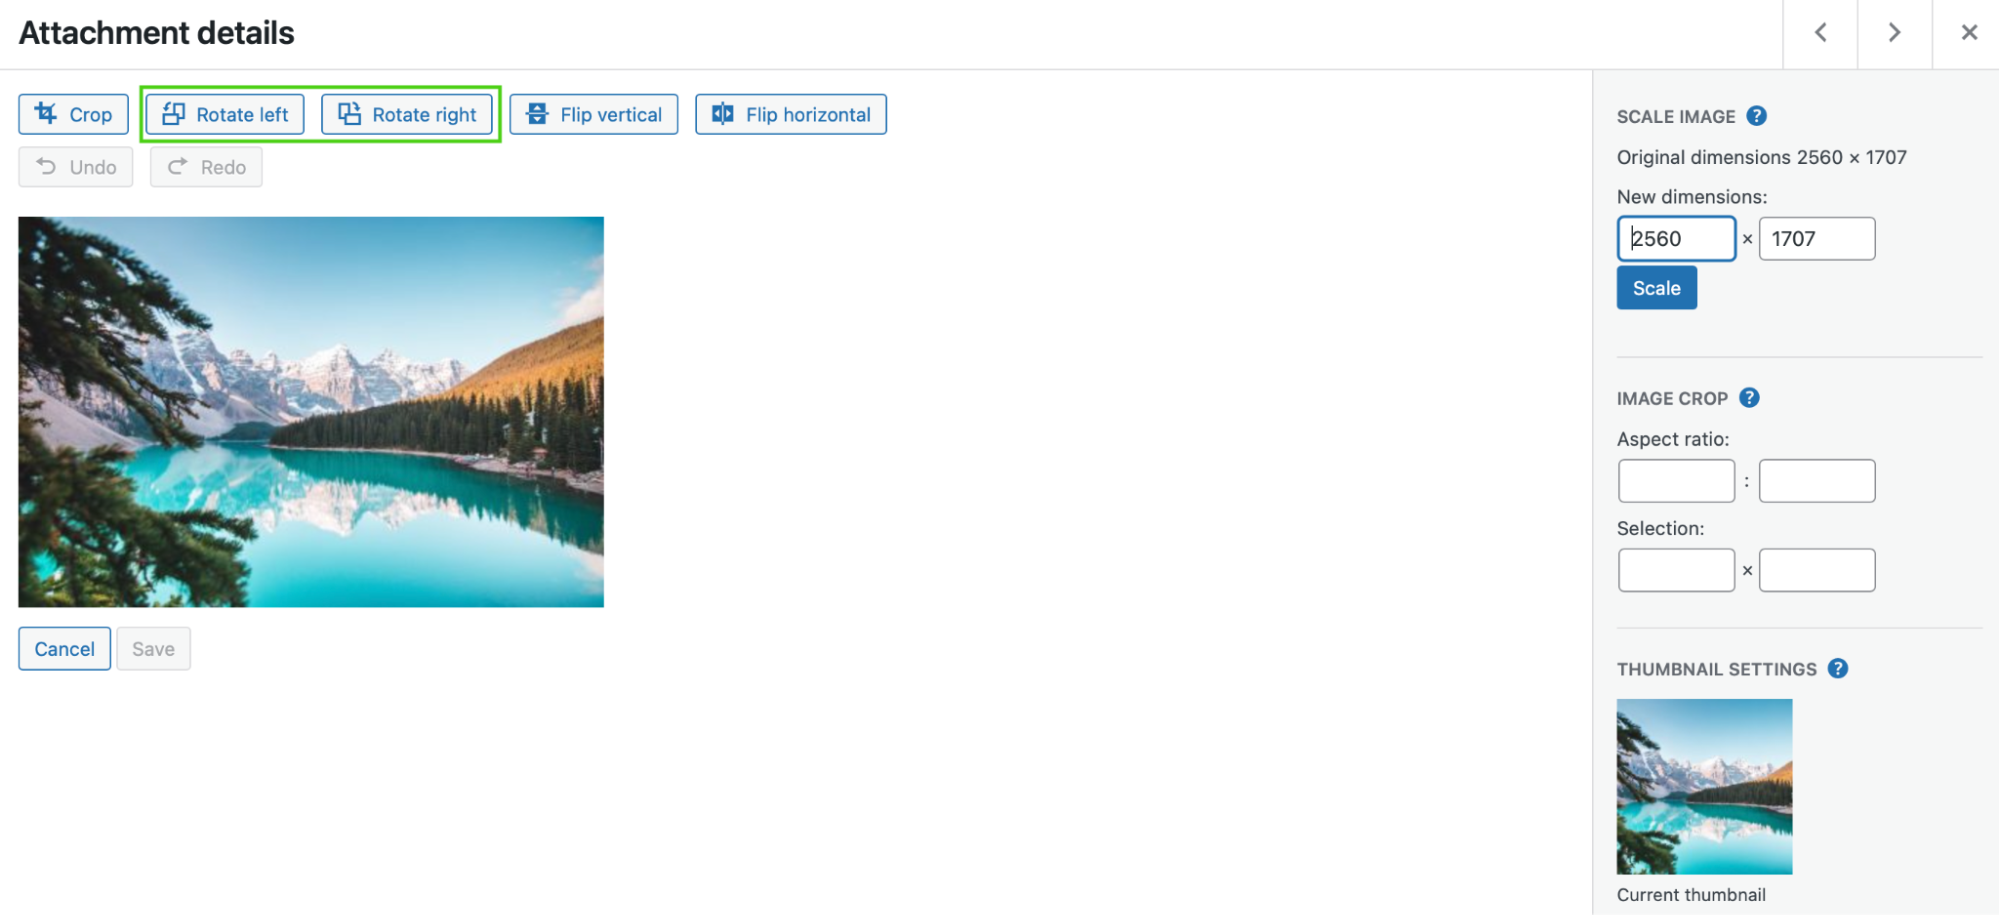
This action will rotate your image by 90 degrees each time. So, if you want to turn your image 180 degrees, click twice on the appropriate button.
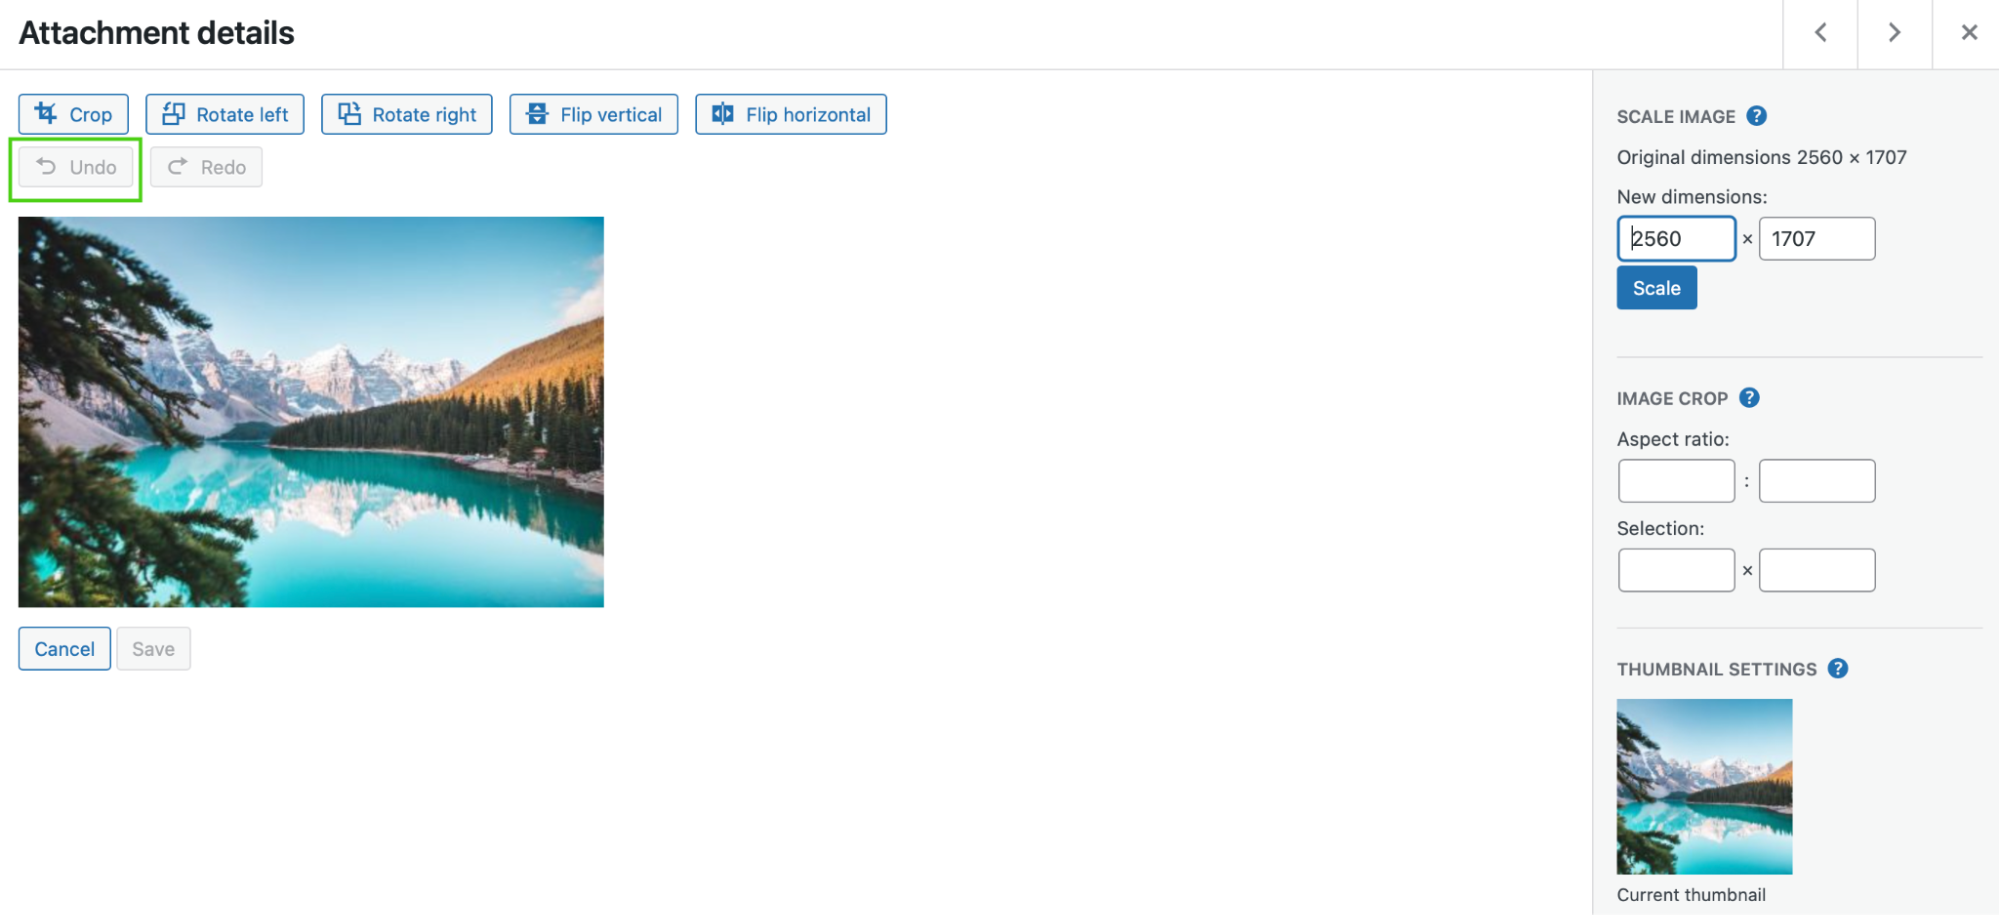
It’s important to note that if you make a mistake while editing your images, you can simply select Undo to erase the last action. Then, hit Save when your photo editing is complete!
5. How to align an image
Aligning an image is one of the easiest ways to edit a photo in WordPress. It determines where your graphic will sit on the page relative to other content. You can only apply alignment settings once you’ve added a picture to a post or page.
First, insert the photo into your page using the Image block. Then, navigate to the toolbar above the block.
Click on the Align icon.

As you can see, you can align an image to the left or right or make it centered. Plus, you’re able to change the width variations at this stage, making your image Full width or Wide width.
6. How to restore an image to its original version
While editing a photo in WordPress, you may accidentally make a mistake or apply unwanted changes. Fortunately, it’s easy to revert any edits and restore an image to its original version.
As we discussed earlier, if it’s only a single action that you want to reverse, click on Undo within the image editor:
Alternatively, if you resized your photo and entered the wrong dimensions, select Restore image.
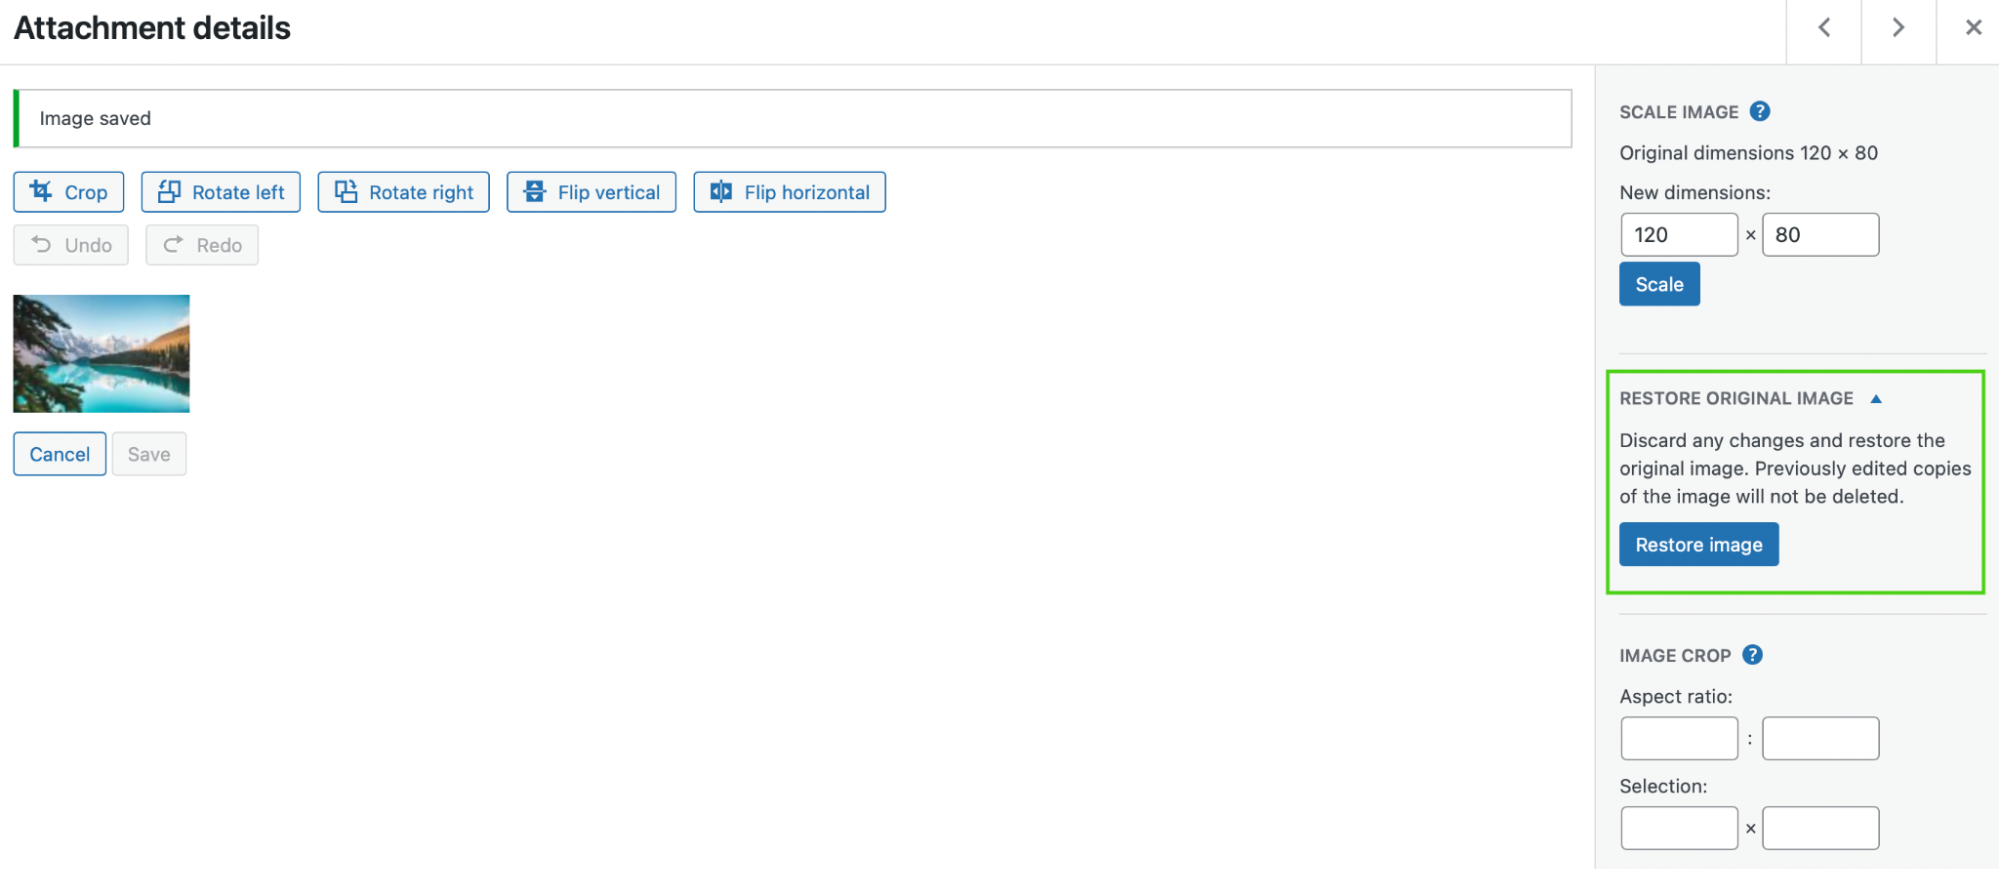
Sometimes, this setting is hidden by default. In this case, you’ll need to expand the Restore Original Image tab to find this feature. It will reset your photo and remove the changes you applied to it.
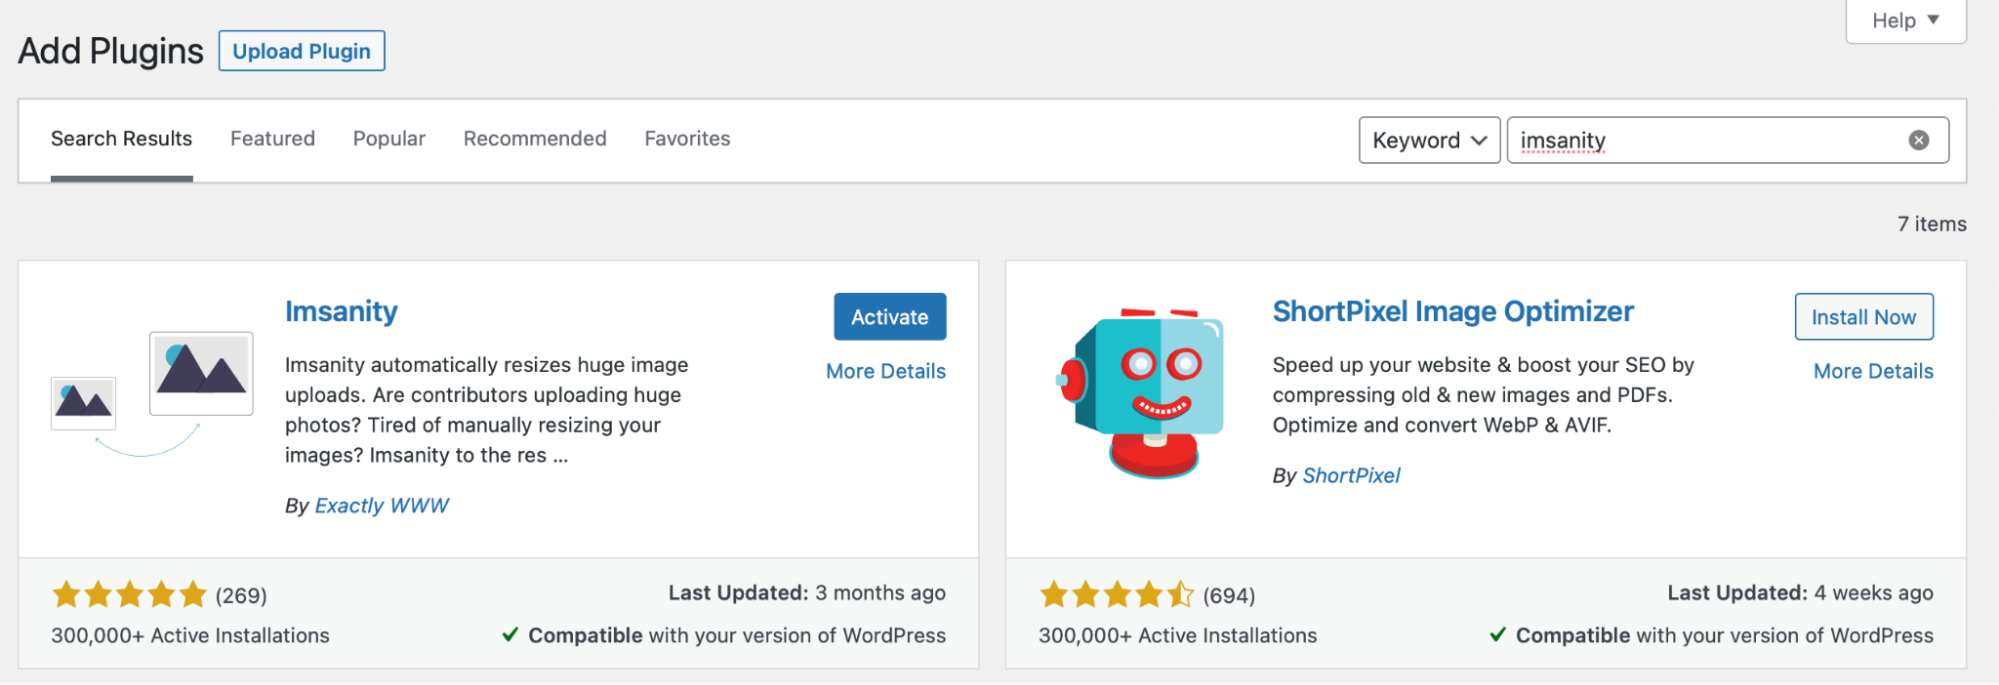
7. How to bulk resize images in WordPress
Currently, there’s no default way to bulk resize images in WordPress. But you can use a plugin like Imsanity to add that functionality. This is a free tool, so you can go ahead and install it directly within WordPress.
Then, go to Settings → Imsanity.

When resizing all the images on your site, it’s important to be aware that this action can drastically alter the layout of your posts and pages. Therefore, it’s a good idea to make a fresh backup of your site before you begin.
Jetpack VaultPress Backup is an excellent automated backup plugin. You can restore your site in just one click using the mobile app, even when your site is offline. Better yet, the tool can back up all files, WooCommerce data, and your database.
If you decide to resize all your WordPress images with Imsanity, select the maximum height and width for your photos. Then, save your changes.
Alternatively, click on the List View icon in the Media Library to selectively resize your images.

Here, you can pick specific photos and then select Resize Image.
8. How to edit and resize images for WooCommerce
If you run an ecommerce store, you may also want to edit product images in WooCommerce. After all, you’ll need high-quality photos to convince customers to purchase your items.
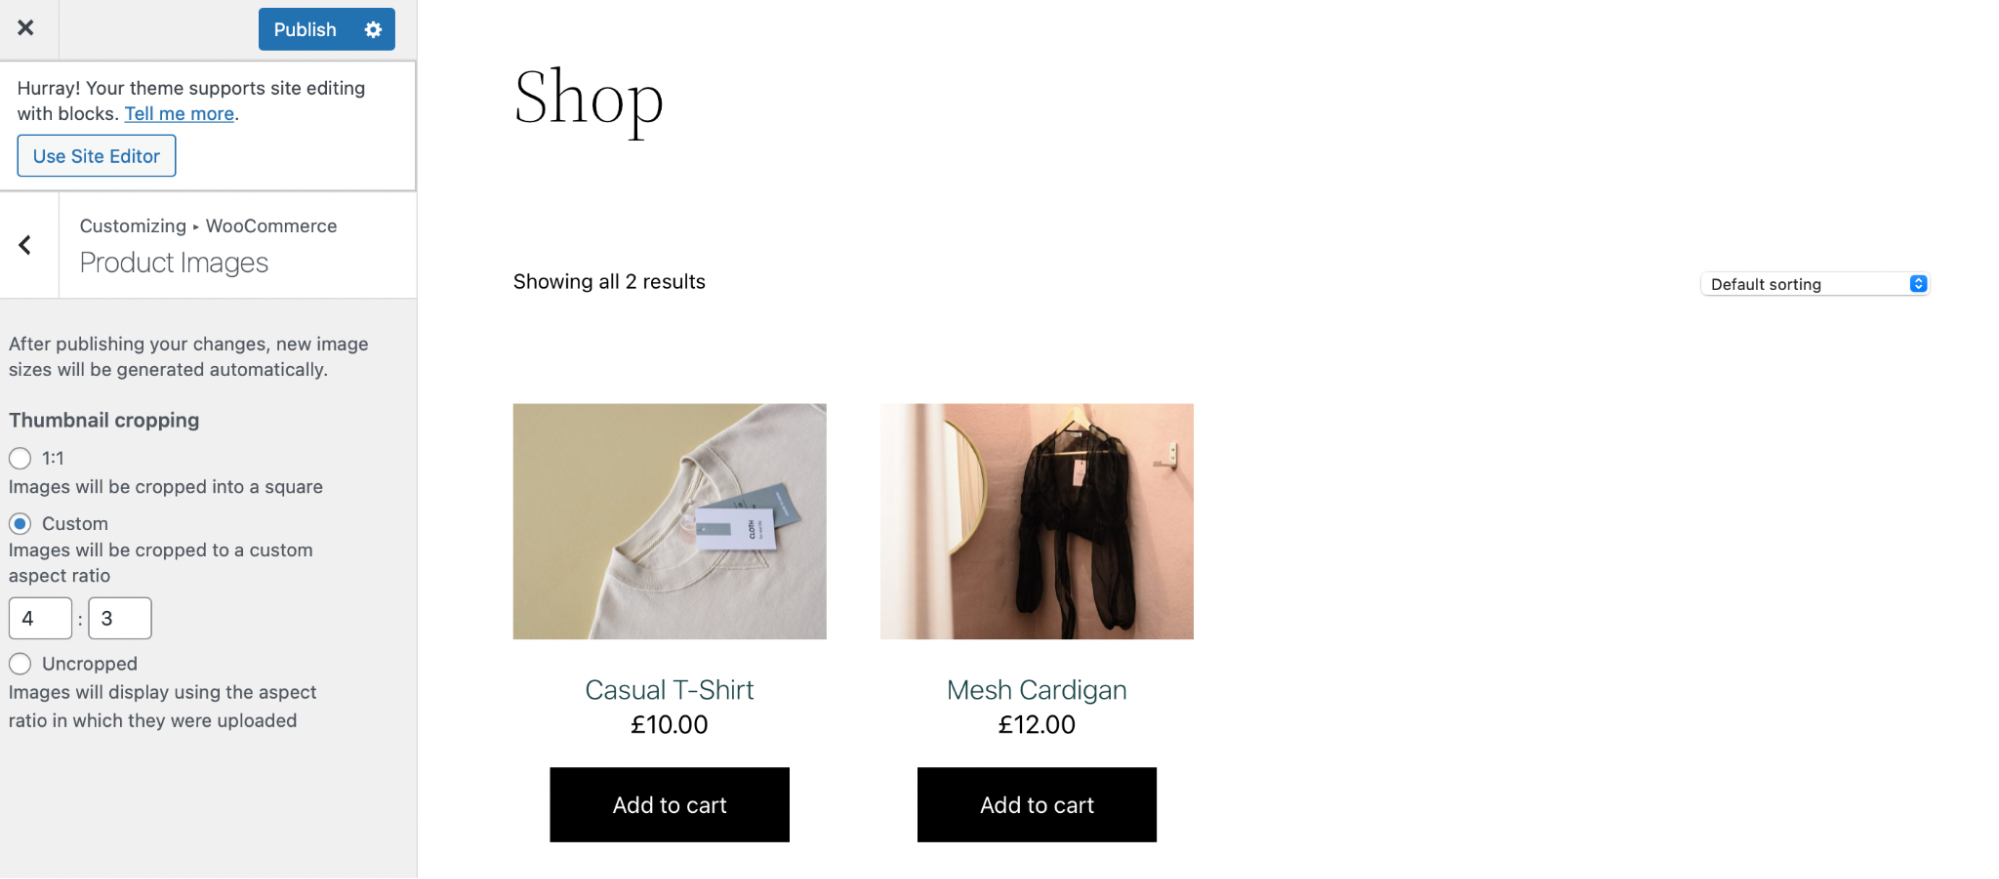
Fortunately, you’re able to make most changes using the WooCommerce Customizer. To get started, head to Appearance → Customize → WooCommerce → Product Images.
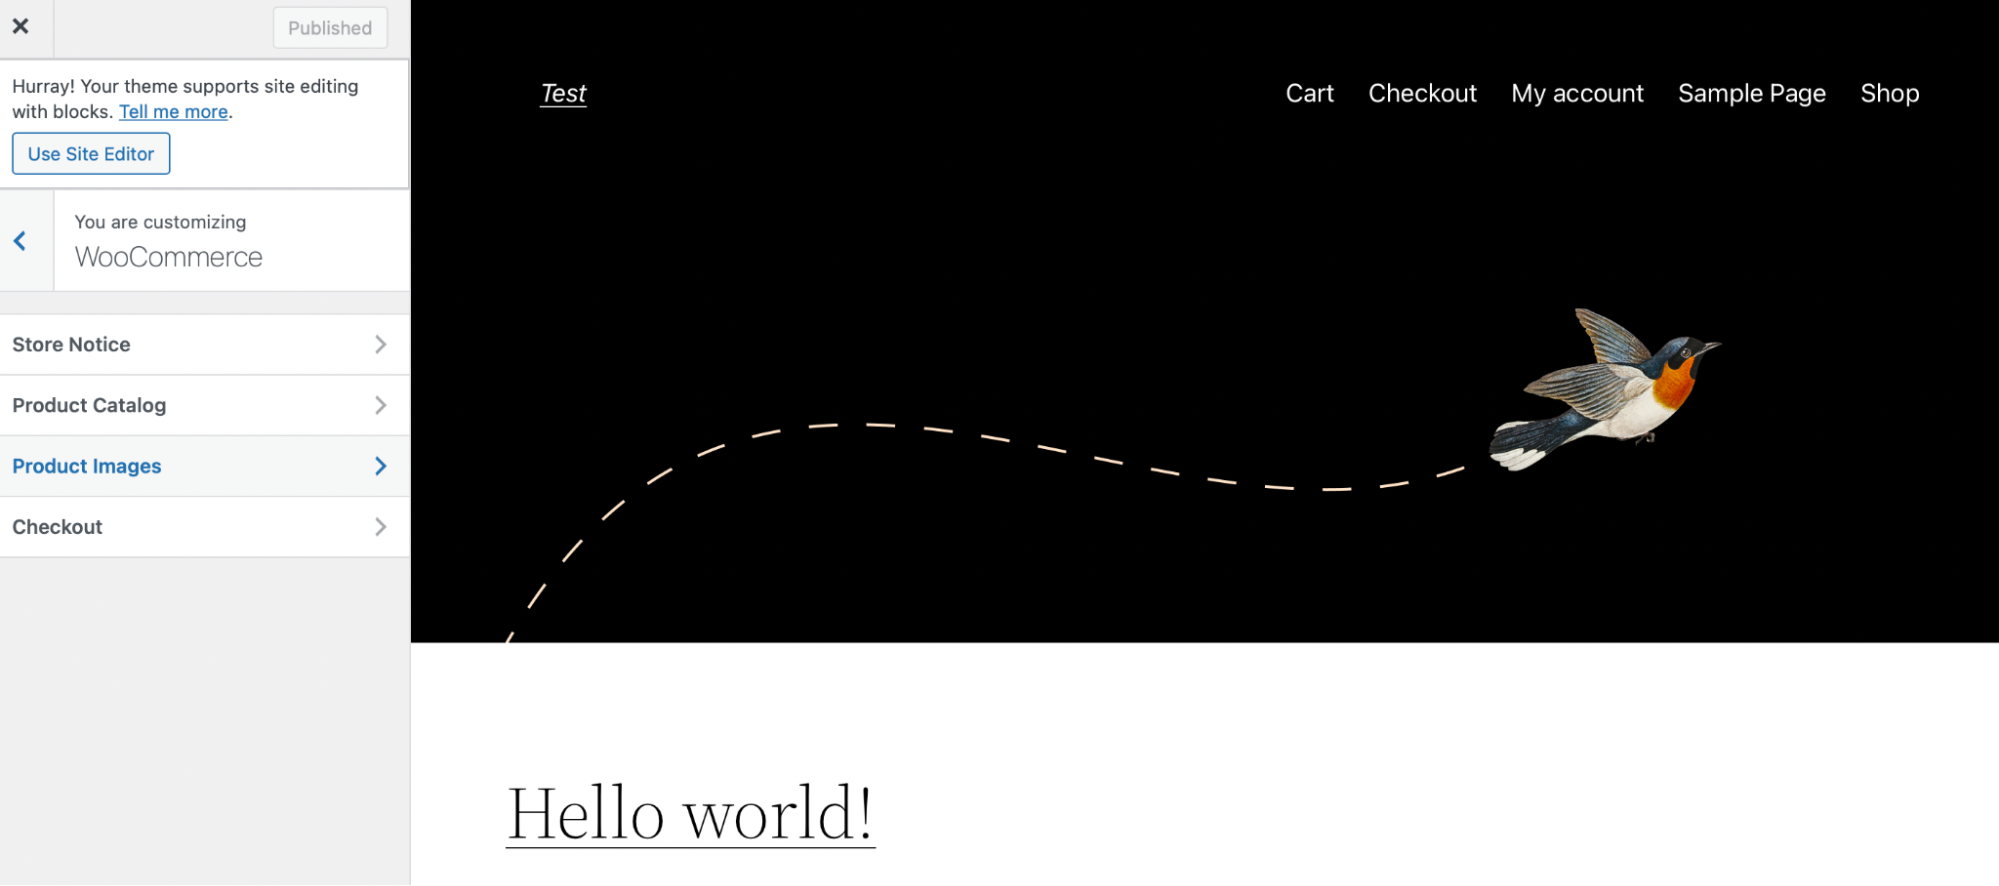
Here, you can adjust the main image and thumbnail widths, choosing between square, custom, or uncropped.
Additionally, for users with coding knowledge, you can control WooCommerce image sizes using hooks. For example, the wc_get_image_size function modifies the image size definitions.
Additionally, WooCommerce version 3.3 and above provides access to automatic thumbnail resizing. Alternatively, you can install a plugin, like Force Regenerate Thumbnails, to handle this process for you.
The easiest speed optimization plugin for WordPress
Jetpack Boost gives your site the same performance advantages as the world’s leading websites, no developer required.
Boost your site for freeHow to optimize your images for better loading speeds
So far, we’ve mostly discussed editing photos for visual design reasons. Still, there’s an equally important consideration: image optimization.
As we mentioned earlier, heavy image files can harm page loading speeds and frustrate visitors. That’s why it’s a best practice to optimize your photos for your WordPress website.
Below are a few steps to help you get started.
Step 1: Install Jetpack and Jetpack Boost
One of the easiest ways to optimize content delivery on your site is to install plugins like Jetpack and Jetpack Boost.
Jetpack has a free image CDN that serves your images from locations closest to your visitors. This can improve your loading times for users all across the globe. CDNs are especially useful for image-heavy websites that are prone to slow performance.
But Jetpack CDN’s Photon technology does way more than a normal CDN. It automatically re-encodes images to lighter, more modern formats. It auto-resizes them based on the needs of each individual visitor — providing the best possible experience in terms of both speed and visual quality.
Jetpack Boost lets you easily implement lazy loading of images and also comes with additional options to enhance speed like deferring JavaScript and generating critical CSS.
Better yet, both tools work in the background of your site, requiring little to no ongoing maintenance. Plus, with Jetpack Boost, you can access quick reports with clear site performance scores across desktop and mobile.
You can install Jetpack Boost as a free WordPress plugin or upgrade to one of the paid plans, which offers additional optimization features. Then, go to Plugins → Add New to install and activate the tool.
Follow the same process to download the Jetpack plugin.
Step 2: Enable lazy loading and the CDN
Lazy loading is one of the best ways to speed up content delivery. This setting prevents images from loading until visitors scroll down to where they are on the page. Therefore, your website won’t have to load all your visual content simultaneously.
Luckily, this is one of the free features available with Jetpack Boost. To get started with the plugin, you’ll need to connect it to a WordPress.com account. If you don’t have an account, it’s completely free to create one.
Then, go to Jetpack → Boost to configure your settings.
Here, use the toggle to enable Lazy Image Loading.
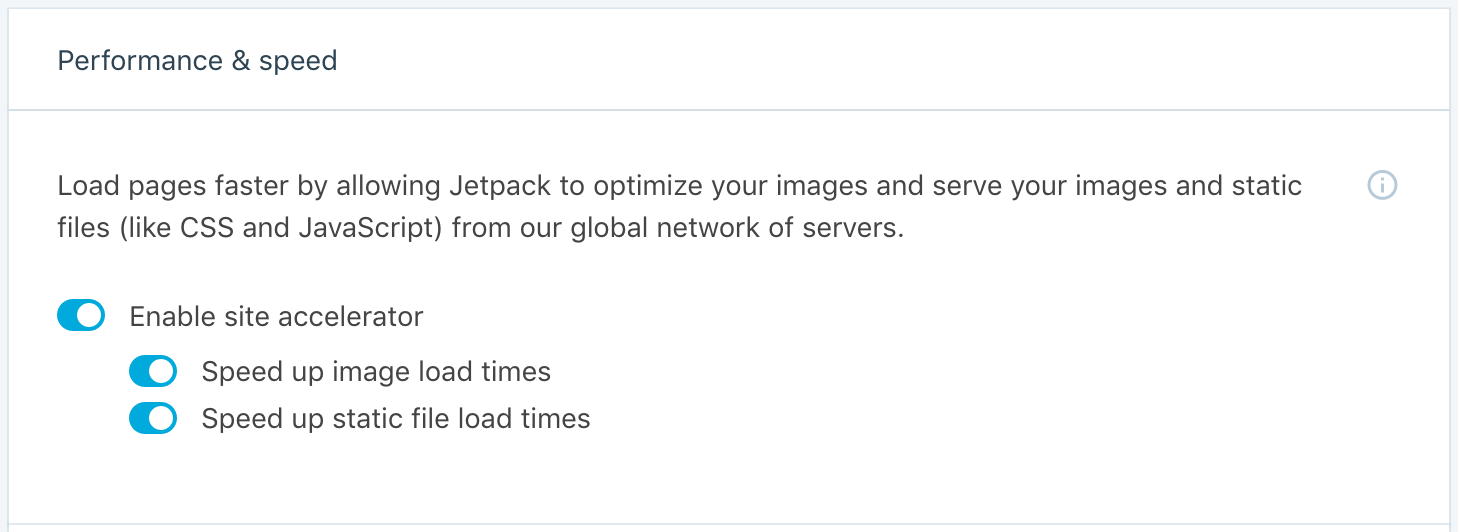
To enable the CDN, head to Jetpack → Settings and open the Performance tab.
Look for the section that says Performance & speed. Then, turn on Enable site accelerator:
Step 3: Activate additional settings for faster speeds
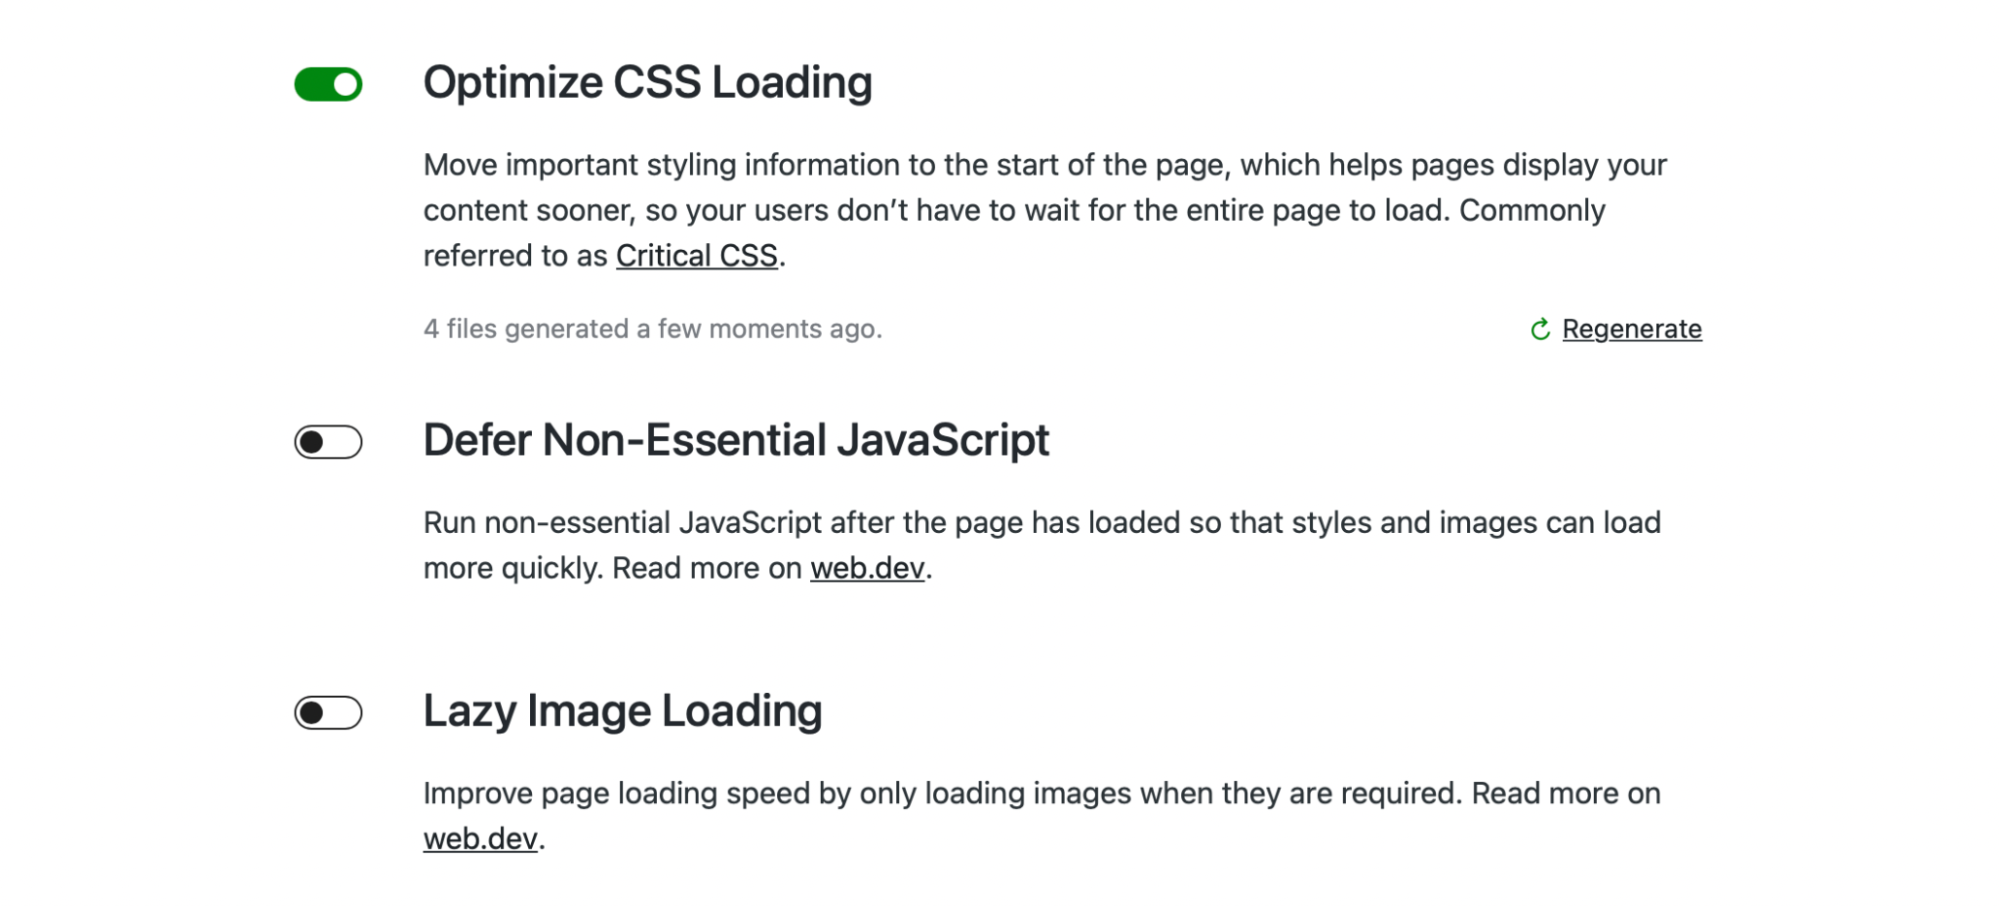
The first setting you’ll see within your Jetpack Boost dashboard is Optimize CSS Loading. When you turn on this setting, Jetpack will generate Critical CSS for your web pages.
This means that only the CSS ‘above the fold’ (the part of the page immediately visible to users) will load until visitors scroll down the page. As such, your content loads much faster, especially for those on mobile devices.
With a paid Jetpack Boost plan, you can save time with automated Critical CSS.
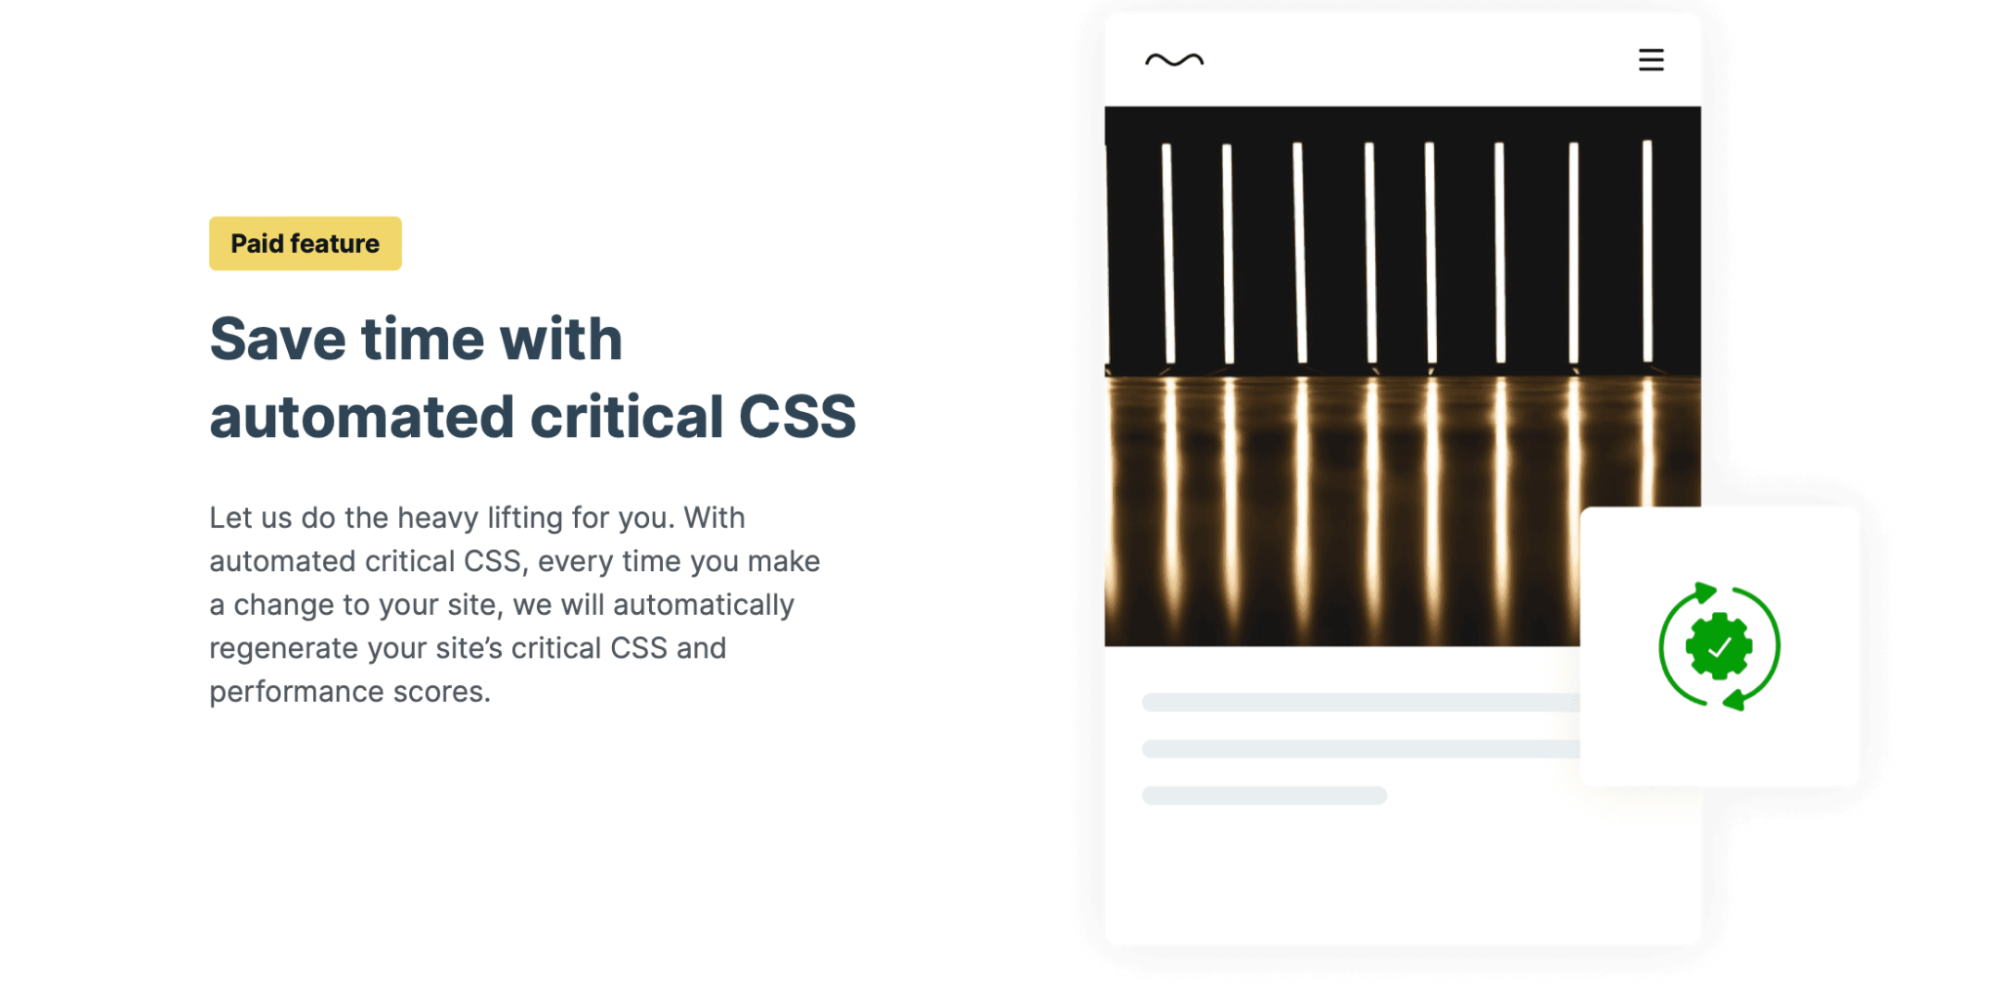
This way, you can continue making site changes as needed. Jetpack automatically regenerates your website’s Critical CSS and performance scores each time you update your content.
Jetpack Boost also lets you defer the loading of non-essential JavaScript. This means your site will first load the most visible elements, like styles and images, and delay other tasks until later. This process reduces the burden on your server.
Frequently asked questions about editing images in WordPress
Now, let’s answer some of the most common questions about editing and optimizing images in WordPress!
What are the best image formats for WordPress?
The WordPress Media Library currently supports JPEG/JPG, PNG, and WebP images. JPEG and PNG are typically the most popular formats, and they use different compression processes.
JPEGs are a great option for photography portfolios and other highly-visual content, since the compression type maintains high image quality.
On the other hand, PNGs support transparent backgrounds, so they’re often preferred for graphic design purposes. Plus, they work well for screenshots and icons.
WebP is growing in popularity. As an image format designed specifically for web usage, it offers better compression than the alternatives and results in a smaller file size.
Is it better to resize an image before uploading it to WordPress?
To maintain fast loading times, it’s best to resize images before uploading them to WordPress. This way, you’ll be able to keep the file sizes as small as possible.
Of course, you can then resize images even further within WordPress. Once you add a photo to your site, you’ll be able to apply additional edits within your Media Library, like resizing or cropping.
Is image compression and optimization important?
Image compression creates a smaller file. You can also optimize your images using extra features like lazy loading.
Both image compression and optimization are important because they improve your WordPress loading speeds. This is essential, since Google uses speed as a ranking factor.
Additionally, a fast website is more user-friendly. It can reduce bounce rates by encouraging visitors to spend more time on your site.
Speed is also important for Core Web Vitals. This is a set of standardized metrics that reveal how a user experiences a web page. Image compression and optimization enable you to improve two key metrics: First Contentful Paint (FCP) and Largest Contentful Paint (LCP).
Edit and optimize images in WordPress
Taking beautiful photographs or creating unique illustrations is a great way to spruce up your web design. But sometimes your images will require some editing or adjustments.
Fortunately, you can resize, crop, align, flip, and rotate images easily in WordPress. Better yet, you’re able to resize photos in bulk with the help of a plugin. It’s also straightforward to resize product images and thumbnails for WooCommerce.
Image optimization is vital to maintaining fast loading times and creating a better user experience. The easiest way to optimize your images is with Jetpack Boost. With this plugin, you’ll have access to lazy loading, Critical CSS, and Jetpack’s CDN. Check out Jetpack’s plans today to get started!
The easiest speed optimization plugin for WordPress
Jetpack Boost gives your site the same performance advantages as the world’s leading websites, no developer required.
Boost your site for free