
When you use WooCommerce to build your online store, you’ll get some helpful page templates designed specifically for ecommerce, including a Cart page. However, you might want to enhance the default appearance and functionality. In that case, you’ll want to know how to edit your WooCommerce Cart page.
The good news is that this process is pretty easy. What’s more, there are quite a few different approaches you can try. For example, you can use blocks to customize your WooCommerce Cart page. Or for greater control, you can modify your Cart page manually.
In this guide, we’ll start by discussing why you might want to edit your WooCommerce Cart page. Then we’ll show you five different ways you can do this. Finally, we’ll share some tips and best practices, before going over some frequently asked questions.
Why you might want to edit your Cart page in WooCommerce
Before diving into the how, it’s worth understanding why this matters. According to the Baymard Institute, the average documented cart abandonment rate across industries is nearly 70%. That means roughly 7 out of 10 shoppers who add items to their cart never complete their purchase. A poorly optimized cart page, one that’s slow, confusing, or lacks trust signals, is one of the leading reasons why.
Customizing your WooCommerce cart page lets you address these friction points directly: add trust badges, highlight free shipping thresholds, display upsells, and create a branded experience that keeps shoppers moving toward checkout.
With that said, here’s what the default WooCommerce Cart page might look like:

As you can see, the default cart page offers a good baseline. It displays a summary of essential product information, like price, quantity, and subtotal.
Customers can modify the quantity of a product directly from the Cart page, and then click a button to update their carts. Plus, this page provides customers with a place to add a coupon code, as well as a simple Proceed to Checkout button.
Still, depending on your theme, this Cart page can look a bit plain and minimalist. It’s not likely to fit in with your branding, or your site’s overall design. Furthermore, it isn’t really optimized for your specific audience.
To encourage visitors to buy more, you might want to add upselling and cross-selling elements like a “People also like” or “You may be interested in” section. Or you may be interested in specialized functionality like a “Save for later” button.
This way, shoppers who are unsure about a purchase can more easily return to their favorite items. You could then reach out to these potential customers in targeted email campaigns.
Additionally, your Cart page offers a good opportunity to include key branding elements like your logo and company colors. These won’t be included by default, but when you customize your Cart page, you can ensure that it matches the rest of your site. This can boost brand recognition and impress customers.
Furthermore, a custom Cart page supports a seamless shopping experience. It lets people easily review and modify all the items in their carts before proceeding to checkout.
On the whole, editing your WooCommerce Cart page can help you provide a stronger customer experience and encourage visitors to convert. Plus, it’s quick and simple to do.
How to edit and customize your WooCommerce Cart page
Now that you know why you might want to edit the default WooCommerce Cart page appearance, let’s explore four different ways you can get the job done. It’s best to familiarize yourself with all the available options, so you can choose the approach that’s right for your needs.
1. Edit the Cart page using blocks
If you’ve been using WordPress for even a little while, you probably know that blocks are at the center of the design process. This block-based system makes it easy for non-technical users to create stunning custom sites without the hassle of coding.
So it might not come as a surprise that one of the easiest ways to customize your Cart page is by using WooCommerce blocks. There are a couple of different ways you can do this.
If you’re not currently using a block theme (which unlocks the power of full site editing), you can still use WooCommerce blocks. These are included by default with WooCommerce 6.9 or newer, or you can use the WooCommerce Cart and Checkout blocks extension (some may refer to it as the WooCommerce blocks plugin).

After installing the tool, navigate to your WooCommerce default Cart page and open it in the block editor.

Delete the [woocommerce_cart] shortcode. Then search for the WooCommerce Cart block (not the Mini-Cart Block).
![Delete the [woocommerce_cart] shortcode. Then search for the WooCommerce Cart block (not the Mini-Cart Block).](https://jetpack.com/wp-content/uploads/2023/10/image-18.png)
Add it to the page, and you should instantly see that it offers some useful design elements, like a You may be interested in… section.

You’ll notice that you’re currently viewing a full cart, but you can click on the eye button labeled Filled Cart to switch the view to an Empty Cart page.
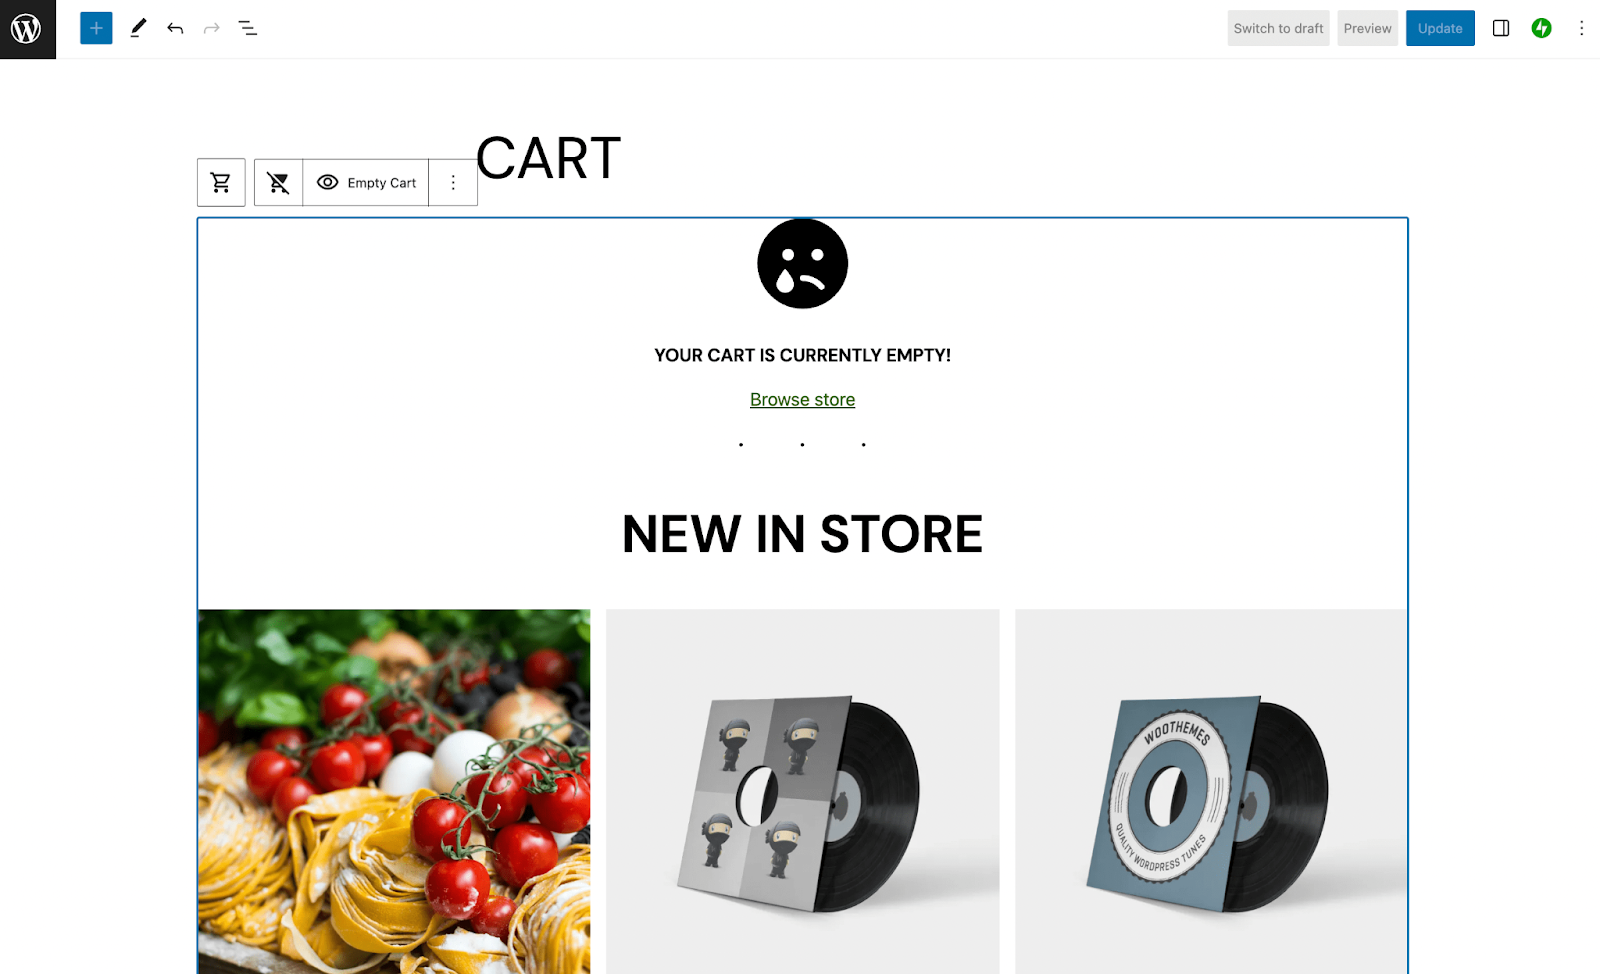
As you can see, your WooCommerce Cart page changes significantly when it lacks items. It displays a simple Browse store link, and highlights some new items in the shop.
At this point, you can further customize your new Cart page layout using blocks. Keep in mind that, in addition to the Cart block, the WooCommerce Blocks extension gives you 30+ elements to play with. These include the Hand-Picked Products block and the On Sale Products block.
If you are using a block theme, you can customize your Cart page using the Site Editor. Navigate to Appearance → Editor. Select Templates → Manage All Templates → Cart. Now, you can make changes to the appearance of your Cart page using blocks in the same way that we just discussed.
2. Use other WooCommerce extensions
In addition to WooCommerce Blocks, there are many additional extensions you can use to further customize your Cart page. While most of them are premium, they’re usually affordable and well worth the price.
For example, you can easily add upsells and cross-sells to your Cart page when you purchase the Cart Upsell for WooCommerce or Product Recommendations extension.

When you recommend items using either of these tools, you can increase your average order value (AOV) and boost your overall profits.
Additionally, you can try out the Cart Notices extension to display custom messages based on the contents of your customers’ carts.

This can be very useful, since you can let customers know they need to reach an order minimum or nudge them to buy more to get free shipping (among many other things).
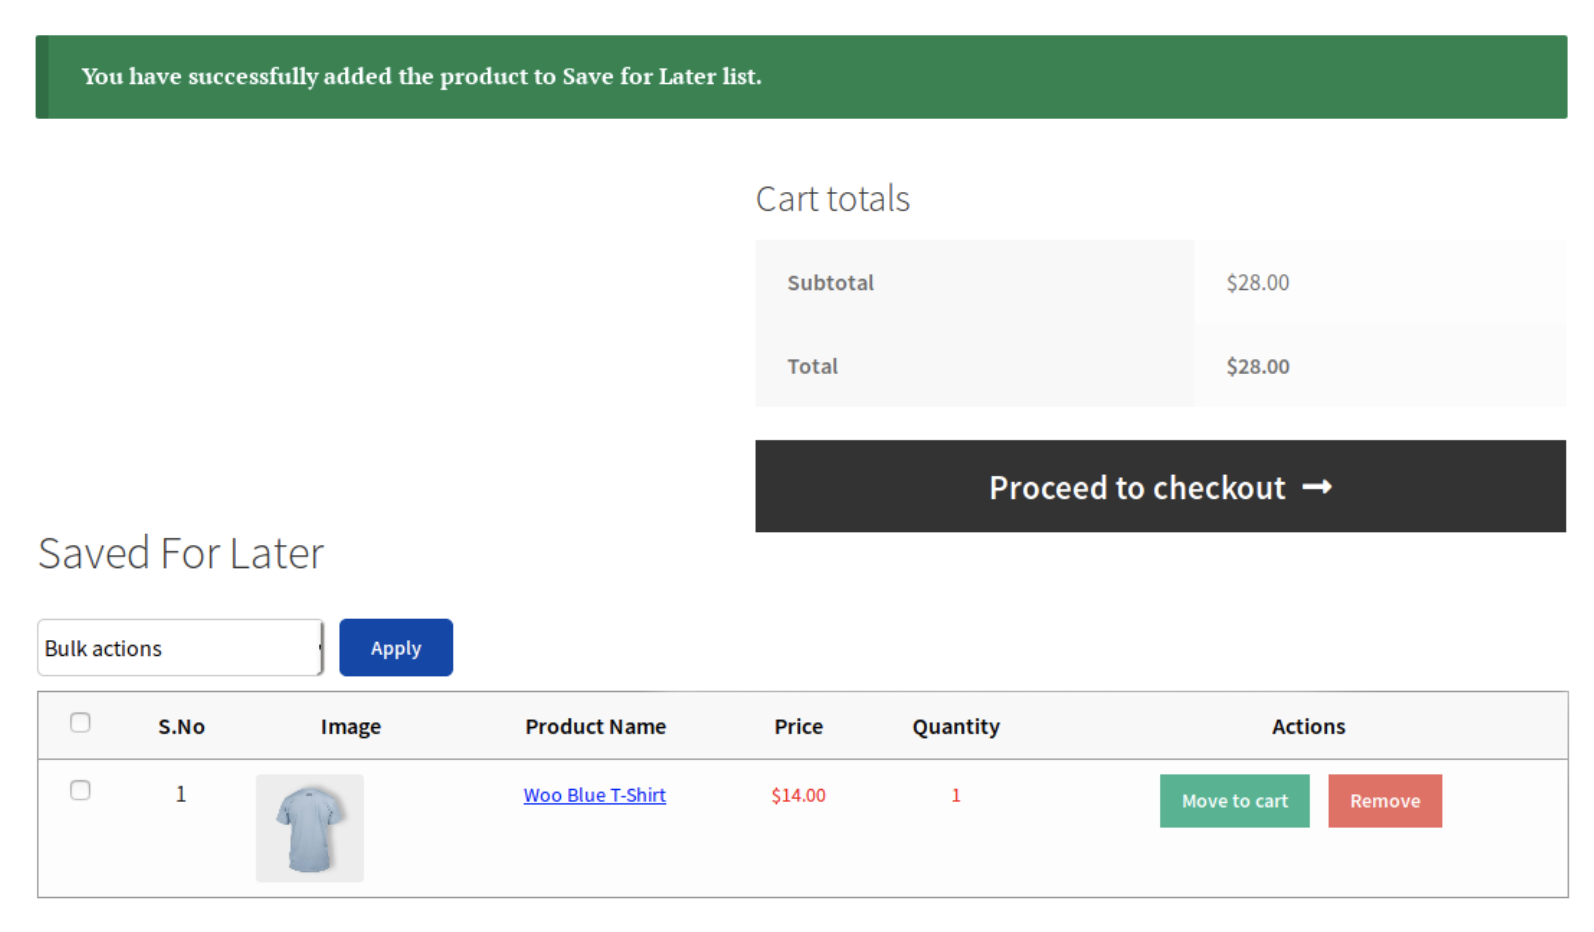
The Save for Later for WooCommerce extension is also highly convenient, as it can encourage customers to revisit products they were second-guessing in the past, or purchase them later as birthday or Christmas gifts.
In addition, if you offer variable products Variation Switcher in Cart for WooCommerce is a must-have. It lets you add a Change Variation link directly to your Cart page.

Thanks to this feature, customers won’t have to navigate all the way back to your catalog to find the products they want. As a result, they’ll enjoy a more streamlined user experience.
3. Customize your Cart page manually (using code and hooks)
One of the great things about WooCommerce is that it allows you to use hooks. There are two types of WooCommerce hooks: actions and filters. Action hooks let you insert custom code at various points. Filter hooks let you manipulate and return a variable.
⚠️ Important: Never edit your theme’s functions.php file directly. Always use a child theme. If WooCommerce updates its core templates, changes made directly to parent theme files will be overwritten. Finally, make sure to back up your site before proceeding.
With that said, let’s look at a few useful ways you can use code and hooks to create a more custom WooCommerce Cart page. First, you might want to remove some of the default functions if you don’t need them.
To remove the “Apply coupon” field, you can add the following code snippet to your functions.php file:
<?php// hide coupon field on the cart pagefunction disable_coupon_field_on_cart( $enabled ) {if ( is_cart() ) {$enabled = false;}return $enabled;}add_filter( 'woocommerce_coupons_enabled', 'disable_coupon_field_on_cart' );To add a custom message, like to advertise free shipping, you can add the following snippet above the cart table:<?php// Do NOT include the opening php tagadd_action( 'woocommerce_before_cart_table', 'wpdesk_cart_free_shipping_text' );/** * Add "free shipping" text to WooCommerce cart page * */function wpdesk_cart_free_shipping_text() {echo '<div class="woocommerce-info">Free Shipping available on purchases above $99!</div>';}
For more information on WooCommerce hooks, you can check out the plugin’s Action and Hook Reference page.
4. Remove the Cart page entirely
As we’ve discussed, there are many ways you can customize your WooCommerce Cart page. Still, there are some scenarios in which you might want to skip this page altogether, allowing shoppers to go straight to check out instead.
For instance, if you run a boutique business or a very small company that offers minimal items and no product variations, the Cart page probably isn’t necessary. What’s more, leaving it out could help encourage people to convert faster, since it gives them less time to second-guess their purchases.
So if you’d like to remove your Cart page altogether, simply navigate to your WordPress dashboard and go to Pages. Then you can hover over the Cart page and click on Trash to delete it.
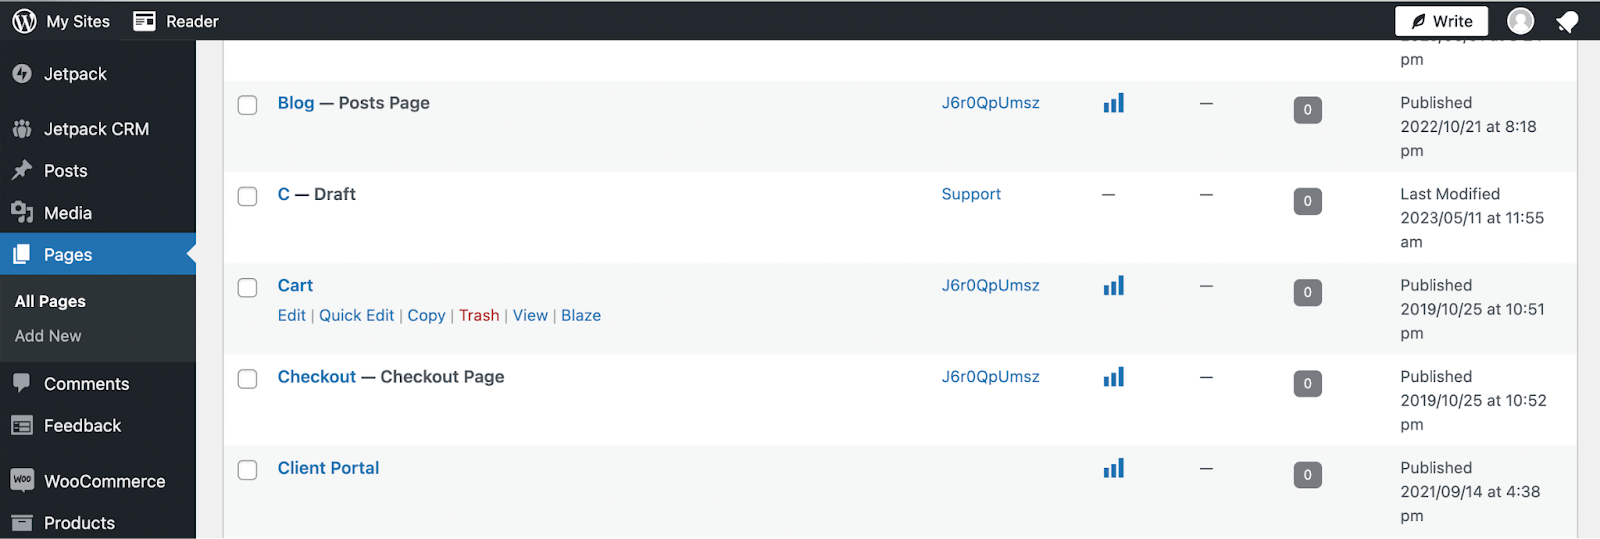
Alternatively, you may want to choose Edit instead to open the block editor, and hit Switch to Draft. This way, you can always enable/publish it again later when you have a need for it.
Or if you haven’t set up your online store yet, you can tell WooCommerce what pages to use when you’re using the startup wizard.
Tips and best practices for WooCommerce cart customization
Now that you know how to customize your WooCommerce Cart page, let’s go over some best practices for WooCommerce cart customization. Here are a few tips you may want to consider:
- Optimize Cart and Checkout page loading speeds. A slow Cart page can frustrate shoppers and even cause them to abandon your site. That translates to lost sales and revenue. So you’ll want to make sure all your pages are lightning fast. To make that happen, you can use a WooCommerce performance optimization plugin like Jetpack Boost.
- Don’t overcomplicate the process. If you add too many bells and whistles to your WooCommerce Cart page, you could end up overwhelming your visitors. Choose extra features and functionality sparingly.
- Keep in mind the specific needs of your audience. Consider what additions will be most effective for your site and your products. Ultimately, you should aim to meet your audience’s unique needs. As an example, if you run a larger clothing store with lots of variable products, it’s a good idea to enable variation switching. This way, customers can easily modify products by features like size and color, without having to navigate back to the product page.
- Back up your site first. Whether you’re new to WordPress or you’ve been working with the content management system (CMS) for a while, you should always back up your site before you edit the WooCommerce Cart page template. This way, if you make a mistake that negatively impacts the functionality of your site, you can easily restore a previous version from a backup. You might need to install a quality backup plugin, like Jetpack VaultPress Backup.
If you keep all of the above tips in mind, you’ll be better equipped to design an effective WooCommerce Cart page.
Frequently asked questions
By now, hopefully you understand how to edit your WooCommerce Cart page to meet your needs. But in case you have any lingering concerns, we’ve compiled a list of some of the most common questions when it comes to modifying your WooCommerce Cart page. Let’s check them out!
What is the WooCommerce Cart page?
When you use the free plugin — WooCommerce — to transform your WordPress site into an online store, you’ll automatically get some ecommerce page templates. The default WooCommerce pages are: Shop, Cart, Checkout, and My Account.
Each of these pages comes with the essential features you’ll need. As an example, the My Account page includes useful links like Dashboard, Orders, and Subscriptions.
Similarly, the WooCommerce Cart page offers the most basic elements. It gives customers a summary of product information for the items currently in their carts.
These details include the price, quantity, and subtotal. Plus, there’s space for adding a coupon, cart totals, and a “Proceed to checkout” button.
Is the WooCommerce Cart page different from the Checkout page?
Yes! They are very different. The WooCommerce Cart layout gives online customers a summary of the products (and product details) for items currently in their carts. It also allows them to modify products.
By default, customers can only change the quantity of products in their carts. But if you customize your WooCommerce Cart page, it can enable shoppers to make more advanced modifications.
On the other hand, the default Checkout page is where customers enter billing details and any necessary contact information. It also gives them one more opportunity to add coupon codes and additional notes about their orders. The WooCommerce checkout page can be customized, too, so be sure to search for ways to complete your customizations across the entire shopping experience.
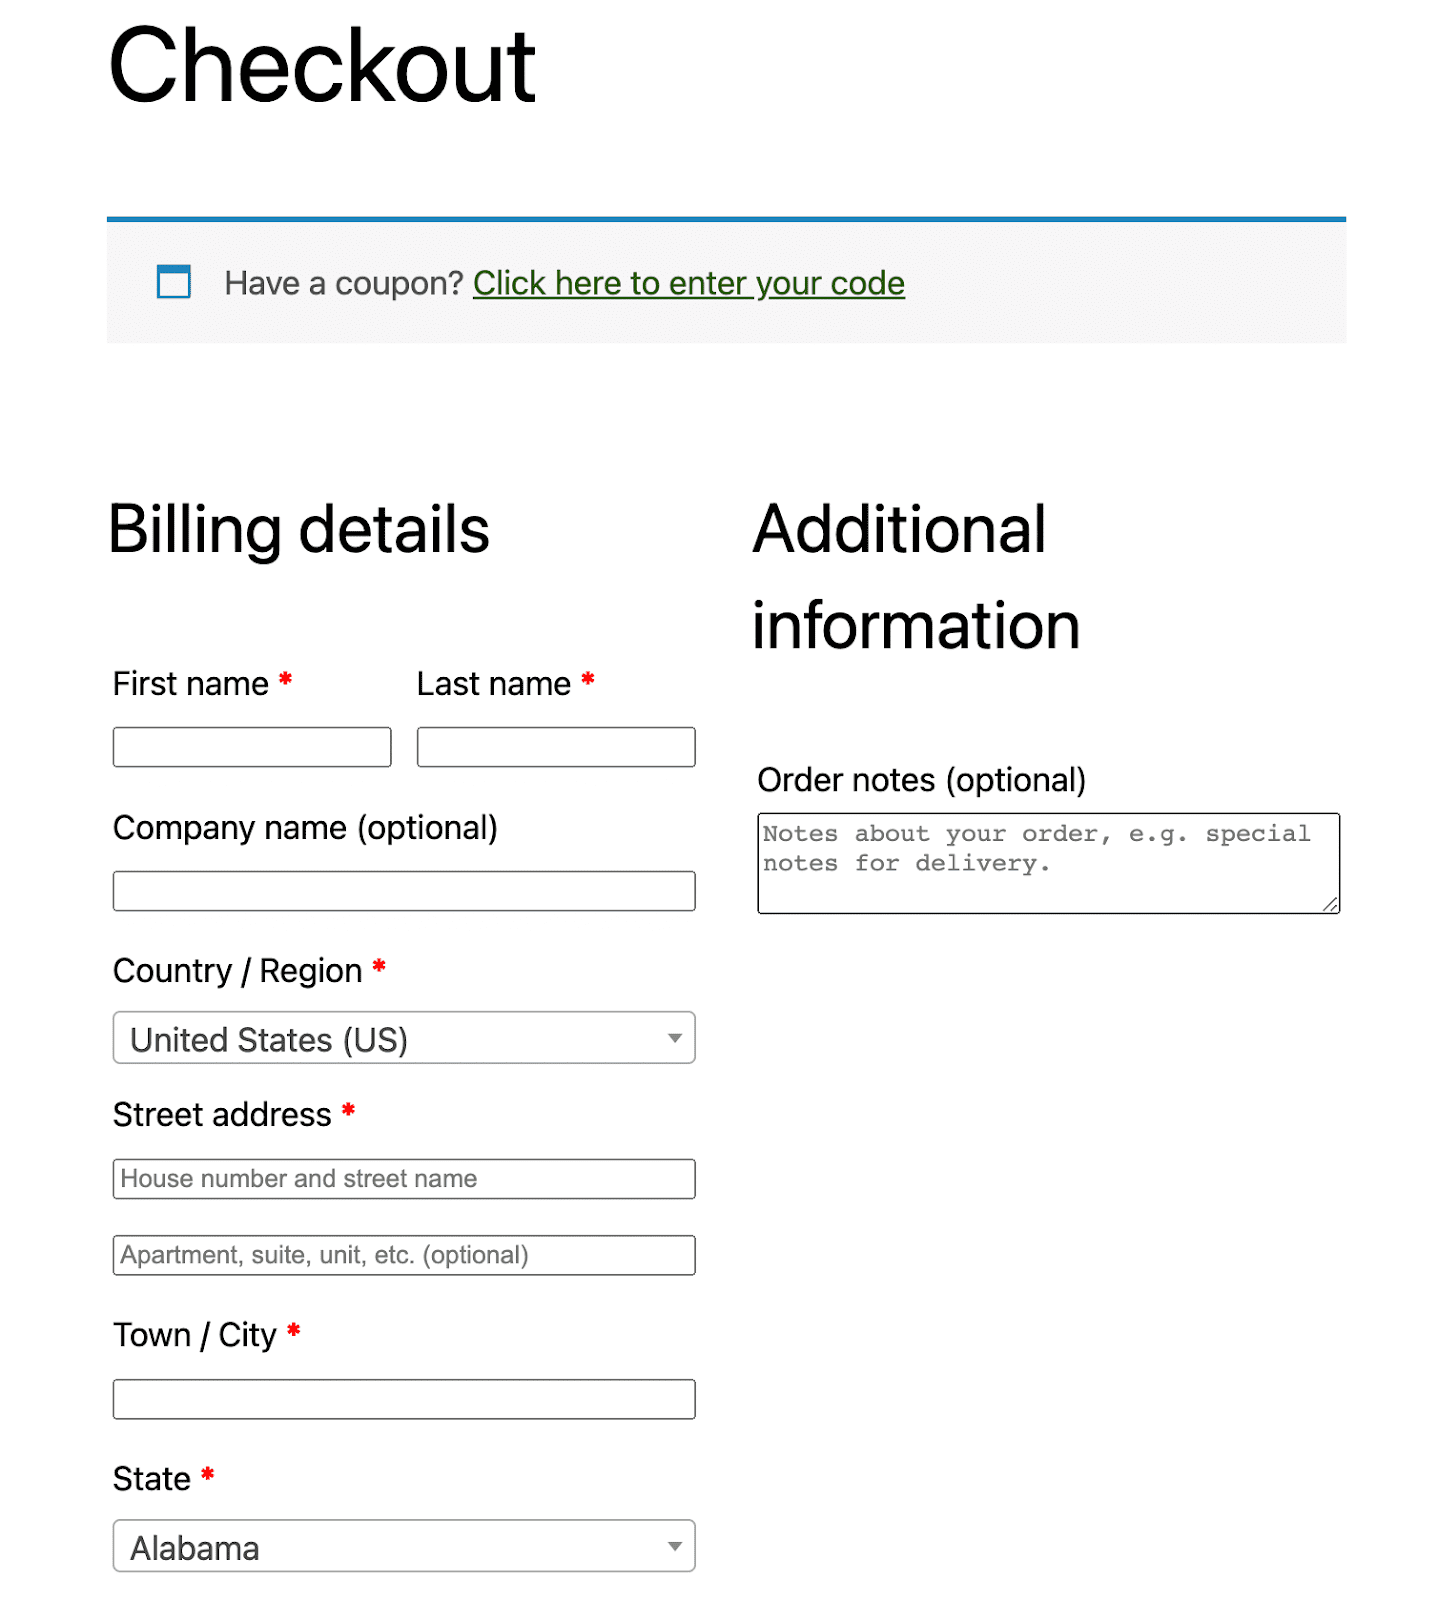
It does also provide an order summary, similar to the one shown on your Cart page. But customers can’t modify items at this point. At the bottom of the WooCommerce Checkout page, they can hit the button to “Place your order”.
Since the WooCommerce Cart page includes a “Proceed to checkout” button, you can think about these two pages as different “steps” in the shopping process. Before customers check out, they’ll probably want to view their Cart page.
How important is the Cart page for an ecommerce store?
The importance of a Cart page depends on the nature of your ecommerce store and its products. Since it allows customers to easily view and modify the items currently in their carts, it can be very useful if you expect customers to manage a large number of variable products.
If you run a large ecommerce store or even a mid-size apparel business, this may be key to supporting a positive customer experience. That’s because when customers are buying multiple products in various sizes, it can be hard to keep track of them all.
A Cart page enables customers to take a peek at their order before proceeding to checkout. This way, they can verify that all the product sizes, variations, and quantities are correct, and modify them if necessary.
Otherwise, they could proceed to checkout and become frustrated that they have to go back to correct an error after entering all their billing and contact details.
What is the best way to customize a WooCommerce Cart page?
There’s no one right way to customize a WooCommerce Cart page because it depends on your experience as a WordPress user. For instance, if you’re a relative beginner, and you love using the WordPress block editor, you may prefer to edit your Cart page using blocks.
Alternatively, if you’re an intermediate or experienced user, you might want to use codes and hooks to maximize your potential for customization. Ultimately, this is a personal preference and choice. You’ll just want to make sure you proceed with caution if you choose one of the more advanced methods.
Should I back up my site before editing my WooCommerce Cart page?
Yes! No matter your skill level or approach, it’s a good idea to back up your WordPress website before editing your WooCommerce Cart page (or making any other notable changes to your site).
This way, if you accidentally make a minor or major error (or you simply change your mind about the modifications), you can easily restore a recent copy of your site and avoid unnecessary downtime.
What else can I do to enhance the shopping experience in WooCommerce?
In addition to customizing your WooCommerce Cart page, there are a few things you can do to enhance the shopping experience for your customers.
If it’s appropriate, you can customize your WooCommerce product pages to simplify your catalog. As an example, you can add product variations. This way, customers don’t have to scroll through lots of similar products. They can simply use a variation switcher to select their preferred subset within a primary product.
Additionally, you might want to edit your WooCommerce Shop page to provide a more tailored experience. For starters, you could add your company’s branding to create cohesion across your site.
For larger stores, you could add product filters and sections for features like top-rated products or sale items. The good news is that you can easily do this using WooCommerce blocks.
Finally, there are few things more frustrating than slow-loading product pages. With this in mind, you might want to take extra measures to ensure that your WooCommerce store always delivers fast loading speeds for customers.
Using a tool like Jetpack Boost is the fastest and most convenient solution for WordPress performance optimization.
This plugin can instantly speed up your site’s pages by automatically optimizing CSS loading, deferring non-essential JavaScript, implementing lazy loading, and much more.
Plus, it can help boost your site’s Core Web Vitals, which means it can also improve your rankings in search results.
Customize your WooCommerce Cart page to improve your online store
WooCommerce provides you with some convenient templates for Shop, Checkout, Cart, and other important pages. This can help you fast-track the design process, and enable you to launch your ecommerce store quickly. Still, you may want to know how to edit a WooCommerce Cart page to add features and modify its appearance.
In that case, you’ve probably found yourself on Google searching for, “edit WooCommerce cart page.” Thankfully, this post is the only result you need to get started with the basic principles.
We discussed a few different ways you can work to customize WooCommerce cart pages. For a straightforward approach, you can try WooCommerce blocks. You can also use WooCommerce extensions to add functionality like product recommendations, upsells/cross-sells, variations, etc.
If you’re a more advanced WordPress user, you can customize your WooCommerce Cart page using code. Or if your site doesn’t need a Cart page, simply leave it out, and enable customers to skip directly to check out!
