
Are you looking to export a WordPress site? Perhaps you want to create a full site backup or move your content to a new server or web host. If you’re not an experienced developer, this process might seem challenging.
Fortunately, exporting your WordPress website isn’t too complicated. Tech-savvy users can get the job done with Secure File Transfer Protocol (SFTP) and phpMyAdmin. Beginners, and really anyone looking to save time and effort, can handle the export and import process quite easily using a tool like Jetpack VaultPress Backup.
Let’s look at why you might want to export and import a WordPress site. Then, we’ll show you three different methods you can choose between.
Why you might want to export a WordPress site
There are many reasons you might consider exporting a WordPress site. For starters, it’s a great way to make a full backup of your site.
Then, you can store your backup securely in a remote location separate from the server where you host your site. Here, your backup will remain safe and intact even if the server is attacked or goes down. Plus, you won’t be using any more of your server resources. If you run into any problems with your WordPress website, you’ll be able to restore a functional version to keep things up and running.
Additionally, you might migrate a WordPress site to a new web host. Or, you may want to move from a localhost to a live server.
It’s always a good idea to check whether your new host offers migration assistance as part of their services. That way, the host can take care of the entire process, and you can simply log in to your new site when it’s ready. Otherwise, you’ll need to perform a manual migration (we’ll explain this later in the tutorial).
What is the easiest way to export a WordPress site?
In the tutorial section of this article, we’re going to discuss three ways to export a WordPress site. Firstly, you can use the built-in WordPress export tool. This approach is simple enough to use, but it doesn’t transfer theme, plugin, or database files.
You also have the option to export your site manually using phpMyAdmin. But this is not a beginner-friendly method, requiring at least some technical knowledge.
Overall, the easiest way to export a WordPress site is to use Jetpack VaultPress Backup. It’s a simple, fast solution developed by Automattic (the people behind WordPress.com). Since it’s built on the same infrastructure as WordPress.com, you can expect smooth, reliable performance without plugin or host conflicts.
What to consider before exporting your site
With any significant change to your site, there’s a slight risk involved. Preparing for the export process can minimize the chance of something going wrong and put your website in a better position to recover.
Here are some main factors to consider before exporting your WordPress site:
- The type of export. Whichever method you choose, you’ll need to ensure that it enables you to export the content you need. For instance, some approaches don’t allow you to export theme files, database files, or plugins. You might also utilize this opportunity to streamline your website by reducing the number of plugins you use.
- The time of day. It’s important to consider what time of day you’ll carry out the export. This is especially relevant for high-traffic websites since you don’t want to disrupt your visitors. Therefore, it’s a good idea to avoid peak traffic and schedule the import/export for a slow period.
- Conflicts. The best way to avoid conflicts during your export is to upgrade to the latest PHP version. Using a well-coded backup plugin like Jetpack to handle the export can also ensure that the software is compatible and prevent glitches.
By following the tips above, you can give your WordPress website a better chance of a smooth, successful export.
How to export and import your WordPress site (3 methods)
Now let’s discuss three different ways to export a WordPress site. We’ll start with the simplest solution and end with the method that requires the most technical experience.
1. Use a tool like Jetpack VaultPress Backup
Jetpack VaultPress Backup takes the hassle out of migrations. As a tried-and-tested solution, it offers easy restores, remote storage, and stellar support.
Better yet, backups can include website files, database tables, and customer and order data. This makes it an excellent choice for many types of sites, particularly ecommerce stores.
To get started, you’ll need to install and activate the Jetpack plugin in WordPress. Navigate to Plugins → Add New and then search for “Jetpack.”

This free version of Jetpack provides a number of security and optimization features. Hit Install → Activate. Then, you’ll need to approve the connection to your WordPress site. You can use an existing WordPress.com account or create one once the plugin is active.
To get Jetpack VaultPress Backup, you’ll need to upgrade to the Jetpack plan that best suits your needs. For instance, you might opt for Jetpack Security or Jetpack Complete, which give you access to a variety of performance and security tools. But, for exporting a WordPress site, you’ll only need the VaultPress Backup plan.
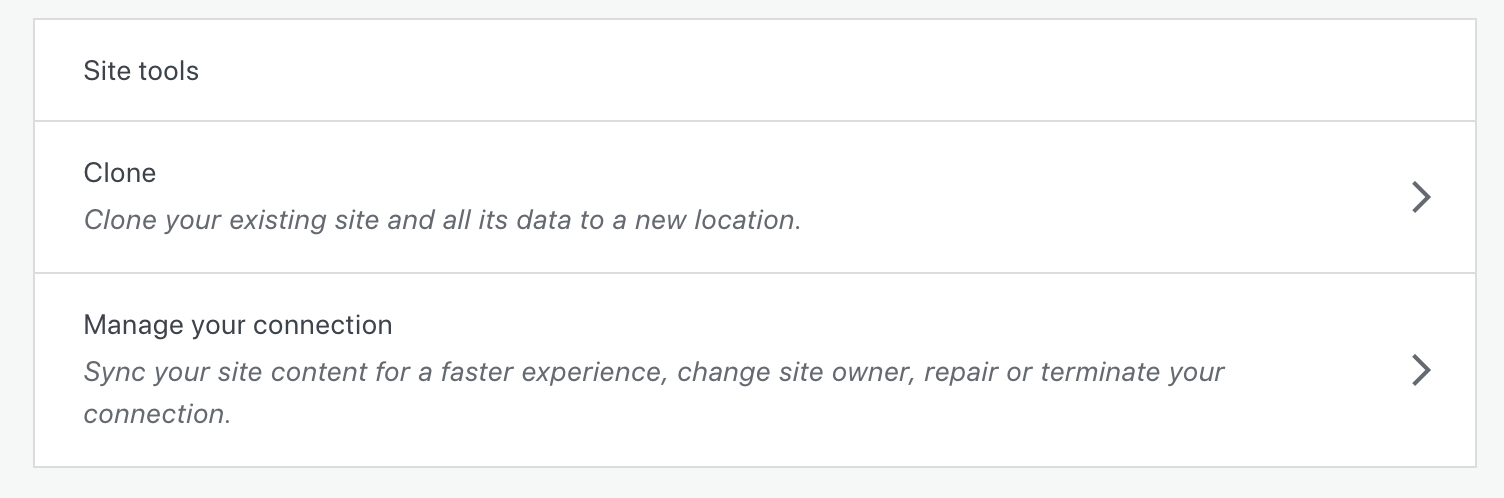
Once you’ve found a plan and activated VaultPress Backup, head to Settings → General in your WordPress.com account. Here, scroll down to the bottom of the page and select Clone.
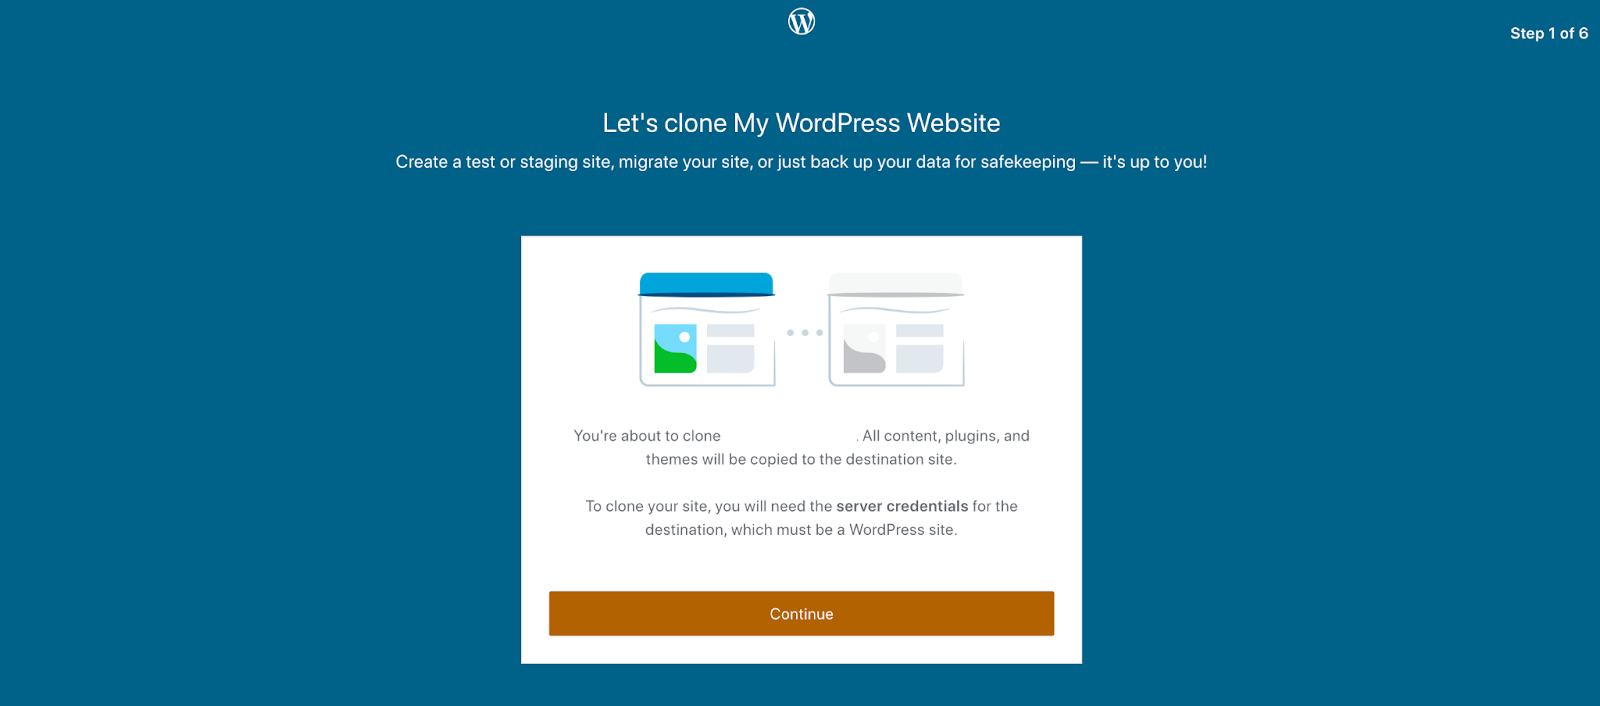
Check that all your website details are correct. If so, hit Continue.
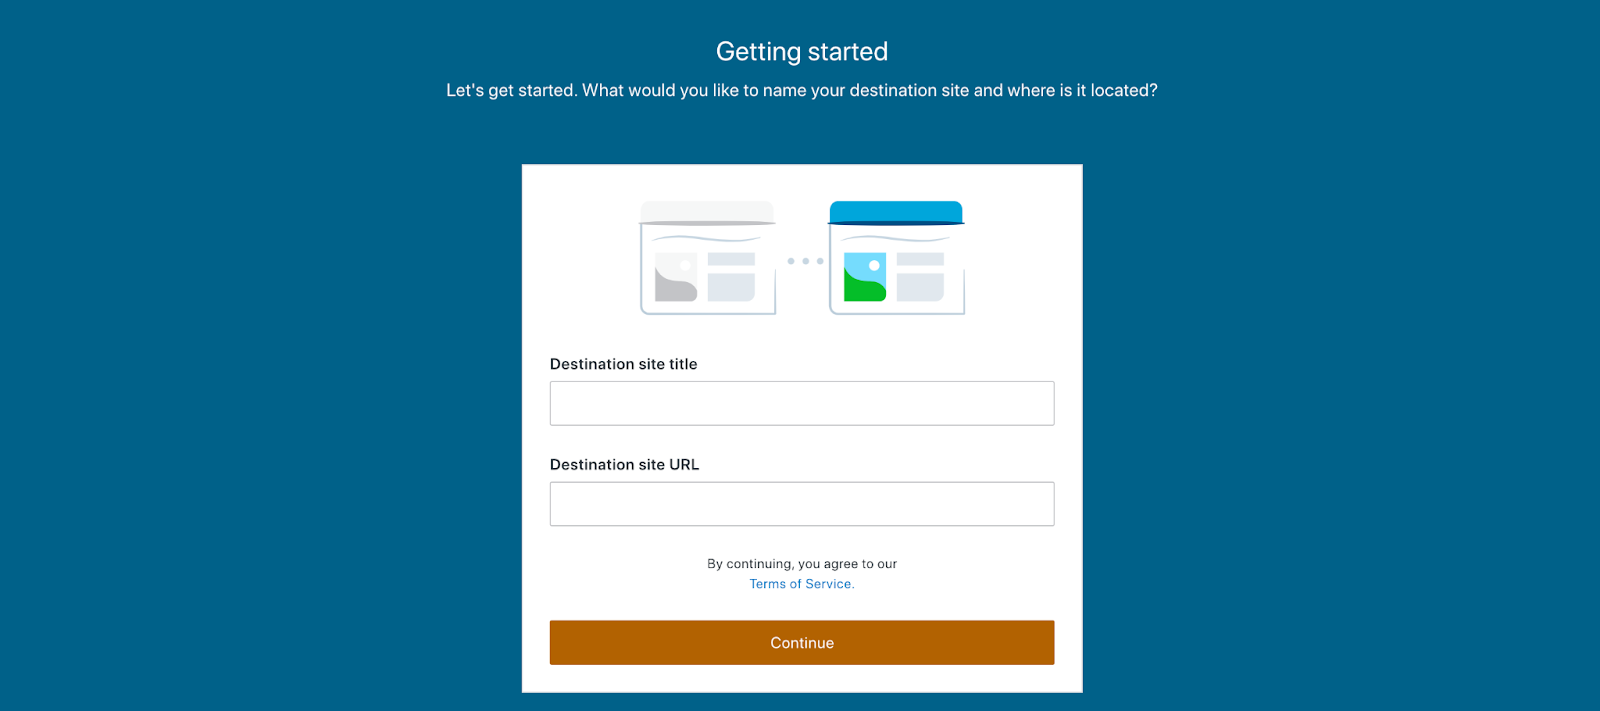
Enter your new destination site title and URL. This is the place you’re moving your site
Next, enter your new server credentials. These include your username, password, and port.
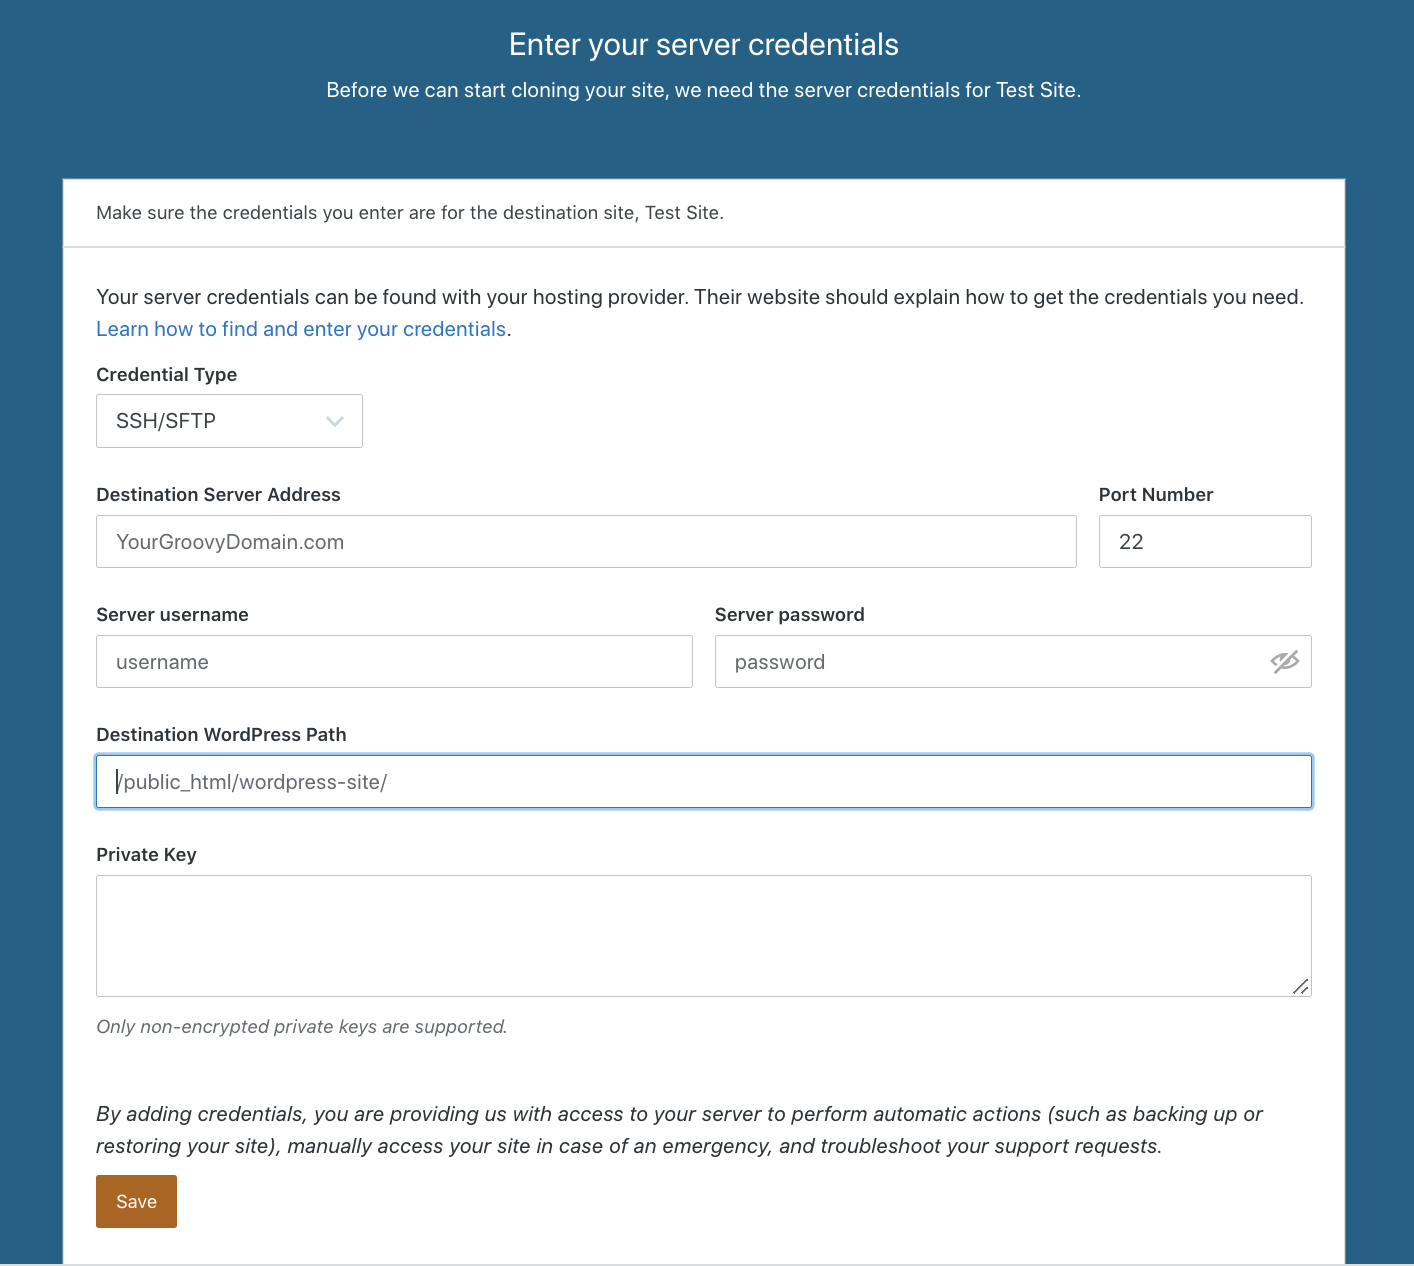
You can often find these server credentials yourself by logging into your hosting provider’s control panel. If you’re unsure about what these are, you can check with your web host. We’ve created a pre-written email that you can share with your host to make this easier.
Now, enter the destination WordPress path. This is where your site files will be stored. Generally, it will look something like public_html. Again, if you’re unsure, check with your new web host.
Then, hit Save.
To use your most recent backup, select Clone current state, or you can use an earlier backup if you wish. When you’re ready to begin the cloning process, click on Yep! Begin Cloning. Once the process is finished, you’ll see a confirmation message.

Before pointing your domain name to your new host, you’ll need to verify that the content loads correctly and that all functionality works as it should. Otherwise, you risk losing traffic and/or sales if your site is glitchy or doesn’t load.
To do this, you’ll need to change your hosts file. This exact process will vary based on your operating system, but it will enable you to test out functionality and design elements before pointing your domain name.
If everything looks as it should, you can go ahead and update your DNS settings!
2. Use the built-in WordPress export tool
This method doesn’t require adding any new tool or plugin to your WordPress dashboard. Unfortunately, it doesn’t export theme files, plugins, or database tables. Therefore, it’s only viable if you want to move content to a different WordPress site, or back up your posts and pages.
To begin, navigate to your WordPress admin area. Once here, select Tools → Export. You’ll be taken to a new screen that looks like this.
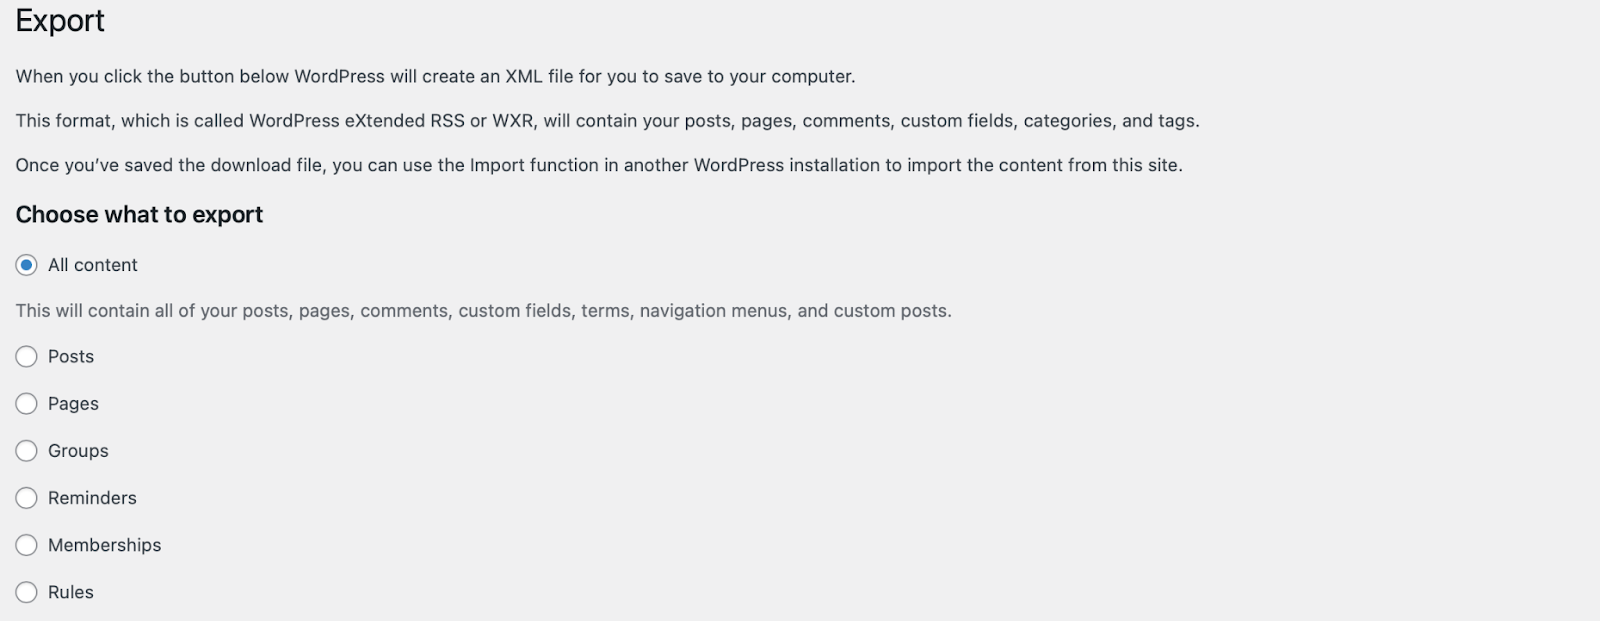
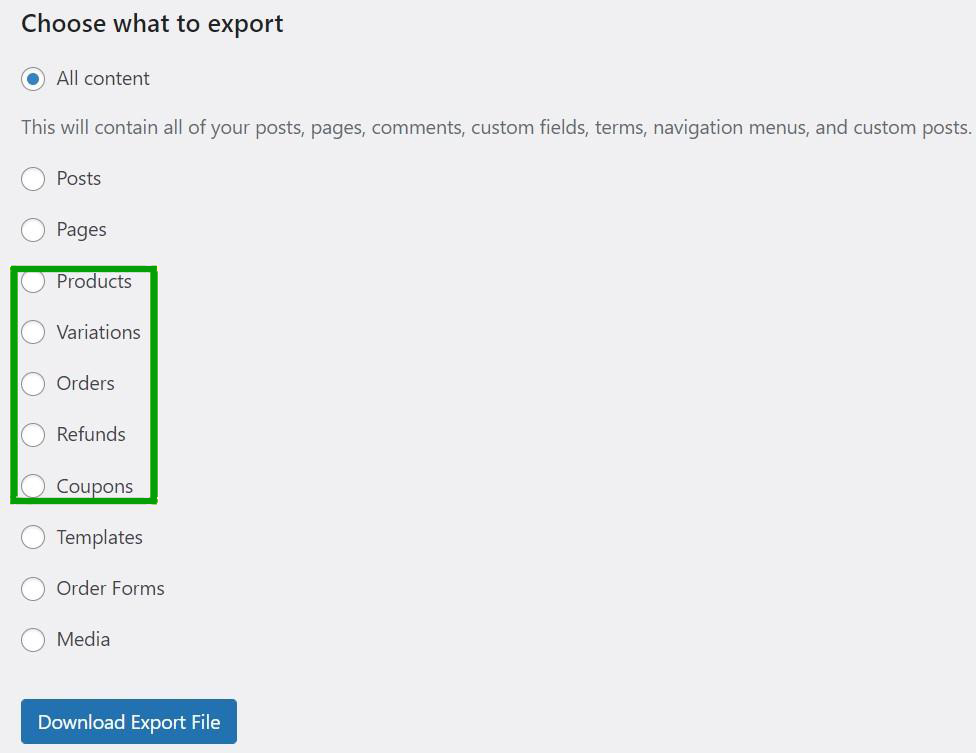
Select All content to export your entire website. Or, you can choose specific types of content, like pages, posts, comments, or menus.
Then, hit Download Export File to download the file to your computer. This creates a copy of your site without affecting your existing website.
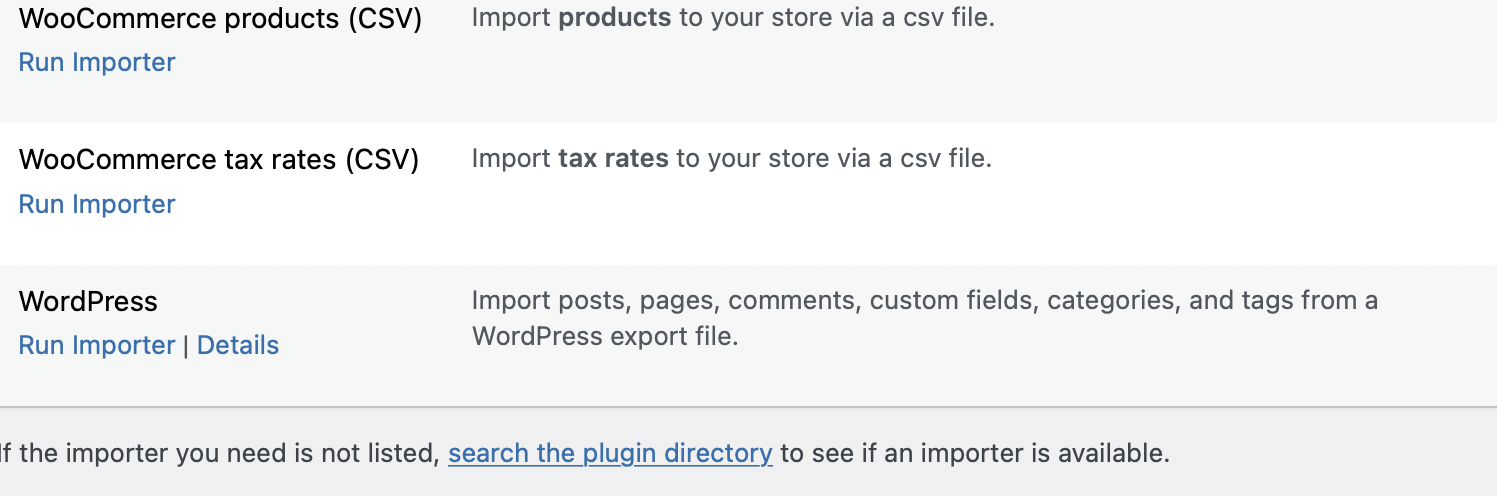
Next, switch to the WordPress site where you want to import your file. Log in to your new dashboard and go to Tools → Import.

If your exported file comes from WordPress, head down to the bottom of the page to find the relevant section. You’ll notice that you can also import files from other platforms like LiveJournal, Tumblr, and WooCommerce.
Once you’re here, click on Install Now and then Run Importer.
This will take you to a new page where you can upload your exported file.

Choose the file from your computer and hit Upload file and import to start the import process. This should take just a few minutes.
3. Use phpMyAdmin and SFTP to export your site manually
This is the most difficult of the three methods. Therefore, it’s only recommended for experienced WordPress users. You might use this method if you don’t have access to WordPress, in special circumstances like having files stored outside the standard WordPress installation, or if you encounter an unexpected issue with another method.
Note: If you have the Jetpack plugin installed on your site, you’ll want to either disconnect Jetpack from your current WordPress installation or exclude the Jetpack plugin files when migrating. Otherwise, you might end up with an Identity Crisis. If you choose the second option, you’ll just want to reinstall and reconnect Jetpack in your WordPress dashboard after the migration.
To start, you’ll need to connect to your existing hosting account using an SFTP client like FileZilla.
You’ll need your SFTP credentials like your host, username, password, and port. You should be able to find these details in your hosting account.
Once you’ve connected to your site with SFTP, locate the root folder of your website. Typically, this is labeled public_html, although sometimes, it may be named after your site’s domain.

Drag the files in this folder from the right panel (your server) to a selected folder in the left panel (your computer). This will download all the files to your device, and could take a little while if your website contains a lot of data.
At this point, log in to your hosting provider’s control panel and access phpMyAdmin. The interface will look different depending on your web host, but it’s typically found under Databases.
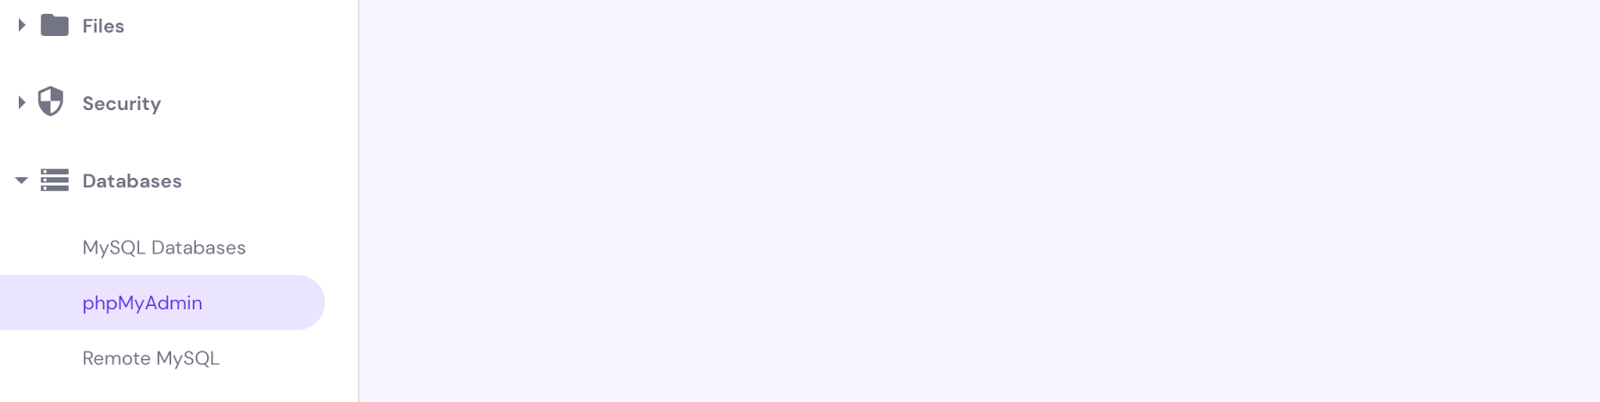
Next, click on Export to download a file to your computer. You’ll also need to choose SQL as the format.
Then, head back to FileZilla and connect to your new server using your new SFTP credentials. Again, you can get these from your host if you’re not sure where to find them.
This time, you’ll drag the files from your computer (left panel) to the new server (right panel). Wait for the file migration process to finish.
You’ll now need to create a new, blank database. This process can vary a bit depending on your hosting provider, but you’ll need to establish a database name, username, and password. Make sure to save this information, as you’ll need it in a minute.
Navigate to your database in phpMyAdmin, click on the Import tab, then upload the SQL file you downloaded earlier.

Click the Go button. Now, all you need to do is tell your migrated WordPress site how to access the new database. You’ll do this through the wp-config.php file.
Navigate to this file using your hosting control panel or via FTP, then look for the following lines of code:
/** The name of the database for WordPress */

define( 'DB_NAME', 'sample1234' );

/** Database username */

define( 'DB_USER', 'user1234' );

/** Database password */

define( 'DB_PASSWORD', 'password1234' );
Change the information for DB_Name, DB_User, and DB_Password based on the data you saved earlier, then save the file.
Finally, point your nameservers to your new hosting provider. And you’re done!!
Frequently asked questions
By now, you should hopefully have a good understanding of the WordPress export and import process. If you have any remaining questions, we’ll tackle them here!
Is a WordPress export necessary when changing domains?
No, you won’t typically need to export your WordPress site when switching domain names. You’ll only need to do this if moving to a different host or server.
Are there any extra steps when exporting a WooCommerce site?
Generally, no. If you export your site using Jetpack VaultPress Backup or FTP, all the WooCommerce information will be included. You can follow the steps above as written.
However, if you’re using the WordPress built-in tool, you’ll see some additional options to manually export products, variations, orders, refunds, and coupons.
Export your WordPress site quickly and easily
Exporting your WordPress site is helpful if you want to move it to a new server or web host. It’s also beneficial if you need to back up your files. Although this process may seem intimidating, it’s much easier when you use a plugin to take care of the process.
To recap, here are three methods to export and import a WordPress site:
- Use a tool like Jetpack VaultPress Backup.
- Use the built-in WordPress export tool.
- Use phpMyAdmin and SFTP to export your site manually.
Jetpack VaultPress Backup will create real-time backups of your website and enable you to easily restore them. Better yet, you can back up all your site files, including customer data and database files. Get started with Jetpack today!
