
Things don’t always go perfectly, and they seem to go wrong at the worst possible time. If you have a website, you may be familiar with this conundrum. Right when you’re about to publish a post you’ve been working on for hours, your power goes out, your browser crashes, or your cat walks across your keyboard.
But all is not lost! The WordPress autosave feature makes it possible to get that work back quickly and easily. Let’s find out how.
What is WordPress autosave?
Autosave is enabled on WordPress sites by default to help site owners protect their content. It automatically saves posts and pages while you’re using the Editor so that, if your site goes offline or something else goes wrong, you haven’t lost all of your hard work.
If something happens, simply try reloading your browser. With autosave enabled, WordPress should have a recent backup of the post that you can restore with a single click.
We say “recent” backup because a copy of your page or post is saved based on a time interval, not after every single keystroke.
What is the default autosave interval on WordPress?
Autosave intervals tend to be relatively low to offer the highest level of protection. By default, the WordPress autosave interval is 60 seconds, but that may vary depending on your web host’s configuration.
Some hosts with limited resources will increase autosave intervals to avoid performance issues. That’s unlikely to be a problem if you’re using a quality provider.
In most cases, it’s not possible to check the default autosave interval on WordPress. But you can change that interval manually, which we’ll cover in the tutorial portion of this article.
Can you change your autosave settings?
WordPress lets you change the default autosave settings, but to do so, you’ll need to edit core files manually. That means accessing your site’s server via File Transfer Protocol (FTP) or your web hosting control panel.
You can change autosave settings by editing the wp-config.php file in the WordPress root directory. This allows you to do any of the following:
- Enable autosave (if it was disabled previously)
- Disable autosave (by increasing its interval to a high number)
- Modify the autosave interval in WordPress
Another way to modify the autosave settings in WordPress is to edit the functions.php file for the theme you’re using. Adding custom code to functions.php will disable autosave for specific post types or turn off the feature altogether if needed.
What’s the difference between autosaves and revisions in WordPress?
The goal of autosaves is to save work in progress in case something goes wrong while editing a page or a post. Autosaves take place in the background, even without you hitting the Save Draft button.
WordPress revisions are drafts of posts or pages that you’ve manually saved. When you save a new draft, WordPress stores previous versions as revisions in case you want to revert back. Autosaves are not listed as revisions, as they’re a separate system.
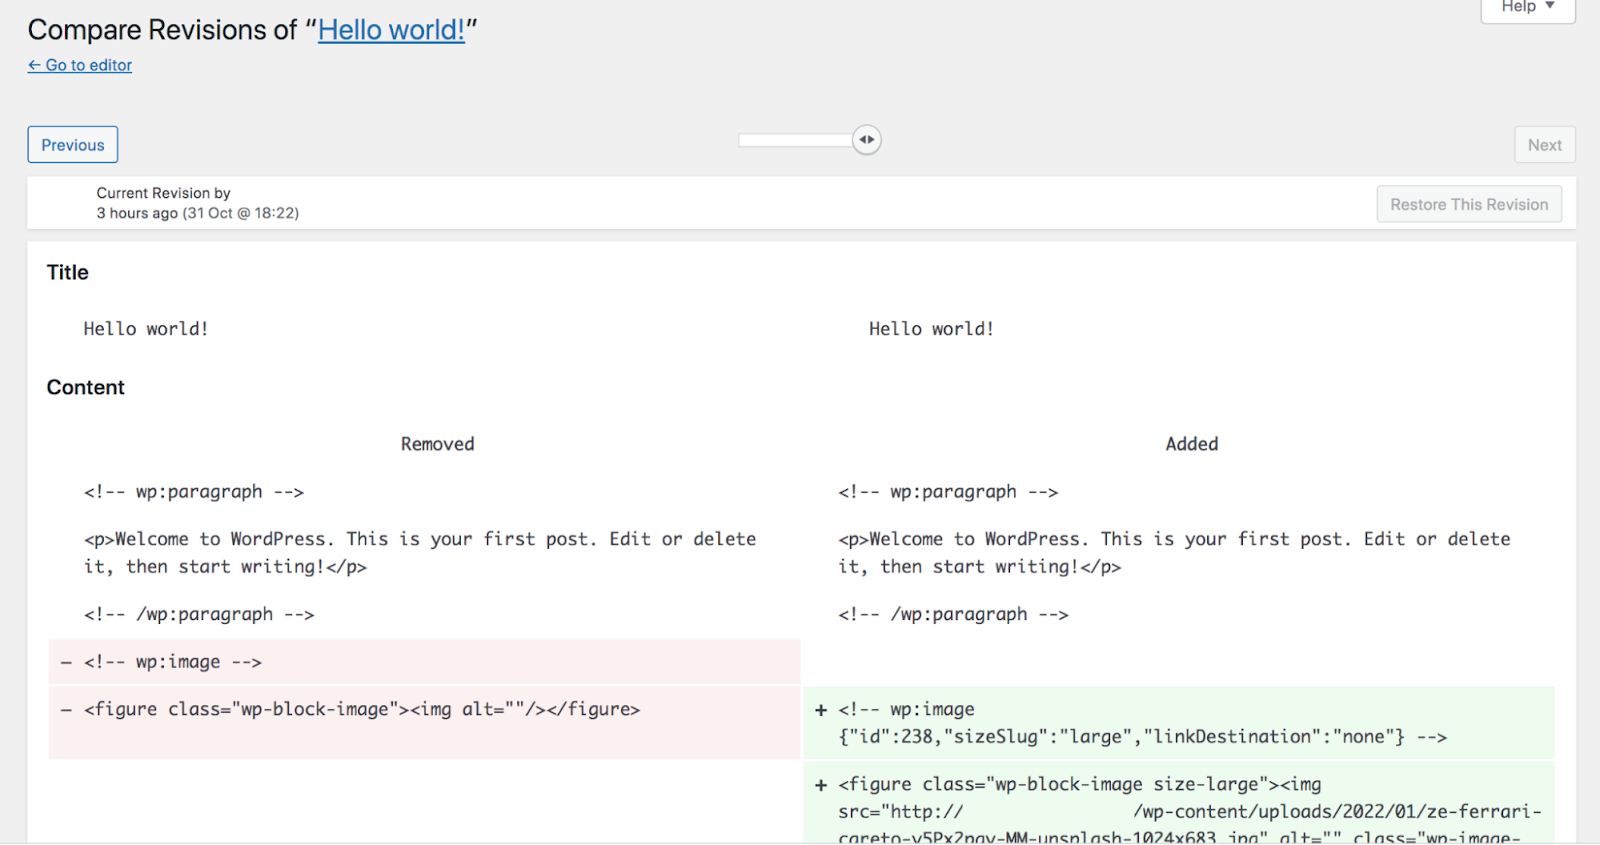
With WordPress, you can only have one autosave at a time. But the revisions system lets you store multiple drafts of a post or page, then easily view changes and toggle between them.
Autosave vs Revision comparison table
| Feature | WordPress Autosave | WordPress Revision |
| Storage Method | Overwrites a single row in the database. | Creates a new row for every save. |
| Frequency | Runs automatically every 60 seconds. | Runs only when you click “Save” or “Update”. |
| Purpose | Crash recovery (browser freeze, power outage). | Version control (undoing bad edits). |
| Persistence | Temporary (updates constantly). | Permanent (until deleted or optimized). |
How to use and manage WordPress autosaves
How can you manage autosaves and edit their settings? Making certain changes requires editing WordPress core files and dealing with code — we’ll guide you through those processes step by step. But first, let’s talk about restoring autosaves.
1. How to restore WordPress autosaves
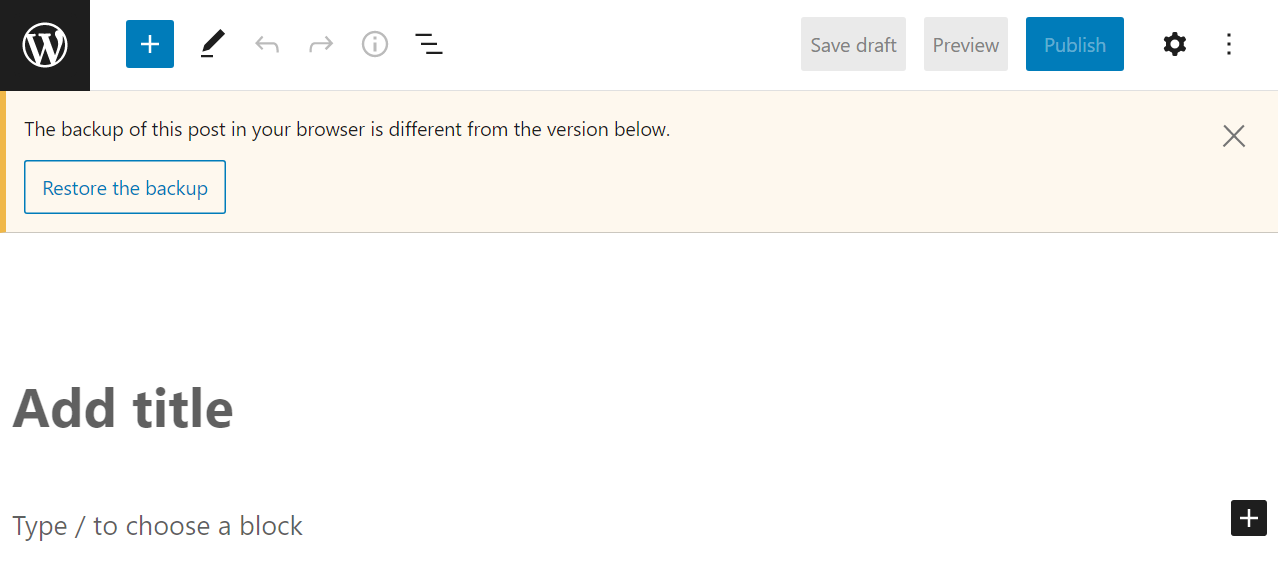
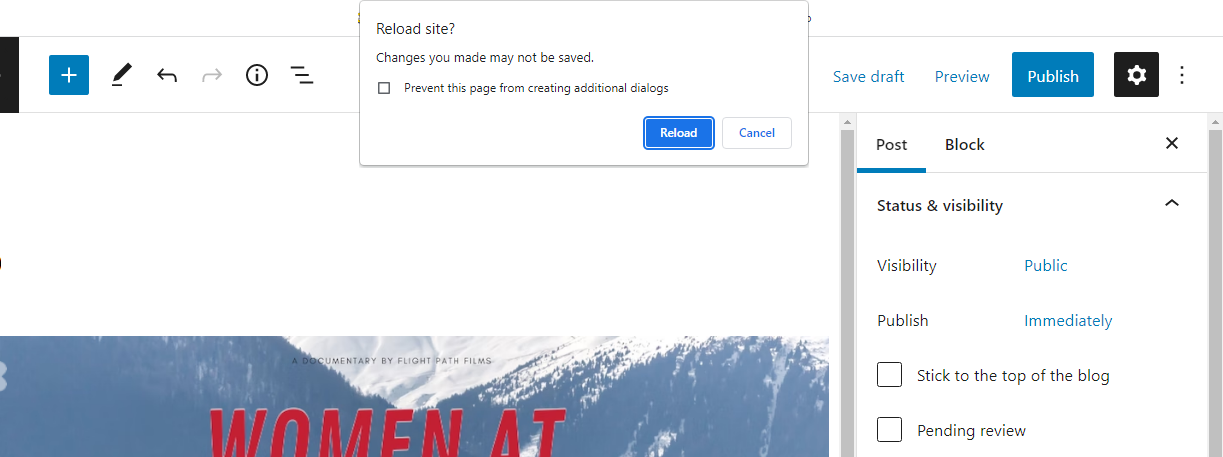
Restoring a WordPress autosave is simple. If you exit the Editor without saving changes to the page or post, WordPress will warn you that you might lose those changes.
After opening the Editor again, WordPress will let you know if it has an autosave available. Then, you can click on the Restore the backup button to load the autosave.
WordPress will load the autosaved version of the post you’re working on. From this point on, you can continue editing the post, but probably want to save drafts periodically to avoid further problems.
2. How to delete a WordPress autosave
WordPress stores autosaves in the database. If you want to delete an autosave, there are three ways to go about it. You can access the database using a tool like phpMyAdmin and find the corresponding entry, wait for new autosaves to overwrite old ones, or use a plugin to do the job for you.
From a practical perspective, there’s little reason to delete one single autosave from the database. But some users report seeing moderate increases in site performance after removing unnecessary entries, like revisions and autosaves.
Using a plugin to “clear out” the database may not be necessary if you have a hosting plan that offers great performance and you’ve taken steps to optimize your website. Still, plugins like Advanced Database Cleaner make the process very straightforward and can also help you clear orphaned tables from the database.
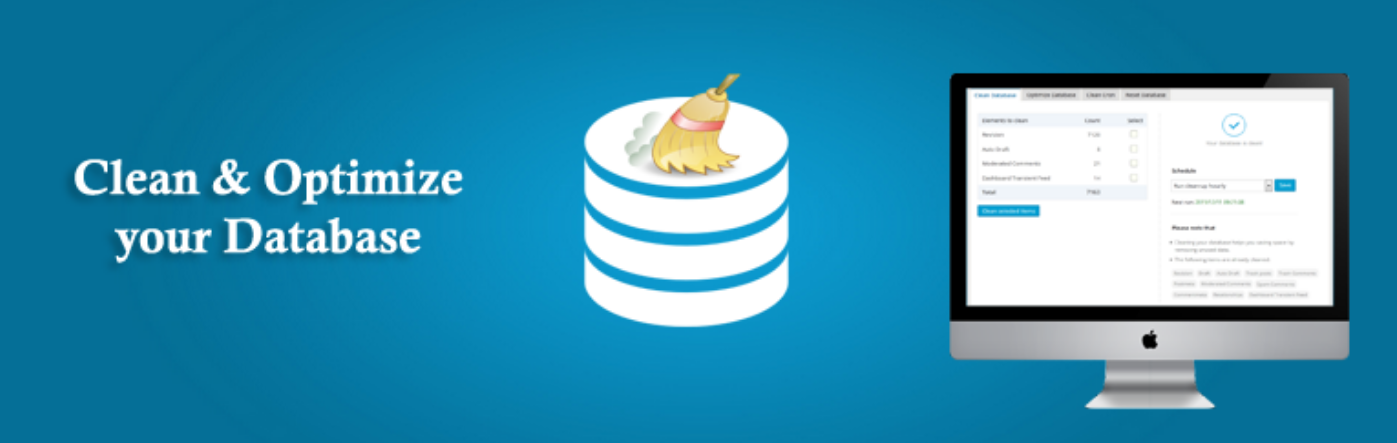
To use Advanced Database Cleaner to delete WordPress autosaves, install and activate the plugin, then go to the WP DB Cleaner tab in WordPress. This page includes a list of the database tables you can clean, including one that says Auto drafts.

Select the Auto drafts element, choose Clean from the Bulk actions menu, and click on Apply. The plugin will ask you to confirm the decision and, afterwards, it will delete all available autosaves for your website.
3. How to change the WordPress autosave interval
If you want to change your website’s autosave interval, you’ll need to edit the wp-config.php file. To access that file, connect to your site via FTP using a tool like FileZilla.
Once you establish an FTP connection, navigate to your WordPress website’s root folder. That folder can have several different names, including www, public_html, or your site’s name.
If you can’t identify it, these are some of the files and folders you should see inside the root directory, including the wp-content and wp-admin folders:
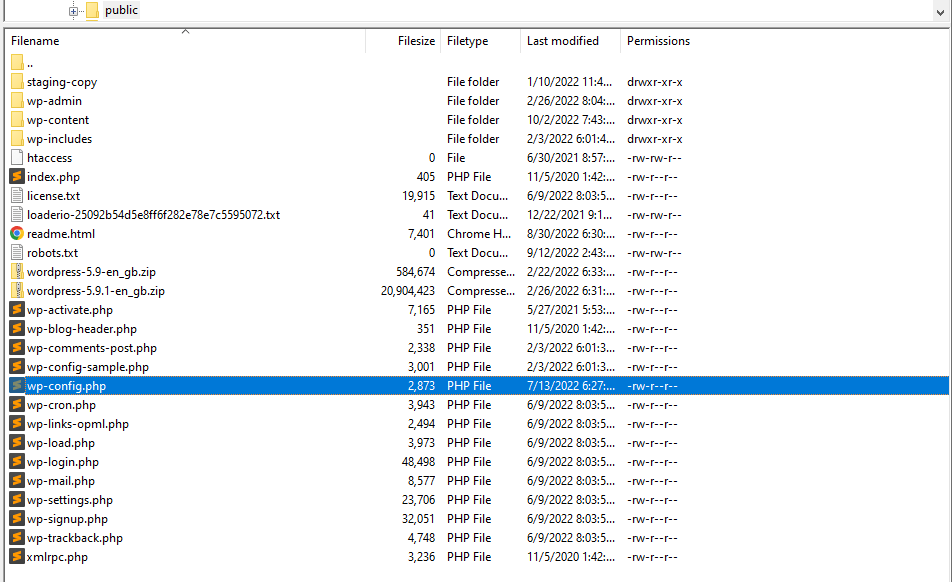
This folder also contains the wp-config.php file. Right-click it and select the Edit option. This will open wp-config.php using your default text editor.
To change the autosave interval, you’ll need to add the following line of code:
define( 'AUTOSAVE_INTERVAL', 60 );The crucial part of that code is the number. In the example above, it’s set to 60 seconds. You can change it to any value you want, but we recommend against exceeding one minute. Autosave has a negligible impact on your site’s performance, so it’s better to run it often to keep your work safe.
When you’re done, save the changes to wp-config.php and close the text editor. Your FTP client might ask if you want to save the new version of the file to the server. Confirm the changes, and you’re good to go.
4. How to disable WordPress autosave
Autosave is enabled by default in WordPress, but you can disable it manually for posts, pages, or both. Unfortunately, these settings aren’t available via the WordPress admin dashboard. So, you’ll need to connect to your website via FTP.
Navigate to your root folder and find the functions.php file. Open the file and add the following line of code:
add_action( 'admin_init', 'disable_autosave' );

function disable_autosave() {

wp_deregister_script( 'autosave' );

}
Don’t forget to save your work!
An alternative method of disabling the autosave feature is to follow the same steps for changing the autosave interval as above but set the interval to be an entire day. While this doesn’t turn off autosave entirely, it would only kick in after 24 hours. To do this, follow the instructions above, but add this line of code to your wp-config.php file:
define('AUTOSAVE_INTERVAL', 86400); 5. How to enable WordPress autosave
Autosave is enabled in WordPress by default. You don’t need to turn on the feature manually unless it was disabled at some point.
If the autosave feature isn’t working on your site, it might be due to a change in the autosave settings or code inside of the wp-config.php or functions.php files. In these cases, we recommend opening both files to see if there’s custom code that modifies the autosave functionality.
You can find examples of what this code looks like in the previous sections of this tutorial, where we show you how to disable autosave and modify its interval settings.
If you find similar code in either or both files, you can delete it to re-enable autosave in WordPress. Before you do this, though, we recommend backing up your site fully in case you run into any errors while editing your files.
Frequently asked questions about WordPress autosave
If you have any questions about how autosave works in WordPress, this section will answer them.
Can I preview an autosave in WordPress?
In the past, WordPress let you preview autosaves before restoring them. That feature is no longer available. Now, the Editor simply asks if you want to restore the autosave if one is available.
Which types of content does WordPress autosave?
WordPress only autosaves posts and pages. You can configure the WordPress Content Management System (CMS) to autosave custom post types, which requires adding some code to their respective settings files.
Does WordPress automatically save drafts?
WordPress requires you to save drafts manually to store them as revisions. If you don’t save a draft and the editor closes, you might be able to access an autosave when you reopen it. But the availability of an autosave will depend on the interval that you configure.
WordPress autosave isn’t working, what can I do?
If autosave isn’t working, someone might have disabled it for your posts and pages. You can check out the earlier instructions for disabling autosave for posts and pages. You may want to reach out to your hosting provider and ask if this was done on your plan.
Can I autosave my whole site in real-time?
WordPress autosave only works for posts and pages. If you want to save every aspect of your website, including its media library, settings, plugins, themes, and other elements, you’ll need to use a WordPress backup plugin.
For most websites, having full backups is a much better solution than relying solely on autosaves. With frequent backups, you can restore your website to a previous state if you delete content, run into a technical error, or need to undo changes to the site.
Although you can back up your website manually, the process can take a while, and we recommend making full copies frequently. With Jetpack Backup, you get automatic real-time backups of your entire website. That means the plugin creates and saves new copies of your site as you make changes to it.
Jetpack Backup can store backups for up to 30 days or a full year (depending on which plan you use) and lets you restore any of them with only a click. Additionally, you’ll have access to premium technical support in case anything goes wrong with your backups.
Use autosave to protect your work in WordPress
Autosave is an excellent feature for sites of any kind. After all, having a recent autosave can mean the difference between losing hours of work or picking up right where you left off if something ever goes wrong. While autosaves won’t help you restore deleted content, they can ensure that you don’t lose anything you’re currently working on.
On top of using autosave, creating website backups can ensure that you never lose your work. Jetpack Backup will automatically save your site in real-time and allow you to restore it with a single click.
