
When someone tries to visit a page on your site, they enter the URL in their browser, which immediately goes to work. To load the page, it has to “render” all of the elements that make up that page.
But sometimes, there are CSS or JavaScript files that pause this process, preventing your content from rendering — these are called render-blocking resources. This means that visitors may experience long wait times, which can negatively impact how people perceive your organization and whether they take the actions you’d like.
In this guide, we’ll explain what render-blocking resources are and discuss the benefits of removing them from your site. Then, we’ll show you how to eliminate them in five different ways.
What are render-blocking resources?
Before we take a close look at render-blocking resources, it’s important to understand the normal loading process of a website. After a visitor clicks a link to your site, their browser needs to render (or download) all of its content. It reads your site’s code from top to bottom, including all of its HTML, CSS, and JavaScript.
Visitors won’t be able to see your website until the browser fully reads this queue of scripts. If there are render-blocking resources, they could end up waiting a long time.
Essentially, a render-blocking resource is a CSS or JavaScript file that causes a browser to stop loading other content until it’s processed. This can pause the rendering process, causing the page to appear blank or incomplete.
Whenever your site has render-blocking resources, it loads unnecessary files at the top of its code. Visitors will have to wait until these files are processed before they can see the page.
Here are some website performance metrics that can be affected by render-blocking resources:
- LCP (Largest Contentful Paint): this measures how long it takes to load the main content of a page.
- FCP (First Contentful Paint): this is the time it takes for the browser to render the first piece of Document Object Model (DOM) content on your site.
- TBT (Total Blocking Time): this measures the delay between First Contentful Paint and Time to Interactive (how long it takes a page to become fully interactive).
Render-blocking resources aren’t critical for loading, but they can delay the rendering process. This can have a negative impact on your site’s User Experience (UX). So, to prevent visitors from leaving your pages, it’s important that you eliminate these.
Benefits of eliminating render-blocking resources
In general, internet users don’t like waiting for pages to load. A fast site can encourage visitors to explore your content and prevent them from turning to a competitor.
Eliminating render-blocking resources can be the key to improving page speed because you’re essentially making your website’s code as lightweight as possible.
Removing render-blocking files can also improve your search engine rankings because site performance and user engagement are some of the metrics companies like Google use when evaluating sites.
How to test your website for render-blocking resources
Before you start eliminating files from your site, you’ll need to figure out whether or not it has render blocking resources. Slow loading times can be caused by other factors, too, like unoptimized images, low-quality hosting, or having too many plugins.
To test your website for render-blocking resources, you can use a tool like Google’s PageSpeed Insights. This can give you detailed reports on your page performance and provide suggestions to help you improve your scores.
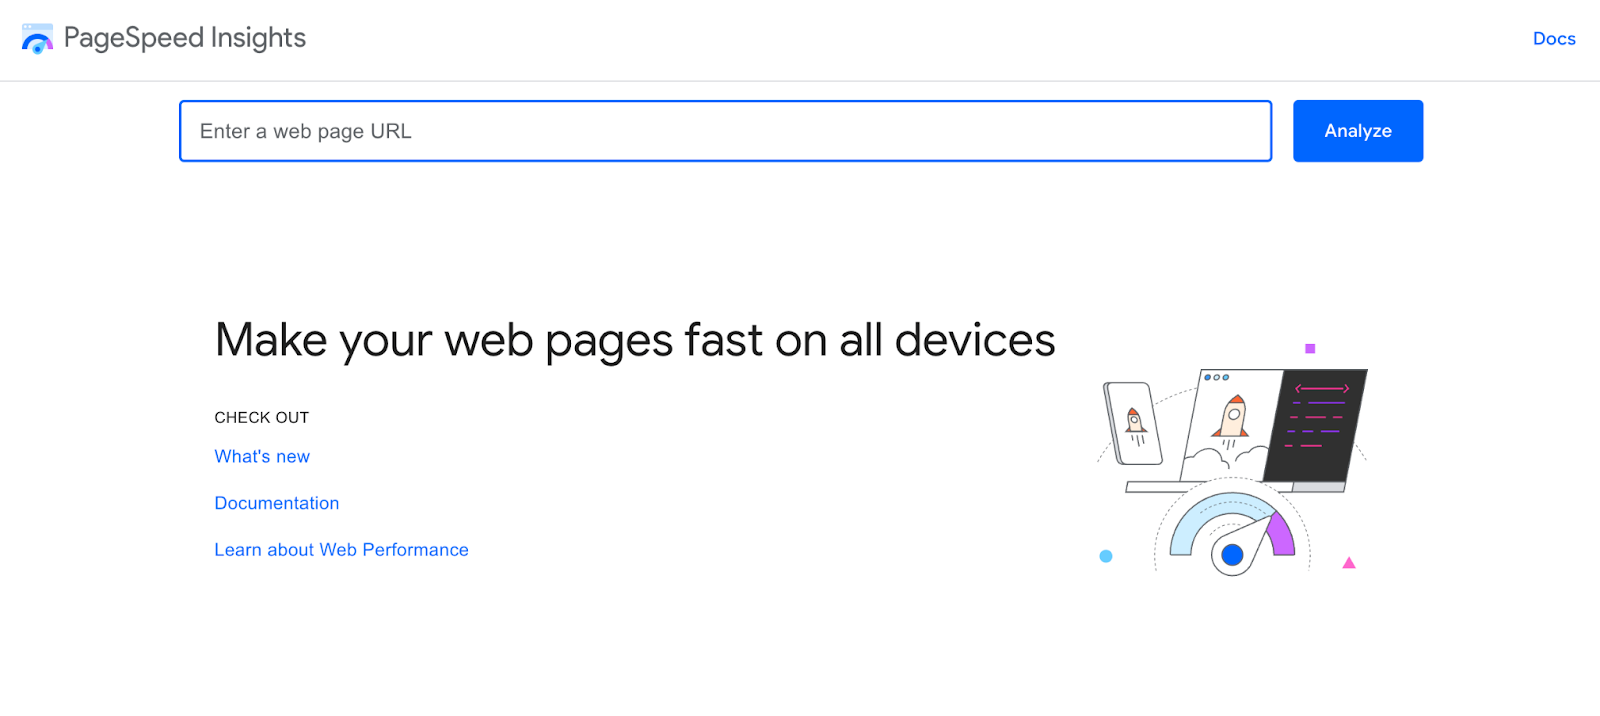
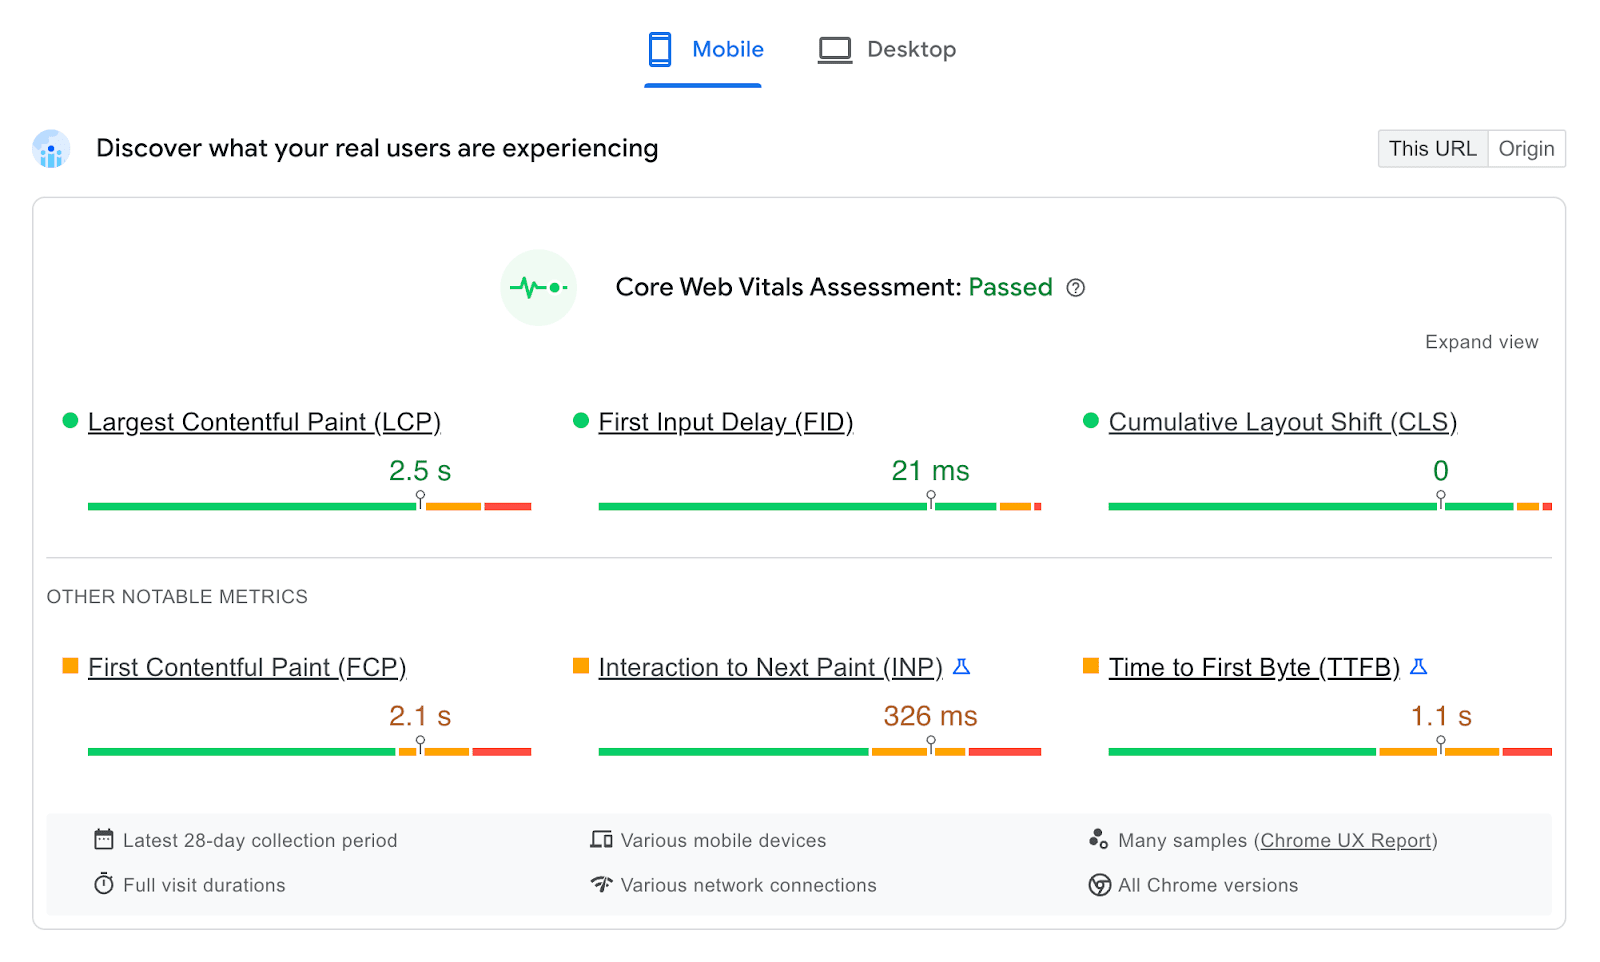
To get started, simply enter your site’s URL in the search box and click Analyze. The tool will then test your site’s performance. Once it’s ready, you’ll see an assessment of your Core Web Vitals, which are a set of metrics about your page speed.
PageSpeed Insights also makes it easy to check for render-blocking resources. To do this, you can scroll down to the Opportunities section. Here, you’ll need to look for a suggestion labeled Eliminate render-blocking resources.
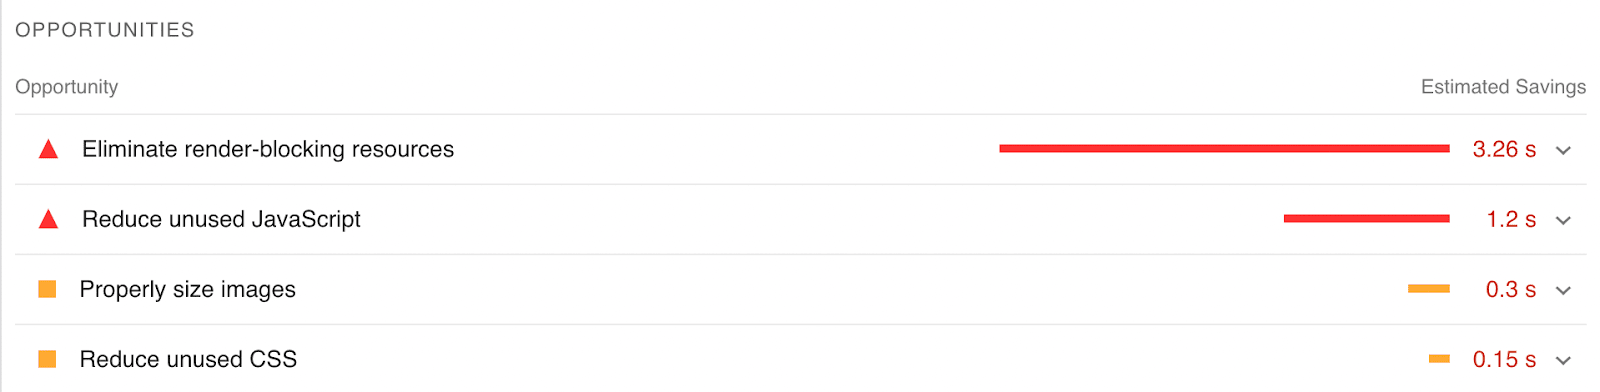
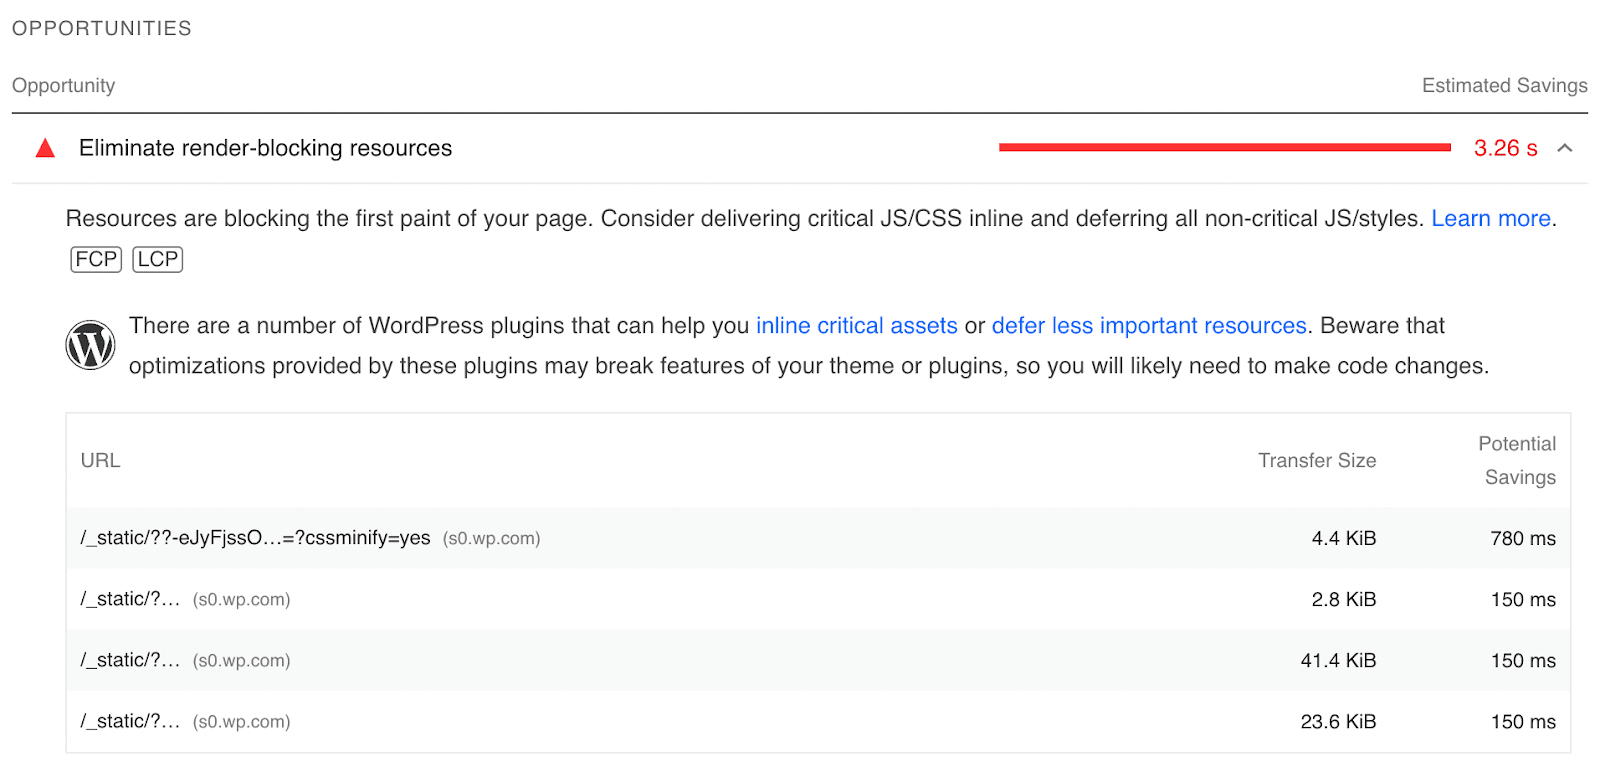
If you click on it, PageSpeed Insights will give you a list of render-blocking resources that it identified during the test. On the right-hand side of the page, you’ll see the estimated savings if you delete or defer these files.
Once you’ve identified your render-blocking resources, you can go ahead and remove them from your site. This way, you can improve your page speed and user experience.
How to eliminate render-blocking resources in WordPress
Now that you know how to identify render-blocking resources in WordPress, you might be wondering how to remove them from your site. Fortunately, we’ve compiled a list of different ways you can do this, starting with the easiest methods.
1. Optimize CSS loading
One way to eliminate render-blocking resources is to optimize your website’s CSS loading. As discussed earlier, a browser loads your website from top to bottom. When it has to process certain files, this can delay the loading process.
It’s important to note that only certain CSS files are required for loading. Therefore, when you optimize CSS loading, you can display the most important files first.
Although you can remove render-blocking CSS manually, you can install a plugin to simplify the process. Jetpack Boost enables you to optimize your site from your WordPress dashboard.

With this plugin, you can optimize CSS loading, defer non-essential JavaScript, and implement lazy loading in a few simple steps. This is one of the easiest ways to eliminate render-blocking resources in WordPress.
To get started, navigate to Plugins → Add New in your WordPress dashboard and search for Jetpack Boost. Then, install and activate the plugin on your site.

If you already have Jetpack installed, you can navigate to Jetpack → My Jetpack. From the list of Jetpack products, look for Boost and click on Activate.

After activating the plugin, click on the Jetpack Boost tab and select Get Started.
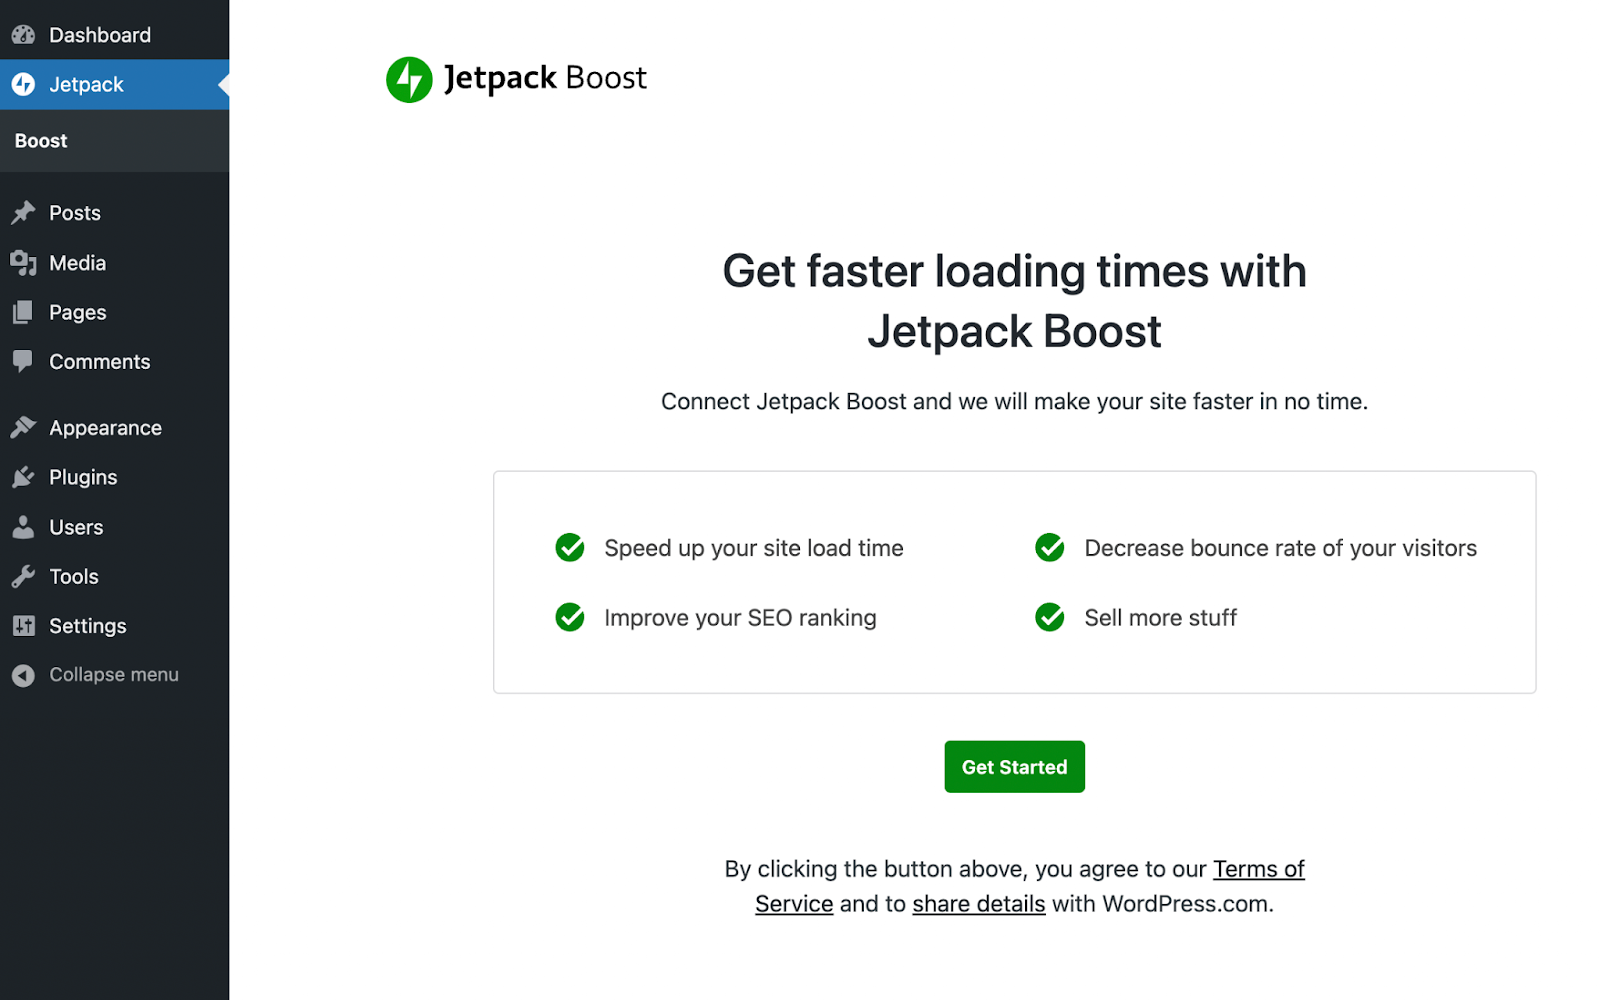
Jetpack will automatically give you a performance score for your website. You’ll see a letter grade, as well as details about your mobile and desktop scores.

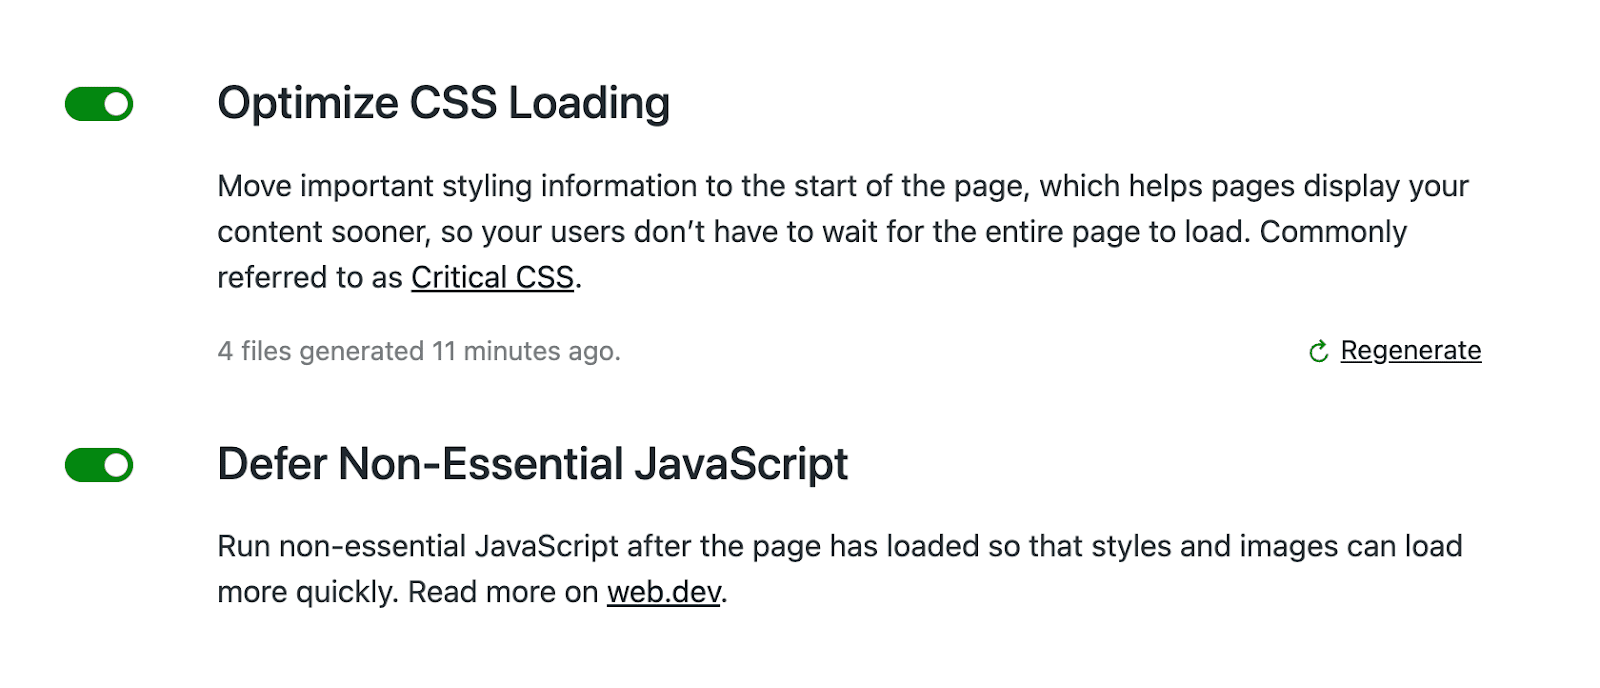
Then, scroll down to Optimize CSS Loading and turn on this feature. When activated, Jetpack Boost will move your WordPress critical CSS to the top of your pages, so they load faster.

2. Defer non-essential JavaScript
Optimizing CSS loading is not the only step you can take to eliminate render-blocking resources in WordPress. You can also defer parsing of non-essential JavaScript to further improve your site’s load times.
By deferring non-essential JavaScript, you can postpone certain tasks until after your content loads. If some JavaScript files are not necessary to load a page, you can prevent the browser from processing them.
Luckily, this is simple to implement with the Jetpack Boost plugin. After you optimize CSS loading, you can easily defer non-essential JavaScript as well.
To do this, locate the Defer Non-Essential JavaScript section, which is underneath Optimize CSS Loading, and turn on the toggle switch.
Once you enable this setting, the plugin will recalculate your overall page performance. You’ll be able to see your score before and after using Jetpack Boost.

Compare the scores in the screenshots before and after we went through this process. You’ll see that optimizing CSS loading and deferring non-essential JavaScript were effective in improving page speed. Without having to process bulky scripts, browsers are able to load your content faster.
3. Defer off-screen images
Images are not a render-blocking resource, but you can consider optimizing their loading process to improve your page rendering. Often, websites contain off-screen images that don’t appear on a page until a visitor makes an interaction, like scrolling. Since these are non-critical to loading the web page, you can defer them with lazy loading.
Lazy image loading involves only loading the images that visitors can see. When someone starts to scroll, these images will load right before they appear on the page.
Without lazy loading, a browser will attempt to load all of the images on a page at once. This means it will take longer for your content to load, which can prompt people to leave your site.
If a visitor is using a desktop computer, regular loading might not be a problem. On the other hand, smartphones and tablets have smaller screens and less bandwidth. If your website fully loads all of its images at once, this can put more strain on the bandwidth and increase loading times for mobile phone users. Lazy loading solves this problem.
You can use Jetpack Boost to enable lazy loading on your site. Simply find the Lazy Image Loading feature and turn it on.
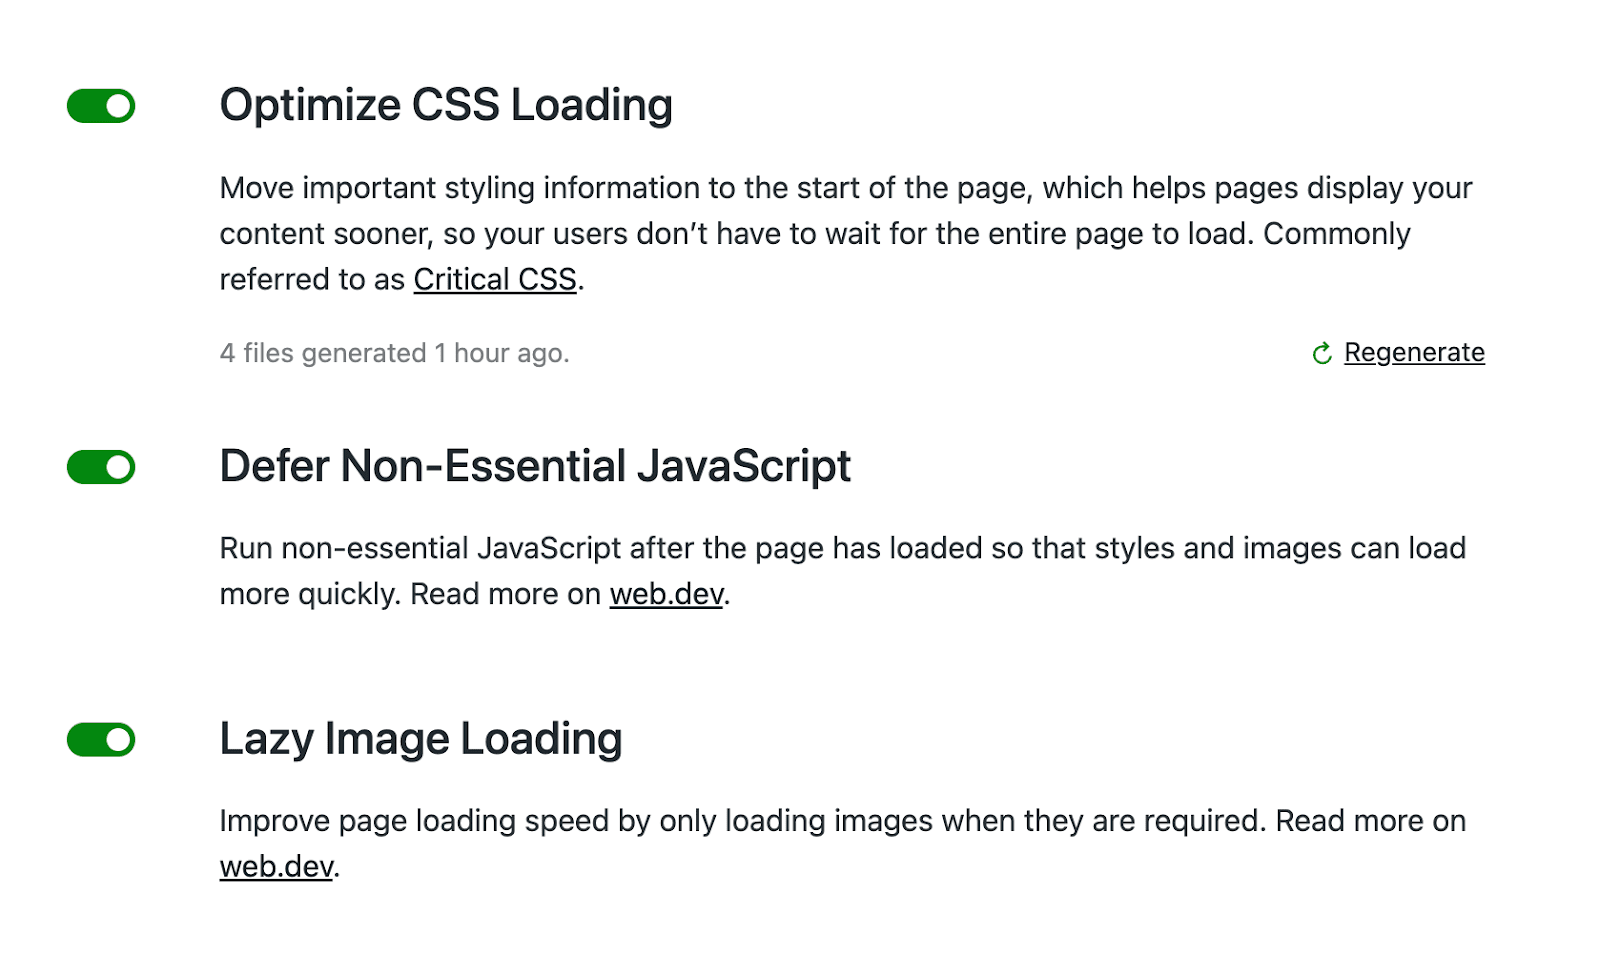
By doing this, your website will only load images as the visitor scrolls down the page. Although images are not a render-blocking resource, turning on lazy loading can help improve your page speed.
The easiest speed optimization plugin for WordPress
Jetpack Boost gives your site the same performance advantages as the world’s leading websites, no developer required.
Boost your site for free4. Manually remove render-blocking JavaScript
Although installing an optimization plugin is a much simpler solution, you can also remove render-blocking resources manually. Ideally, you should only consider this option if you are an experienced coder. This process might also be useful if you want to reduce the number of plugins on your website.
When optimizing JavaScript, you can add an async or defer attribute to your files. This will mark the non-critical scripts and tell the browser to render them separately. Both attributes can be used to make HTML content load faster.
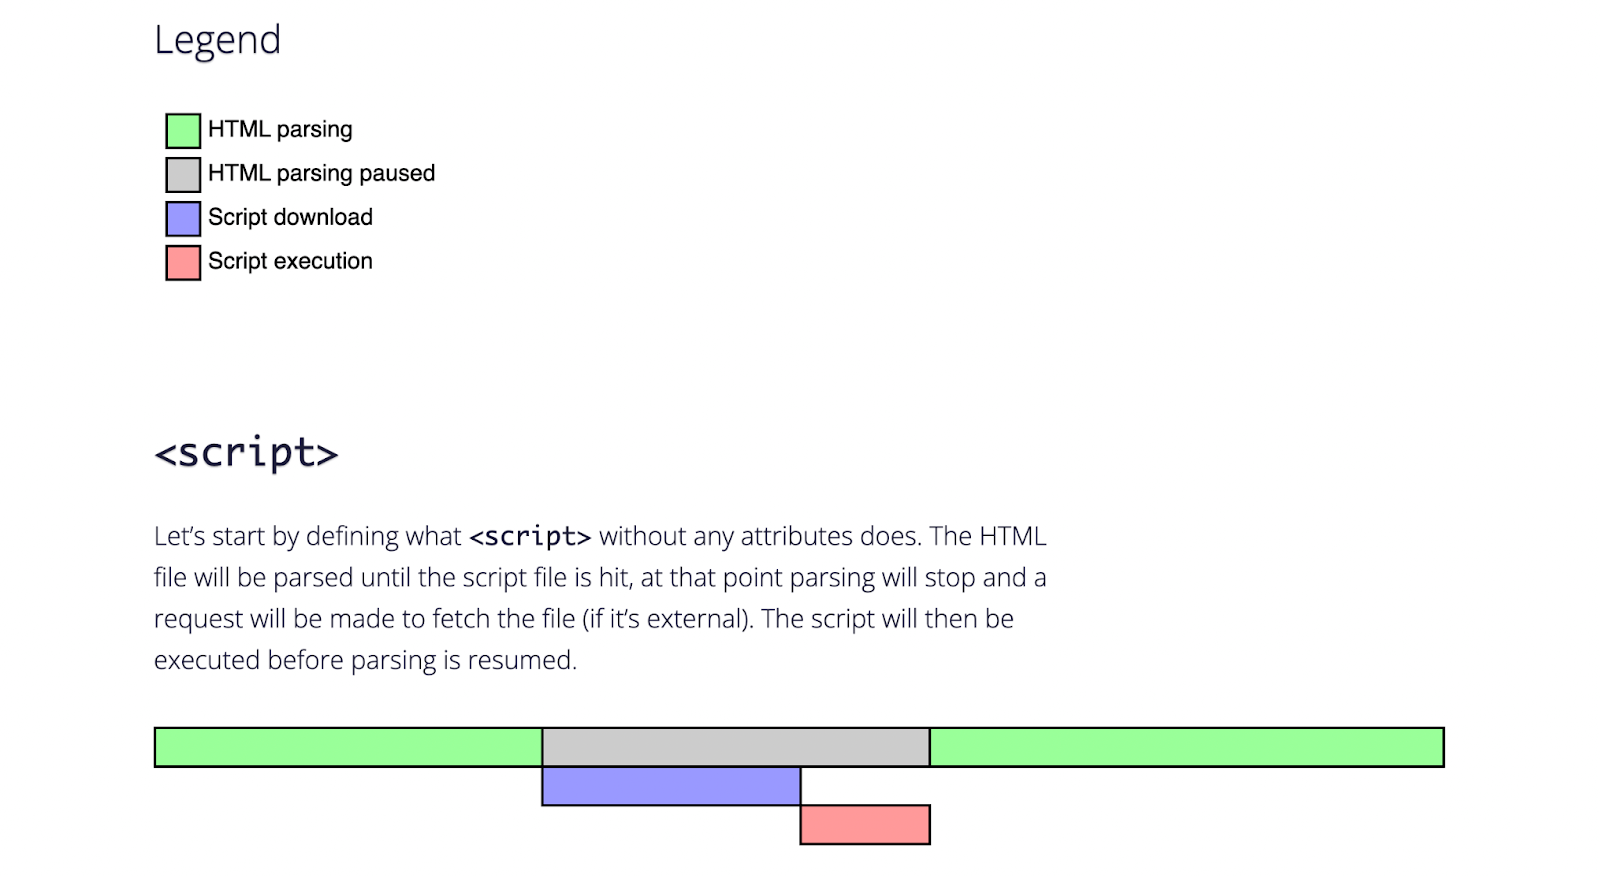
In a normal script, the HTML file is parsed until it reaches a script file. Then, the parsing will pause while it retrieves the script. Once it is downloaded and executed, the parsing resumes.
The async attribute lets the browser download JavaScript while it’s parsing the rest of the HTML. Once it downloads, it can stop the HTML parsing to execute the script.

Similarly, the defer attribute lets the browser download the script while parsing the HTML. The difference is that it also waits until after the HTML parsing has finished to execute the script.
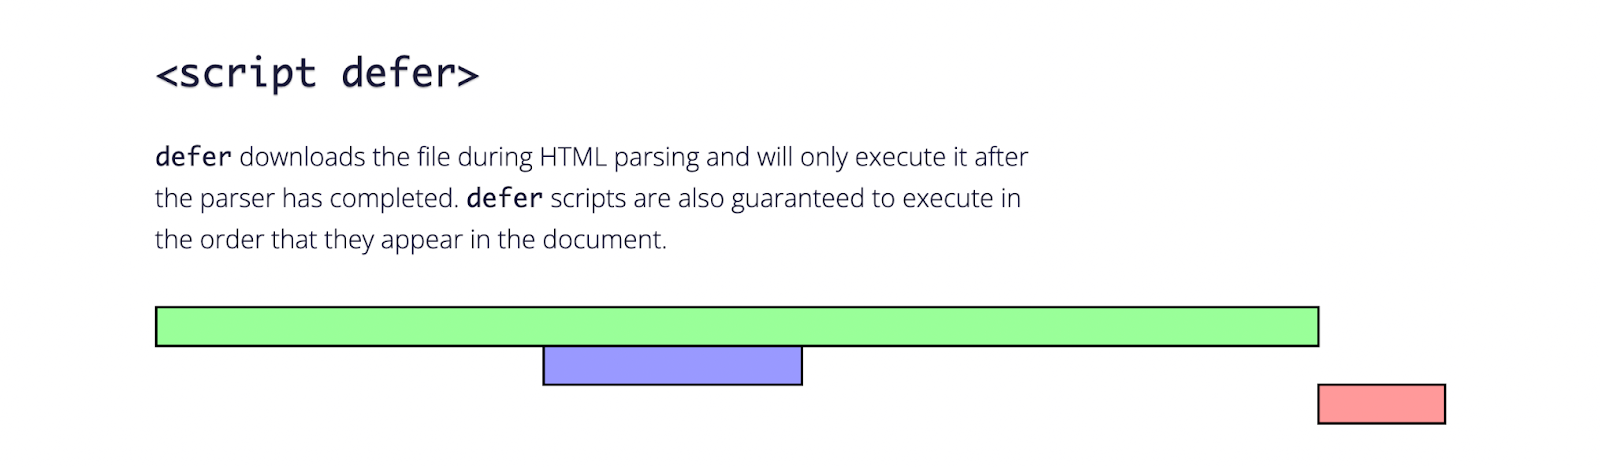
To implement either of these attributes, you’ll have to add a code snippet to your functions.php file. First, you’ll need to find the <script> tag for the render-blocking resource. Then, you can add an async attribute like this:
<script src="resource.js" async></script>Alternatively, here’s what a script might look like with a defer attribute:
http://resource.jsWhile a plugin can handle these attributes for you, you might prefer to perform this task yourself. If so, it’s important that you know when to use each attribute. For non-essential scripts that rely on another script, you’ll need to use a defer attribute. For all other scripts, you can go with async.
5. Apply async or defer attributes with a plugin
If you’re having trouble editing scripts manually, you can use a plugin like Async JavaScript. This tool enables you to fully control which scripts have an async or defer attribute.
Once you’ve installed the plugin, go to Settings → Async JavaScript and select Enable Async JavaScript.

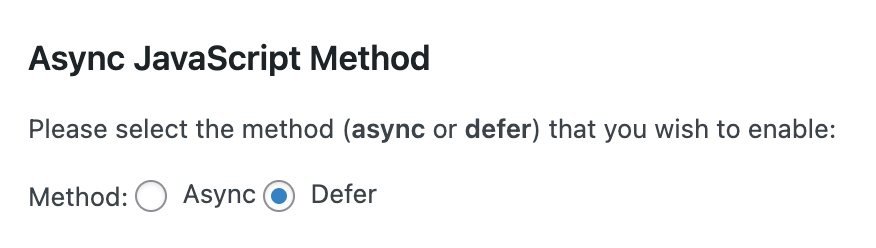
Then, navigate to the Async JavaScript Method section. Here, you can select whether you want to enable async or defer attributes.
Since many plugins rely on jQuery, it’s a good idea to exclude these scripts. If you try to apply async attributes to jQuery, you could end up breaking your website.
When in doubt, you can use the defer attribute, but the best course of action is to exclude jQuery altogether.

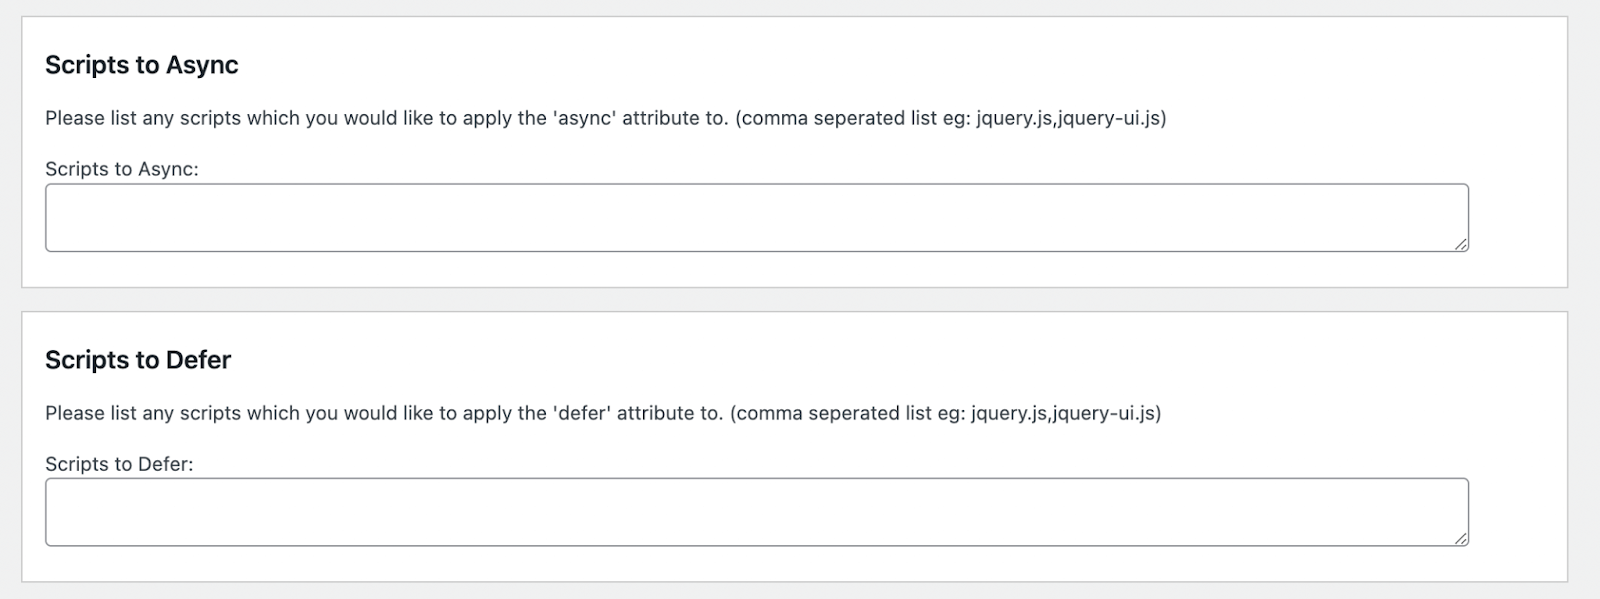
Now, you can list specific scripts that you want to defer or async. It’s important to make sure that you place each script in the correct section.
Under the Script Exclusion section, you can list any scripts that you want to exclude from this process.
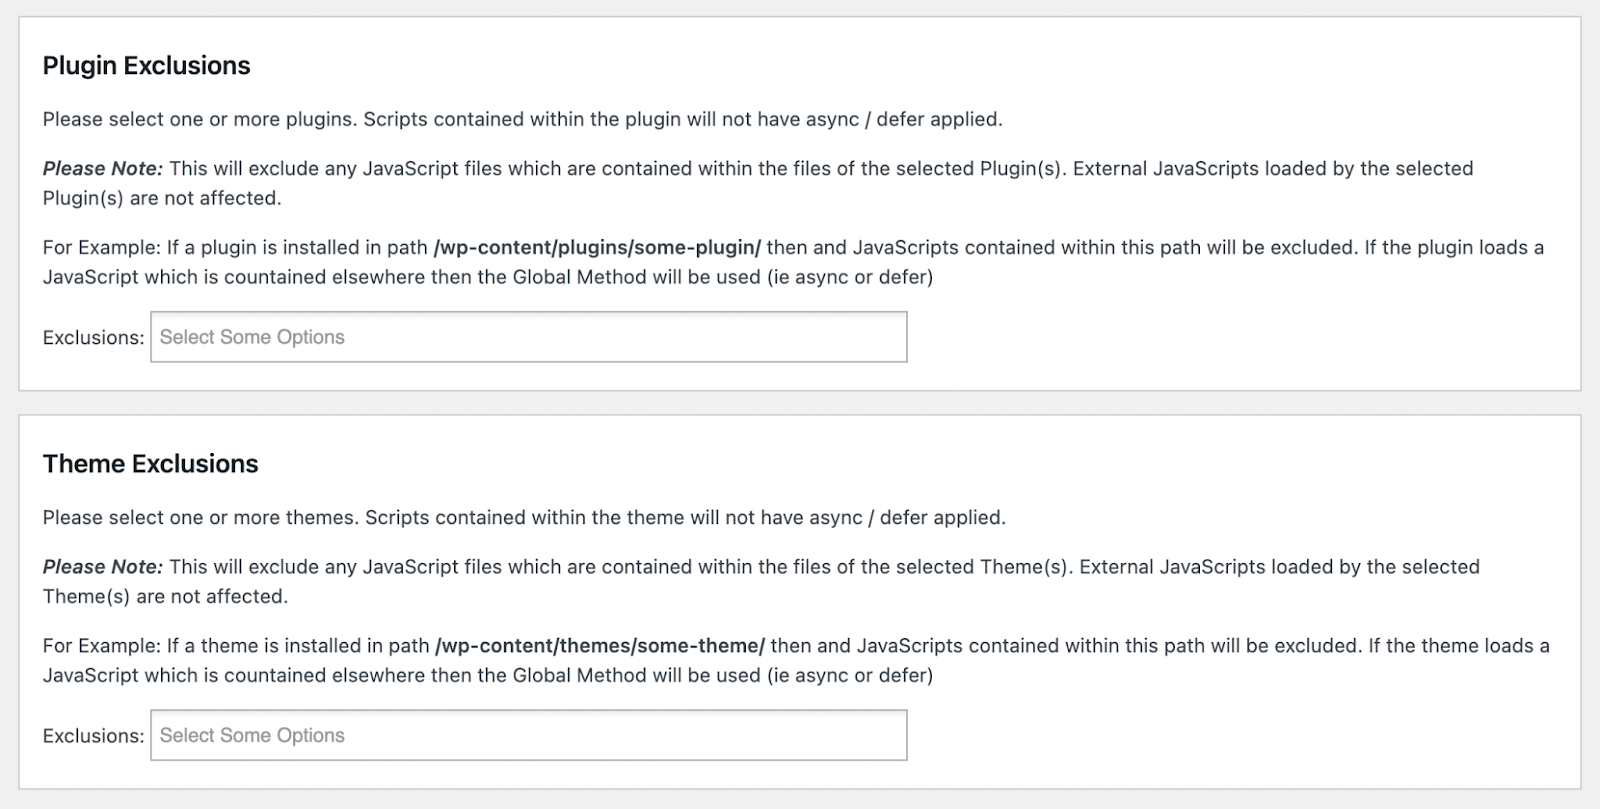
At the bottom of the page, you’ll also see options for excluding plugins and themes. When you list a theme or plugin here, their scripts will not apply to the async or defer attributes.
Once you’ve customized these options, you can go ahead and click on Save Settings. This method can be an effective middle ground between manually editing scripts and allowing a plugin to perform this process for you. Alternatively, you can use an all-in-one tool like Jetpack Boost to remove these extra steps.
Frequently Asked Questions (FAQs)
As you can see, there are several ways to eliminate render-blocking resources in WordPress. Let’s look at some of the most common questions about this process.
How can I test my WordPress site for render-blocking resources?
You can test your WordPress website by entering its URL on PageSpeed Insights. In your results, look for any render-blocking resources under the Opportunities section.
Are render-blocking resources related to Core Web Vitals?
Yes, render-blocking resources can negatively impact your WordPress site’s Core Web Vitals scores. Any unoptimized scripts can increase the Largest Contentful Paint (LCP), Total Blocking Time (TBT), and First Contentful Paint (FCP). If you test your website with a Core Web Vitals software, like PageSpeed Insights, it may suggest eliminating render-blocking resources to improve your score.
Is HTML a render-blocking resource?
Yes, any HTML imports, scripts, or stylesheets that delay the page rendering process can be a render-blocking resource.
Are images render-blocking?
No, images are not a render-blocking resource, but you might still want to optimize images to increase your page speed. Using Jetpack Boost, you can defer off-screen images to only load what’s visible on the screen. Then, images will load as a visitor scrolls down the page.
Optimize your site for faster load times
When you remove render-blocking files, you can improve your site’s load times. This may contribute to a better user experience, which can keep visitors on your website for longer periods. Therefore, eliminating render-blocking resources can be an effective way to optimize your site to better reach your goals.
To review, here are five ways you can eliminate render-blocking resources in WordPress:
- Optimize CSS loading with Jetpack Boost.
- Defer non-essential JavaScript.
- Defer off-screen images.
- Manually remove render-blocking resources.
- Apply async or defer attributes with the Async JavaScript plugin.
Once you remove render-blocking resources, your visitors can enjoy faster loading times!
The easiest speed optimization plugin for WordPress
Jetpack Boost gives your site the same performance advantages as the world’s leading websites, no developer required.
Boost your site for free