
Images and videos are a great way to make your web pages more engaging and interesting to visitors. But lots of images on your website can slow down your loading times. This can affect your pages’ search engine rankings and your site’s user experience (UX).
Fortunately, you can optimize and compress images to increase site speed. Whether you’re a WordPress expert or a complete beginner, you can find a method that works for you — like using a plugin, a simple online tool, or the image editor on your device.
In this guide, we’ll take a closer look at why you should consider optimizing and compressing images. Then, we’ll show you three ways you can do this and explore other useful strategies for speeding up image delivery.
Why compress and optimize your images?
Before you learn how to optimize images in WordPress, it’s important to understand why you might want to do this. The fact is that large, unoptimized images take up lots of bandwidth and can contribute to slow loading web pages. To give you an idea, when it comes to slow load times, just a four second delay can increase bounce rates by 24 percent.
Additionally, page speed is a ranking factor for Google. Therefore, slow loading times can lead to your pages appearing lower in the search results, making you less visible to searchers.
By optimizing your images, you can get your photos looking their best while using fewer pixels and bytes to serve them on the page.
When you do this, you’ll need to think about your preferred image format. For instance, a PNG is able to utilize ‘lossless’ compression, which doesn’t reduce file sizes too much. This enables you to retain image quality, making it a great choice for web graphics and icons.
Alternatively, you can use JPEG images. While the file size is much smaller, JPEGs can result in a poor quality image when compared to PNGs. In most cases, however, you won’t notice much of a difference.

How to optimize and compress images in WordPress (3 steps)
Now that you know why image optimization is important for your website, let’s take a look at three steps to optimizing and compressing images for WordPress.
Step 1: Compress your images
Method 1: Use an online compression tool
An online compression tool is a quick way to reduce your image file sizes without any noticeable difference to the image quality.
But, it does require you to revisit the website each time you want to add an image to your site. This can be fairly time-consuming, but some services do allow you to upload images in bulk.
One of the most popular online compression tools is Tiny PNG. This is a freemium, user-friendly platform that’s suitable for complete beginners.
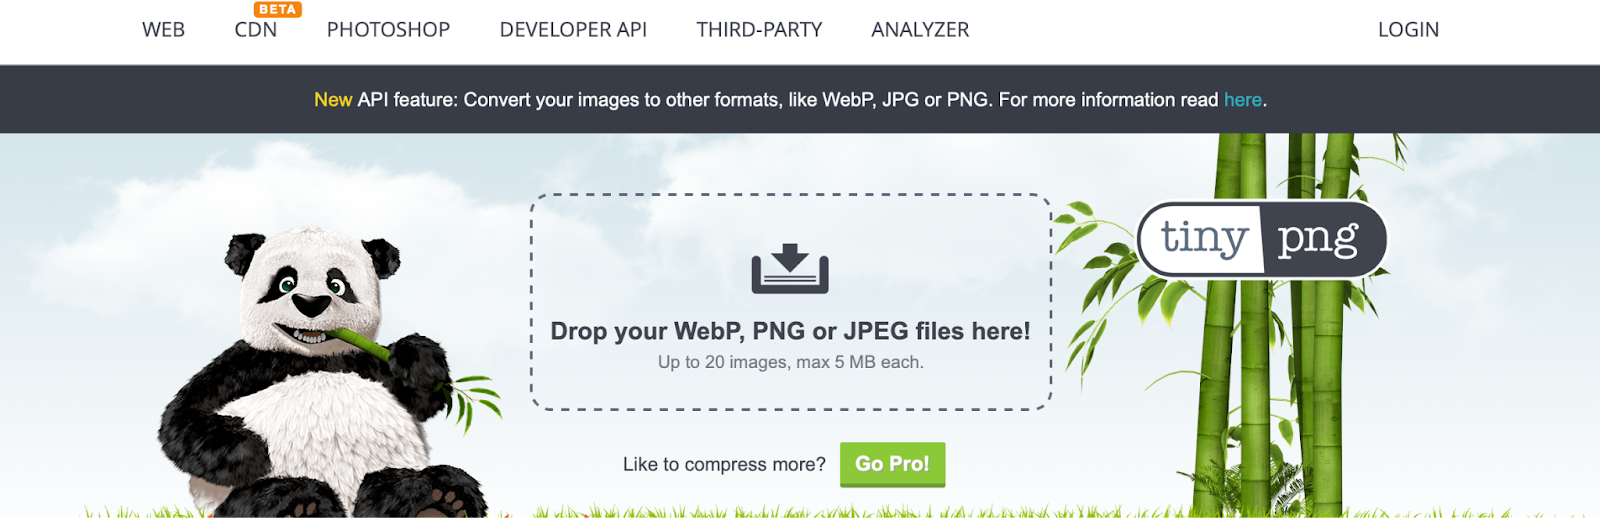
With it, you can compress up to 20 images at once, and you’re able to select your preferred format from JPEG, PNG, or WebP.
All you need to do is upload/drop your image onto the website and the process begins immediately. This will only take a few seconds. Then, you can save your compressed images straight to your preferred cloud storage location or download the files to your computer.
Another useful online tool is Compress JPEG. Similar to Tiny PNG, you can compress up to 20 images at once and download them individually, or grouped together in a zip folder.

The advantage of Compress JPEG is that you’re not limited to JPEGs and PNGs. You’re also able to compress GIFs and PDFs. Although PDFs are document files, they often contain images, charts, and hyperlinks.
Additionally, PDFs can be hundreds of pages long, which results in large file sizes. By compressing any downloadable PDF files, you offer on your site, you can avoid creating a negative experience for users, making your files easily shareable and accessible to anyone who opens them.
Method 2: Resize and compress images manually with an image editor
Alternatively, you can resize and compress images with an image editor. This method gives you a lot more control over resizing and cropping your images, but it provides only very basic editing capabilities.
Of course, you might prefer external editing tools (like Adobe Photoshop), but these can be expensive and most of this software comes with a steep learning curve.
The most accessible method is to use the photo editor on your operating system. You can use your device’s native tool to reduce your image size, cropping out non-essential parts.
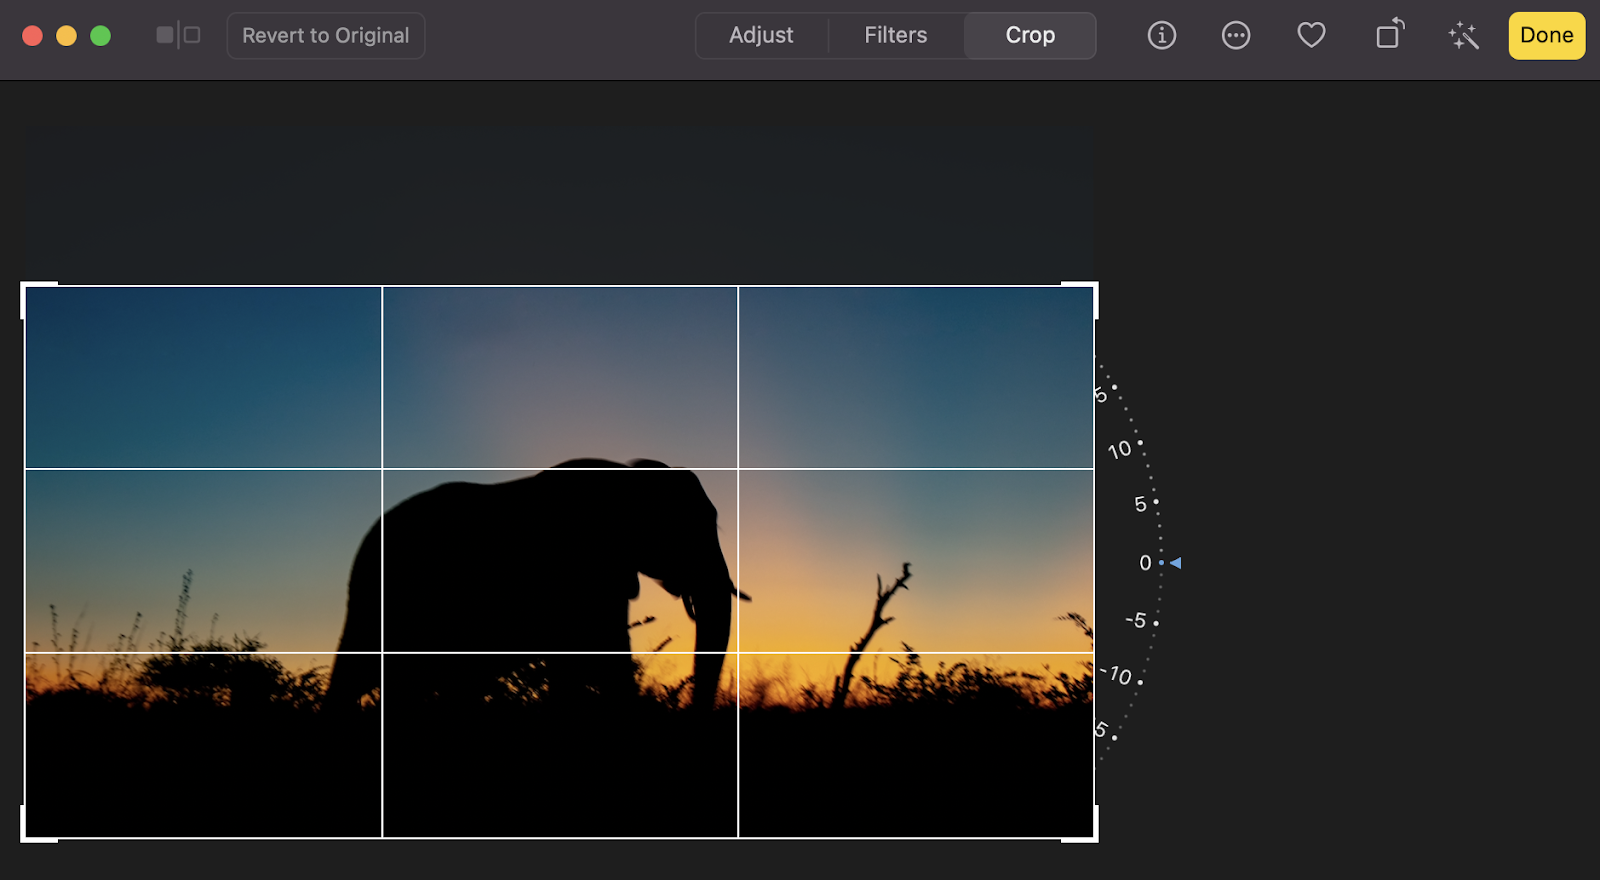
Here’s an example of how you might do this using the Photo application on macOS. Start by opening Photo and selecting your image. Then, hit Edit.

Here, select Crop and drag the corners to shrink your image.
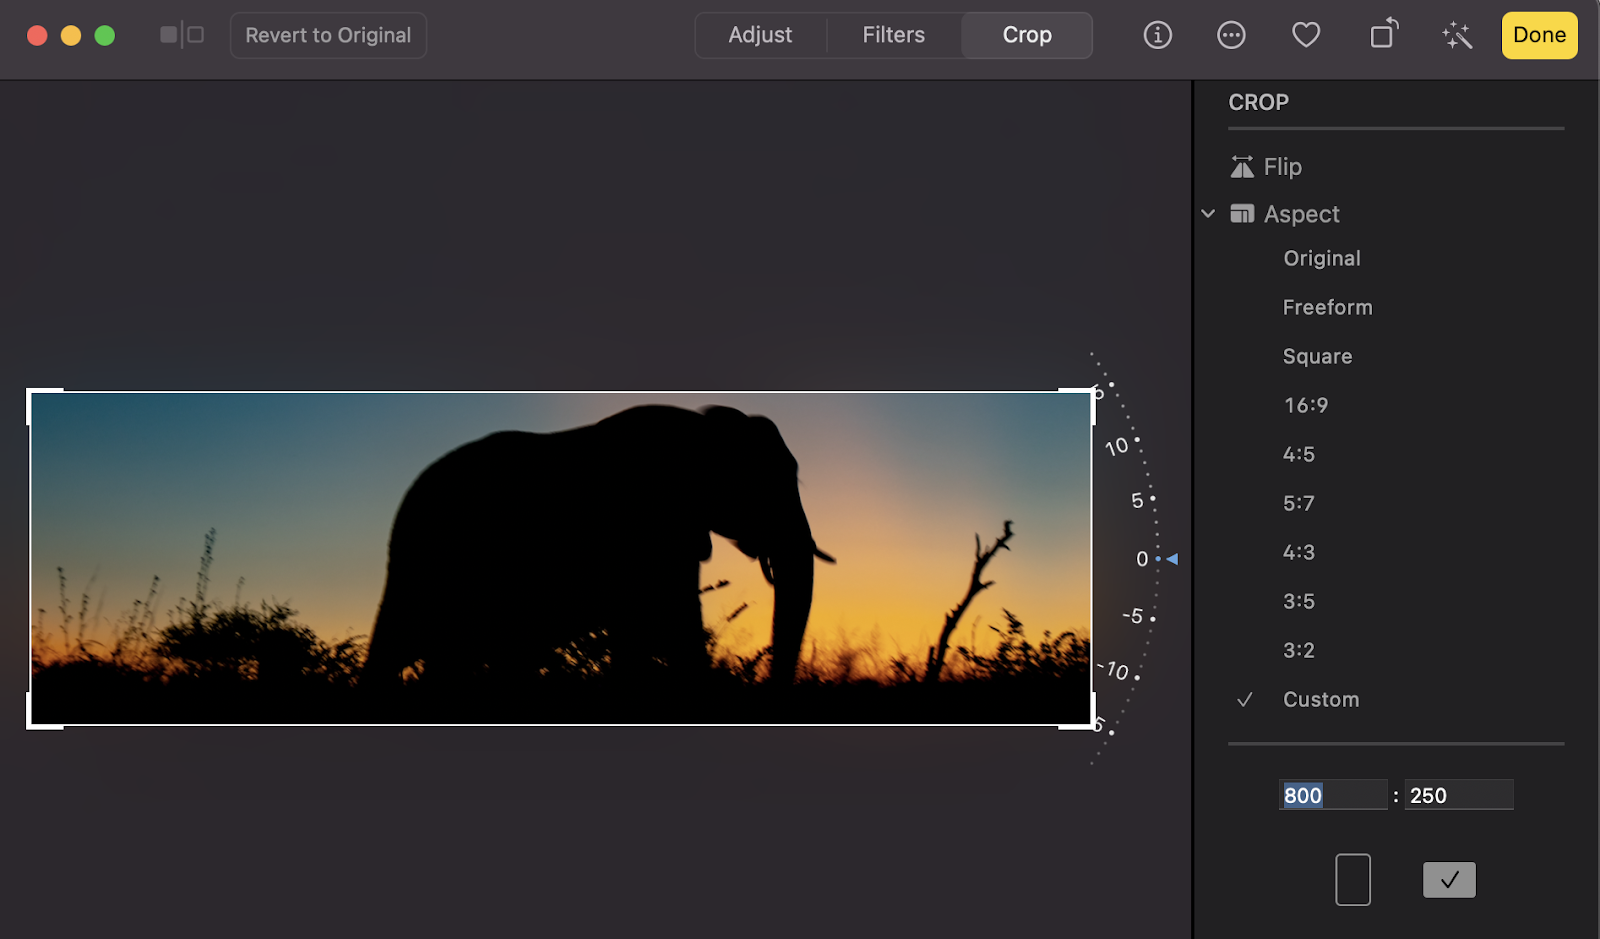
You can also click on Custom to specify the exact height and width of your image. Simply type your dimensions into the box, and select landscape or portrait mode. The image will adjust instantly.
Alternatively, you might prefer to use one of the default options. For example, the Square setting can come in handy if you plan to post your image on social media.
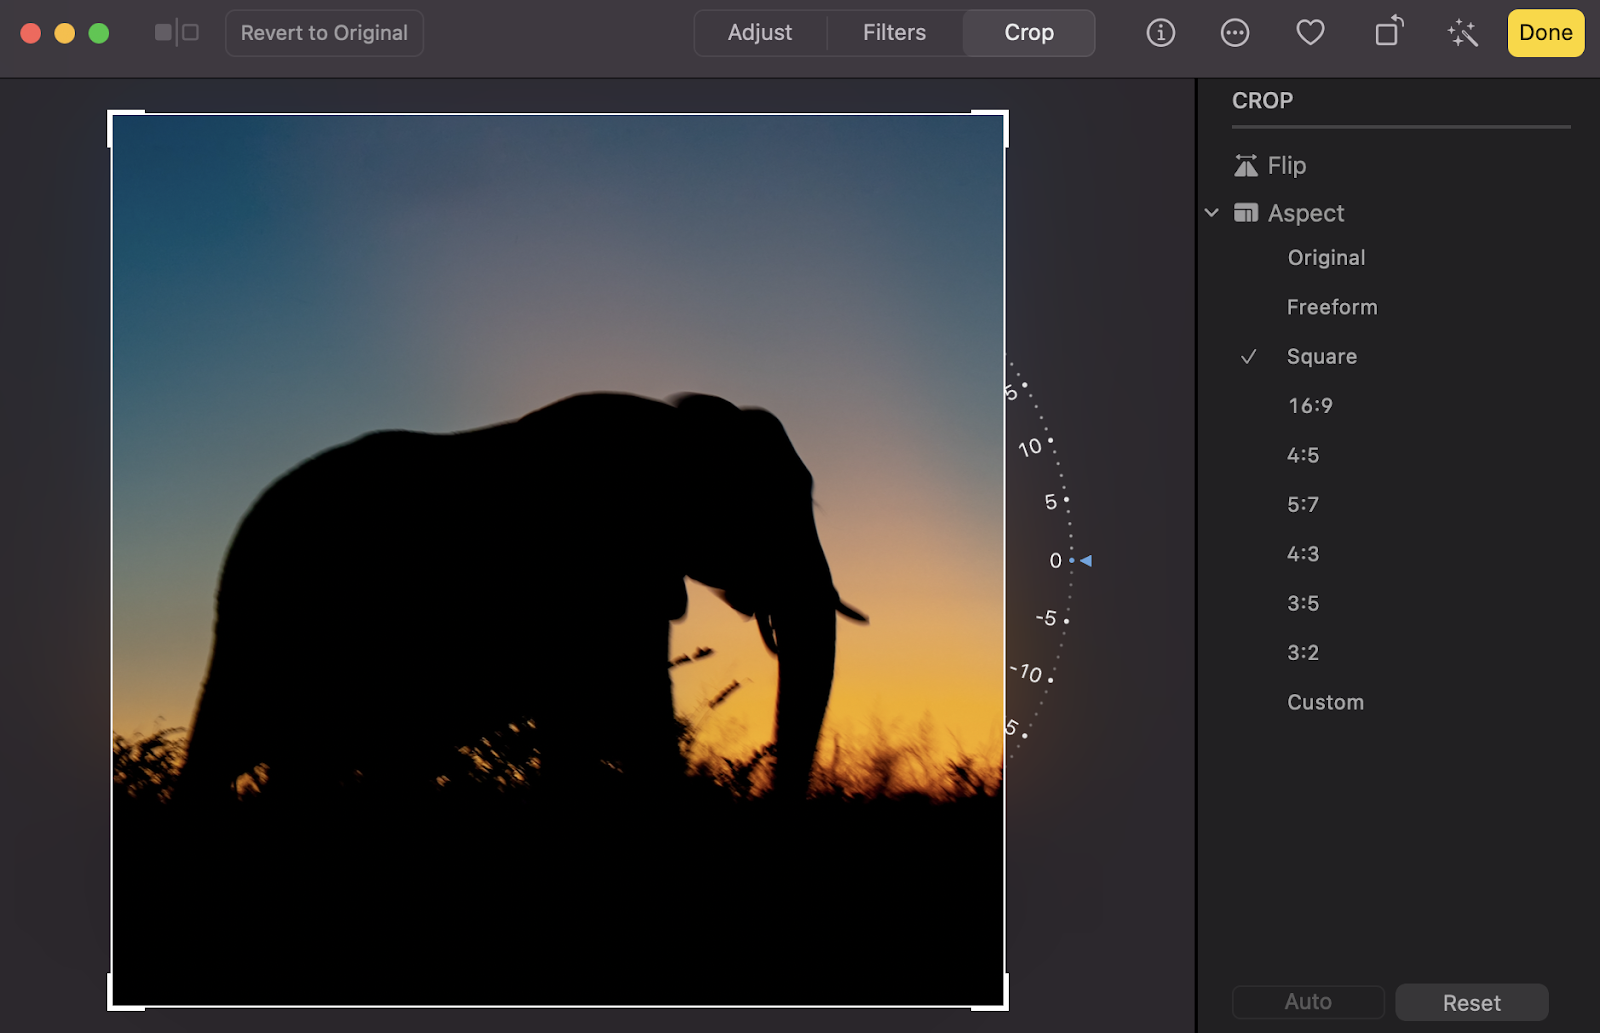
If you decide against the changes you’ve applied, you can click on Reset to revert your image back to its original form. Then, when you’re happy with your image, click on Done.
As we mentioned above, you can also use third-party tools like Adobe Photoshop to resize and compress images.
If you opt for this method, it’s best to consider sticking to JPEGs and PNGs to keep file sizes small while retaining image quality. Here’s a detailed guide on recommended image sizes for WordPress.
Step 2: Serve your images through Jetpack’s image CDN
A content delivery network (CDN) is a powerful tool that uses a network of servers to quickly and efficiently display your site to visitors based on their location. And while any CDN can help you improve your website speed, Jetpack’s image CDN stands apart due to its unrivaled Photon technology.
Photon starts by re-encoding each image to more modern and lighter formats, like WebP, which reduces file size and takes weight off of your server. Then, it optimizes each image based on the specific device and screen size a visitor is using, creating a bespoke experience for every individual. This means that each and every reader, customer, and client can get the best possible user experience on your site — great for branding, sales, and search engine rankings.
And setting up Jetpack’s CDN couldn’t be any easier. Here’s how you can get started:
- In your WordPress dashboard, go to Plugins → Add new. Search for “Jetpack.”
- Click Install now → Activate.
- You’ll be prompted to connect Jetpack to your WordPress.com account, which enables you to make the most of the powerful features.
- Return to your WordPress dashboard and navigate to Jetpack → Settings → Performance.
- In the Performance and speed section, toggle on Enable site accelerator.
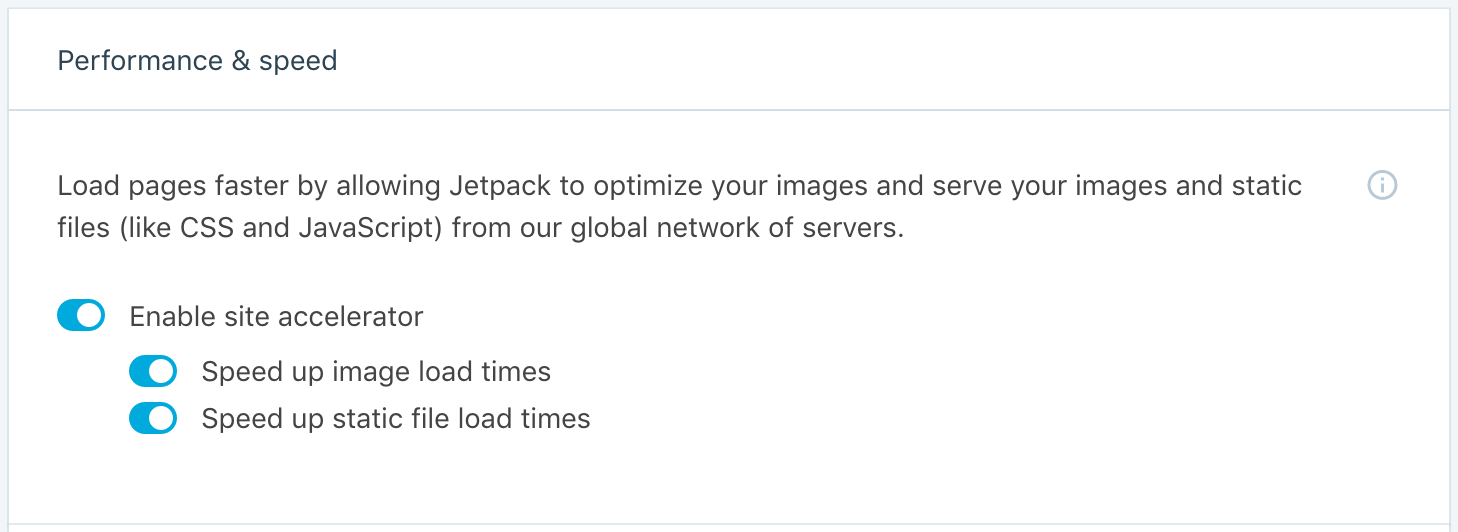
And that’s it! Jetpack will go to work right away.
Step 3: Install a speed optimization plugin
Now it’s time to wrap up your efforts with a final boost of power. You’ll want a speed optimization plugin for this, and the best one to choose is Jetpack Boost. This tool can work automatically, constantly adapting as you add new images or content to your site.
It will gauge your site’s performance in key areas and provide a report, so you can measure progress. Then, it goes to work to specifically target the metrics that are most important to both your visitors and to search engines.
Jetpack Boost is quick and easy to install. You can opt for the free Jetpack Boost plugin, or upgrade to the premium version for more advanced features.
Once activated, you can navigate to Jetpack → Boost in your WordPress dashboard.
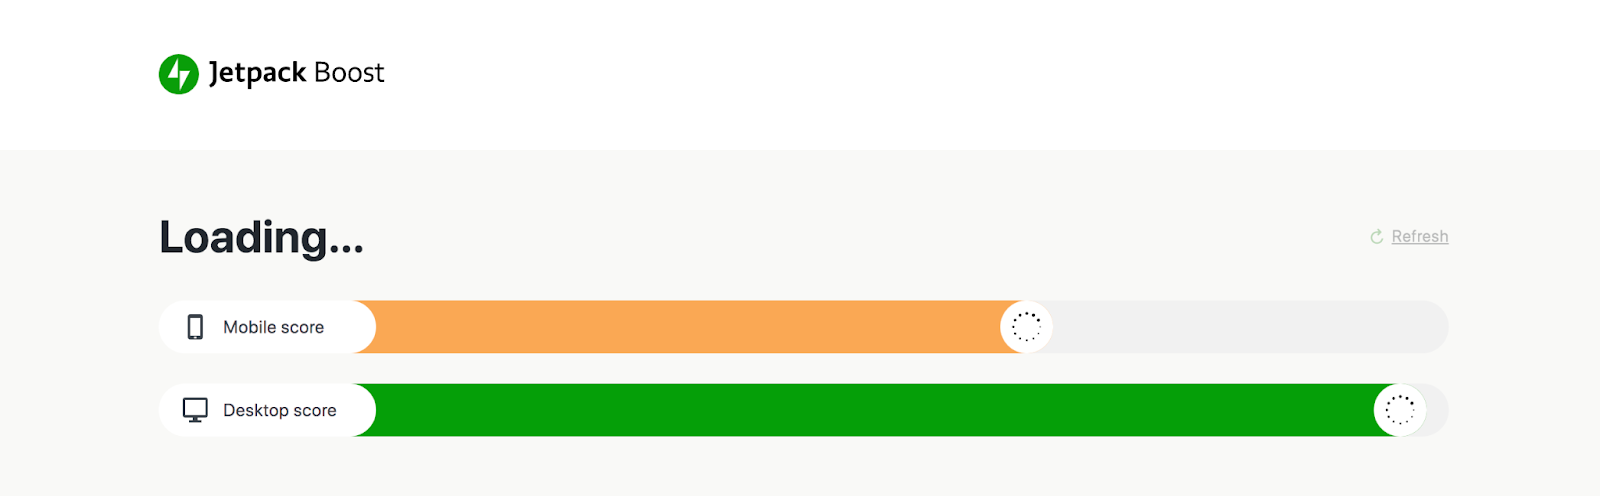
Here, you can generate a score to assess your current performance across desktop and mobile devices. This will help you identify areas you need to improve.
You’re also able to configure your preferred settings for the plugin. For instance, you might want to enable CSS optimization or defer non-essential JavaScript. This allows you to load your most important styles and images quickly.
To do this, simply slide the toggle across for the relevant setting.

The final option is lazy image loading. This is a neat feature that helps you boost speed by only loading images when they’re needed.
Essentially, images that appear further down your page won’t be loaded until the visitor reaches them. It’s a great way to reduce the burden on your server.
And one of the best parts about Jetpack Boost is that once you’ve configured your settings, the plugin runs in the background of your site, so it won’t weigh things down.
The easiest speed optimization plugin for WordPress
Jetpack Boost gives your site the same performance advantages as the world’s leading websites, no developer required.
Boost your site for freeHow to put WordPress speed optimization on autopilot
Compressing images and graphics before you upload them to WordPress should become a regular part of your process. Then, with the right tools in place, your work is done!
Jetpack Boost combined with Jetpack’s image CDN is the simplest way to put your WordPress speed optimization on autopilot. These tools work in the background of your site, so you can simply “set and forget” them, without having to bother every time you add new images to your posts or pages.
Jetpack’s CDN will automatically detect new images and add them to its network of servers, immediately beginning to serve them in the appropriate file formats and resize them based on individual visitors’ needs.
Jetpack Boost will continue to defer non-essential JavaScript and lazy load images, even new ones you add. Plus, with a paid plan, it will automatically generate critical CSS every time you make a change on your site.
There are a ton of benefits that you can enjoy by putting speed optimization on autopilot:
- Productivity. You can free up time to focus on more important tasks instead of going back and forth between other tools.
- Reliability. You can rest assured that your site’s speed is optimized no matter what.
- Speed. Optimization starts as soon as you upload new images or update content, and continues while you tend to other parts of your site.
- Accuracy. With manual processes, there’s always room for human error. You might make a mistake with the CSS, select the wrong file type, or input the wrong dimensions. With your speed optimization on autopilot, once you’ve configured your settings, you’ll get your images exactly how you want them every time.
With all that in mind, combining Jetpack CDN with Jetpack Boost is the best way to optimize your images and speed. You can maximize productivity, boost your search engine rankings, and provide an excellent user experience.
Additional steps to optimize your image delivery
Now that you know how to optimize and compress images, let’s take a look at some additional steps that you can take to optimize your image delivery.
Resize your images for mobile devices
Resizing your images for mobile devices is another great way to speed up image delivery. This will help you create a responsive website with images that display smoothly across all screen sizes including smartphones, tablets, and desktops.
This way, you can optimize the user experience for all visitors, no matter what device they use to access your website. This is important because mobile traffic accounts for nearly 60 percent of global web traffic. What’s more, in 2015, Google started rewarding mobile-friendly websites with higher search rankings.
If you serve poorly-loaded content, glitchy pages, or missing images, you can severely disrupt your user experience and risk sending visitors elsewhere. A great solution is to install Jetpack CDN, which automatically resizes images for different devices.
Avoid embedding images from external sources
Another factor that contributes to slow load times is image redirects. These occur when you embed images from external sources. Luckily, this issue is simple to resolve.
To increase your website speed and optimize your UX, you can save the image to your computer, or to a remote location like the cloud. Then, you’re able to upload the image directly to your WordPress website.
Optimize your image thumbnails
Finally, if you run an ecommerce website, you can boost image delivery by optimizing your thumbnails.
Large and unoptimized thumbnails can delay your loading times, which can frustrate visitors. You might even end up losing customers as a result.
It’s important to make your thumbnail file sizes as small as possible. This is especially relevant for category pages where you might be displaying lots of thumbnails at once. That’s because lots of unoptimized images can significantly hinder your site speed.
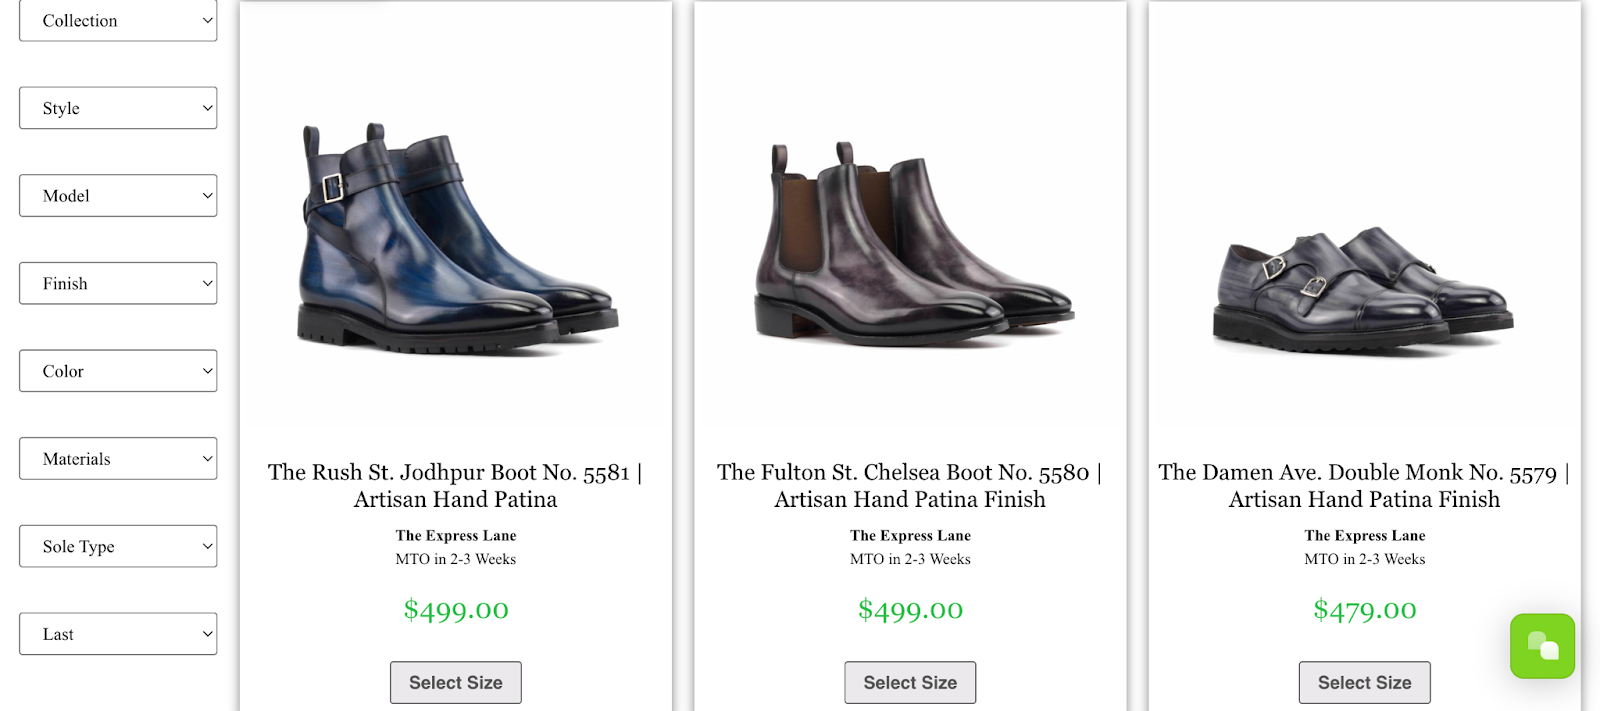
Image from August Apparel
Additionally, where thumbnails are concerned, you might even prioritize file reduction over image quality — especially since your website visitors aren’t likely to notice a reduction in quality if the image is very small.
What else can I do to speed up my WordPress site?
One of the easiest ways to speed up your WordPress site is to improve your Core Web Vitals score. This score is determined by a set of metrics used by Google to measure your site’s performance. For instance, LCP refers to the time it takes for the largest element on your page to load, like your hero image.
FCP evaluates the time it takes for the first piece of content to load on your page. With very large image files, you can get poor LCP and FCP scores that can affect your search rankings.
Other useful ways to speed up your site include minifying CSS, removing (or deferring) unused CSS, and deferring parsing of JavaScript.
Optimize and compress your WordPress images
While visuals are a great addition to your web pages, too many unoptimized media files can weigh your site down. This can result in poor performance that damages the user experience. Luckily, you can fix this by optimizing and compressing images in WordPress. Then, no matter where your visitors live or what device they’re using, you can serve content quickly.
To recap, here are three steps to optimize and compress images for WordPress:
- Compress your images with a tool or manually
- Serve your images through Jetpack’s image CDN
- Install a speed optimization plugin like Jetpack Boost
The easiest speed optimization plugin for WordPress
Jetpack Boost gives your site the same performance advantages as the world’s leading websites, no developer required.
Boost your site for free