
Fast-loading images keep visitors engaged and improve your search rankings. But you shouldn’t have to sacrifice sharp visuals to get better performance. WordPress image optimization plugins compress, resize, and convert your images automatically, often cutting file sizes in half without anyone noticing a difference in quality.
In this guide, we’ll rank popular WordPress image optimization plugins. You’ll learn what to look for, how each tool performs, and which one fits your site’s needs.
Plugin selection criteria and evaluation process
With so many image optimization plugins promising faster load times, it can be tough to know which ones actually deliver. So we evaluated each plugin hands-on in a real WordPress environment. The goal was simple: find the tools that improve site speed without creating extra issues.
Here’s what we looked at:
- Compression quality and visual results: How small can files get while still looking crisp?
- Performance impact and Core Web Vitals: How do optimized images affect real metrics like Largest Contentful Paint (LCP)?
- Automation and workflow: Does the plugin automatically optimize uploads? Can you bulk compress existing images? Is WebP created behind the scenes?
- Control and flexibility: Does the plugin include custom resizing rules, conversion to modern formats, and per-image settings?
- Ease of use: How intuitive does each interface feel upon installation?
- Compatibility and reliability: Does the plugin work well with your chosen host, caching solutions, and page builders?
- Pricing and value: Some tools offer generous free plans, while others require paid credits for meaningful results.
Taken together, these criteria helped us separate the standouts from the plugins that look good on paper but fall flat in practice.
Image optimization plugins for WordPress
The best image optimization plugins shrink files and improve your user experience from the moment someone lands on a page. Below, you’ll find some of the most popular tools:
1. Jetpack Boost
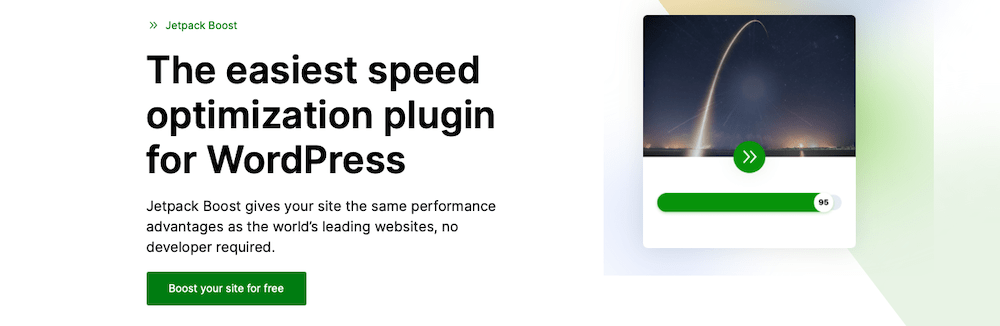
Jetpack Boost is a performance plugin that improves Core Web Vitals with just a few toggles. It automatically converts and serves images in modern formats like WebP and generates Critical CSS to speed up how quickly pages appear to load.
A baseline test run through GTmetrix without any image optimization plugins enabled showed decent results already:

But after running a test post through the tool with Jetpack Boost enabled, the performance and LCP improvements speak for themselves:

Key features:
- WebP image delivery via Jetpack’s image services
- An image CDN for faster global delivery
- Critical CSS generation for better LCP
- Lazy loading support for off-screen images
- Performance scoring for desktop and mobile
Pros of Jetpack Boost:
- It’s beginner-friendly with simple on and off controls.
- There’s no complex setup for WebP or CDN improvements.
- It boosts multiple Core Web Vitals.
Cons of Jetpack Boost:
- It requires a WordPress.com connection for image services.
- It provides limited control over compression settings.
Ease of use:
Jetpack Boost offers a straightforward experience. Turn on the features you want and let the plugin handle everything automatically.
Best for:
Creators, bloggers, and small business sites that want faster images and better performance will thrive with this plugin.
Jetpack Boost pricing:
Free. Some advanced performance features do require premium Jetpack plans, however.
2. Smush
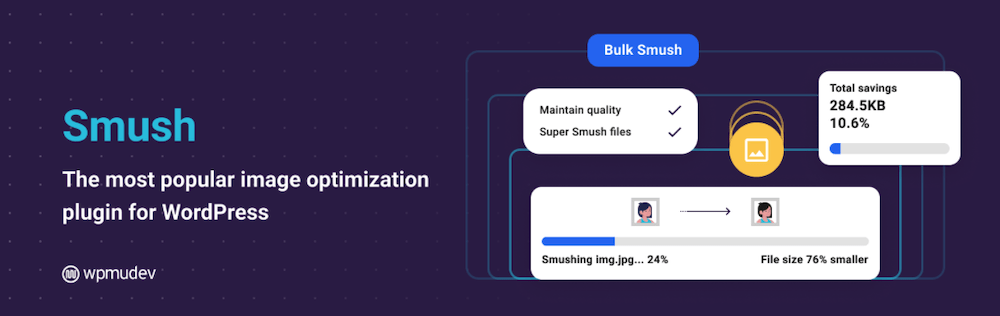
Smush is a popular image optimization plugin built for ease of use. It automatically compresses uploads, supports bulk optimization for large libraries, and includes lazy loading to improve visual performance. It’s a strong pick for beginners thanks to its simple setup and useful free features.
Key features:
- Automatic and bulk image compression
- Lossless compression in the free version and lossy mode in Pro
- Lazy loading for off-screen images
- The ability to resize images during upload to prevent giant files
- WebP conversion and background optimization in Pro
Pros of Smush:
- This plugin offers a beginner-friendly interface.
- Its bulk tools help quickly shrink existing libraries.
- It’s an overall reliable plugin with frequent updates and wide compatibility.
Cons of Smush:
- The free version is lossless only, offering smaller file-size reductions.
- It has just a five MB upload limit per image on the free plan.
- The plugin’s advanced features require a paid upgrade.
Ease of use:
Smush has a simple setup process. Install the plugin, enable automatic optimization, and it works behind the scenes.
Best for:
This plugin works best for bloggers, those with portfolio sites, and small businesses wanting fast wins without complexity.
Smush pricing:
Free with core tools included. Smush Pro adds stronger compression, WebP conversion, and automation features, starting around $72 per year.
3. Imagify
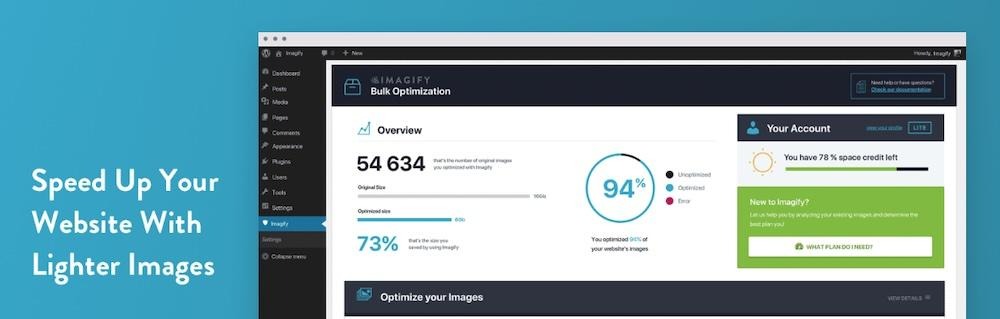
Imagify is a well-designed image optimization plugin that offers strong compression options, automatic resizing, and modern formats like WebP and AVIF, all with a user-friendly interface. It’s a great option for those who want noticeable performance improvements without sacrificing image clarity.
Key features:
- Automatic compression when uploading images
- Bulk optimization for existing media libraries
- Three compression levels including lossless, lossy, and a smart balanced mode
- WebP and AVIF conversion with automatic fallback support
- Image resizing on upload to avoid oversized media
- The ability to restore original images at any time
Pros of Imagify:
- This plugin offers an excellent balance of speed and visual quality.
- It has a very clean interface that’s simple to navigate.
- It supports next-generation image formats without complex setup.
- The bulk tools work well for large or existing media libraries.
- It allows for safe experimentation thanks to the restore-originals feature.
Cons of Imagify:
- The free plan has a small monthly quota (around 20 MB).
- High-image-volume sites will likely need a paid plan.
- Compression can be more aggressive than some competitors, which may require adjustments.
Ease of use:
Imagify is designed to be beginner-friendly. Activate the plugin, enable Smart Compression, and it handles everything automatically. Bulk optimization and format conversion are both handled with just a couple of clicks — no technical skills required.
Best for:
Small to medium sites that want stronger compression than Smush provides, plus modern formats, without digging into advanced settings.
Imagify pricing:
The Fee plan is available with a small optimization quota each month. Paid plans start at around $4.99 per month, paid annually, lifting data limits and enabling large-scale optimization across one or more sites.
4. EWWW Image Optimizer

EWWW Image Optimizer offers automation and deep customization for image optimization in WordPress. It can handle unlimited local compression for free, bulk optimize large libraries, resize images, and convert them to modern formats with optional cloud and CDN upgrades for stronger performance.
Key features:
- Automatic and bulk image optimization
- Unlimited local lossless compression for free
- Optional cloud-based lossy compression and CDN services with paid plans
- Resize and auto-scale images to reduce file weight
- WebP conversion and broad file type support
Pros of EWWW Image Optimizer:
- It has no monthly limits on local optimization.
- The plugin provides a flexible setup process with minimal fine tuning.
- It can optimize images outside the Media Library.
- It’s great for sites with large or aging media libraries.
Cons of EWWW Image Optimizer:
- The free compression isn’t as strong as premium or cloud options.
- Bulk jobs may strain lower-end hosting if run locally.
- It has more settings and complexity than beginner-focused plugins.
Ease of use:
EWWW Image Optimizer is simple if you stick to Easy Mode. You can make use of the optional advanced controls should the need arise, but they’re not necessary for most.
Best for:
Larger sites needing unlimited optimization or people who need full control over compression settings will find this plugin to be a winner.
Pricing:
Free core plugin with unlimited local optimization. Paid plans add cloud compression and CDN delivery, starting at $8/month.
5. ShortPixel Image Optimizer
ShortPixel Image Optimizer is a cloud-based plugin known for excellent compression results, often achieving much smaller files than other tools while maintaining solid visual quality. It supports multiple compression levels and modern formats, and works well for media-heavy websites.
Key features:
- Automatic and bulk image optimization
- Lossless, glossy, and lossy compression modes
- WebP and AVIF conversion with fallback support
- PDF and non-Media Library file optimization
- Optional resizing and metadata removal
- Backup of originals included
Pros of ShortPixel Image Optimizer:
- It provides strong compression and visible performance gains.
- There are flexible settings for quality and size control, which allows for great customization.
- It handles large image volumes well.
- There are no strict file size limits.
Cons of ShortPixel Image Optimizer:
- This plugin requires an API key to activate.
- The free plan is limited to 100 image credits per month.
- Cloud-based processing may be a downside for privacy-focused users.
- Lossy mode may need fine-tuning to avoid artifacts.
Ease of use:
Setup is quick once you add an API key. Automatic optimization runs in the background, with bulk tools for older uploads.
Best for:
Photography websites, portfolios, ecommerce shops, and any site with high-resolution images that demand strong compression will benefit from ShortPixel.
ShortPixel pricing:
The free plan includes 100 credits/month. Paid plans start at $9.99 per month for unlimited images.
6. TinyPNG

The TinyPNG plugin connects WordPress to the popular TinyPNG and TinyJPG compression service. It automatically shrinks images on upload and can bulk optimize older files, with support for modern formats like WebP and AVIF.
Key features:
- Automatic and bulk image compression
- Smart lossy optimization for JPEG, PNG, and WebP
- Optional resizing for oversized uploads
- Control over which image sizes are compressed
- Per-image manual optimization tools
Pros of TinyPNG:
- It’s simple to set up and use.
- It delivers strong compression results with minimal quality loss.
- The plugin is great for cleaning up existing media libraries.
- It provides flexible automation and manual controls.
Cons of TinyPNG:
- The free plan includes limited monthly credits.
- Each thumbnail counts toward the credit total, which can add up quickly.
- Cloud processing isn’t ideal for strict privacy environments.
Ease of use:
Install, add an API key, and choose automatic or manual compression. Most people can be up and running in under a minute.
Best for:
Blogs, small business sites, and portfolios that need fast, reliable compression but don’t upload massive volumes of images each month will find this plugin suitable.
TinyPNG pricing:
There’s a free plan with 500 monthly compression credits included. Paid plans expand credits and remove limits for higher-volume sites, starting at $0.009 per image compression.
7. Robin Image Optimizer
Robin Image Optimizer is a simple, free plugin focused on automating image compression without limits or technical setup. It’s especially useful for older sites with large media libraries because it allows for unlimited bulk optimization.
Key features:
- Automatic compression for new uploads
- Bulk optimization for existing media
- Multiple compression modes
- Background optimization using Cron
- The ability to resize large images during upload
- Backup and restore capabilities
Pros of Robin Image Optimizer:
- It provides unlimited image optimization with no monthly quotas.
- It’s beginner-friendly and quick to set up.
- Restoring originals is a simple process if compression is too aggressive.
- It’s great for large image libraries on a budget.
Cons of Robin Image Optimizer:
- There are max file size limits in the free version.
- Compression quality isn’t always as strong as premium competitors.
Ease of use:
This plugin is simple to install and run. Once enabled, automatic optimization works quietly in the background. Bulk tools and background processing keep things stress-free even on large sites.
Best for:
Site owners who want a completely free optimizer with no caps. Blogs, portfolios, and older sites full of unoptimized images stand to benefit the most.
Robin Image Optimizer pricing:
The free version includes unlimited compression. Paid plans start at $39 per year for up to 5000 images per month and bulk optimization options.
8. Converter for Media
Converter for Media focuses on converting your WordPress images to modern formats like WebP, and AVIF if you upgrade, to significantly reduce file sizes and speed up load times. It bulk-converts existing media and automatically handles new uploads going forward, while preserving your originals for fallback.
Key features:
- Bulk conversion of all existing images
- Automatic conversion on upload
- WebP support in the free version and AVIF in Pro
- Automatic fallback to the original format if needed
- The ability to resize images during conversion
- A safe backup system that keeps original files intact
Pros of Converter for Media:
- It delivers major performance gains simply by switching formats.
- It provides set-and-forget automation for future uploads.
- It works well for large media libraries.
- It doesn’t force you to delete or overwrite originals.
Cons of Converter for Media:
- It has limited compression controls and focuses on format conversion, not fine-tuning optimization.
- AVIF support and off-server processing requires the paid version.
- Bulk converting very large libraries takes a while on lower-resource hosting.
Ease of use:
Converter for Media is very simple to set up. Just enable format conversion, run the bulk tool once, and let the plugin handle things automatically from then on.
Best for:
Anyone wanting a quick path to WebP or AVIF without changing production workflows or image-editing habits can make the most of this plugin.
Converter for Media pricing:
This plugin is free for unlimited WebP conversions. The Pro upgrade adds AVIF conversion and extra performance options, starting at $5 per month.
What are the best free image optimization tools for WordPress users?
If you want even smaller file sizes before uploading images to WordPress, or you’re working with just a few visuals, free online compressors often suffice. These tools let you shrink images manually without plugins, giving you more control over file formats and quality.
1. Squoosh by Google

Squoosh is a browser-based app that gives you complete control over compression settings. You can compare original versus optimized images side by side, tweak formats like WebP or AVIF, and dial in the perfect balance of quality and size before uploading.
2. TinyPNG and TinyJPG
The plugin version of this tool was on the list previously, but the browser-based version is a popular option that automatically compresses PNG and JPEG files using smart lossy optimization. Just drag and drop your images, download the smaller version, and upload to WordPress. It’s a quick and simple method that delivers great results without any visual drop-off.
3. Compressor.io
Compressor.io is a free browser-based tool that quickly compresses JPEG, PNG, GIF, and SVG files. It offers lossy and lossless compression modes, making it straightforward to shrink images significantly while maintaining strong visual quality. Just drag, compress, download, and upload to WordPress, no account or installation required.
How to optimize images after uploading to WordPress (automated method)
If your site already has a lot of media uploaded, a plugin can optimize everything for you, past and future images included.
Here’s the typical workflow:
Step 1: Install a WordPress image optimization plugin
Pick one from the list above like Jetpack Boost.
Step 2: Enable automatic optimization for new uploads
Most plugins will compress and convert images in the background without any extra effort. In Jetpack Boost, you can do this by ensuring Image CDN is toggled on.

Step 3: Run a bulk optimization on your existing media library
This reduces the size of every image already stored in WordPress. If the tool you select doesn’t have an auto-optimize feature upon installation, enable this to ensure new and old uploads are optimized going forward.
Step 4: Set maximum upload dimensions
This prevents oversized files from ever slowing down your pages. In Jetpack Boost, you can also turn on Image Guide to help you identify images that need to be resized on your site currently.

Once automation is enabled, your images stay optimized without ongoing work.
How to optimize images before uploading to WordPress (manual method)
If you want the most efficient media from the start, you can optimize images yourself before they ever reach WordPress. This helps keep storage lower and prevents oversized files from piling up.
Step 1: Export images at the correct dimensions
Choose the size they’ll actually be displayed. Avoid uploading giant 4K assets if they appear as tiny thumbnails.
Step 2: Choose the right file format
Use JPEG or WebP for photography, PNG for graphics with transparency, and SVG for simple logos or icons.
Step 3: Compress images using a free tool
Use tools like Squoosh, TinyPNG, or Compressor.io to reduce file sizes while preserving quality.
Step 4: Remove metadata if not needed
This cuts unnecessary file weight by stripping location data, color profiles, and camera information that visitors never see.
Step 5: Preview quality before uploading
Check that the image still looks sharp and clear, and adjust compression if needed.
Lossy vs. lossless compression: What’s the difference?
When optimizing images, most tools give you two main compression options: lossy and lossless. Each has different benefits depending on how much you’re trying to shrink your files and how sharp your visuals need to be.
Here’s a quick primer:
Lossless compression
Lossless keeps every pixel of the original image intact. You’ll see a smaller file size, but the change is usually modest. It’s ideal for logos, icons, and high-detail graphics where quality needs to remain perfect.
Lossy compression
Lossy makes more aggressive reductions by removing some visual data that most people will never notice. You’ll get much smaller file sizes, but if you push the slider too far, you may spot slight blurring.
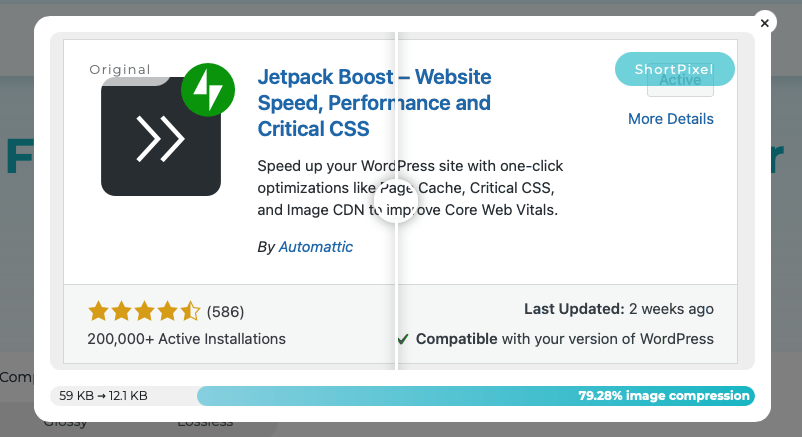
After using the compression tool on the ShortPixel website, you can view a side-by-side comparison of lossless versus lossy:
Frequently asked questions
Now, let’s answer a few commonly asked questions about WordPress image optimization plugins.
What is image compression?
Image compression involves the process of reducing file size without noticeably changing how the image looks, so pages load faster and use less bandwidth.
Can I optimize images that are already uploaded to my WordPress site?
Yes, you can optimize images that are already uploaded to your WordPress site rather simply, especially since most optimization plugins include a bulk tool to compress your entire media library in one go.
Is there a good free WordPress image optimization plugin?
Jetpack Boost has a free option that helps with automatic compression, identifying oversized images, and speeding up other aspects of your site.
Will optimizing my images make them look blurry?
Optimizing images won’t make them blurry so long as you choose the right settings. Lossless keeps perfect quality, while lossy should still look sharp when used moderately.
Can I revert an image if I compress and optimize it?
Yes, reverting images is often possible. Many plugins keep a backup of the original image file, so you can restore it at any time.
Does image optimization affect image SEO?
Yes, image optimization does affect image SEO. Smaller images help pages load faster, which improves SEO signals and user experience. Just be sure to keep alt text and filenames descriptive.
Does image optimization improve Core Web Vitals? Which ones?
Yes, image optimization does improve Core Web Vitals, especially Largest Contentful Paint (LCP) and sometimes INP. Faster image delivery leads to faster perceived loading.
What’s the best image optimization plugin for WordPress right now?
The best image optimization plugin for WordPress right now depends on your needs, but Jetpack Boost for simplicity is a solid go-to plugin for straightforward, hands-off optimization.
WebP vs. AVIF in WordPress: which should I use for SEO and speed?
WebP is widely supported and a safe default. AVIF offers even smaller file sizes and great quality, but isn’t supported everywhere yet.
How do I convert all existing images to WebP/AVIF at once?
To convert existing images in your Media Library to WebP or AVIF, use a plugin that supports bulk format conversion.
The easiest speed optimization plugin for WordPress
Jetpack Boost gives your site the same performance advantages as the world’s leading websites, no developer required.
Boost your site for free