
Instagram Reels are short, attention-grabbing videos that can add visual energy to your site. Whether you’re sharing content from your own account or featuring a popular clip, WordPress makes it easy to embed Reels on your pages or posts.
In this guide, you’ll learn the best ways to add Instagram Reels to your WordPress site. We’ll cover options for both the block and Classic editors, how to embed manually, and how to troubleshoot common problems.
1. Using the Instagram block in the block editor
The Instagram Embed block that supports most types of posts, including Reels. To add this block to a page or post, simply:
- Open Instagram in your browser and go to the Reel you want to share. Copy the Reel’s URL.
- In your WordPress editor, click the plus (+) sign to add a block.
- Search for “Instagram” and click on the Instagram Embed block.
- Paste the URL of the Reel into the block.
- Click Embed.
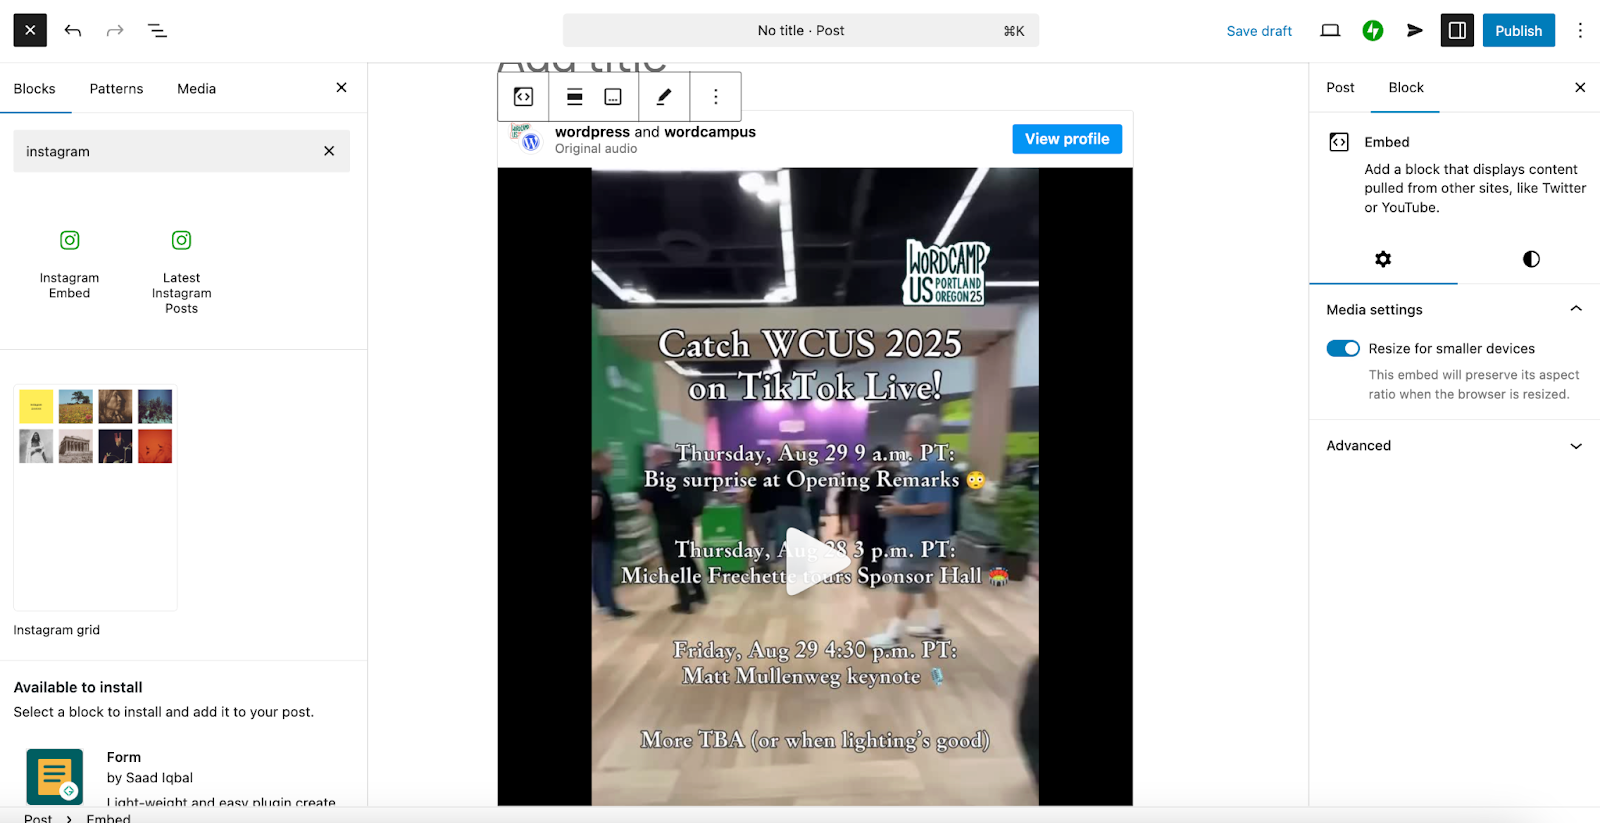
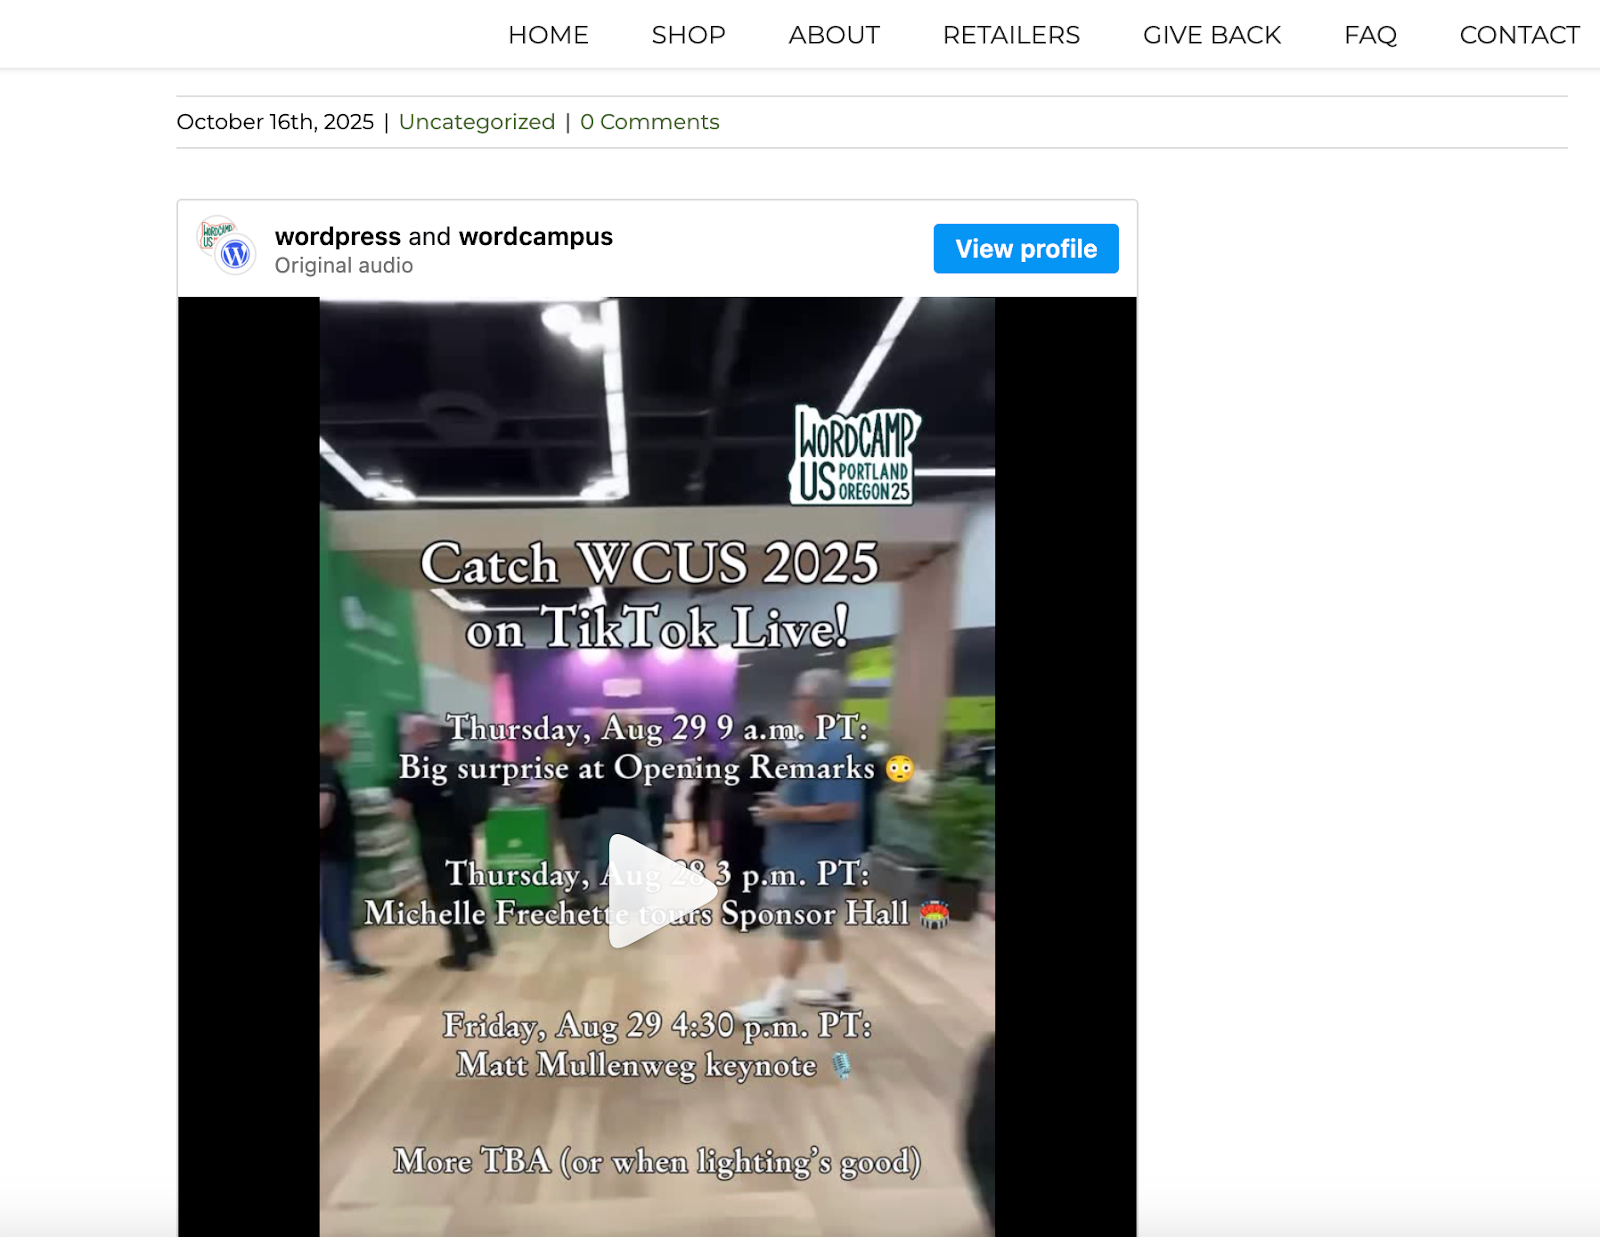
If the Reel is public, it should load right away. You’ll see a preview directly in your editor.
2. Pasting the Instagram Reel URL directly
You can also simply paste the Instagram Reel URL onto a new line in the block editor.
- Copy the Reel’s URL from your browser.
- In the editor, paste the link on a line by itself.
- WordPress will automatically convert it into an embedded post.
This works well for quick updates or when you’re adding a few links at once.
3. Embedding an Instagram Reel in the Classic editor
The Classic editor doesn’t include Instagram-specific tools, but you can still embed Reels using the embed code.
- On the Reel, click the three dots at the top right, then choose Embed.
- Copy the full embed code.
- In the Classic Editor, switch to the “Code” tab.
- Paste the code where you want the video to appear.
- When you switch back to the Visual tab, the Reel should appear.
4. Embedding Instagram Reels with a Custom HTML block
There may be times that you want to use a Custom HTML block to add an Instagram Reel to specific areas of your site. For example, you might want to include a Reel in one off product page template or sidebar. While there are different ways to do this depending on your theme and goal, here’s how to add a Reel into a template using a block theme:
- Go to Appearance → Editor → Templates. Open a template, such as “Single Posts.”
- Click the + icon at the top left and search for “HTML.”
- Drag the Custom HTML block where you’d like it to live on the page.
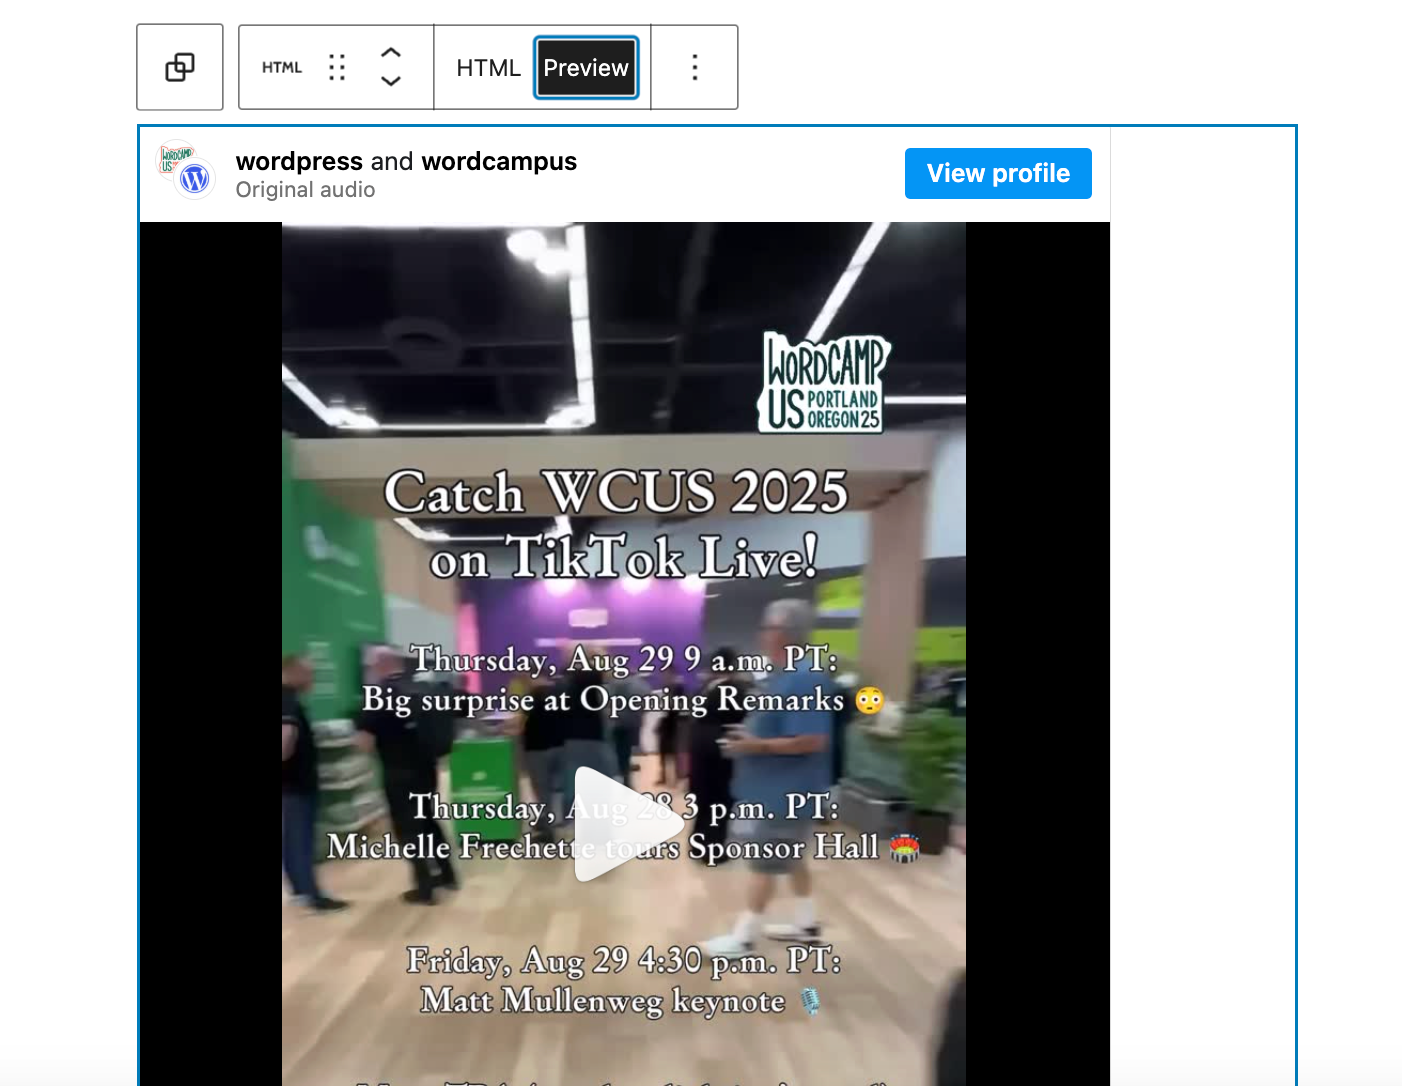
- Now, navigate to the Instagram Reel and click the three dots at the top right.
- Select Embed and copy the embed code.
- Paste the code you copied into the Custom HTML block.
- Select Preview above the block to see how the Reel looks.
5. Using plugins to embed an Instagram Reel
There are plugins made specifically for embedding Instagram content in WordPress, including:
- Smash Balloon Instagram Feed: Add Reels and filter by account or hashtag.
- EmbedSocial for Instagram: Build dynamic galleries of Reels and other content.
WIth plugins, you can add special features like filters and lazy loading. Plus, you can customize fonts, spacing, and other visual features.
What to do if Instagram Reels don’t embed
Sometimes, Reels won’t show up after embedding. Here’s how to fix common issues:
The embed shows an error or blank space:
- Make sure the Reel is from a public account. Private content won’t display.
- Check that the URL is pasted on a separate line with no extra formatting.
- Refresh the editor and clear your browser cache.
The embed code doesn’t appear on the front end:
- Make sure you’re pasting it into a block or widget that supports HTML.
- If using a theme builder, test the code in a plain post first.
- Ensure that ad blockers or privacy settings aren’t hiding the embed.
The Instagram Embed block isn’t working:
- Try using the Custom HTML block instead.
- Make sure that WordPress core and all themes of plugins are updated to avoid bugs or conflicts.
Take your video experience even further
If you regularly embed videos or want a faster, more reliable way to deliver content, there’s an easier path than relying on third-party content.
Jetpack VideoPress is built specifically for WordPress and gives you full control over your video experience, from how it looks to how it performs.
What makes VideoPress different:
- Speed and performance: Videos are hosted on Jetpack’s fast, global content delivery network. That means lightning‑quick load times on any device, with no buffering or delays.
- High-quality playback: VideoPress automatically adjusts resolution for each viewer, so your videos always look sharp, whether someone’s on WiFi or mobile data.
- A simple, flexible video player: The built-in player is clean, responsive, and customizable. You can change the color, size, and controls to match your theme. There’s no branding or watermarks, so your content stays the focus.
- No distractions or external links: Viewers stay on your site without being sent to other platforms. This helps you keep traffic where it matters most: on your own site.
- Private video options: You can mark videos as private or unlisted, making it a smart solution for membership sites, course content, or internal use.
If you’re looking for a way to make video a core part of your site, without relying on external platforms, VideoPress gives you a clean, secure, and professional solution. It works seamlessly inside the WordPress editor, with no extra setup required.
Whether you’re embedding short clips, tutorials, or full walkthroughs, VideoPress helps your videos look great and load fast, every time. Learn more about Jetpack VideoPress here.
Frequently asked questions
Can I embed Instagram Reels in WordPress without a plugin?
Yes. In the Block Editor, paste the Reel URL on its own line or use the Embed/Instagram block. If embedding fails consistently, a plugin may be required depending on your site setup and Instagram/oEmbed limitations.
Why is my Instagram Reel embed showing blank or an error?
Common causes include the Reel being from a private account, embeds being disabled for that account/post, the URL not being on its own line, ad blockers/privacy tools blocking Instagram scripts, or site-wide oEmbed/authentication limitations.
How do I get the embed code for an Instagram Reel?
Open the Reel in a browser, use the three-dot menu, choose Embed, then copy the code.
Can I embed an Instagram Reel in my header, footer, or sidebar?
Yes. In block themes, use the Site Editor to add an Embed block or Custom HTML block in templates/parts. In classic themes, use widget areas that support HTML.
Do Instagram Reel embeds affect page speed (Core Web Vitals)?
They can. Instagram embeds often load third-party scripts that may slow LCP and increase interaction delay. If performance matters, consider lazy-loading, click-to-load placeholders, or hosting video directly on your site with a solution like Jetpack VideoPress.
