
Embedding an MP4 video in WordPress is a great way to share your own content without using a third-party platform. Unlike YouTube or Vimeo, hosting MP4 files directly gives you full control over playback and branding.
In this guide, you’ll learn how to add MP4 videos to your WordPress site using a video hosting plugin, the block editor, classic editor, and HTML. We’ll also look at best practices for performance and what to do if your video doesn’t play.
Quick rule: if your MP4 is small and used rarely, native WordPress is fine. If you publish video regularly or care about performance, use a CDN-backed host (like VideoPress) to avoid slowing down your site.
Fun fact: Did you know? A single 1080p video background can be 50MB. If 10 people visit your site at once, your server has to push 500MB of data instantly. This can often crash shared hosting plans. This is why offloading to a CDN (like VideoPress) is not just a luxury, but a necessity for traffic spikes.
How to choose the best MP4 embed method (60-second decision)
| Method | Best for | Pros | Cons |
|---|---|---|---|
| Video block (native) | 1–2 small videos | Fastest setup, no extra tools | Uses your server bandwidth/storage |
| Shortcode | Need autoplay/loop/poster | More control than block | Still uses your server bandwidth/storage |
HTML5 <video> | Custom attributes/layout | Maximum control | Easy to misconfigure responsiveness |
| VideoPress / video CDN | Frequent video publishing | Offloads bandwidth, faster delivery | Paid plan but worth it |
1. Embed a video with Jetpack VideoPress
Before you upload an MP4 video directly to your site, it’s important to consider how that choice can affect your performance, storage, and visitor experience.
Self-hosting videos in your Media Library may seem quick and easy, but it puts extra load on your server. It can slow down your pages, especially if the video file is large or viewed on mobile. It also limits your control over quality, delivery speed, and player behavior.
The better option is to use a WordPress-ready video hosting plugin. These tools are made to store, deliver, and play videos efficiently, without bloating your site or relying on third-party platforms like YouTube.
Why Jetpack VideoPress is the best fit for WordPress
Jetpack VideoPress is built specifically for WordPress and offers high‑quality, lightning‑fast video hosting. It replaces the need to upload MP4 files directly, giving you a better player and faster load times.
Here’s why it’s the best option:
- Files are stored on a global video CDN, not your hosting server, so your storage space isn’t used up and your site still loads quickly.
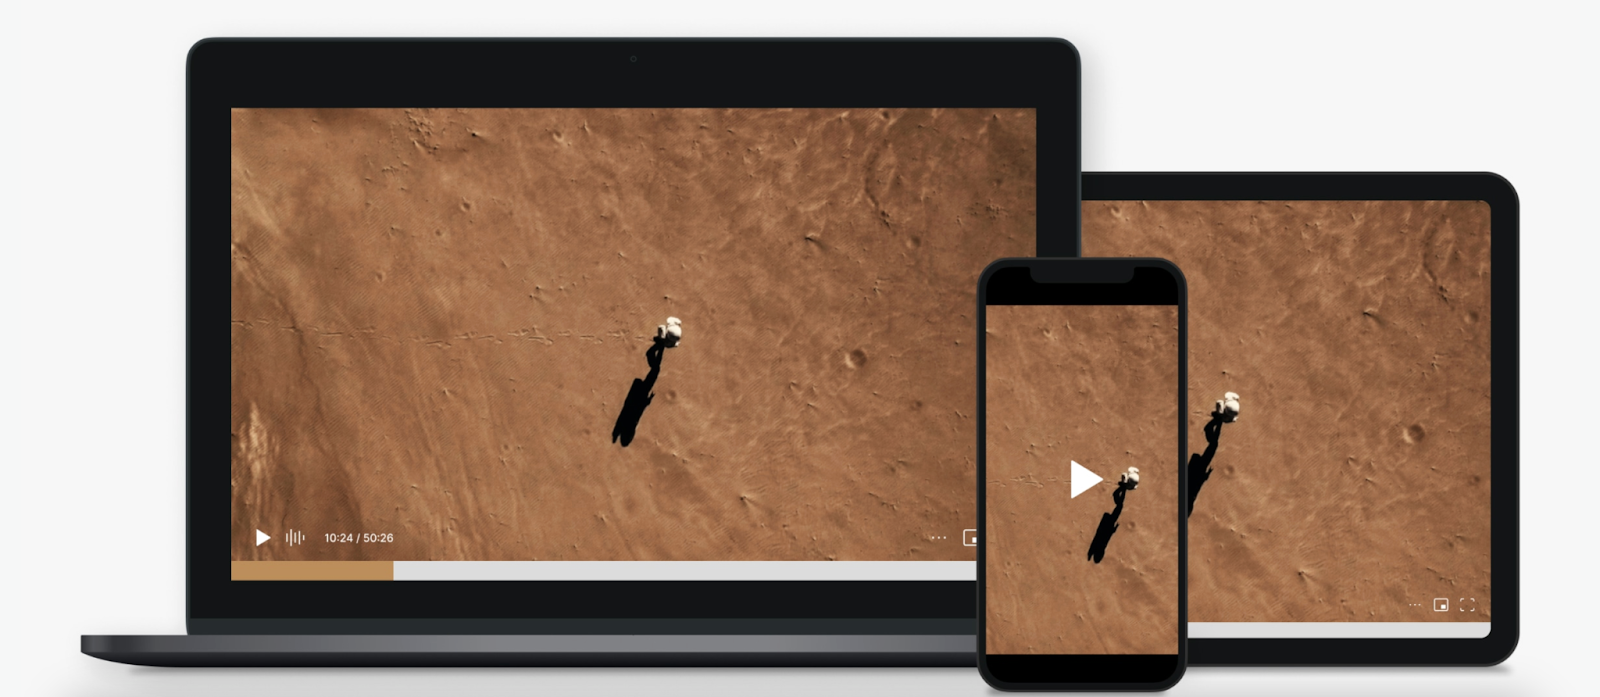
- The player is clean, ad-free, and responsive by default.
- You can manage everything from your WordPress dashboard.
- It supports autoplay, mute on load, custom thumbnails, and more.
- It keeps your visitors on your site with no distractions or third-party branding.
If you plan to embed more than one or two videos, or want a fast, polished viewer experience, VideoPress is the simplest way to get it done. It saves you time, boosts performance, and gives you more control over how your videos look and play.
How to use Jetpack VideoPress
Setup is incredibly simple and uses the processes you’re already familiar with. All you have to do is:
- Start by installing and activating the Jetpack plugin.
- In your WordPress dashboard, go to Jetpack → My Jetpack and purchase a VideoPress plan.
- Then, go to Jetpack → VideoPress. There, you can turn the feature on and adjust settings as needed.
Adding a video to a page or post is as easy as adding any other type of media. While you can also use Jetpack VideoPress with the Classic Editor, this tutorial assumes you’re using the block editor.
- Open the page or post in the WordPress dashboard.
- Click the + icon at the top left and search for “VideoPress.” Drag the VideoPress block where you’d like it to live on the page.
- Drag your video into the VideoPress block or select Upload, Media Library, or Insert from URL depending on your needs. You’ll see an “Upload Complete!” message upon completion.
- To adjust the video settings, open the block settings panel at the top right. There are also video options that appear on top of the block itself. You can control playback options, the title and description, the poster image, alignment, captions, progress bar design, and more.
- Once you’re done, simply update or publish the page and that’s it!
2. Embed a video with the block editor
The WordPress Video block is another simple option, though keep in mind that videos you upload directly to the Media Library can affect site speed.
- In a post or page, click the plus (+) sign to add a block.
- Search for “Video” and drag the Video block where you’d like it on the page.
- Click Upload to add a new MP4 file or choose Media Library to use an existing one.
- Once the video uploads, it will appear directly in the editor. You can add a caption, set alignment, or adjust size using the block settings panel.
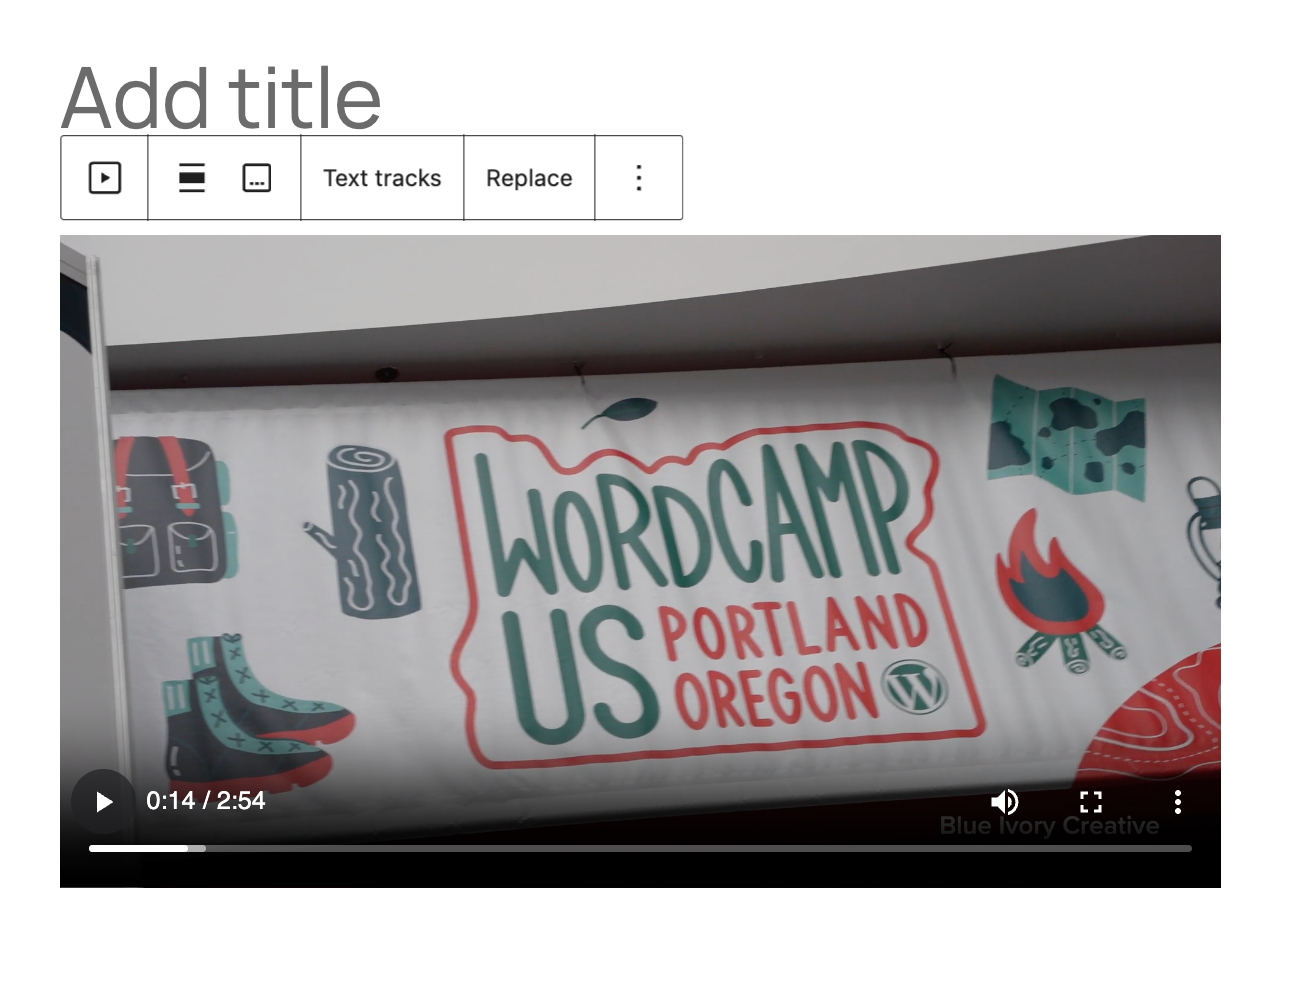
This method is simple and works well if you’re hosting a small video directly on your site.
Notes:
- MP4 videos will autoplay only if muted.
- WordPress automatically creates a responsive video player for your site.
- The block includes basic controls like play/pause and fullscreen.
3. Embed a video with the Classic Editor
If you’re using the Classic Editor plugin, you can still embed MP4 videos, though there are fewer options available to you.
- In the page or post you want to work with, make sure you’re in the Visual tab. Click Add Media.
- Upload to or select your MP4 file from the Media Library.
- Click Insert into post.
- Once the video appears, you can click directly on it and select the pencil Edit icon. There, configure basic settings like autoplay, loop, and subtitles. Then, click Update.
- Save or preview your post.

4. Embedding a video with a shortcode
You can use the built-in video shortcode if you prefer to handle things more manually. Before using the shortcode, you need to find the specific URL of your video. To do this, go to Media → Library in the WordPress dashboard and upload your file. Once it’s uploaded, click on the video and copy the URL from the File URL field on the right.
In the example below, you would replace the URL with your specific video URL:
You can also configure options like:
Shortcode options:
- autoplay=”true” Starts the video automatically
muted=”true” Mutes sound, often required for autoplay - loop=”true” Repeats the video
- preload=”auto” Loads the video before play
Paste the shortcode into a Shortcode block, the Classic Editor, or even a widget.
5. Embedding a video using custom HTML
If you want even more control, use the HTML5 <video> tag to embed MP4 files. Start by copying your video URL just as you did in Option 4 above. Then, replace the URL in the code below with your own.
<video width="640" height="360" controls> <source src="https://yoursite.com/wp-content/uploads/2025/07/yourvideo.mp4" type="video/mp4"> Your browser does not support the video tag.</video>
Optional attributes:
- controls Shows play and pause buttons
- autoplay Starts playback automatically
- loop Restarts the video when it ends
- muted Starts the video with no sound
- poster Adds a preview image
Paste the code into a Custom HTML block, widget, or the Text tab of the Classic Editor.
Troubleshooting common MP4 embed issues
The video doesn’t play:
- Make sure the file is in .mp4 format.
- Check that the video URL is correct.
- Clear your cache or try a different browser.
The video loads slowly:
- Compress the file size before upload.
- Host large videos outside of your WordPress media folder.
- Use a tool like Jetpack VideoPress to serve videos from a global CDN.
The layout breaks on mobile:
- Use responsive players like the Video block or Video.js.
Avoid setting fixed width and height in the <video> tag.
The smartest way to host and embed MP4 videos
Uploading MP4 files directly to your Media Library works for short, lightweight videos. But if you want to publish longer videos, often share video content, or prioritize performance and design, you’ll need something more powerful.
That’s where Jetpack VideoPress comes in.
Jetpack VideoPress is a video hosting solution built specifically for WordPress sites. It gives you a clean, fast video experience without relying on third-party platforms or slowing down your site.
Here’s how VideoPress makes a difference:
- Faster load times: Videos are hosted on Jetpack’s global content delivery network, optimized for speed.
- No ads or distractions: You control the player, with no branding or third-party ads.
- A responsive player:VideoPress works on all devices and screen sizes, automatically.
- A focus on privacy: Your visitors stay on your site — no cookies, tracking, or redirects.
- Built-in storage. Videos are hosted outside of your Media Library, which reduces server load.
- Customization options: You can set thumbnail images, mute videos on load, or enable autoplay.
VideoPress also integrates smoothly with the WordPress block editor, so you can upload and embed videos directly from your dashboard with no extra setup.
If you’re ready to offer fast, professional video playback on your WordPress site, without the limits of file size, bandwidth, or third-party platforms, VideoPress is the perfect solution.
Frequently asked questions
Can I embed an MP4 video in WordPress without YouTube or Vimeo?
Yes, you can embed an MP4 video in WordPress without using YouTube or Vimeo. You can upload the MP4 to your WordPress Media Library and then add it to a page or post with the Video block, the WordPress shortcode, or an HTML5 <video> tag.
This keeps the video on your own site. Keep in mind that self hosted MP4 files use your server storage and bandwidth. If your videos get many plays, you may want to host the MP4 on a video hosting service or a video CDN, then embed it in WordPress.
Should I upload my MP4 to the WordPress Media Library or host it somewhere else?
You can do either, but the right choice depends on how you use video. Uploading an MP4 to the WordPress Media Library is simple and works well for small files and light traffic. The downside is bandwidth use, storage use, and slow playback during busy times.
Hosting the MP4 on a video platform or a CDN reduces strain on your site and can help page speed. If video is a key part of your site, hosting the MP4 off site can reduce buffering and support steady delivery across many locations.
What MP4 format and settings work well for WordPress video playback?
WordPress can display MP4 videos, but playback depends on how the file is encoded. A safe choice is H.264 for video and AAC for audio inside an MP4 file. These settings play on many browsers and phones. If your MP4 does not play, the codec is a common cause.
Also keep file size in mind. Large files load slowly on mobile data. Export with a sensible bitrate, and include a poster image so the page loads with a still frame first. If you can, set the file for fast start so it begins playing sooner.
How do I embed an MP4 in the WordPress Block Editor using the Video block?
To embed an MP4 in the Block Editor, add a Video block, then upload the MP4 or select it from the Media Library. WordPress will insert a video player that fits the content area.
After you add the video, open the block settings and set a poster image, and choose playback options such as autoplay, loop, or controls. For layout, place the block inside a Group or Columns block if you need spacing or alignment. Test on mobile, since video size and page width can change on small screens.
How do I embed an MP4 using the WordPress shortcode, and what options can I use?
You can embed an MP4 with the built in WordPress video shortcode by adding it to a post or page in a Shortcode block, or in the editor where shortcodes are allowed. A basic example is:
[video src="https://example.com/uploads/video.mp4"]
You can also add a poster image and simple options: poster, preload, loop, autoplay, and muted. Autoplay often fails if audio is on, so muted is important. After publishing, test in Chrome, Safari, and on iPhone, since autoplay rules vary by browser.
How do I embed an MP4 in the Classic Editor or with custom HTML code?
In the Classic Editor, you can click Add Media, upload or choose your MP4, then insert it into the post. WordPress will place a video player shortcode or embed. If you want custom HTML, you can add an HTML block and use the HTML5 <video> tag.
A simple version includes controls and a source URL, plus a poster image. You can also add muted and playsinline for mobile behavior. Always test on iOS Safari and Android Chrome. Small code errors, a bad URL, or an unsupported codec can break playback.
Why is my MP4 video not playing in WordPress, and how do I fix it?
If your MP4 is not playing, start by checking the file link and the file itself. Confirm the URL is correct and the video loads in a browser tab. Next, confirm the MP4 uses a common codec, such as H.264 for video and AAC for audio. Then check server settings. The server should send the correct MIME type, usually video/mp4.
Some hosts also block byte range requests, which can break seeking and playback. Also watch for mixed content if your site uses HTTPS but the video URL uses HTTP. Fix the URL or move the file to HTTPS.
The Finest Video Hosting for WordPress
Stunning-quality video with none of the hassle. Drag and drop videos through the WordPress editor and keep the focus on your content, not the ads.
Get VideoPress
It seems you have a problem showing a video on your post. I also have a problem on my WordPress where the mp4 video will not show on Safari browser and on iOS.
LikeLike
Hi @lanrata, we’re actively looking into this. Thanks for reporting it.
LikeLike
It looks like the video is embedded directly in the page and doesn’t use the VideoPress player. Please go ahead and replace the two video versions with just the URL on its own line for it to be automatically embedded:
LikeLike