
A landing page helps you focus attention on one goal, removing distractions and guiding visitors towards a specific action. This action could be anything from signing up for an email list, purchasing a product, or reaching out via a contact form. WordPress provides multiple ways to create these pages, from the block editor to AI tools and themes.
This guide explains three clear and practical methods to create a landing page in WordPress. Each method is explained step by step so you can choose the one that fits with your workflow and meets your needs.
What makes a good landing page?
Before choosing a method, it’s important to understand what defines an effective landing page. A landing page is a standalone web page that removes unnecessary navigation and visual noise. Its layout and content are tailored to get the visitor to take a specific action.
Here are the essential elements:
- A headline that captures attention and explains the offer
- Subheadings or short paragraphs that provide details
- A strong call-to-action (CTA) button or form
- Relevant visuals or illustrations
- Trust-building elements like testimonials, logos, or guarantees
- No distracting navigation menus or links
With those basics in mind, here are three easy methods to build a landing page in WordPress.
Method 1: Create a landing page using the WordPress block editor
This method uses the default WordPress block editor. It’s ideal if you want to keep things light and avoid plugins.
Step 1: Create a new page
- From your dashboard, go to Pages → Add New
- Give your page a name (e.g., “Free eBook” or “Book a Demo”)
Step 2: Use blocks to build your layout

- Click the + icon to start adding blocks
- Use blocks such as:
- Heading for titles
- Paragraph for short descriptions
- Image or Cover for visuals
- Button for calls to action
- Columns to add side-by-side sections
Use the Settings panel on the right to change colors, typography, or spacing for each block.
Step 3: Remove header, footer, and navigation
To make the page distraction-free:
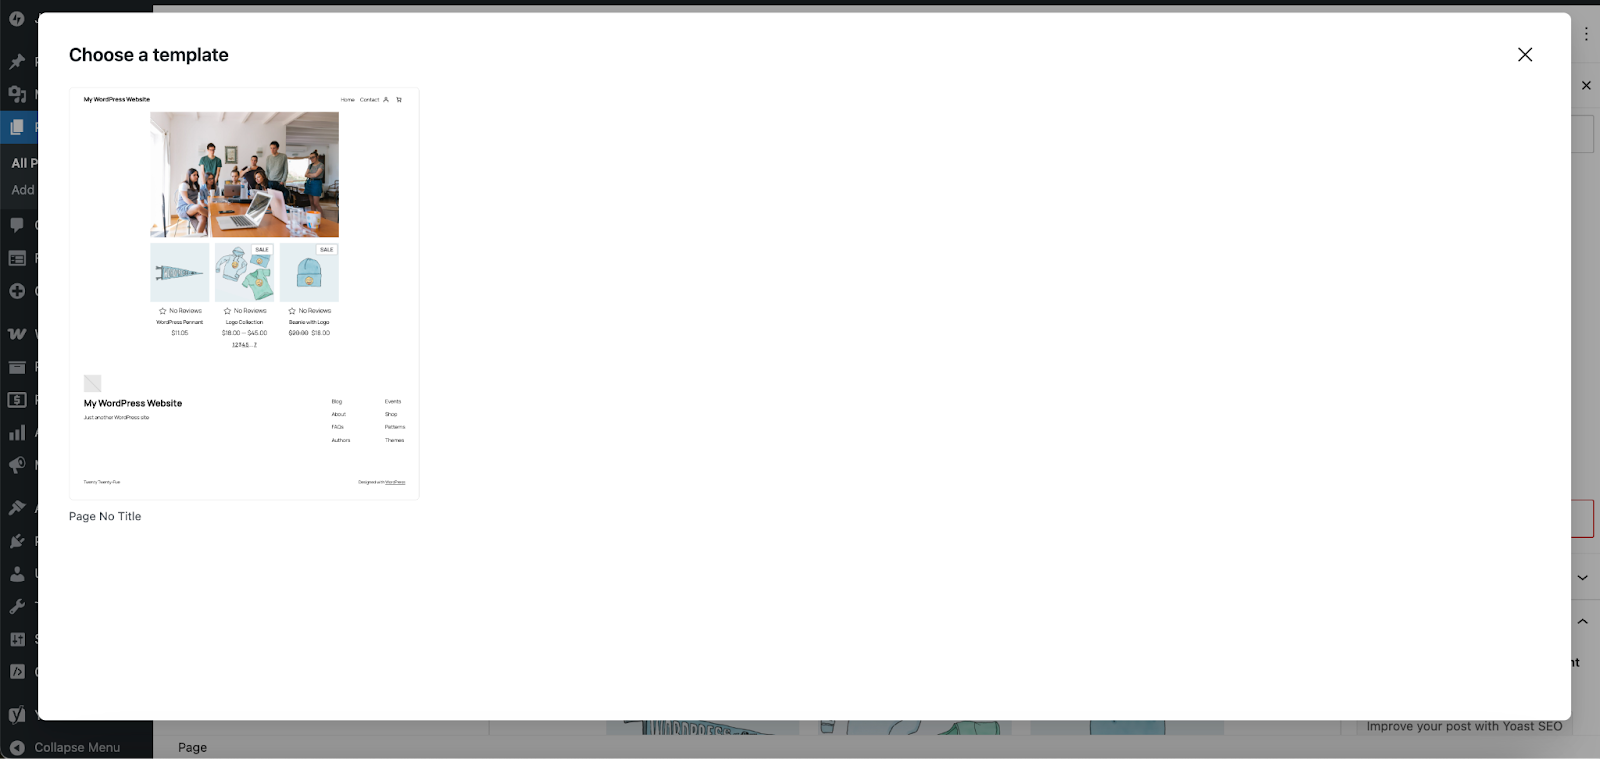
- Click the Settings option on the right side of the page, then choose the Page tab
- Look for Template and click Change Template.
- Select a template that does not have a header or footer. Some themes include these by default. If yours does not, you’ll need to first create a new page template in the Site Editor.
Step 4: Publish and test the page
- Click Publish
- Visit the live page to confirm that everything looks clean and functions well
- Test the CTA or form to make sure it works
For more details, read our complete guide to the WordPress block editor.
Method 2: Use a tool like WordPress.com’s AI Website Builder
Looking for a shortcut? The AI Website Builder from WordPress.com can create landing pages that function as excellent starting points. This is a great option for new site owners or those who are creating their landing page on a separate domain.

Step 1: Create and input your prompt
- Navigate to the WordPress.com AI Website Builder
- Input your prompt and add as many details as you’d like
- Answer any follow-up questions
- Click Yes, create my site
- Wait for the AI tool to finish

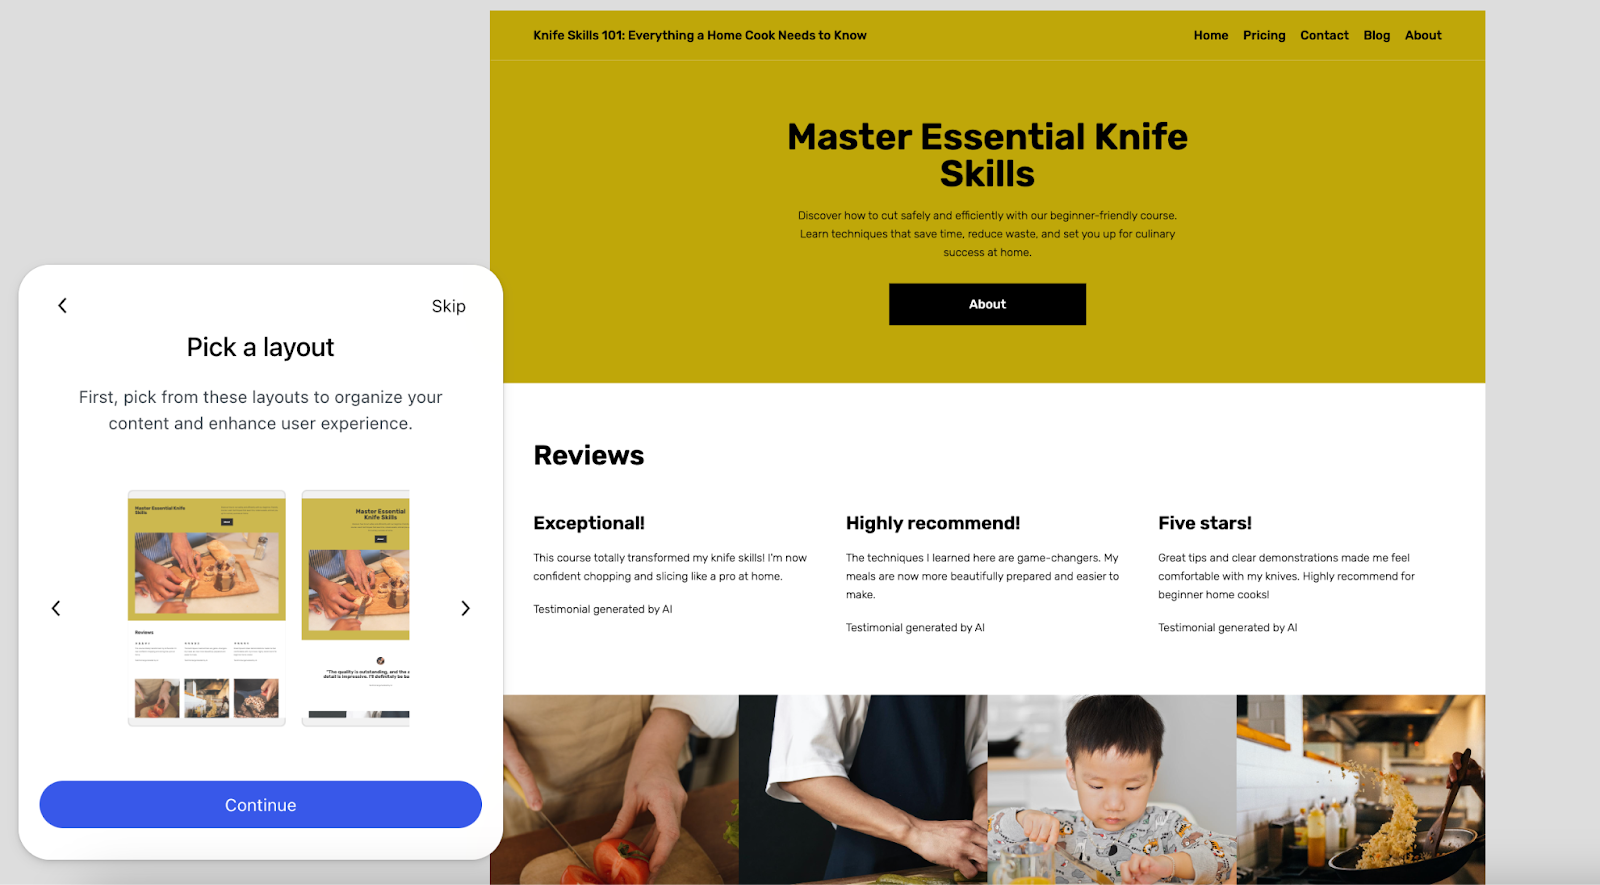
Step 2: Refine the landing page
- Under the pop-up that says, “Let’s work on your site!”, select Continue
- Choose a layout from the options provided that best meets your needs
- Select a color palette that you feel fits your brand or provide instructions for the AI tool to use
- Pick a font pairing from the options provided or add instructions for the tool
Step 3: Use the block editor to refine your landing page
- Use the block editor to switch out images, replace default text, and adjust the rest of the page content
- Click the blue AI button at the bottom left if you need help or just want directions on editing the page
The easiest speed optimization plugin for WordPress
Jetpack Boost gives your site the same performance advantages as the world’s leading websites, no developer required.
Boost your site for freeStep 4: Publish your landing page
- Click the blue Launch button at the top right
- Click Continue in the window that pops up
- Choose to move forward with an existing domain name or purchase one from WordPress.com
- Select a WordPress.com plan that meets your needs
- Follow the rest of the prompts to launch your landing page!
Method 3: Use a WordPress theme focused on landing pages
Some WordPress themes are designed specifically for fast landing page creation. These often include pre-built templates, minimal design, and flexible layout options. This method works well if you plan to build several landing pages or want a theme built specifically for conversions.
Note that, in some cases, you’ll need to purchase the premium version of a theme to access its full library of templates.
Step 1: Choose and install a theme built for landing pages
Here are some themes with excellent landing page templates:
Install a theme by going to Appearance → Themes → Add New, then search and install the one you choose.
Step 2: Import a premade template or starter site
- Follow your theme’s documentation for accessing and installing templates or starter sites
- Choose a template that fits your goal
- Import the landing page template
Step 3: Customize the page content
- Edit the landing page using the WordPress block editor or your theme’s built-in options
- Swap in your own headlines, text, images, and CTA buttons
- Hide or delete any sections you don’t need
Step 4: Publish the page
- Publish the page
- Optionally, set it as your homepage under Settings → Reading
- Link to it from ads, email campaigns, or your website menu
Themes offer a structured approach and save time if you want good-looking pages without managing too many tools.
Boost conversions with smart practices
Once your landing page is live, take time to optimize it. Great design alone won’t guarantee results. Here are some key practices that improve conversions:
- Use a clear headline that communicates a specific benefit
- Keep paragraphs short and easy to scan
- Add a single, visible call-to-action above the fold
- Use trust elements like testimonials, reviews, or logos
- A/B test different layouts or CTAs to learn what works best
- Track performance with analytics and form submissions
Good landing pages are simple, direct, and focused. Remove anything that doesn’t move a visitor closer to taking action.
Take your landing page further with smart WordPress tools
Once your page is live, the next step is improving how it performs and how quickly you can iterate. This is where the right tools make a difference, not only during creation but also after launch.
If you’re building landing pages in WordPress, two plugins can give you a practical edge: Jetpack AI Assistant and Jetpack Boost.
Use Jetpack AI Assistant to generate content quickly
Writing copy for a landing page takes time. Headlines, subheadings, button labels, and short paragraphs all need to be clear and action-focused. Jetpack AI Assistant helps streamline this process directly inside the WordPress editor.
It can:
- Suggest headlines that match the purpose of your page
- Rewrite paragraphs for better clarity or tone
- Generate first drafts of product descriptions, form prompts, and CTAs
- Translate content into multiple languages to reach wider audiences
Jetpack AI Assistant keeps you in full control. You can edit and refine its suggestions in real time, without switching tools or losing your writing flow. It’s especially useful when you’re managing multiple landing pages or testing variations.
Use Jetpack Boost to speed up your landing pages
Page speed has a direct impact on conversions. Slow-loading pages increase bounce rates and lower engagement, especially on mobile. Jetpack Boost is a performance plugin built to improve your Core Web Vitals and overall page load time.
With just a few clicks, Jetpack Boost can:
- Automatically optimize your site’s CSS and defer non-essential scripts
- Enable lazy loading for images and other media
- Generate critical CSS so key content appears faster
- Improve performance scores on tools like PageSpeed Insights
These changes ensure that your landing page loads quickly and keeps visitors focused on your offer.
Build better pages with a smoother workflow
Whether you’re creating your first landing page or optimizing one that already exists, Jetpack’s tools help you move faster and improve results. With AI-powered writing support and easy performance gains, you spend less time on setup and more time on growth.
The easiest speed optimization plugin for WordPress
Jetpack Boost gives your site the same performance advantages as the world’s leading websites, no developer required.
Boost your site for free