
Your website footer plays a pivotal role in site navigation, user experience, and other aspects of a successful design. Positioned at the bottom of every page, the footer can include everything from copyright information and navigation links to legal disclaimers, email signup forms, and calls to actions.
This guide offers step-by-step instructions so that WordPress site owners and developers can easily and effectively edit their footer. Let’s get started!
Understanding the footer in WordPress
Before diving into edits, take the time to understand what the footer is and how it’s structured in WordPress.
What is the footer?
The footer is the bottom section of your website, displayed on every page of your site. It often includes:
- Copyright notices
- Links to terms and privacy policies
- Secondary navigation menus
- Social media icons
- Contact information
- Email newsletter signup forms
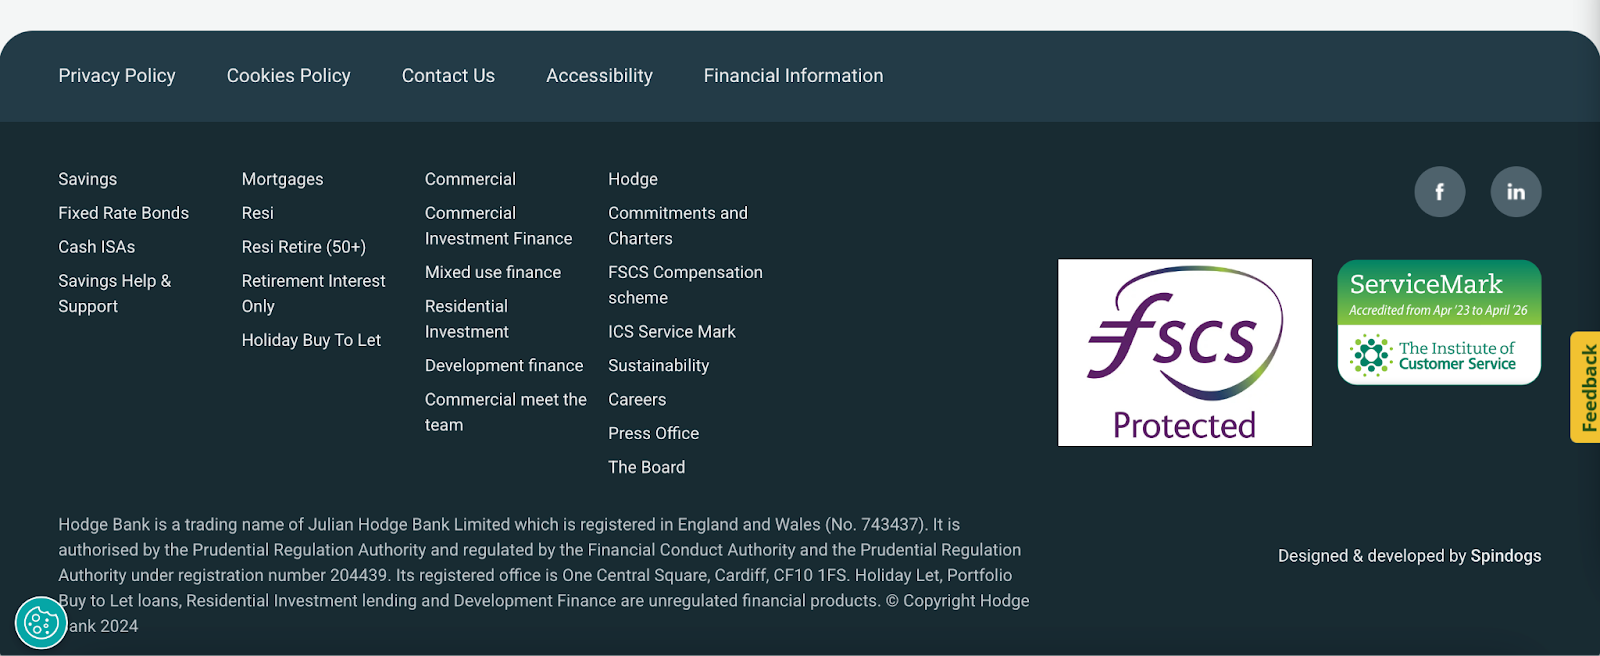
Hodge Bank, for example, uses their footer for important links, certification logos, and disclaimers:
How WordPress handles footers
The design and content of your footer is typically handled by your theme. Block themes allow you to edit your footer using the Site Editor, while Classic themes typically use widgets and the WordPress Customizer.
Preparing to edit your WordPress footer
Before you start working on your footer, it’s a good idea to take the following steps:
Back up your site
Before making any changes, create a backup of your website. This ensures that you can restore your site if something goes wrong. Plugins like Jetpack VaultPress Backup automate this process and make the restoration process simple, even if your site is completely down.
Choose the right editing method
There are several ways to edit a footer in WordPress. The right one for you depends on the type of theme you’re using, your expertise, and the type of customization you’re making. Here are the six methods we’ll discuss:
- Using the WordPress Site Editor (block themes)
- Using the WordPress Customizer (classic themes)
- Editing footer widgets (classic themes)
- Modifying the footer.php file
- Adding custom CSS
- Editing footers in page builders like Elementor
How to edit your WordPress footer
Ready to start working on your site? Let’s take a look at six ways you can edit your footer.
1. Using the WordPress Site Editor
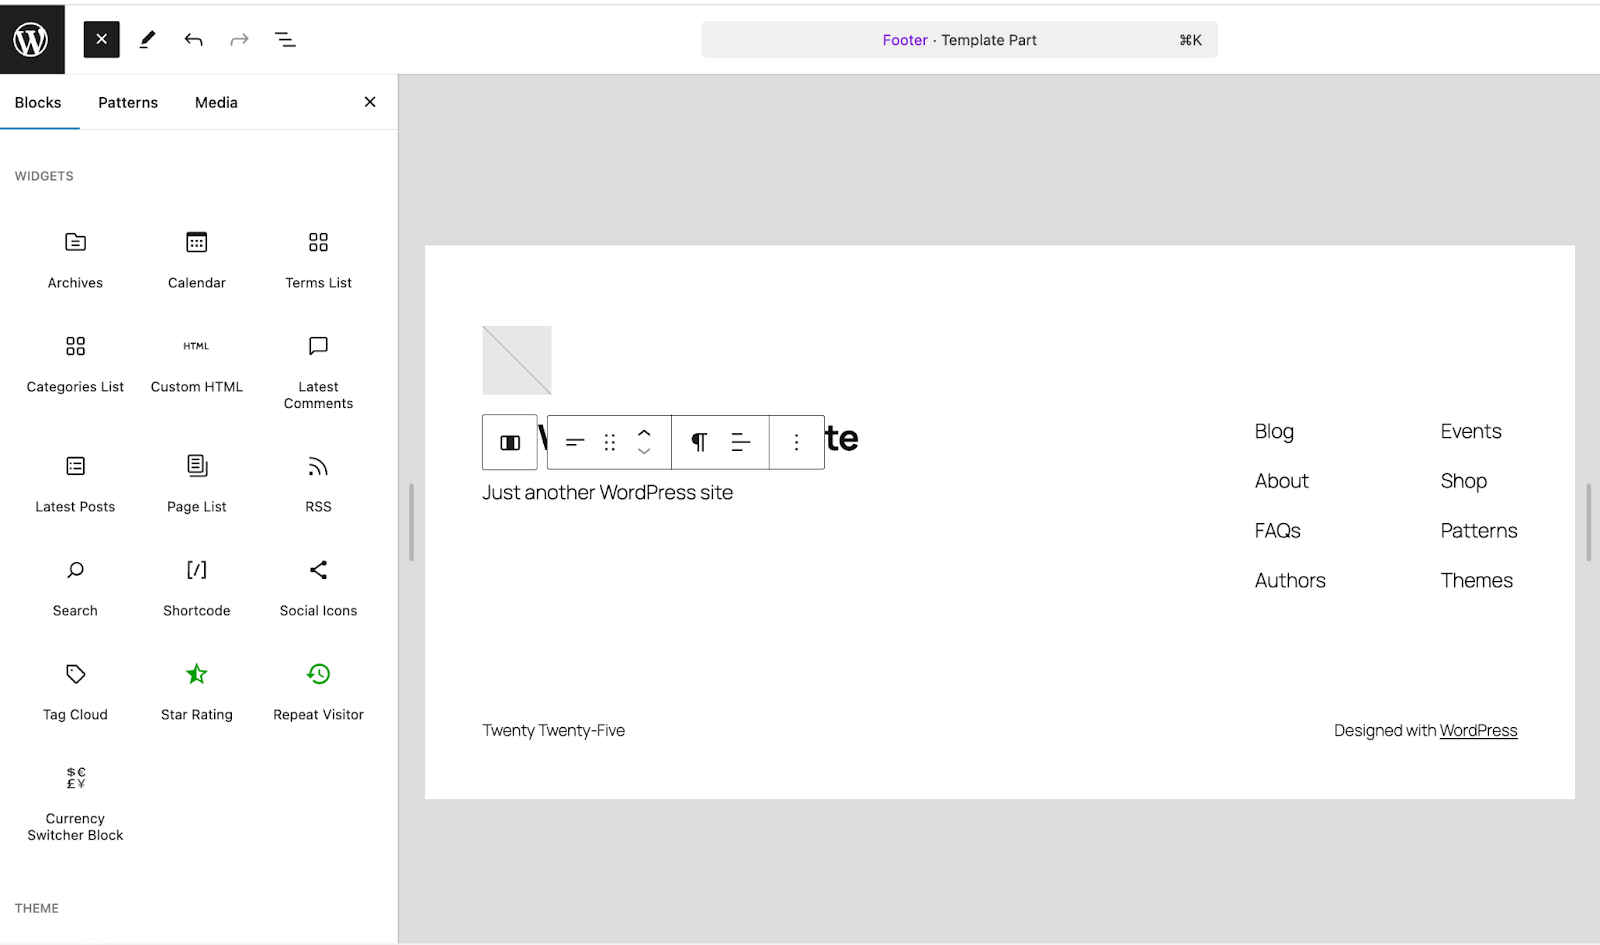
This method is specifically for block themes and is an excellent balance of usability and flexibility. In your WordPress dashboard, go to Appearance → Editor. Then, click Patterns → Footer.
Here, you’ll see the blocks that already make up your footer. In the example below, there’s a logo, header, site tagline, menu, and copyright notice.

You can click any of those blocks to edit their settings. For example, if you click on the Site Tagline block, you can edit the text and background color, font size, dimensions, border, alignment, and more.

You can also delete any existing blocks and add new ones. You might add a search bar, email capture, or a list of your latest blog posts. You can do this by clicking the blue + icon, then dragging and dropping the block you’d like into your footer.
What about the design of your footer? Select the entire group of footer blocks and the Settings panel will show options for the group as a whole. There, you can set the background color, adjust padding and alignment, and more.

Once you’re done, click the blue Save button at the top right.
2. Using the WordPress Customizer
The Customizer is a good method to use if you have a classic theme, rather than a block theme, installed on your site. It’s still user-friendly, but doesn’t allow for the level of customization that the Site Editor does.
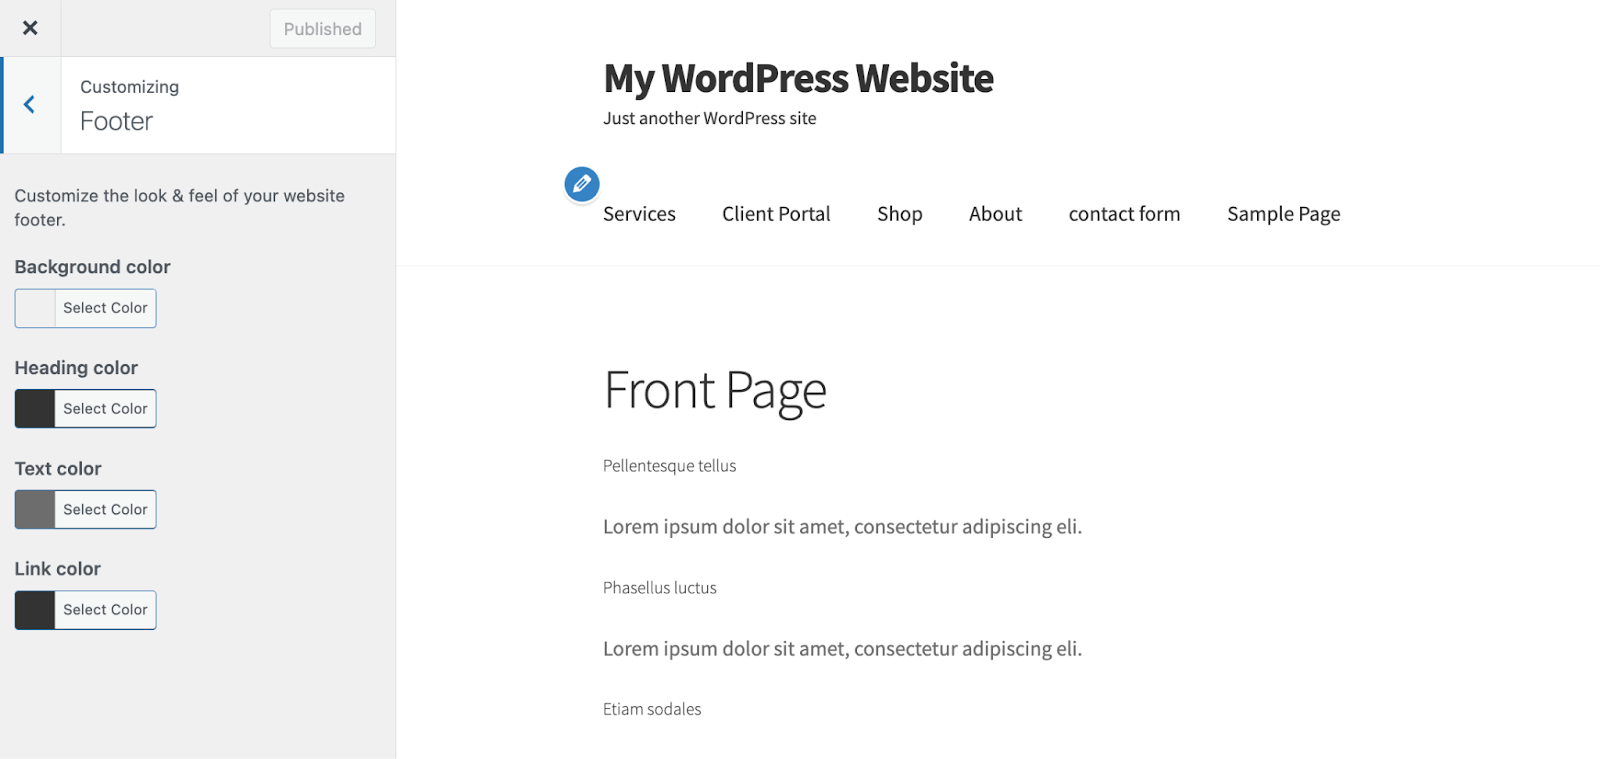
Navigate to your WordPress dashboard and go to Appearance → Customize. Themes handle this process differently, but you’ll typically find footer styling options in a section called “Footer,” and content in a section called “Widgets.”
Click the Footer section, and you’ll find options for background color, text color, etc. depending on your theme.
If you open Widgets, you’ll typically see several different widgets representing sections of your footer. In the example below, the Storefront theme labels them “Footer Column 1,” “Footer Column 2,” and so forth.
When you select one of the widget areas, you can add blocks to build out your footer. Again, you could add a search bar, email capture, etc.

Once you’re done making your changes, click the blue Publish button.
3. Editing footer widgets
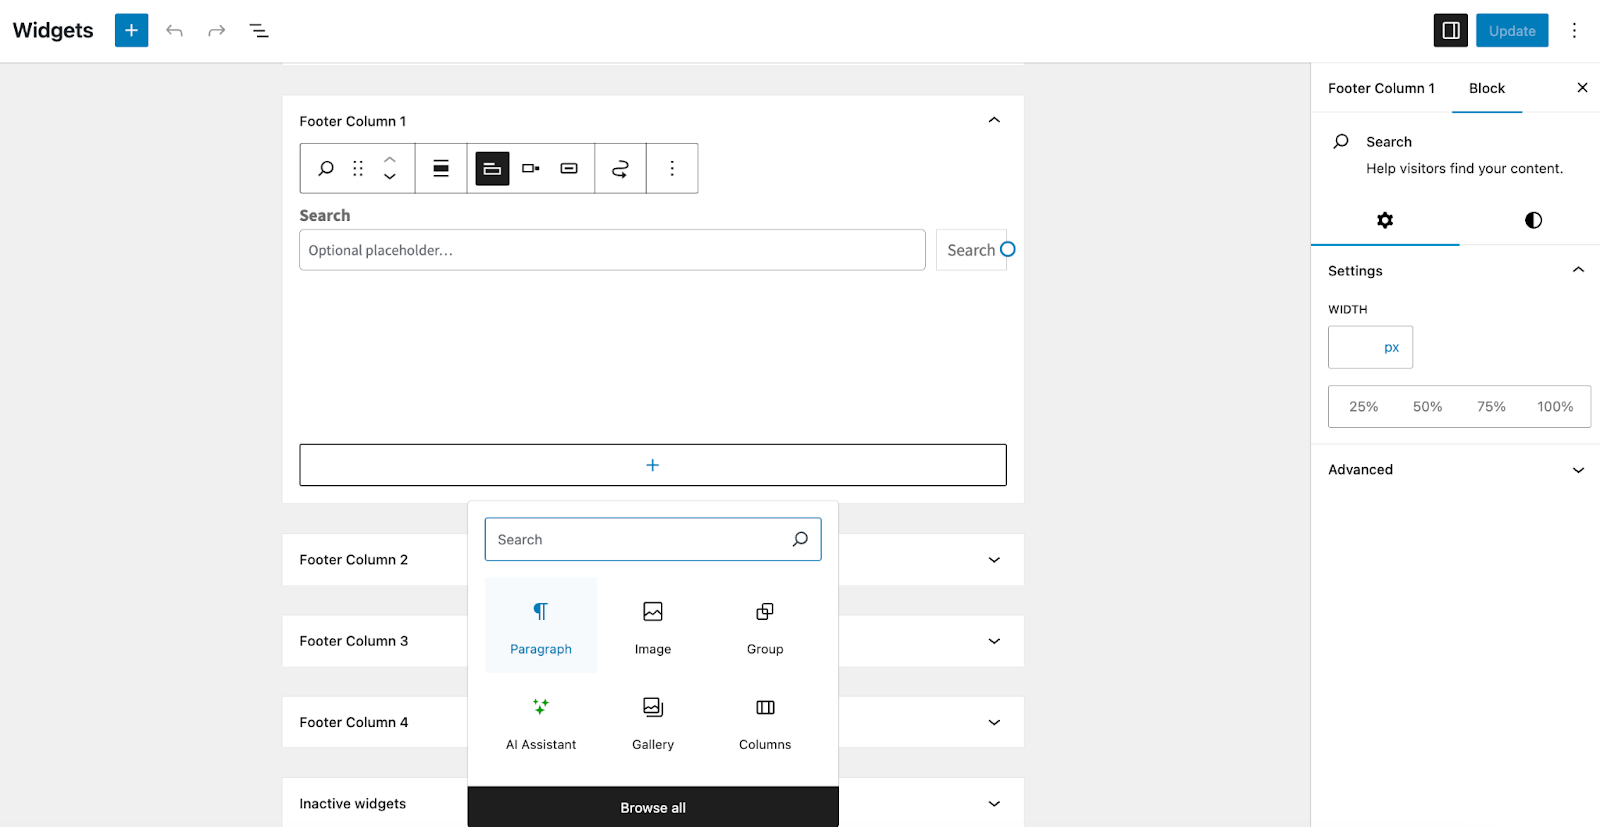
Widgets are modular components used across several areas of classic themes, including the footer. While you can edit widgets in the Customizer (see the previous step), you can also make changes by going to Appearance → Widgets.
There, you’ll see expanding sections for each widget area. The names will vary based on your theme, but will have the word “Footer” in the title. Expand the one you want to work with to view existing blocks, edit them, and add new ones.
You’ll work with the footer blocks in the same way you would build a page or post. Click the plus icon to add a block, select the one you want, and edit it using the Settings panel. Once you’re done, click the blue Update button.
4. Modifying the footer.php file
If you’re a developer or are experienced with code, the footer.php file allows for complete control over your footer.
Warning: Any changes you make to a parent theme file will be erased when you update down the road. Always use a child theme for modifications. You should also take a full backup of your site before proceeding.
You can access your theme files via FTP or through your hosting provider’s dashboard. Using the method that’s best for you, navigate to your site’s root folder (typically public_html). Then go to wp-content → themes → your-child-theme-name and open the footer.php file.

To safely modify your footer code, navigate to wp-content/themes/your-child-theme/footer.php. Look for the <footer id="colophon"> tag.
Example: Removing the credit via PHP
// Look for a line like this and comment it out:
// get_template_part( 'template-parts/footer/site-info' );
Note: Always use a child theme so your changes aren’t lost during updates.
5. Adding custom CSS to your footer
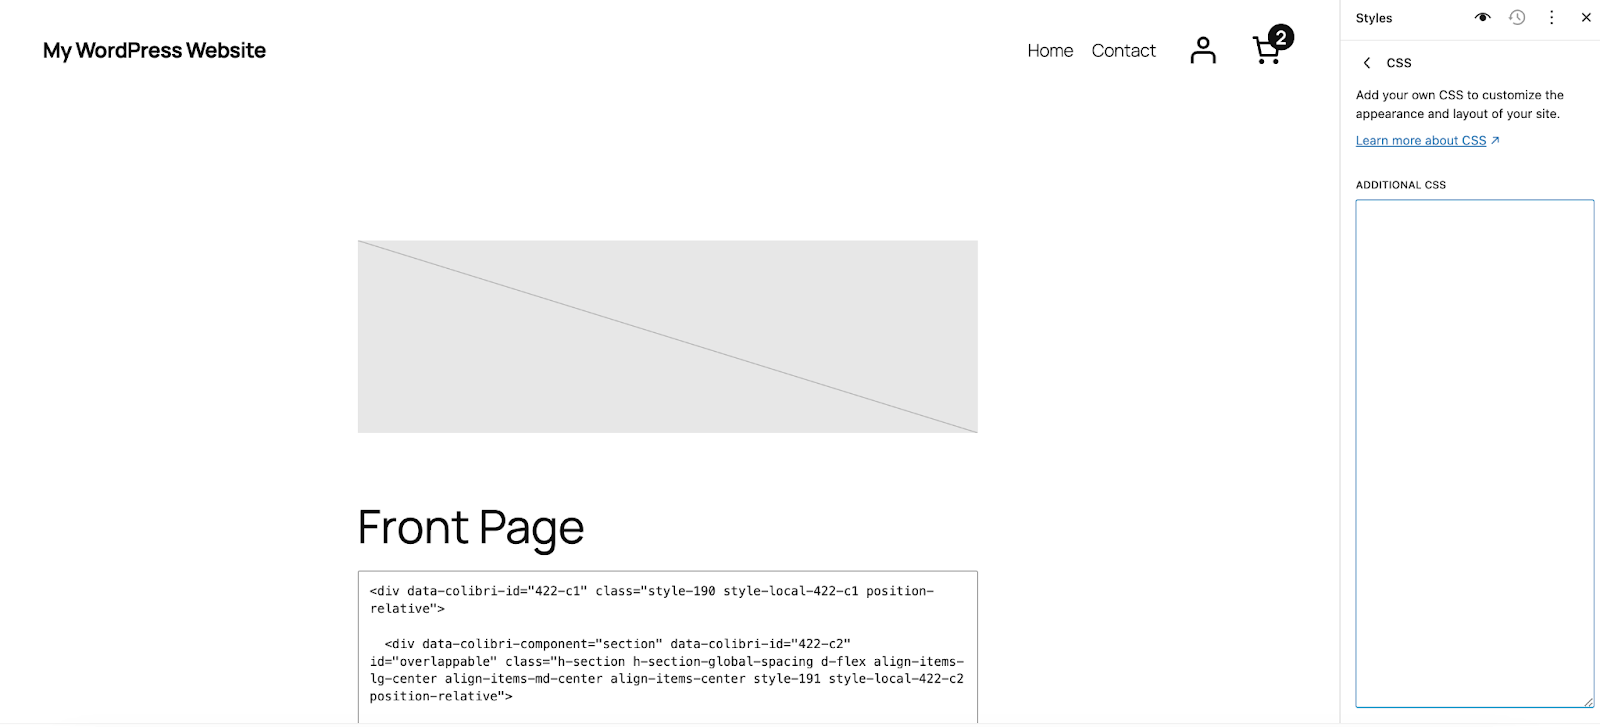
If you’re experienced with code, you can use custom CSS to make design-related changes to your footer. If you’re using a block theme, go to Appearance → Editor. Click Styles → Edit Styles. Then, click the three vertical dots in the top-right corner of the Styles panel, followed by Additional CSS. Edit the code however you’d like, and click the blue Save button.
If you’re using a classic theme, navigate to Appearance → Customize → Custom CSS. Add your code and click the blue Publish button.

6. Editing footers in page builders like Elementor
If you use a page builder such as Elementor, the standard WordPress Appearance menu usually does not control your footer. Instead, these builders use their own template systems to override the default theme footer. This means you must edit the footer inside the builder’s interface.
For Elementor users:
- Go to Templates in your WordPress dashboard, then click on Theme Builder.
- Look for the Footer tab on the left side and click it.
- You will see your active footer template. Click Edit with Elementor.
- The builder will open. You can now click on any text, image, or social icon in the footer area to change it, just like you edit a normal page.
- When you finish, click Update. If you are creating a new footer, the system will ask where to display it. Choose Entire Site to make it show on every page.
Most other builders follow a similar pattern. Always check the “Templates” or “Theme Builder” section first if your changes in the main WordPress Customizer do not appear on the front end.
How to remove “Powered by WordPress” credits from your footer
If your theme has a “Powered by WordPress” text in the footer, the best way to remove it depends on your theme, but you should avoid hiding it with CSS, as Google sometimes views hidden text as a negative signal.
Method 1: Use the Theme Customizer
First, check if your theme offers a built-in setting.
- Go to Appearance, then Customize.
- Look for a section named Footer, Site Identity, or Copyright.
- If you see a text box with the credit information, you can simply delete it or type your own copyright notice.
- Click Publish to save.
Method 2: Use the Site Editor (block themes)
If you use a modern block theme like Twenty Twenty-Four:
- Go to Appearance, then Editor.
- Click on Patterns or Template Parts, then select Footer.
- Click on the footer area to open the editor.
- Click directly on the “Powered by WordPress” text block.
- Press the Delete key on your keyboard to remove it, or type your own text.
- Click Save.
Method 3: Edit footer.php (Advanced)
If your theme does not have a setting, the text might be hard-coded in the template file.
- Create a child theme so your changes stay safe during updates.
- Copy the
footer.phpfile from your parent theme to your child theme folder. - Open the file and look for code that mentions “powered by” or “printf.”
- Carefully remove that specific line of code. Do not remove the
wp_footerline, as plugins need that to work. - Save the file and check your site.
This method completely removes the code from the page, which is cleaner and safer for SEO than just hiding it.
Common footer issues and troubleshooting
Changes not reflecting
If the changes you made to your footer aren’t showing up on your site, try:
- Clearing your cache: Clear the cache in your browser, host, and any caching plugins you have installed.
- Looking into theme limitations: Some themes restrict footer customization, so you may need to upgrade to a premium version or switch themes entirely.
A broken layout
Does your footer appear broken? Try:
- Reviewing the footer.php file for code errors.
- Restoring a backup if necessary.
Best practices for footer design
Let’s take a look at a few simple tips for a well-designed footer:
- Keep it simple: Avoid clutter by focusing on essential information.
- Ensure accessibility: Use readable fonts and accessible colors.
- Optimize for mobile: Test your footer on different devices to ensure responsiveness.
- Include links to key pages: Add links to privacy policies, terms, and contact pages.
- Add branding elements: Reinforce your brand with a logo or tagline.
Enhance your footer with these ideas
Once you’ve mastered basic footer editing, consider these enhancements:
- Add a newsletter subscription form.
- Include dynamic content, such as recent blog posts.
- Integrate social media icons for easy access.
- Use animations or hover effects for an interactive experience.
Final thoughts on WordPress footer customization
Editing the footer in WordPress gives you control over a crucial part of your site layout. Whether you’re making changes with the Site Editor or diving into code, this guide provides the tools and knowledge needed to create a polished and functional footer. Take the time to explore your options and tailor the footer to suit your website’s goals and audience.
Frequently asked questions
How can I edit the footer in WordPress without using code?
You can edit the footer in WordPress without coding by using the tools built into your theme, such as the Site Editor, Customizer, and Widgets screen.
In a newer block theme, you usually go to Appearance, then Editor, choose the Footer template part, and change text, menus, or blocks there, then click Save. In many classic themes you open Appearance, then Customize or Widgets, find the Footer or Footer Widgets area, and update your text, menus, or widgets from those panels.
What is the difference between editing the footer in a block theme and a classic theme?
In a block theme, the footer is a block template part that you edit visually in the Site Editor, which you open from Appearance, then Editor, and it works very much like editing a page layout. You can move blocks, change columns, add patterns, and adjust spacing and styles for the whole footer in one place, without touching any code at all.
In a classic theme, the footer is usually controlled by a mix of widgets in Appearance, then Widgets, and theme options in the Customizer, and some details still live in the footer.php file that developers edit.
How do I remove the “Powered by WordPress” text from my footer safely?
You usually remove the “Powered by WordPress” text either in the Customizer, in the Site Editor, or by editing the footer template that your theme provides, depending on how the theme is built.
First check Appearance, then Customize or Editor, and look for a Footer or Site Info section, because many modern themes let you turn off or replace the credit text from there. If your theme hard codes the text in footer.php, create a child theme, copy footer.php into it, and remove or change only the small section that prints the credit, then test the site carefully.
How do I add or update copyright text in my WordPress footer?
To add or update copyright text, open the tool your theme uses for footer control, for example the Site Editor, Customizer, or Widgets screen, and locate the footer block, widget, or text area that holds the current message.
You can then replace the default text with something simple like “Copyright © Your Site Name” and add your business name, year, and any required legal notice, then save and refresh the front end to confirm the change. If you want the year to update by itself and your theme lets you add a small PHP snippet in footer.php, you can use code such as for the year, but make the change in a child theme and keep a backup before editing files.
How can I change the design of my footer, such as colors, spacing, and fonts?
To change the design of your footer, open your theme’s design controls, which may be the Site Editor or the Customizer, and look for global styles or a dedicated Footer section that controls colors, typography, and layout.
Many block themes let you click on the footer area and then use a sidebar panel to change background color, text color, font size, padding, and alignment, and those settings apply across all pages that use that footer template. In classic themes you might change footer styles under Appearance, then Customize, then Colors or Typography, and if you need more control, a developer can add custom CSS rules that target footer classes to fine tune spacing and mobile behavior.
How do I edit the footer if I use a page builder such as Elementor or Divi?
If you use a page builder such as Elementor or Divi, you usually manage the footer from the builder’s Theme Builder area instead of the normal WordPress Widgets or Site Editor screens. In Elementor, you can go to Templates, then Theme Builder, then Footer, create or edit a footer template, design it with the builder’s widgets, and assign it to all pages or only some pages using display conditions.
Is it safe to edit the footer.php file, and how can I do it without breaking my site?
Editing footer.php can be safe if you take proper steps, but it is easy to break the layout or cause a PHP error if you remove the wrong code, so it should be done with care. Before you change footer.php, always create a full site backup, set up a child theme, and copy footer.php into that child theme, because this protects your changes from future updates and lets you roll back if something goes wrong.
When editing, avoid touching any lines that contain PHP functions you do not fully understand, keep the wp_footer() call in place, change only the small text area you need, and test on a staging site or at least in a second browser window.
Can I add scripts or tracking code in the WordPress footer, and what is the best way to do it?
Yes, you can add scripts and tracking code into the WordPress footer, and in many cases this is preferred because it lets the main page content load before analytics or marketing scripts run.
The cleanest way is to use a dedicated plugin or your theme options panel if it offers header and footer script fields, then paste your analytics or tag manager code into the footer field, save, and confirm that the script appears just above the closing tag when you view the page source.
Developers can also hook into the wp_footer action in a child theme’s functions.php file and print scripts from there, but this method should be used only by someone who understands PHP and follows best practices for sanitizing and escaping any dynamic data.
Why are my footer changes not showing up on my live WordPress site?
If your footer changes are not showing, the most common cause is caching, either from a caching plugin, server cache, or a content delivery network, which can serve an old version of the page even after you save your edits. Start by clearing the cache in any caching plugin you use, then clear your hosting cache if your provider offers one, and finally hard refresh your browser or test in a private window or other device.
If the problem persists, check that you edited the correct footer template for your theme, confirm that no child theme or page builder footer is overriding your changes, and make sure you clicked the main Save or Publish button in the editor you used.
How can I make my WordPress footer more useful for visitors and better for SEO?
A useful and SEO friendly footer usually contains clear navigation to key pages, such as Contact, About, Privacy Policy, and main product or service areas, plus trust elements such as address, email, or social links.
You can improve the footer by grouping related links in short columns, adding a simple email signup, including structured data where relevant, and avoiding keyword stuffing or large blocks of repeated anchor text, which can look spammy to both users and search engines. It also helps to keep the design clean and readable on mobile, with enough contrast between text and background and enough spacing between links, so that people can tap items easily and stay longer on your site.
