
The header is one of the most important visual and functional parts of a WordPress site. It’s often the first thing visitors see and, in most cases, remains visible as they navigate between pages. That consistency makes the header a key location for branding, navigation, and calls to action.
The steps to edit a WordPress header depend heavily on the tools you’re using. You’d take a different approach whether working with a block theme, a classic theme, or custom code. To that end, this guide covers the main methods for editing the header so you can follow the approach that best fits your workflow.
Let’s get started.
Understanding the role of the header
The header is the top area of the site that loads above your main content on every page. Most sites use this space to display key elements like:
- The site logo or title
- A navigation menu, sometimes with dropdowns
- A search field
- A call-to-action button
- Social media icons
- Contact details, like a phone number or email
The specific elements will depend on your situation and theme, but most headers serve the same purpose: orienting your visitors, supporting navigation, and reinforcing your brand.
Why customize your header
One of the first things site owners work on when building their WordPress site is the header. Here are some common changes that they make:
- Replacing the default logo with their own
- Adjusting the menu layout
- Adding a phone number for quick contact, especially on mobile devices
- Simplifying a cluttered header or changing the typography for a more modern look
With a clear idea of why someone might wish to edit a WordPress header, let’s look at a few ways to accomplish this.
Method 1: Customize the header using the WordPress Customizer
Classic WordPress themes typically use the Customizer for visual changes. This tool allows you to preview updates in real time before applying them.
To access the Customizer:
- Log in to your WordPress dashboard.
- Go to Appearance → Customize.
- Look for options like Header Builder, Site Identity, and Menus, depending on what you’re trying to update.

Each theme offers its own set of controls, but in most cases, you’ll be able to:
- Upload or replace your site logo
- Modify the site title and tagline
- Change header background colors or images
- Adjust font styles or sizes
- Select which menu displays in the header
- Enable or disable a search bar or social icons
After making your changes, click the Publish button to apply them to your live site.
Method 2: Edit the header using the Site Editor
If you’re using a block theme, the Site Editor allows you to edit your header using blocks. Instead of using the Customizer, you’ll work inside the Site Editor.
To access the Site Editor, go to Appearance → Editor. Click directly on the header area in the visual preview. This opens the header template part, which you can edit using blocks.
Here are some blocks you might add to your header:
- Site Logo. Upload or choose your logo image.
- Site Title and Tagline. Display the site’s name and description.
- Navigation. Add your main menu and set its layout.
- Button. Link to a product, contact form, or other key page.
- Social Icons. Add icons that link to your social media pages.
- Search. Include a search bar for sitewide navigation.
You can reorder these blocks, group them, or apply styles like background color and spacing. Once you’re done, click Save to publish the new header layout across your site.
Method 3: Edit the header.php file manually
If you’re comfortable with PHP and HTML, editing the header.php file offers full control over the header’s structure and content. Developers or advanced users who want to go beyond what the Customizer or Site Editor allows typically opt for this method.
To get started, you’ll need to access the file. There are a couple of ways to reach it:
From the WordPress dashboard, go to Appearance → Theme File Editor, then choose header.php. Or, connect via FTP or use a file manager in your hosting account.
Then, you can edit header.php in several ways, including:
- Replacing the logo markup with custom HTML
- Adding a script for Google Analytics or other services
- Modifying or reordering elements manually
- Inserting structured data or meta tags for SEO
If you take this route, always use a child theme to avoid losing changes during updates. Also, create a full backup before making any edits, as syntax errors in PHP files can break your site.
How to add custom code to the header without editing theme files
Adding custom scripts like Google Tag Manager or site verification tags doesn’t require you to directly edit theme files. Instead, you can use a plugin designed for safe code injection.
One option is to install the Insert Headers and Footers plugin by WPCode. Then, go to Code Snippets → Headers and Footer and paste your code in the Header section.
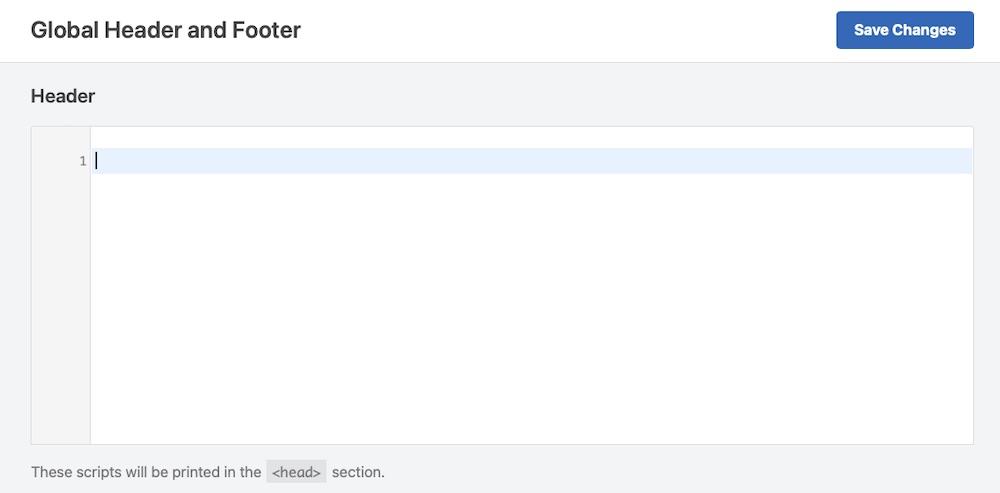
Click Save once you’re done making changes. This approach prevents downtime due to coding errors and means that your code won’t be erased when you update your theme.
Design and layout tips for headers
As you customize your header, keep the following principles in mind:
The easiest speed optimization plugin for WordPress
Jetpack Boost gives your site the same performance advantages as the world’s leading websites, no developer required.
Boost your site for freePrioritize clarity
Don’t overload your header with elements. Focus on the essentials: a logo, clear menu, and one or two extra items like a search bar or call-to-action button. Too much clutter makes websites “busy” and distracts from the actions you’d like visitors to take.
Make it mobile-friendly
Headers need to look good and function well on small screens. Use hamburger menus for navigation, and make sure clickable elements like buttons and icons have the right sizing for touch interaction.
Be consistent with branding
Use your brand colors and fonts consistently. Position the logo prominently and make sure the header aligns visually with the rest of your site.
Preview and test across devices
Before publishing updates, preview your changes across devices. Check for layout issues, broken links, and styling inconsistencies. If you’re adding custom code, check for errors in the browser console. If you’re using a plugin, clear your site cache to make sure updates appear correctly.
Simplify your site’s performance and security with Jetpack
Once your header is in place and your site feels structurally sound, it’s a good time to think about what happens behind the scenes. Thankfully, Jetpack offers a unified solution that supports WordPress performance, protects your content, and reduces time spent on day-to-day management.
Jetpack brings together a collection of tools that keep your WordPress site fast, secure, and running efficiently. Let’s look at some key ways this set of tools helps:
Improve speed without extra effort
Jetpack includes an image CDN that delivers media files from high-speed servers around the world. This helps reduce load times and improve SEO, with no manual configuration required.
Keep your site protected around the clock
Security can be easy to underestimate until something goes wrong. Jetpack offers real-time backups, malware scanning, and spam protection in a single package. These features work together to prevent downtime and data loss. Brute force attack protection also defends against unauthorized access.
Manage everything from one place
Running a WordPress site involves more than just publishing. Jetpack consolidates essential administrative tools into your WordPress dashboard. Use these tools to monitor traffic, track uptime, and manage plugin or theme updates without switching between services.
For those managing multiple WordPress sites, Jetpack’s centralized tools save you hours each month by streamlining repetitive tasks. Learn more about why now is a great time to start using Jetpack.
The easiest speed optimization plugin for WordPress
Jetpack Boost gives your site the same performance advantages as the world’s leading websites, no developer required.
Boost your site for free