
Are you looking to launch a paid newsletter but unsure which platform to use?
While Substack and Gumroad are two popular options, WordPress provides more control and flexibility. Plus, if you use a beginner-friendly solution like Jetpack Growth, you’ll pay lower fees and have the freedom to monetize your content in different ways.
In this guide, we’ll take a closer look at why you should choose WordPress and Jetpack Growth to run your paid newsletter. We’ll also show you how to get started. So, let’s dive right in!
Why choose WordPress over Substack or Gumroad for newsletters
You may already be familiar with WordPress, a content management system (CMS) that powers over 40 percent of websites.
You can use WordPress to create any type of website and install plugins to add more functionality, like a paid newsletter and subscriptions.
Meanwhile, Substack is a platform that enables creators to monetize their content with subscription-based services. Similarly, Gumroad lets you sell digital products through subscriptions and memberships.
So, why should you choose a general-purpose platform like WordPress over Substack and Gumroad?
Let’s look at the main reasons.
1. Control over branding and customization
WordPress is known for being a highly customizable and flexible platform. Once you install a newsletter plugin, you’ll have complete control over your newsletter’s design and layout.
For example, you can add elements like videos and call to action (CTA) buttons using drag-and-drop elements called “blocks,” and customize them so that they align with your branding. If there’s a feature you want that’s not readily available in WordPress, you’ll be able to add it with a plugin.
With Substack and Gumroad, you’re limited to the features and customization options that are native to the platforms.
2. Ownership of subscriber list
When you use platforms like Substack, your subscriber list is stored on their servers. This means you don’t have full control over the data.
With WordPress, you own your subscriber list and can export it any time. For example, you might import your subscriber data into a third-party customer relationship management (CRM) platform.
3. Monetization flexibility
WordPress gives you various monetization options beyond subscriptions. You can sell products, display ads, and integrate affiliate marketing for multiple revenue streams.
This makes it an ideal platform for creators who want to maximize profits. You’ll also be able to promote products (including affiliate brands) through your paid newsletter.
4. Integration capabilities
WordPress integrates with many email marketing services, so you can choose an option that best suits your needs and budget. It also supports popular payment gateways like PayPal and Stripe.
Moreover, integrations with analytics tools like Jetpack Stats give you valuable insights into your email marketing campaigns. This data helps you improve your newsletter content.
5. Lower fees
Substack takes a 10% cut of each sale, while Gumroad charges 10% plus $0.50 per transaction.
With WordPress, transaction fees depend on the payment method or newsletter plugin you use. This means you can choose a solution that works best for your budget.
For example, Jetpack Growth only charges a 2% transaction fee, allowing you to keep more of your revenue.
How Jetpack Growth helps create and monetize your newsletter
Jetpack Growth seamlessly integrates into WordPress, enabling you to manage your newsletter from your website. It also offers features to monetize your content and grow your email list.
Here’s how Jetpack Growth maximizes your email marketing efforts:
Design your newsletters with 40+ blocks
Jetpack Growth provides a collection of more than 40 customizable blocks in addition to the blocks already available in WordPress.
This makes it easier to design visually-engaging newsletters, without needing technical skills. These blocks include elements like tiled galleries, feedback forms, maps, latest Instagram posts, and more.
Grow subscribers through the creator network
When you create your newsletter with Jetpack, your content will be discoverable on the creator network. This helps you reach a broader audience and connect with other bloggers.
For example, you might add the Blogroll block to your pages or newsletter to display third-party blogs that your readers would enjoy. In exchange, the bloggers you choose to partner with can recommend your site to their audience, using the same feature.
Increase earnings with WordAds
WordAds is an advertising program by Automattic (the people behind WordPress.com and Jetpack). It is included in your Jetpack Growth plan, and you have the freedom to place ads anywhere you want on your site.
To enable it, go to your Jetpack → Settings → Monetize. Then, choose where you want to display the ads:
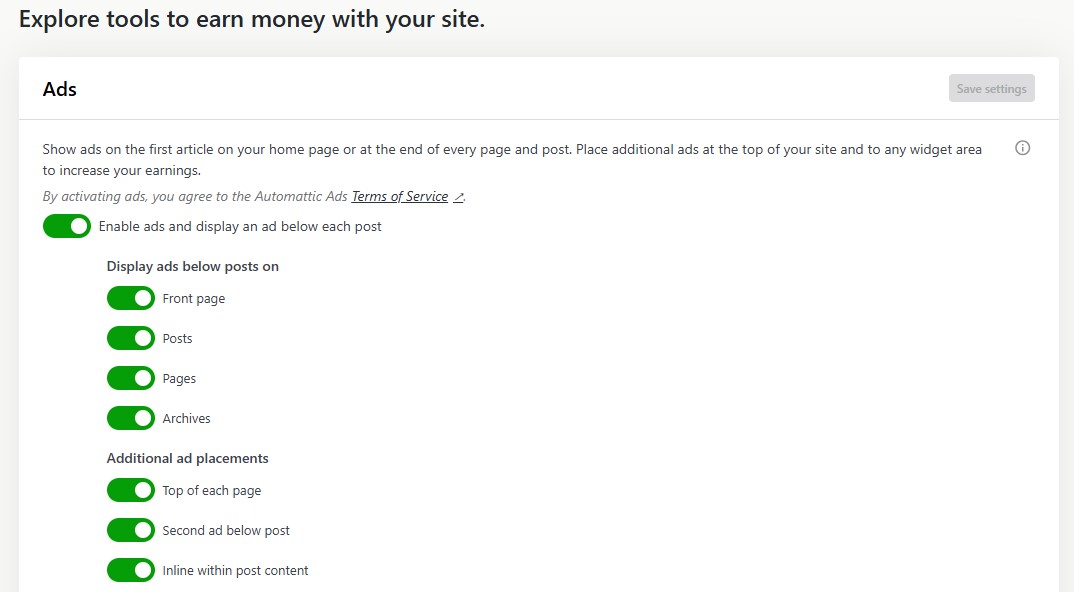
You can then monitor your earnings from your WordPress.com account
Optional: Create content faster with AI
Jetpack Growth is a paid plan available as part of the Jetpack plugin. You’ll quickly discover that Jetpack has many other optional features to enhance your site’s marketing, performance, and security.
One of the most useful for professional newsletter writers is Jetpack’s AI Assistant. It integrates directly with WordPress, so there’s no more toggling between tabs or copy/pasting between programs.
It’s readily available in the block editor. Just add the AI Assistant block and enter your prompt.
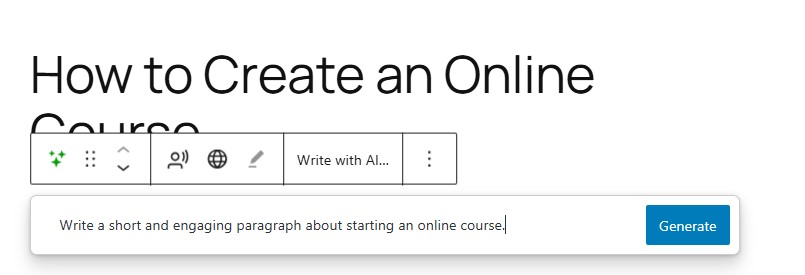
Then, accept and edit the content it generates for you:
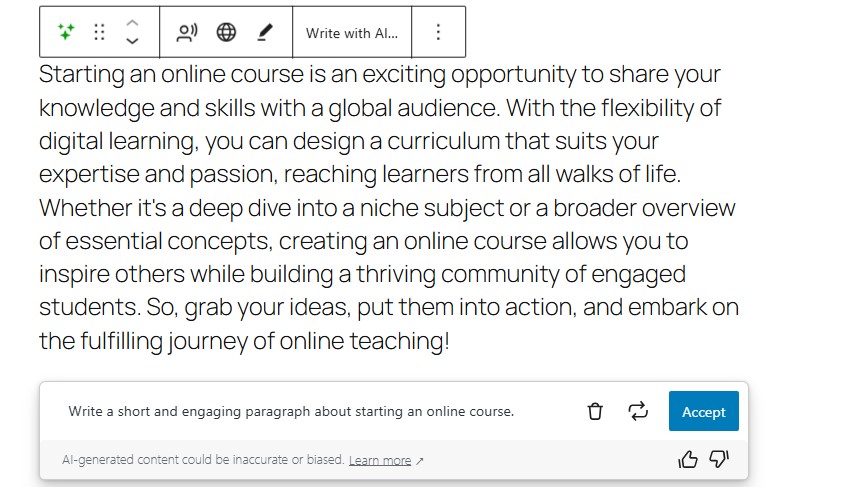
Jetpack AI Assistant can produce a variety of content, including forms, featured images, tables, optimized titles, and more.
How to create your paid newsletter on WordPress
Now, let’s look at how to set up a paid newsletter on WordPress.
Step 1: Install Jetpack Growth
First, you’ll want to install the free Jetpack plugin. In your WordPress dashboard, go to Plugins → Add New Plugin and use the search bar to find “Jetpack – WP Security, Backup, Speed, & Growth”.
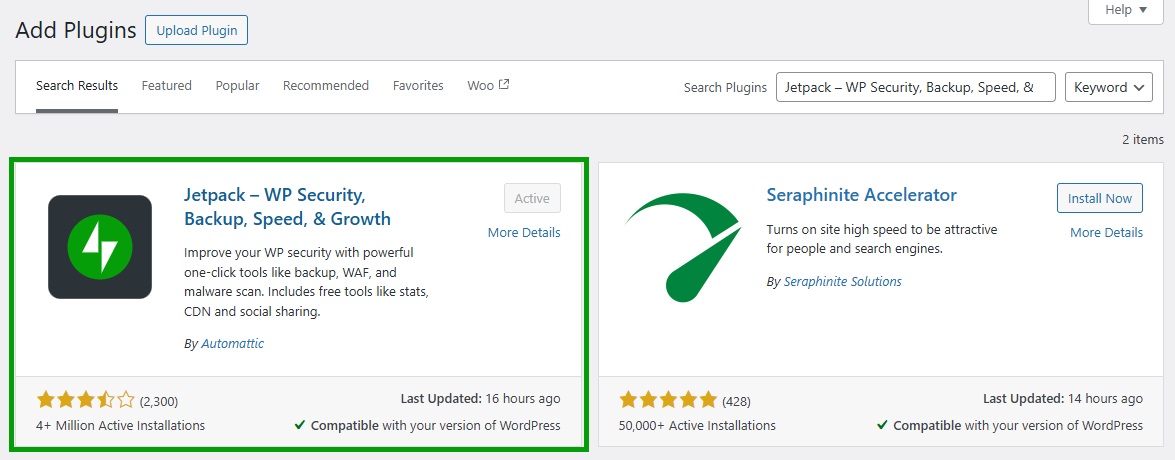
Click on Install Now, followed by Activate. The plugin will ask you to connect to your WordPress.com account (or create one for free).
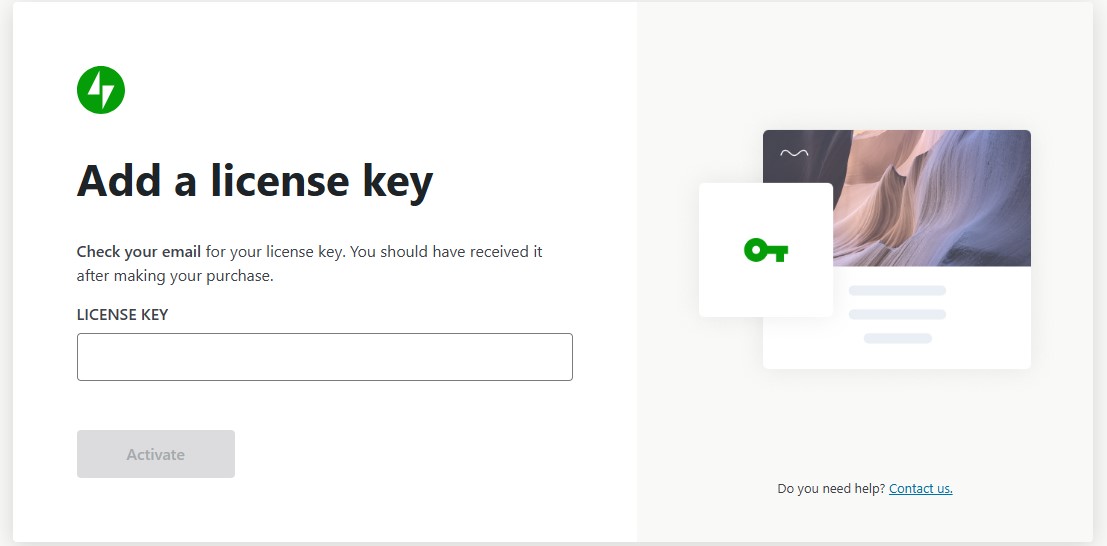
Now, purchase the Jetpack Growth plan and copy the license key sent to your email inbox.
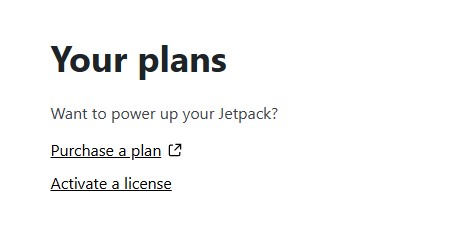
Return to your WordPress dashboard and click on Jetpack → My Jetpack. Under the Your Plans section, select Activate a license.
Enter the license key and click on Activate.
You now have Jetpack Growth set up on your website.
Step 2: Enable the Newsletter
Navigate to Jetpack → Settings → Newsletter and use the toggle switch to enable the newsletter.

Now, when you’re about to publish a post or page, you’ll see an option to send it to your subscribers.
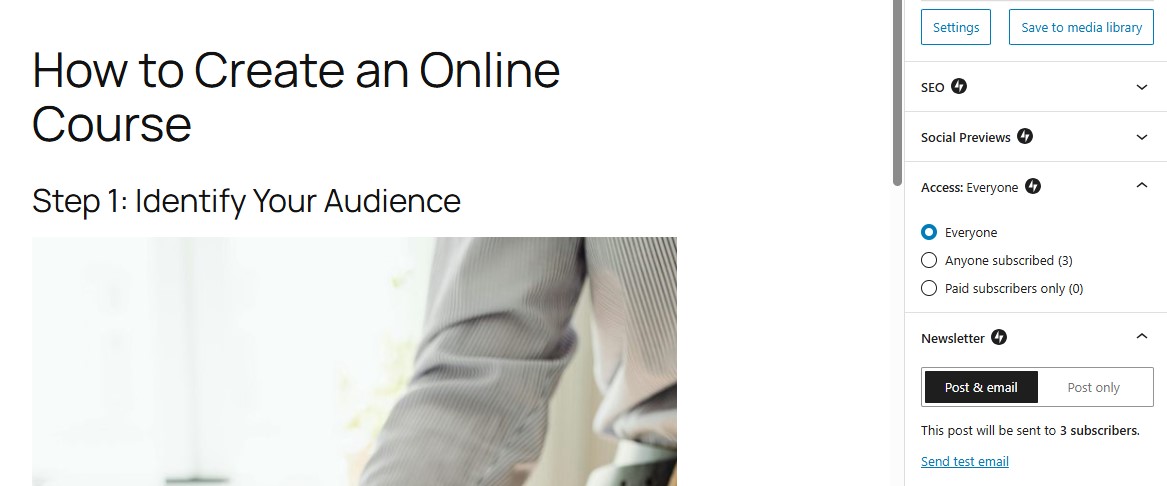
Since you’re setting up a paid newsletter, you’ll want to choose Paid subscribers only.
Step 3: Configure subscription forms and email settings
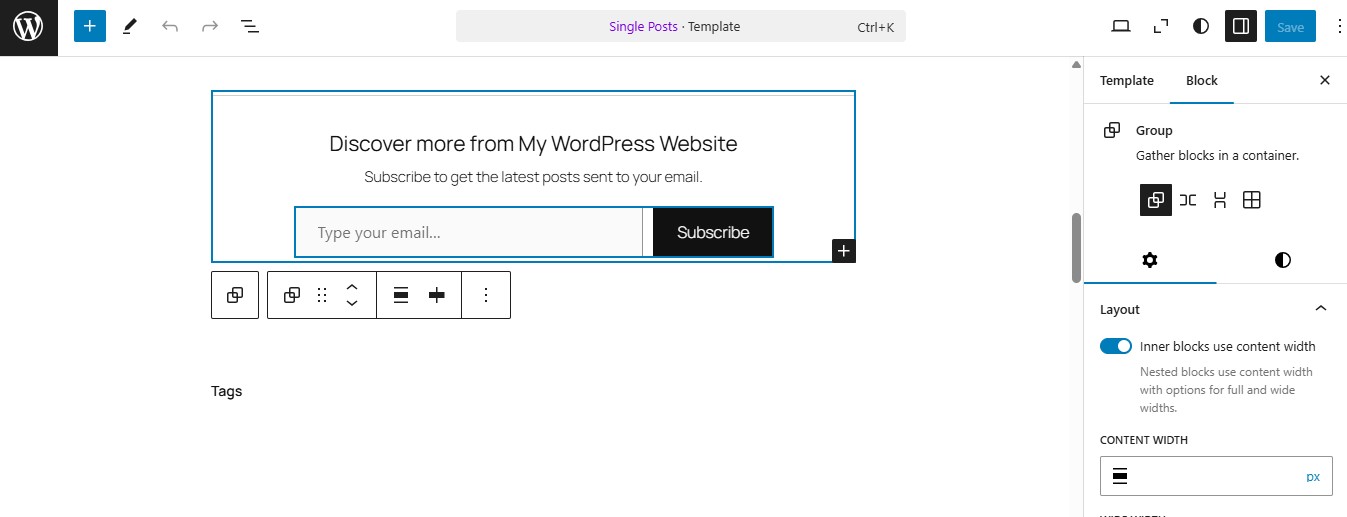
When you enable your newsletter, you’ll get some options for displaying your subscription forms.
For example, you can automatically add the Subscribe block at the end of every post and to the navigation menu, show a subscription pop-up, and more.
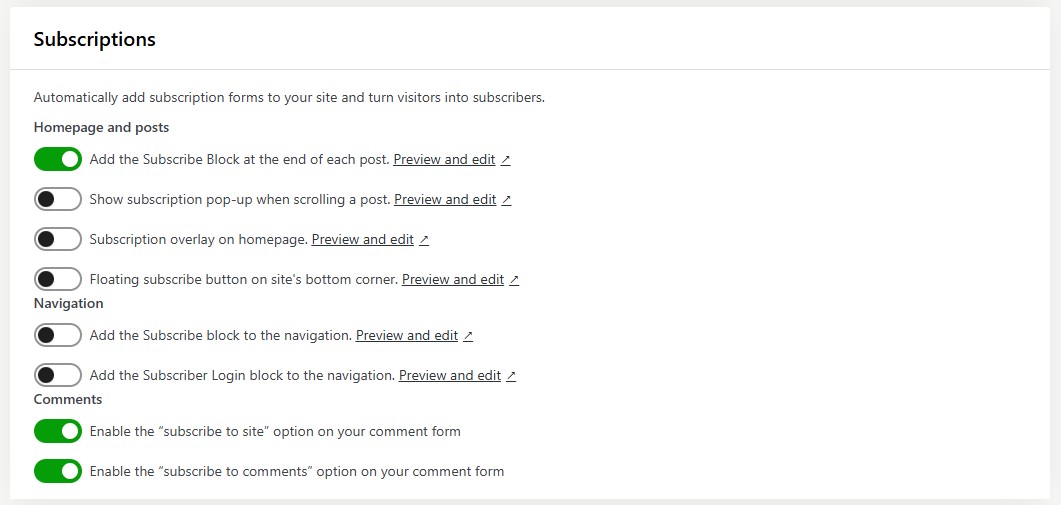
Click on Preview and edit to customize the form in the block editor.
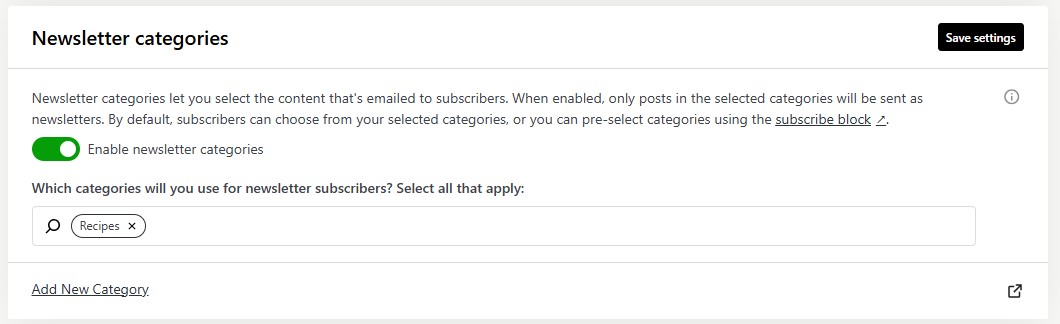
Return to the Newsletter page to configure more settings. If you go to Newsletter categories, you can select the post categories that you want to email to your subscribers.
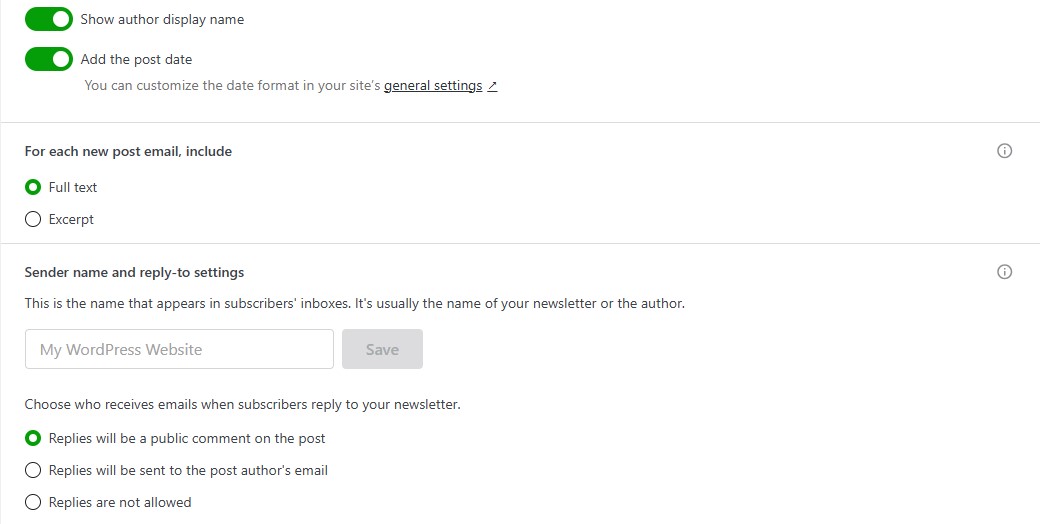
Scroll down to the Email configuration section, where you’ll find options for customizing the email byline, and editing the sender name and reply-to settings.
Jetpack even lets you create a custom welcome email for new subscribers.
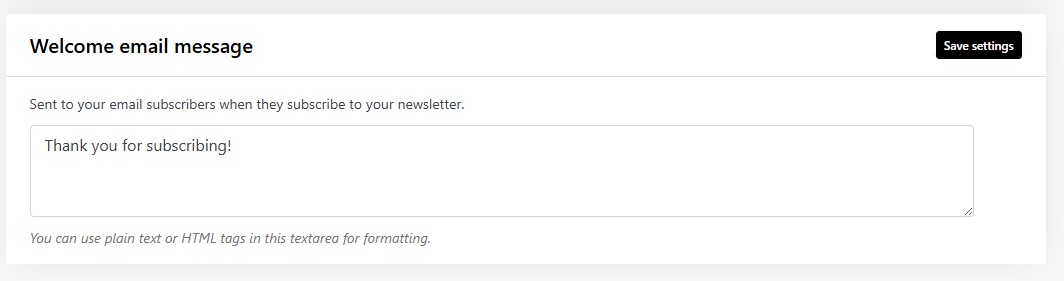
You could use this email to thank subscribers and share essential information about your services.
Step 4: Set up payment plans
It’s now time to create your payment plans. In Jetpack → Settings → Newsletter, go to the Paid newsletter section and click on Set up.

This will take you to your Jetpack.com account. Here, navigate to Monetize → Payment Settings and click on Add a new payment plan.
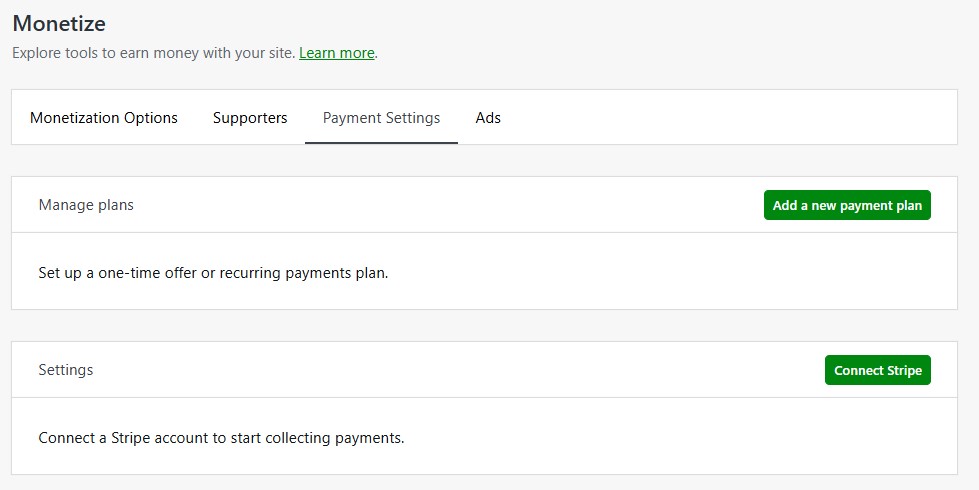
A pop-up will appear. If you’re only offering one paid plan, leave the Paid newsletter tier option turned off, and specify the renewal frequency (monthly, yearly, or one-time sale) and the price.

If you want to offer more than one plan, toggle on the Paid newsletter tier option and enter the monthly and annual prices for your newsletter.
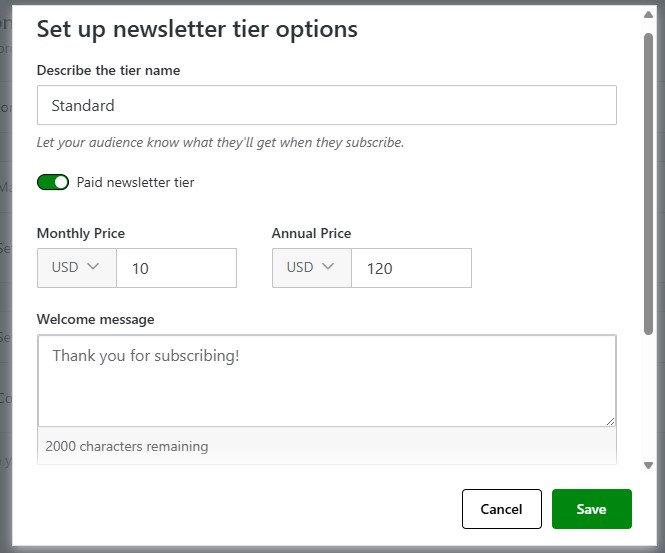
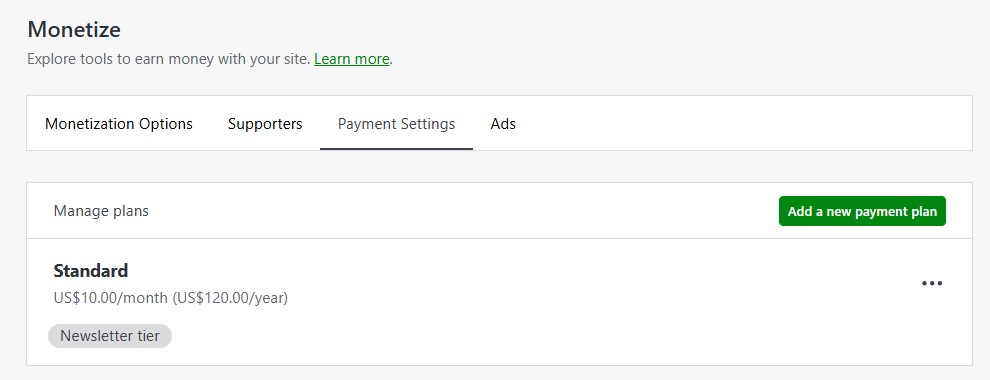
Click on Save, then select Add a new payment plan again to create another tier.
If you click on Advanced options in the pop-up, you’ll see an option to let customers pay as much as they want, and make the same purchase more than once.
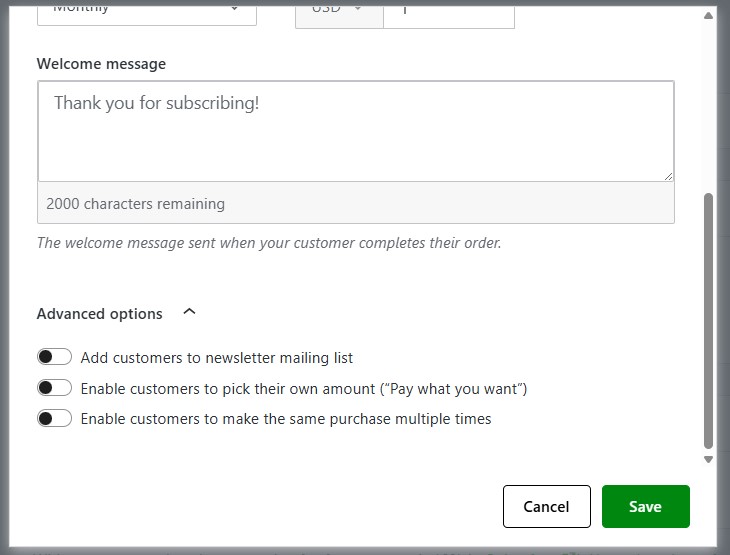
You can also add customers to your newsletter list.
Now, go back to Payment Settings and click on Connect Stripe.
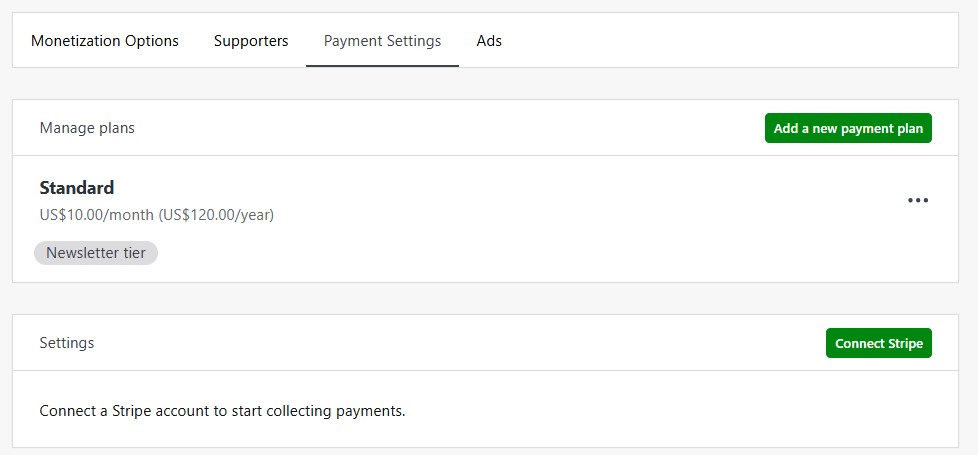
If you don’t already have one, you’ll need to create a Stripe account. This will enable you to collect payments through your paid newsletter.
Step 5: Create your premium content
So, you’ve set up a paid newsletter. The next step is to paywall your content, so that posts that are only available to paying subscribers cannot be accessed by anyone else.
Open the post you want to put behind the paywall. In the post settings panel on the right, you’ll see a section for Access.
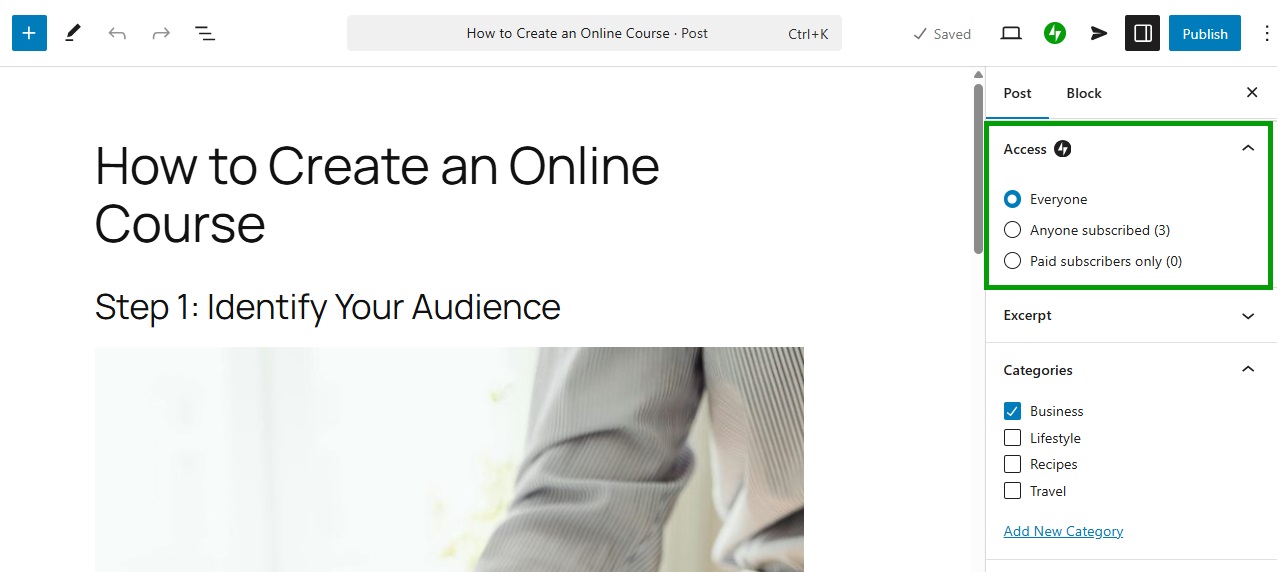
Select Paid subscribers only.
You can also use the Paywall block to show a preview to non-subscribers. Once again, navigate to the Access section to restrict the content to paid subscribers only.
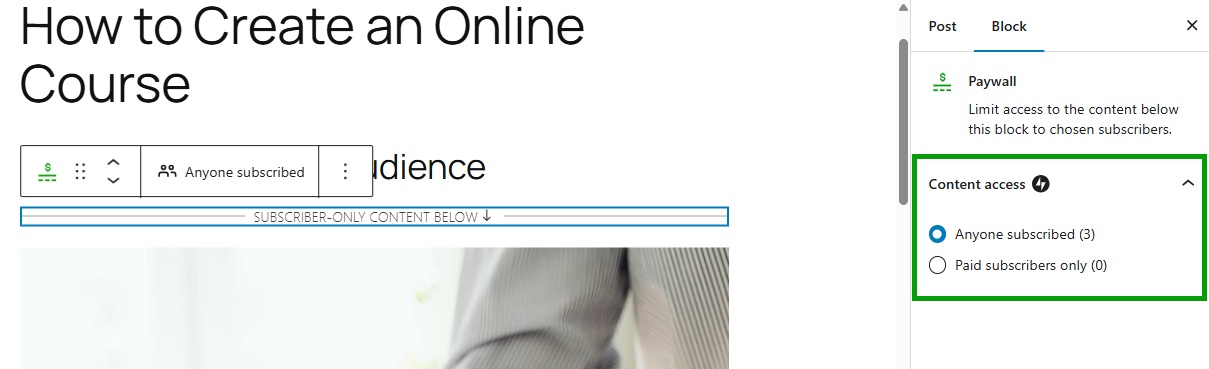
Content before the block will be visible to everyone, while anything after it will only be accessible to paying subscribers.
How to import your Newsletter from Substack
If you’re ready to move your Newsletter from Substack to Jetpack, follow these simple steps. You can move your content, your free and paid subscribers, or both during the same process.
- Visit your Subscription dashboard on Jetpack Cloud: https://cloud.jetpack.com/subscribers/YOURSITEURL.
- Click Import from Substack (if you already have subscribers, click Import subscribers in the upper right)
- Add your Substack URL and follow the rest of the instructions.
Newsletter monetization strategies beyond subscriptions
Setting up a paid newsletter is one of the many ways to monetize your content. If you want to maximize your profits, here are some other strategies to consider:
1. Offer tiered subscription levels
As we have seen, Jetpack Growth lets you create different subscription levels. This can be more profitable than having one newsletter plan, since it doesn’t exclude readers with smaller budgets.
You could offer a very affordable subscription with exclusive access to your best content. Readers will have the choice to upgrade to a higher subscription level, which may include perks like videos and early bird access to upcoming webinars or courses.
2. Sponsored content and advertisements
With WordAds, you can include ads in your newsletter and get paid for clicks.
However, you might even try partnering with brands on sponsored content. For example, they could ask you to write a product review, or mention them in your newsletter.
If you have a large pool of paid subscribers and high open rates, this strategy could be very profitable. Many companies will be willing to pay a decent sum of money to reach your audience.
3. Integrate affiliate marketing programs
As a blogger, you might already use affiliate links in your posts. So, why not integrate them in your newsletter, too?
When a reader makes a purchase through your affiliate link, you will earn a commission on that sale. There are several affiliate networks you could join, like CJ and Awin. Some companies have their own affiliate marketing program.
4. Sell merchandise or additional services
Finally, consider offering digital products, coaching, consulting services, or exclusive courses alongside your newsletter. You could include these items in your newsletter tiers.
For example, those who sign up for your highest-tier subscription will get a monthly coaching call and discounts on your services or products, along with the exclusive content sent to their inbox.
Frequently asked questions
To wrap up, let’s answer some frequently asked questions about paid newsletters.
What is a paid newsletter?
A paid newsletter is an email-based content subscription. Readers pay to receive exclusive content on a regular basis.
Why offer a paid newsletter?
Paid newsletters help you build a loyal readership. They also create a revenue stream, allowing you to monetize your expertise and reach your audience directly.
How much should I charge for my paid newsletter?
Most successful paid newsletters in the $5–$15/month range convert best for general interest content.
Niche B2B newsletters can command $20–$50/month. Start on the lower end while building your audience,
then increase prices for new subscribers as your list grows.
Do I need technical skills to set up a paid newsletter on WordPress?
No. With Jetpack Growth, you enable the newsletter feature and configure its settings from your WordPress dashboard, using toggle buttons.
What is Jetpack Growth, and how does it help with paid newsletters?
Jetpack Growth is a plugin that simplifies WordPress newsletter creation and subscription management. It gives you access to more than 40 blocks for designing newsletters, and lets you set up different tiers and accept payments through Stripe.
Plus, you can display ads in your content, set up subscription forms and paywall access, and more.
Can I migrate my existing subscribers to Jetpack Growth?
Yes. The plugin lets you import your subscriber list from platforms like Substack or Mailchimp into Jetpack Growth. It supports unlimited subscribers.
Can I track how well my newsletters are performing?
With Jetpack Growth, you’ll have access to the Stats feature. This offers built-in analytics on your newsletter campaigns, including data like open and click rates, new subscribers, and more.
Write once, reach all
Transform your blog posts into newsletters to easily reach your subscribers.
Start for free