
Your WordPress database contains all of your site’s essential content, including comments, posts, pages, and revisions. But this database can get bloated over time, slowing down your website and harming its loading times. This can frustrate your visitors and make the WordPress admin dashboard slower to use.
Fortunately, there are a couple of ways to clean up your database. You can automate the process using a WordPress database optimization plugin like WP-Optimize. Alternatively, if you’re more experienced, you could use phpMyAdmin to have complete control over the process.
In this post, we’ll explain how to clean up and optimize your WordPress database to boost your site’s performance. Then, we’ll wrap up with some frequently asked questions. Let’s get started!
Backing up your website before a WordPress database cleanup
Before you start cleaning and optimizing your WordPress database, it’s crucial to make a complete backup of your website. Your database contains lots of essential information, and accidentally deleting any of it could break your site. Therefore, having a full backup in place is an important safeguard.
The easiest way to back up your site is with a WordPress backup plugin. Jetpack VaultPress Backup creates copies of your website files and database in real time and saves them off-site to reduce the load on your server.
Jetpack VaultPress Backup automates the backup process, and you can easily restore an old version of your site with just one click.
How to perform a WordPress database cleanup
There are a couple of ways to perform a WordPress database cleanup. You can either install a plugin or opt for the manual approach. In this tutorial, we’ll walk you through each method.
Option 1: Clean your database with a WordPress plugin
Using a database optimization plugin could be the best approach if you’re a beginner and don’t feel comfortable working with phpMyAdmin. But your chosen plugin might restrict what you can clean. Additionally, installing too many WordPress plugins could slow down your site.
If you opt for this method, there are many tools to choose from. Some popular database optimization plugins include WP-Optimize and Advanced Database Cleaner. Let’s take a look at how you can approach this task using WP-Optimize.
Step 1: Delete data with WP-Optimize
For this tutorial, we’ll be working with WP-Optimize, since it’s a comprehensive solution that includes site caching, image compression, and database cleaning tools. It’s also free (with some premium options).

Once you’ve installed and activated the plugin, head to WP-Optimize → Database in your WordPress dashboard. Under the Optimizations heading, you’ll be able to select which parts of the database you wish to clean:

WP-Optimize can delete the following data:
- Post revisions
- Auto-draft posts
- Trashed posts
- Spam and trashed comments
- Unapproved comments
- Transient options (temporary copies of your data)
- Pingbacks and trackbacks
- Post and comment metadata
- Orphaned relationship data
It can also optimize database tables to remove unnecessary data.
Select Run optimization next to the relevant action. Alternatively, tick the box next to all the optimizations you want to run and click Run all selected optimizations at the top of the page.
Note that some of the actions have exclamation marks next to them. These indicate that the database optimization is higher risk and could potentially corrupt your data:

Again, creating a website backup first with Jetpack VaultPress Backup is highly recommended. That way, if the plugin corrupts the data, you can simply revert to an earlier site version.
Step 2: Set up automatic database optimizations
Additionally, you can delete specific tables from your WordPress database. Open the Tables tab and click Remove next to the lines you’d like to delete.

Under Settings, you can schedule automatic database optimizations and choose which data will be deleted during this process.

The Settings menu also lets you select how many weeks of data and post revisions to keep saved for your website. When you’re happy with your selections, click on Save settings at the bottom of the page.
Option 2: Clean your WordPress database with phpMyAdmin
Alternatively, you can manually clean your WordPress database with phpMyAdmin. This method is a little more complex because you’ll need to use cPanel in your hosting provider’s dashboard, but it gives you complete control over the process. Note that the instructions below may be different based on your specific hosting provider.
Log into your hosting account, then open cPanel → phpMyAdmin and click on Databases:

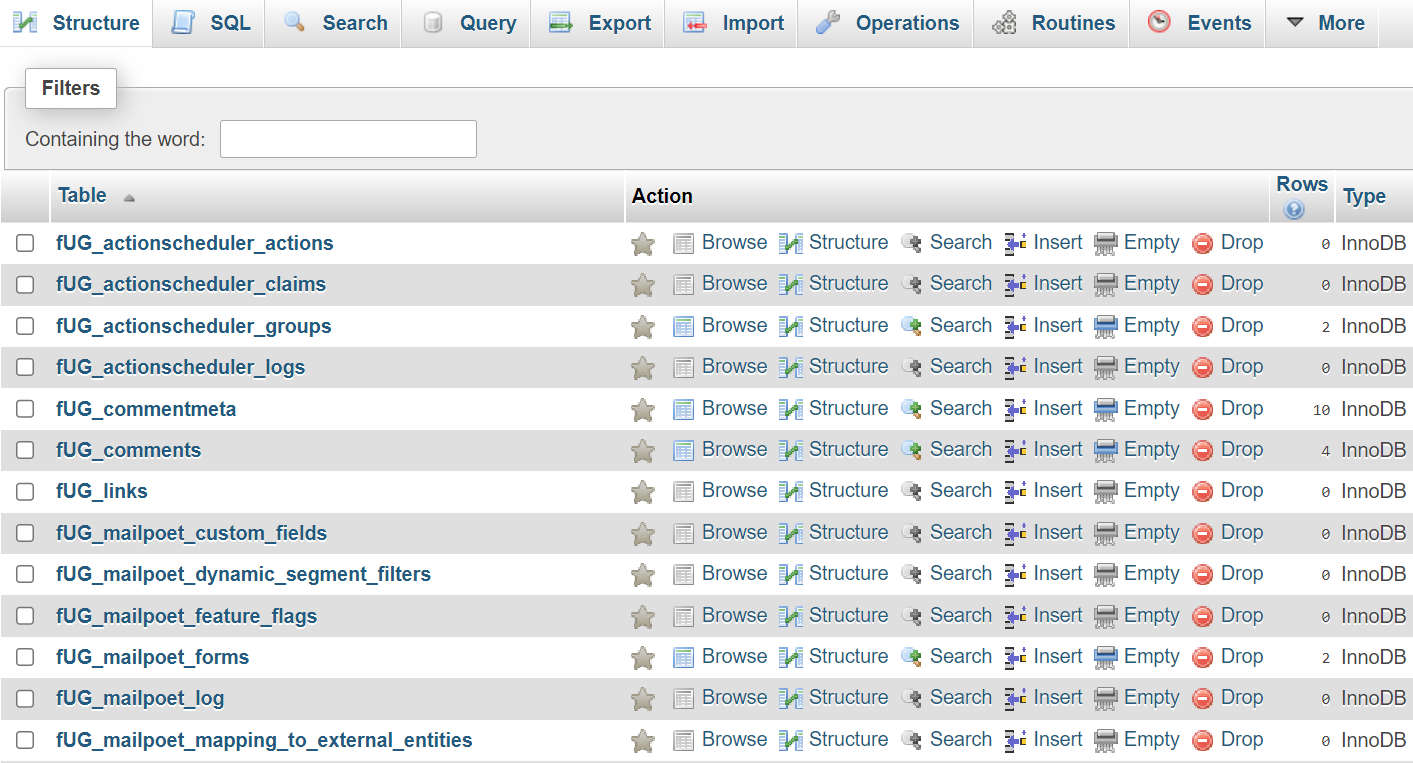
Select your database from the menu that appears. You should now see a list of all the tables within your WordPress database.
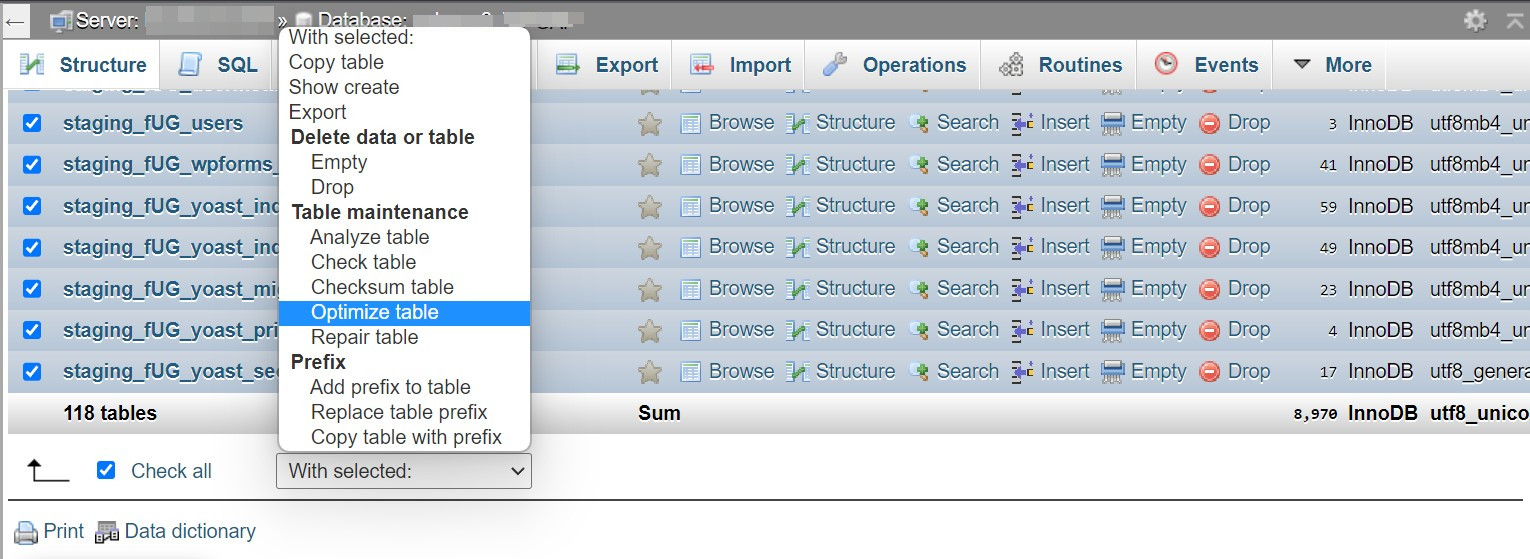
Choose the tables you want to clean. Alternatively, you could scroll to the bottom of the page and tick the Check all box. Then, click on Optimize table under Table maintenance:
Wait a couple of seconds for the database optimization to complete. You should then see a success message.
How to optimize your WordPress database
You might be wondering if there are any steps you can take to prevent your database from becoming bloated in the first place. Let’s look at a few handy tips.
1. Reduce the number of saved revisions
By default, WordPress saves revisions of your posts and pages. This feature lets you review different versions of your content and revert to an older copy.
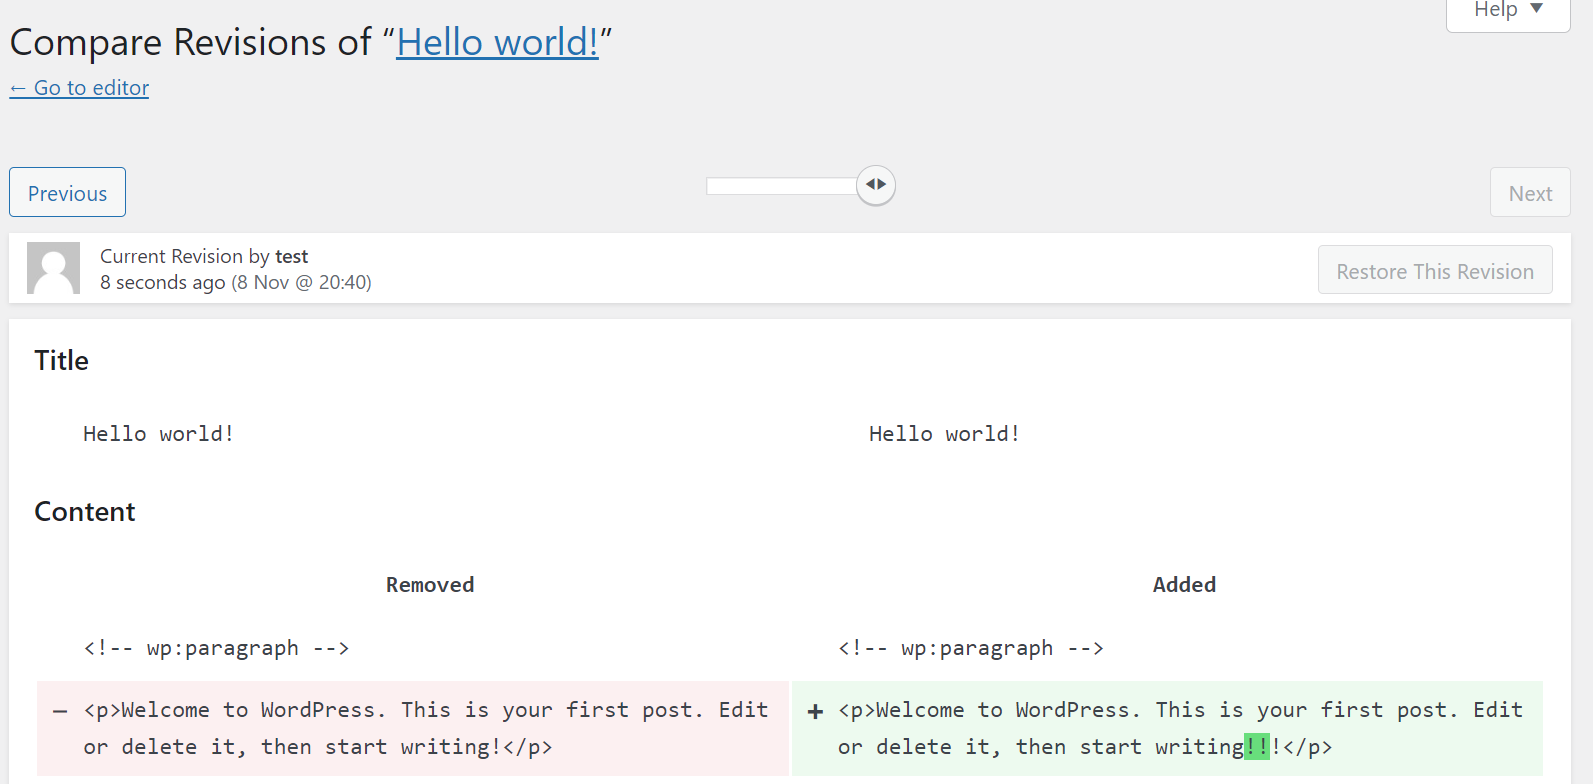
Unfortunately, saving too many revisions can bloat your WordPress database. You likely don’t need more than a few revisions for your website, so you might want to limit the number that WordPress will save.
You can do this by adding a small code snippet to your wp-config.php file. You can find this file by connecting to your site via a File Transfer Protocol (FTP) client. Again, before taking these steps, make sure you have a full backup of your site on hand.
Open wp-config.php and add this code to the file:
define( 'WP_POST_REVISIONS', X );Replace “X” with the number of post revisions you’d like WordPress to save (e.g., “2”). You can also disable post revisions entirely, but this isn’t wise since you might need to refer to a revision in the future.
2. Prevent spam comments
Spam comments can be very harmful to your site. They can contain malicious links, make your website look unprofessional, and also take up space in your WordPress database.
WordPress will delete spam comments after 30 days. But if you have a high-traffic website, you might receive hundreds or thousands of comments in that period.
It’s worth using an anti-spam plugin to filter harmful comments automatically. Jetpack Anti-Spam can remove spam from your comments and forms without any manual work on your end.
You can also delete any existing spam comments from your database using a plugin like WP-Optimize.
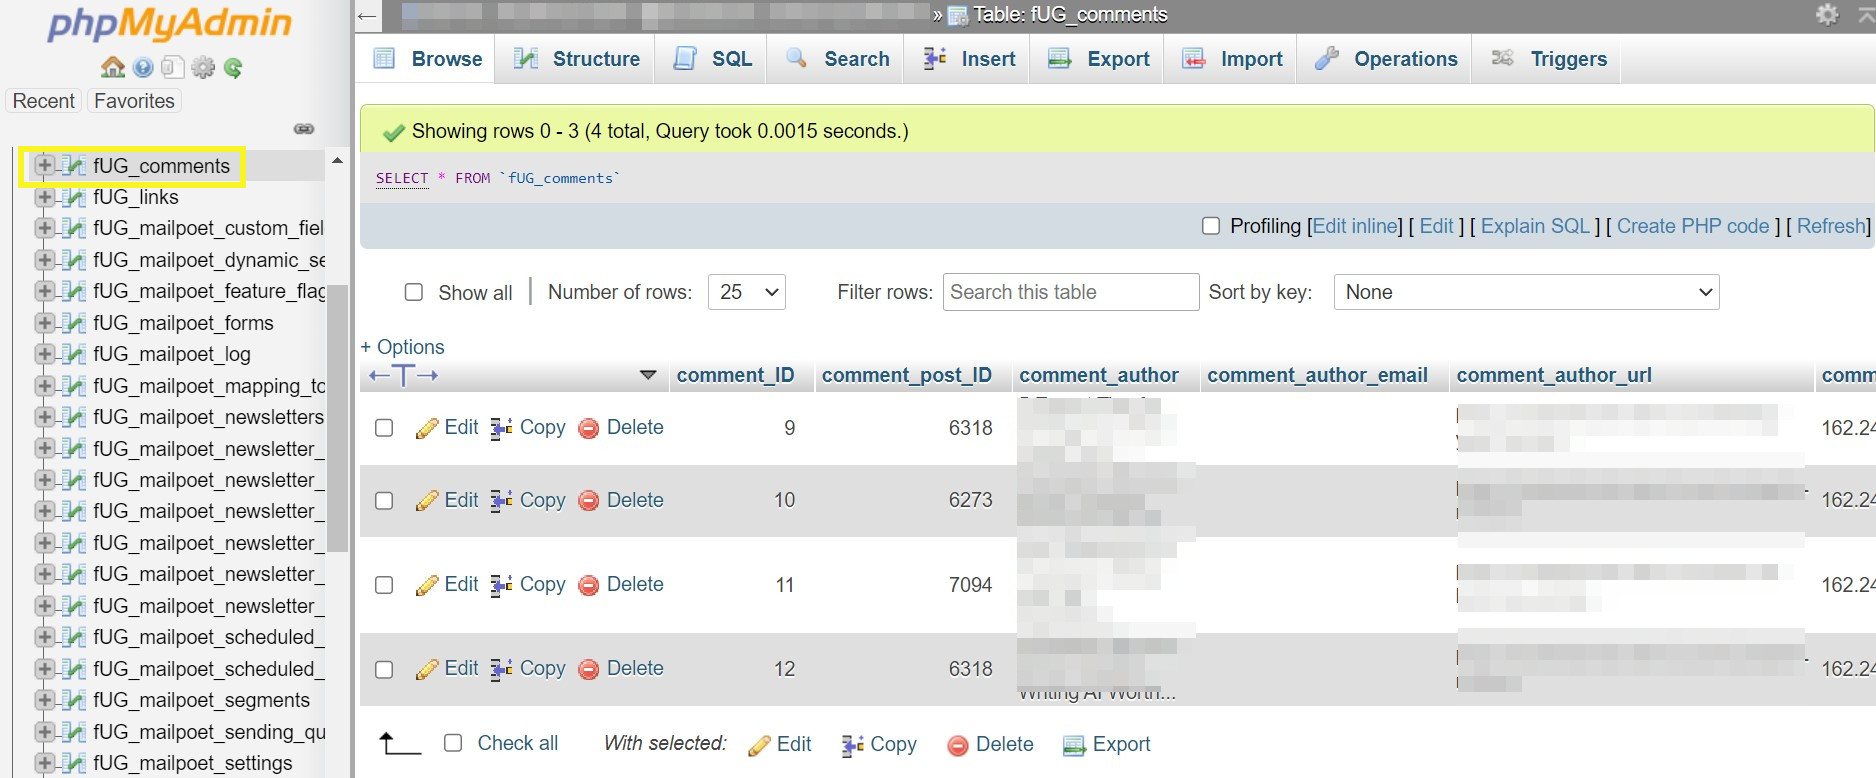
Alternatively, you could do this manually through phpMyAdmin. Open your WordPress database through your hosting account (as shown earlier in the article). Then, click on the Comments option from the left menu:
Now, open SQL and enter the following command to delete all spam comments:
DELETE FROM wp_comments WHERE comment_approved = 'spam';Note that if your comments table has a different name, you’ll want to enter that instead of “wp_comments.” Click on OK to finalize the action. Now, spam comments will be removed from the database.
The easiest speed optimization plugin for WordPress
Jetpack Boost gives your site the same performance advantages as the world’s leading websites, no developer required.
Boost your site for free3. Regularly empty your WordPress trash
The WordPress trash folder contains all deleted files on your site, including posts, pages, media files, and comments. By default, WordPress will empty its trash after 30 days.
If you’re deleting a lot of content, you might want to increase this frequency. You can do this by editing your wp-config.php file.
Open the file via FTP and then add this code snippet:
define( 'EMPTY_TRASH_DAYS', 5 ); // 5 daysIn this example, the trash will empty after five days. You might instead enter a different number that better suits your website’s needs.
4. Delete unused plugins and themes
Plugins and themes take up space in your database. You might simply deactivate these tools if you don’t want to use them in the short term. If you don’t think you’ll need plugins and themes again, it’s better to delete them entirely.
Deleting unused plugins and themes is also practical from a security standpoint. A malicious user could use deactivated files to inject malware into your website.
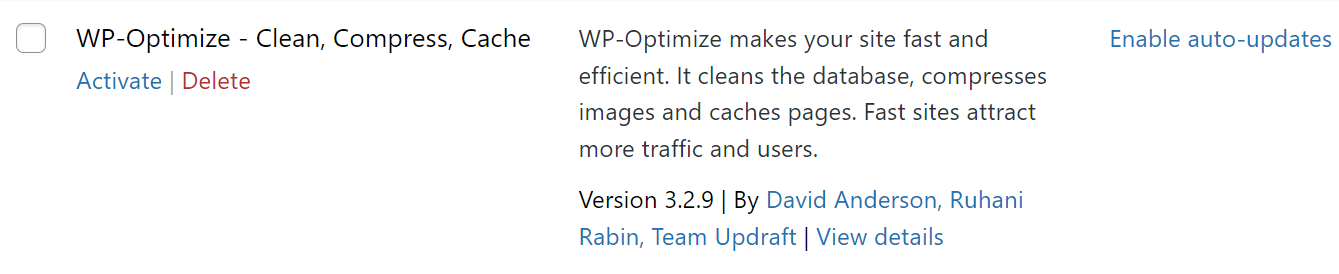
To delete unused plugins, head to Plugins → Installed Plugins. Then, click Delete under any plugins you’d like to remove. Note that you’ll need to Deactivate the plugin first if it’s still active.
You can repeat the process for WordPress themes under Appearance → Themes.
Some WordPress plugins and themes will automatically delete their data from your site when you uninstall them. Unfortunately, others will leave data inside your database, bloating it. So, you’ll need to manually remove them using phpMyAdmin.
Open up your database in phpMyAdmin and click on the Search bar. Here, type in the name of the plugin you’ve just deleted to find any orphaned tables (data left behind) within your database.
If you find any tables, click on Delete to remove them from your database.
Keep in mind that this method could delete essential data if you’re not confident about what you’re doing. Again, it’s recommended to create a website backup before deleting any content from your database.
Running a WordPress database optimization plugin might also help you identify leftover data from deleted plugins. You can use WP-Optimize, as shown earlier in this post.
5. Disable pingbacks and trackbacks
Pingbacks and trackbacks are automated notifications that tell you when other websites link to your content (and vice versa). They show up in the Comments section of your WordPress dashboard.
Unfortunately, pingbacks and trackbacks take up space in your WordPress database. Spammers can also use them to draw your attention to their websites and content. You may even receive pingbacks when you use internal links in your blog posts, which can be annoying.
It’s easy to disable pingbacks and trackbacks. Head to Settings → Discussion in your WordPress dashboard. Then, uncheck the boxes next to Attempt to notify any blogs linked to from the post and Allow link notifications from other blogs (pingbacks and trackbacks) on new posts.

Make sure to click on Save Changes when you’re done.
You can delete any existing pingbacks and trackbacks from your WordPress database using a plugin like WP-Optimize. You can also do this via phpMyAdmin.
Open your database with phpMyAdmin and click on the SQL tab. Then, enter the following command:
UPDATE wp_posts SET ping_status= “closed”;Remember to switch “wp-posts” with the name of your database table. Then, click on OK to delete the data.
6. Delete unused media files
Media files like images and videos can make your content more engaging for your readers. As you update old posts and pages, you might switch your media files for higher-quality images.
Even if you stop using an image in your posts, it will still be referenced in your database. So, it’s worth deleting unused media files from the Media Library.
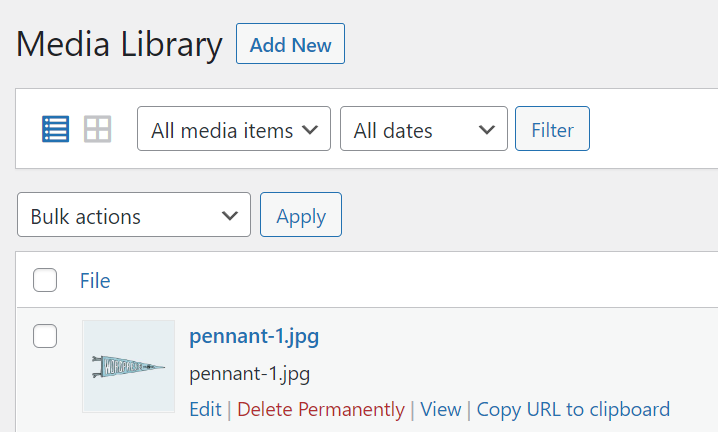
You can do this manually by heading to Media → Library. Then, click Delete Permanently under any files you’d like to remove.
This process can take a long time if you have many media files in your library. Fortunately, a plugin like Media Cleaner can speed up the process. It will scan your library for unused files and automatically delete them.
Frequently asked questions
By now, you should have a good idea of how to clean up a WordPress database. If you have any remaining questions, this section will answer them.
Why does a WordPress database need to be cleaned?
Your WordPress database can become bloated over time. Besides your website’s essential data, your database will hold on to unnecessary items like spam comments, multiple post revisions, pingbacks, and transients.
A bloated database can slow down your website’s loading times, which can be harmful from a Search Engine Optimization (SEO) perspective and frustrating for your visitors. Additionally, an unoptimized database can make the WordPress admin dashboard slower and decrease your efficiency.
How often should I clean my WordPress database?
This will depend on the size of your site and how frequently you update it. A weekly cleanup should be more than enough for a small to medium website. For larger sites with frequent content updates and activity, a bi- or tri-weekly cleanup could be more suitable.
Can a database cleanup break my WordPress site?
Unfortunately, deleting tables from your database can break your WordPress site. If you’re not experienced in database optimization, you might accidentally remove essential website data.
For this reason, it’s crucial to back up your WordPress website before running any database optimizations. With Jetpack VaultPress Backup, you can automate this process and make copies of all your files. Then, you can restore an earlier site version in seconds if anything goes wrong.
Optimize your WordPress database
A bloated WordPress database can harm your loading times and make the admin dashboard more frustrating to use. Unfortunately, many databases accumulate unnecessary data over time, so you’ll need to remove it.
To recap, here are two main methods to clean up and optimize your WordPress database:
- Use a database optimization plugin like WP-Optimize.
- Utilize phpMyAdmin to optimize database tables and delete unnecessary data.
Before you start cleaning a WordPress database, we recommend backing up your site in case something goes wrong. Jetpack VaultPress Backup can automate the backup process and save your files and data off-site. You can also restore an older version of your site in minutes!
The easiest speed optimization plugin for WordPress
Jetpack Boost gives your site the same performance advantages as the world’s leading websites, no developer required.
Boost your site for free