
WordPress is an excellent platform for your website. But that doesn’t mean that it’s invincible. If you’re working on your site and encounter a sudden glitch, freeze, or crash, it’s easy to enter panic mode.
Fortunately, there are ways to recover and restore your WordPress site after a crash. Whether you installed a poorly-coded plugin or accidentally deleted a file, you can get your site up and running again by following the right steps.
In this post, we’ll take a closer look at WordPress website crashes and some common causes. Then, we’ll guide you through five steps to recover and restore your site after a crash. Let’s get started!
Does WordPress crash?
WordPress, like any Content Management System (CMS), isn’t infallible. But, since it’s built through volunteer contributions by the world’s top developers and continuously peer-checked and improved upon, it’s truly a stable platform. Most issues arise from human error on an individual site level.
So, a WordPress site can crash, and one of the main causes is running outdated software, whether it’s WordPress core, plugins, or themes. Outdated software poses a risk to your site since known vulnerabilities are easily exploited. Therefore, your site may be less resistant to viruses, malware, and online attacks. And when things like plugins or themes are outdated, they can conflict with one another and cause errors and outages.
Does WordPress have a crash log?
When WordPress site crashes occur, you can use an error log to identify and resolve the issue as quickly as possible. To view PHP errors on your website, all you have to do is enable the WP_DEBUG function.
The easiest way to enable WordPress debugging is with a handy plugin like Query Monitor.
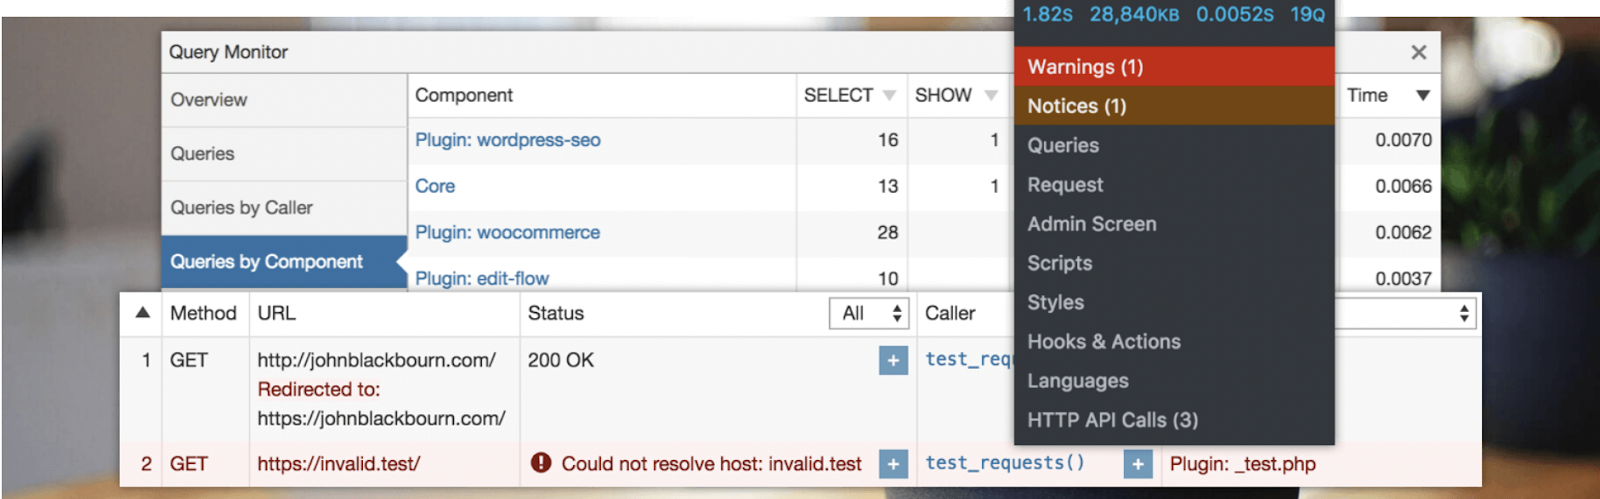
Query Monitor adds a developer tool panel to your WordPress admin area. Using this plugin, you can debug various parts of WordPress, including database queries, PHP errors, and CSS.
Alternatively, you can always enable debug mode manually. If you prefer this option, it requires access to your site’s File Manager or a connection through Secure File Transfer Protocol (SFTP).
Locate your root folder (usually labeled public_html) and open your wp-config.php file.
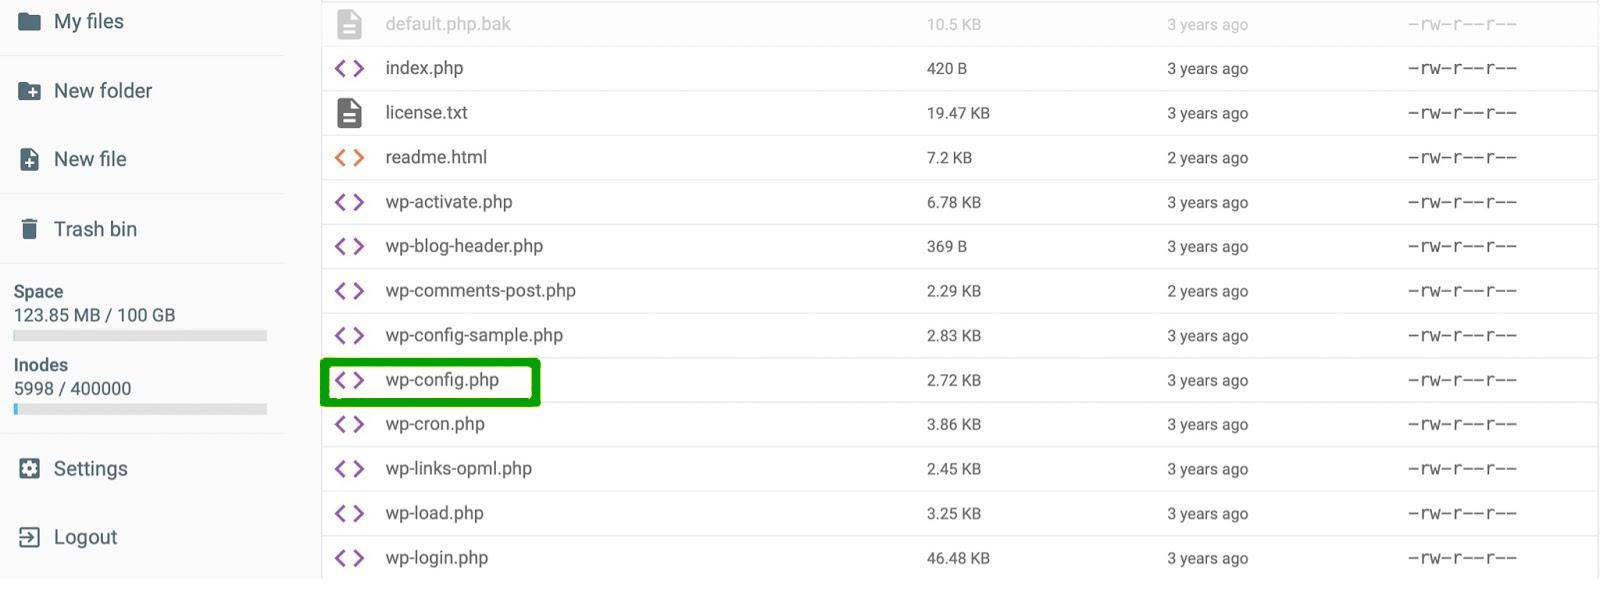
At this point, look for the line that reads: “That’s all, stop editing! Happy publishing”. Then, insert this line of code above it:
define ( ‘WP_DEBUG’, true );If there are errors on your site, a debug.log file will appear within your wp-content folder. You can download it to your computer to view the entire log and identify the errors.
Seven common causes of WordPress site crashes
Now that you know a bit more about WordPress crashes, let’s look at some of the leading causes.
1. Installing or updating a plugin or theme
WordPress plugins extend the functionality of your site, but poorly-coded plugins can create errors. Not just that, but even a high-quality plugin can cause problems if it isn’t compatible with your version of WordPress or other software on your site.
If your site crashed, think about whether you’ve recently installed a new plugin, updated an existing tool, or changed your theme.
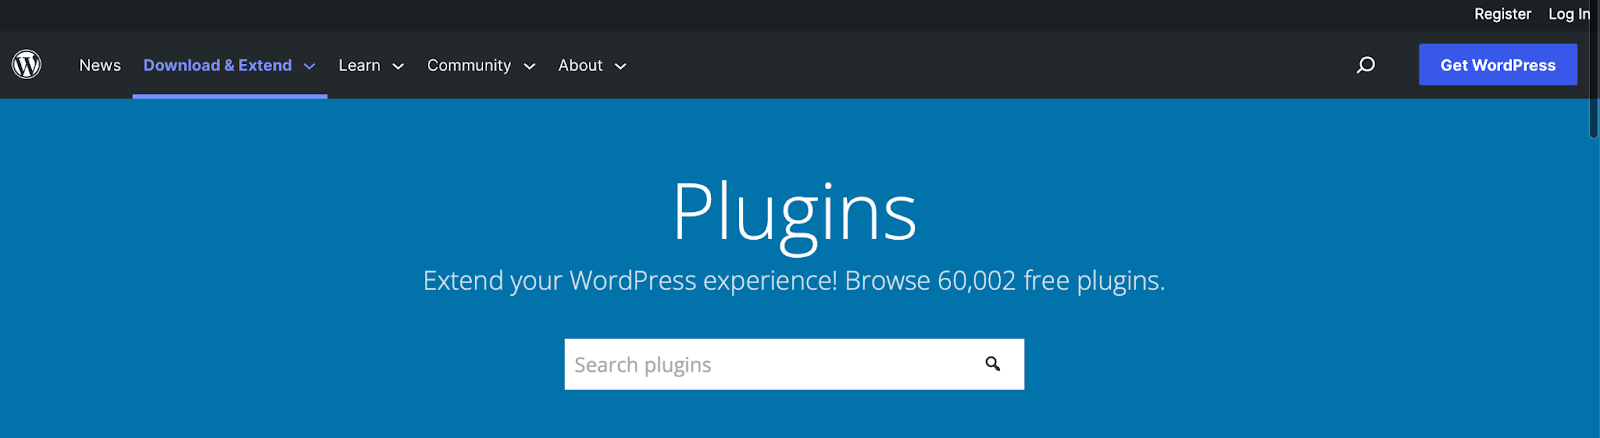
In the future, it’s important to only choose reputable plugins and themes, like the ones in the WordPress plugin directory.
Alternatively, you could choose premium plugins and themes from trusted third-party marketplaces. Make sure that it has a number of positive customer reviews to verify that the plugin or theme is well-coded and functional.
You’ll also want to pay attention to how frequently the tool is updated, whether the software is compatible with the latest WordPress version, and the level of support from the developer.
2. Expired domain names
If an expired domain causes your WordPress site to crash, the good news is that it’s one of the easier problems to resolve. Your domain name is the website address that visitors enter to find your site. It’s a crucial branding element that helps you establish a strong online identity.
But once you’ve secured a unique domain name, it will typically only last for one year. Since you’re simply “renting” a domain for a set period, you’ll need to renew it before it expires.
If you’ve forgotten to renew your domain name, you should contact the company you used to register your domain and see if it’s still possible to get it back. If you can get the domain back, then check that your contact and payment details are correct. Also, you might want to enable auto-renew so that you don’t have to worry about this happening again.
3. Server issues
Some server errors can cause problems on your site. For instance, the HTTP 500 Internal Server Error and the Timed-Out Error are both caused by a slow or overwhelmed server.
The leading causes of WordPress server errors include browser caching problems, database server problems (like slow connection times), and corrupt databases (perhaps containing malicious files).
Typically, you can only resolve these issues by changing the server configuration. You can contact your hosting provider to sort this out for you.
You can give your website a better chance of avoiding these issues by opting for a quality WordPress host. It’s a good idea to prioritize hosts that offer at least 99.99 percent uptime. You’ll also benefit from choosing a provider that offers plenty of extra security measures like Web Application Firewalls (WAFs) and automated updates.
Note: Some WAFs will block our IPs, which breaks the Jetpack connection. If you’re using any of the Jetpack plugins, be sure to ask your hosting provider to allow our IP addresses to access your site’s xmlrpc.php file. This will ensure your site has a continuous connection to WordPress.com.
4. Updating the WordPress core software
As we discussed earlier, it’s important to keep plugins and themes up-to-date. But it’s also essential to update your WordPress core software. This way, you can prevent compatibility issues resulting in WordPress crashes.
What’s more, WordPress updates often contain security fixes for bugs found in the previous release. So, there’s less chance of hackers being able to exploit these known vulnerabilities on your site.
If you’re unsure which version of WordPress you’re running, head to Dashboard → Updates.

Here, you can confirm your version of WordPress, enable auto-updates, and upgrade your plugins and themes. When a new version of WordPress is available, you’ll receive an update message in your dashboard.
It’s also essential to back up your site before running an update in case anything goes wrong. Later, we’ll explain how you can do this with Jetpack VaultPress Backup!
5. Editing the WordPress code
Even when experts carry out routine website maintenance, human error can result in the accidental deletion of files and folders. Therefore, it’s possible to crash your site when adding or editing code in WordPress.
The best solution is to make sure that you regularly back up your website. That way, if anything goes wrong, it’s easy to restore your site to its original state.
One of the quickest ways to do this is with a plugin like Jetpack VaultPress Backup.
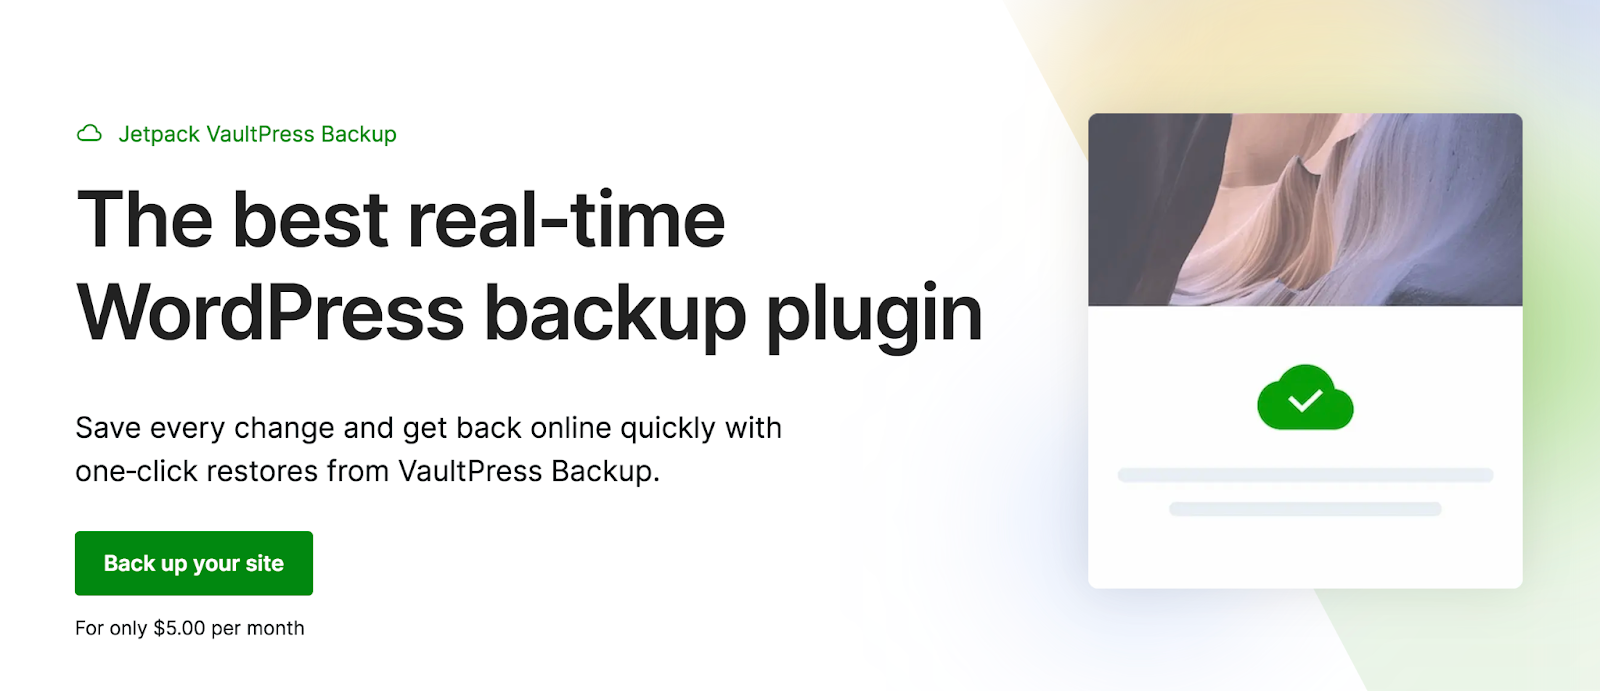
For extra peace of mind, Jetpack stores your backups on a different server from your website — using the industry-leading, secure infrastructure of WordPress.com. This means that if you’ve made a mistake on your server, your backups won’t be compromised.
6. WordPress hacks
While the previous causes are pretty harmless, WordPress can also crash if your site gets hacked or compromised.
Distributed Denial of Service (DDoS) is one of the most common types of online attacks. This occurs when hackers use multiple machines to overwhelm your server with millions of fake requests.
Additionally, you might face brute force attacks that target the WordPress login page. These attacks are when hackers try thousands of username/password combinations to try to break into your website. Eventually, attackers can gain unauthorized access to your account and take over your entire site.
You’ll know if your website has been hacked because it may become slow, unresponsive, or inaccessible to users. Visitors may also be redirected to malicious sites. Sometimes, you can find these redirects placed in the footer of your pages.
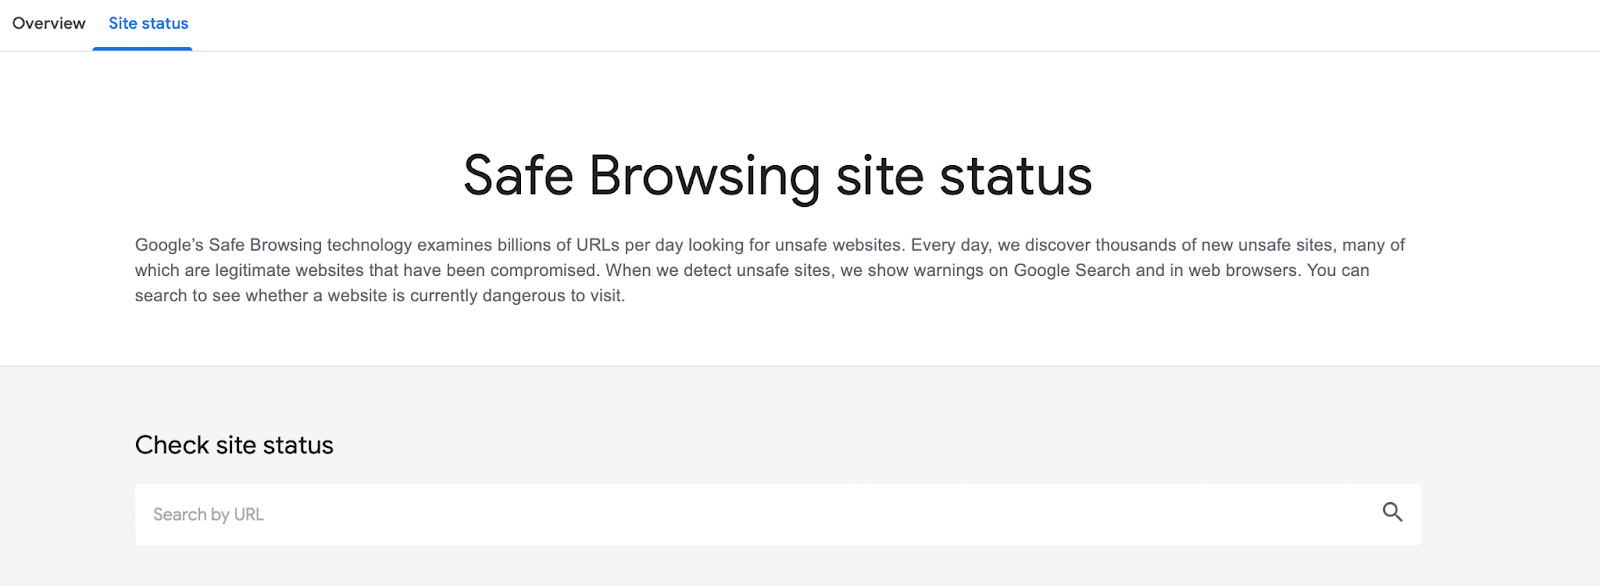
Furthermore, an obvious sign that WordPress has been hacked is Google blocklisting your site. Search engines do this to prevent visitors from reaching your pages and becoming infected themselves.
You can use a tool like Safe Browsing Status to confirm this.
To prevent future WordPress hacks, consider upgrading to the Jetpack Security bundle on your site. The bundle includes malware scanning, spam protection, and regular backups. Additionally, you can strengthen your login credentials by using strong passwords and implementing two-factor authentication.
7. Updating your site’s PHP version
PHP is an open-source scripting language that WordPress is built on. Like any other software on your site, updating PHP is vital since newer versions are better prepared to deal with security threats.
If you’re not sure which version of PHP you’re running, navigate to Tools → Site Health.
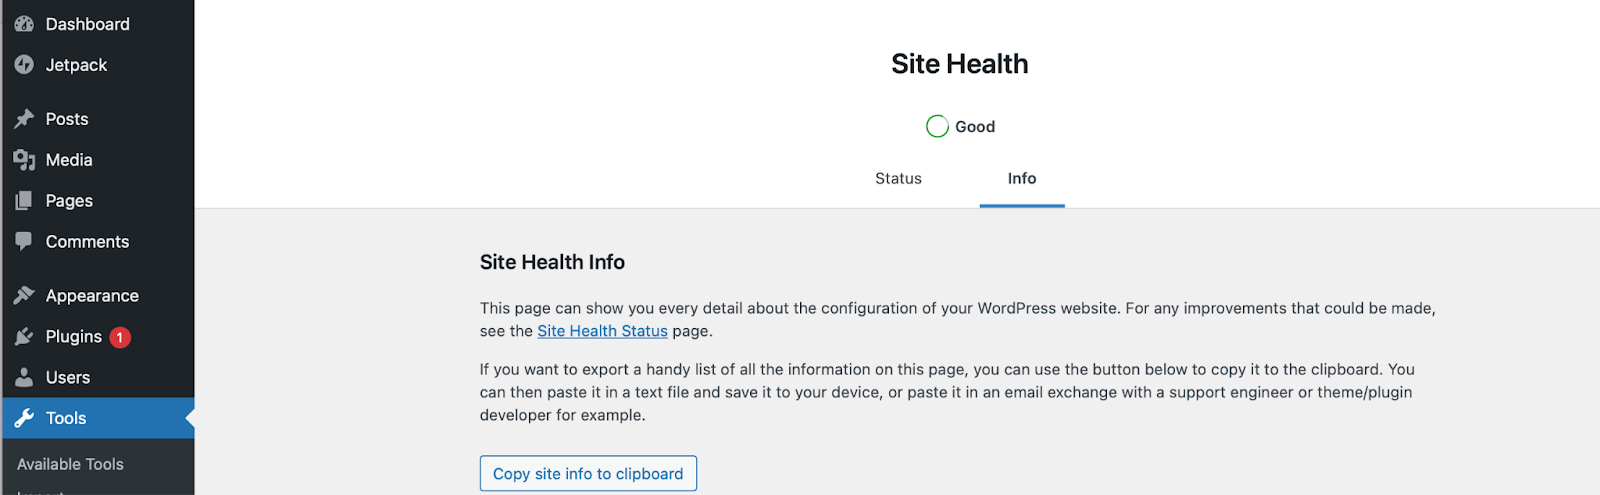
Switch to the Info tab. Then, scroll down to open the Server tab.

You’ll find your server setup information here, including the current PHP version.
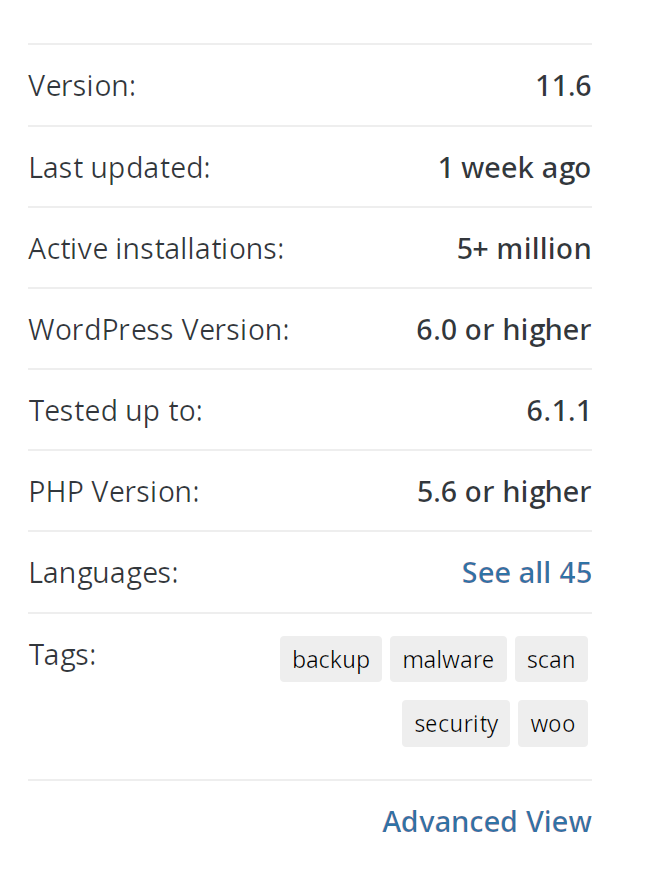
Updating your PHP is generally a safe process. But, if you have outdated code (like themes and plugins), you could crash your site. Therefore, it’s essential to check that all plugins and themes are compatible with the version of PHP you intend to use.
You can usually find this information by visiting the dedicated plugin/theme page and looking under PHP Version.
Then, you can update your PHP version through your hosting account. The process will differ depending on your web host.
How to recover and restore your WordPress site after a crash (in 5 steps)
Now that you know why your WordPress site can crash, let’s discuss what to do if you find yourself in this situation!
Step 1: Restore a backup of your site
The best and easiest way to restore a backup of your WordPress site is to use the Jetpack VaultPress Backup plugin. There are a couple of ways you can do this.
Note: You’ll need to add server credentials to your Jetpack settings before you begin these steps.
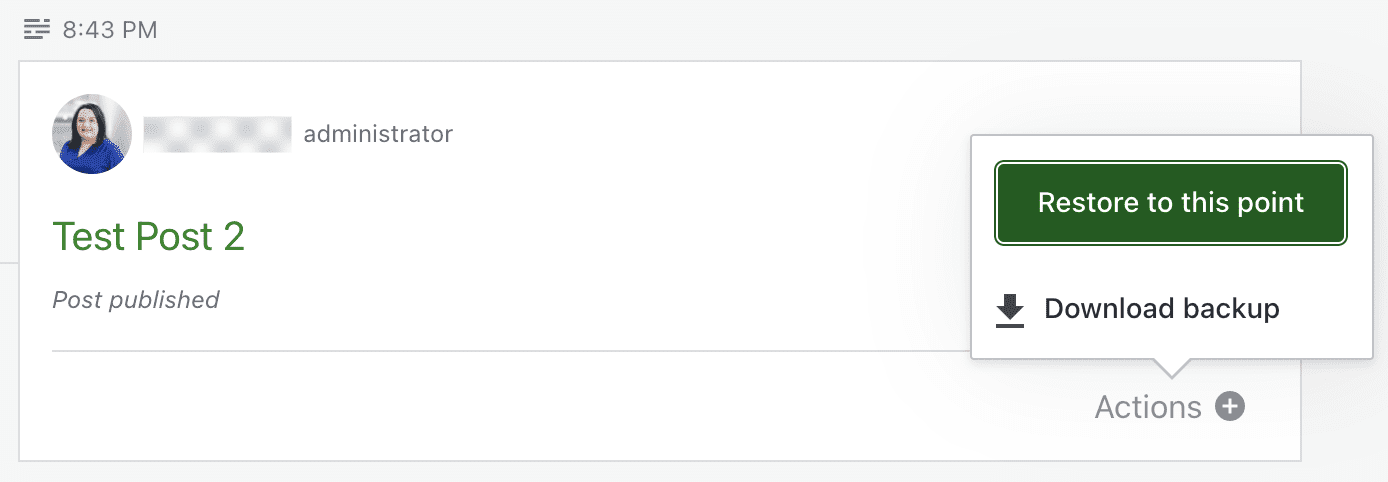
The first method is to restore your site to a specific event. Start by opening your activity log, which keeps track of all the actions that take place on your site. There, you can either scroll down to a specific event or filter by date range or type of activity.
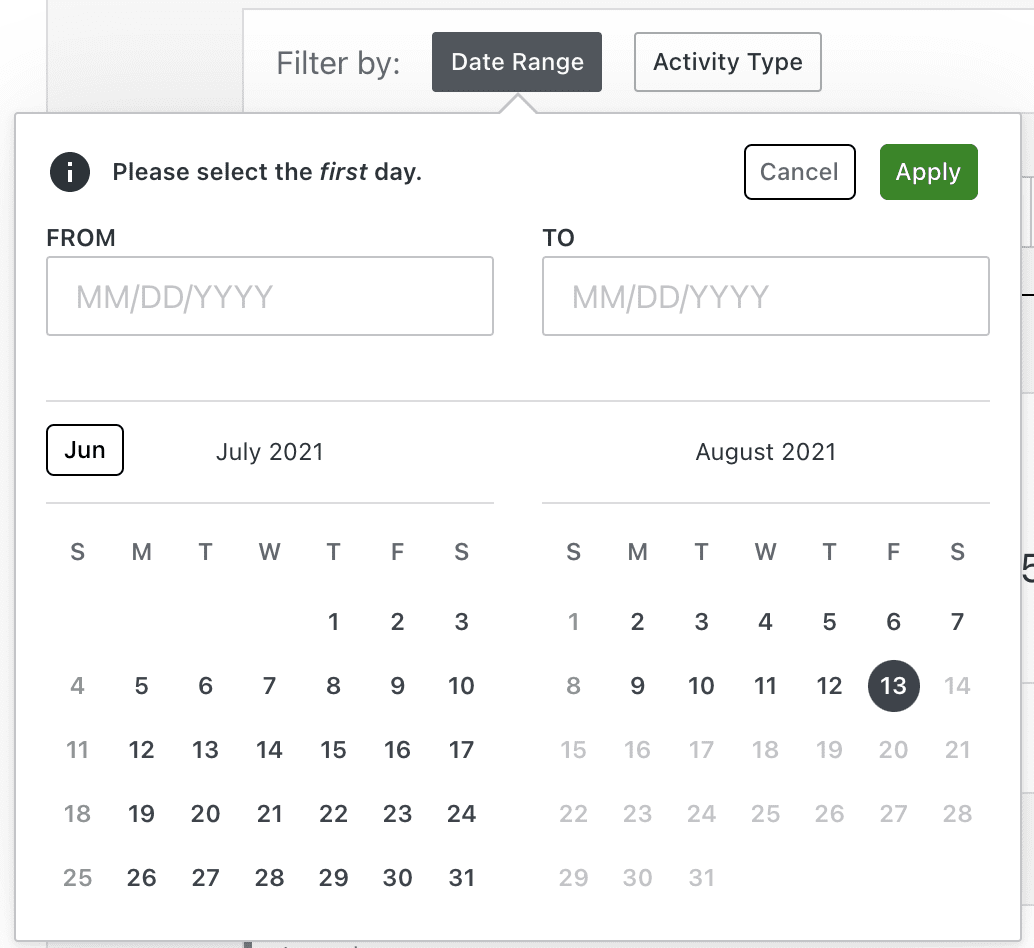
This can be particularly helpful if you know what may have caused the crash, like a recent plugin update or code edit. Click the Actions button next to the event, then choose Restore to this point.
A window will appear asking what elements you want to restore. In most cases, you’ll want to leave all of them selected. Then, click Confirm restore.
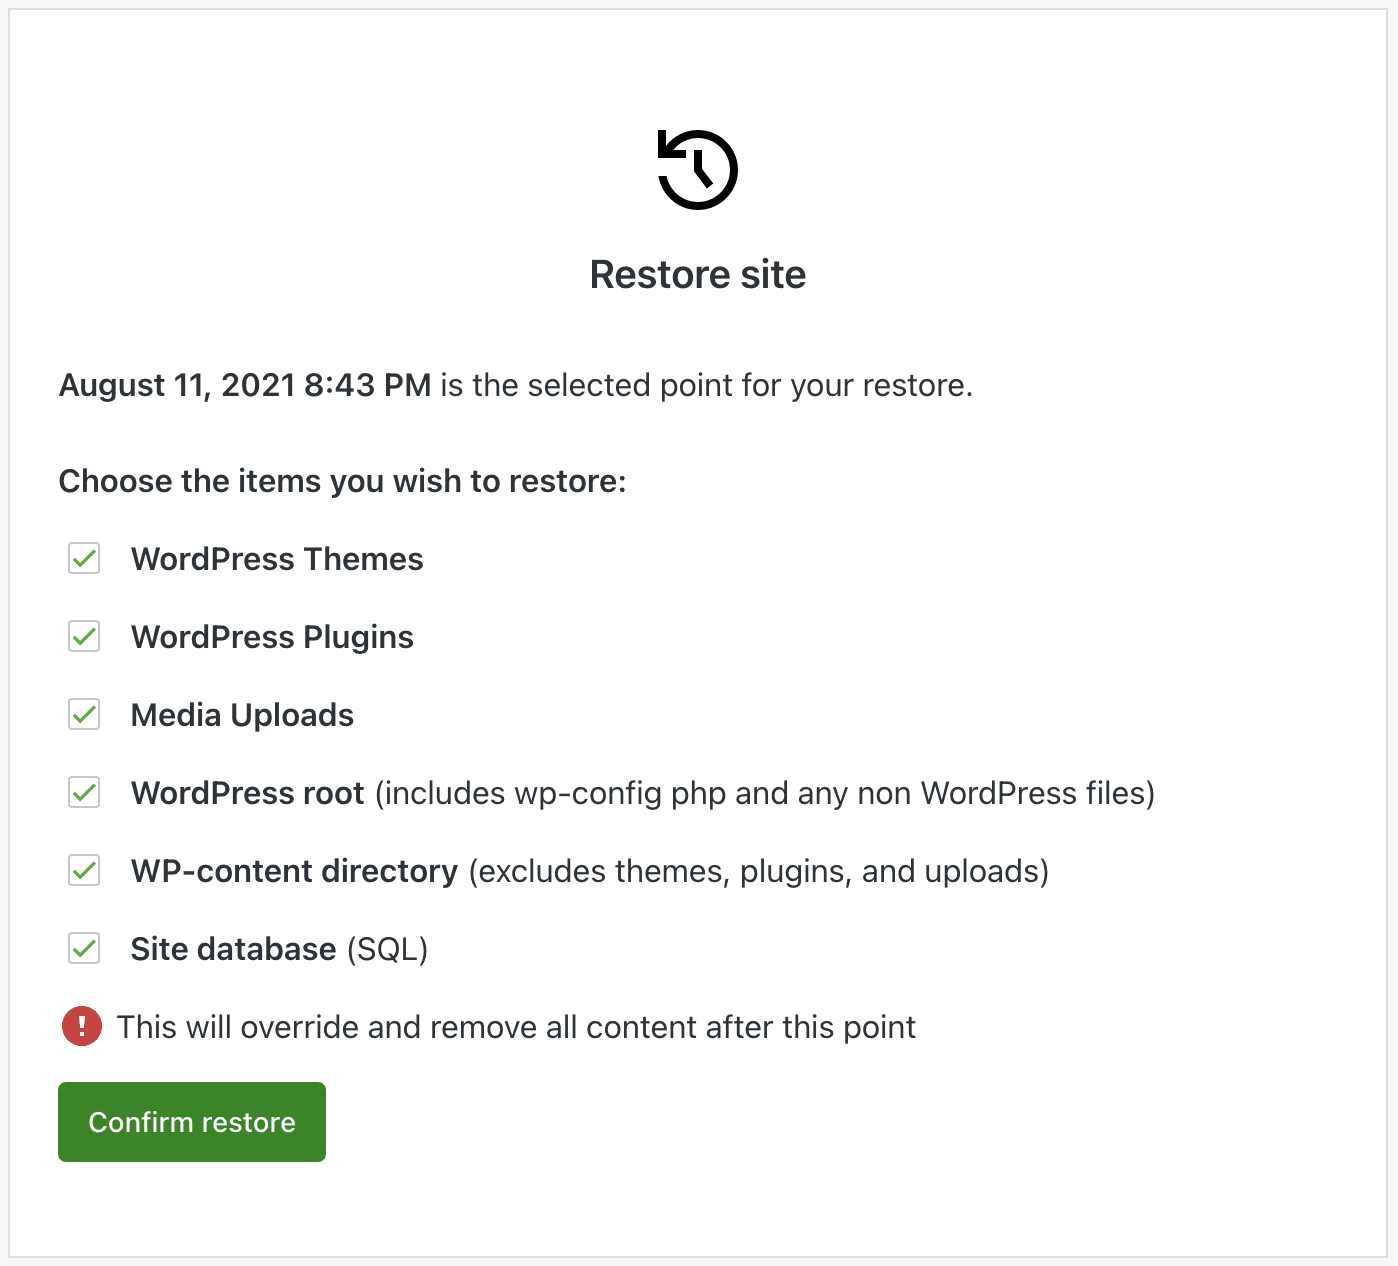
The restore process will start automatically. You can keep track of it using the progress bar that appears, but you’ll also receive an email when it’s done.
The second method is to restore to a specific day. To do this, navigate to https://cloud.jetpack.com and click Backups. You’ll immediately see the most recent backup of your site, but you can also use the arrows to scroll through other options. You can also choose Select Date to find a specific day.

Once you’ve chosen a day and time, click Restore to this point. Then, you’ll need to choose what elements you want to restore and wait for the process to finish.
And that’s it! No messing with server settings, dealing with your database, or editing code.
Step 2: Retrace your last steps
But what if you don’t have a backup on hand that you can restore? At this point, you’ll need to identify the cause of your WordPress crash to get your website back up and running. You may also need to do this if you restored a backup and aren’t exactly sure what caused the problem. After all, you don’t want your site to just crash again!
This can also help you identify the point in time you want to restore your site to. In that case, you may want to take this step before the first one.
It’s best to start with any recent changes you made and work your way back. For instance, have you installed a new plugin? Have you updated your theme? Did you edit your site’s code? Write down everything you can remember.
Then, work your way through the list and revert any changes that you can. You might roll back WordPress, your theme, or a specific plugin to a previous version. Or you may replace the file that you edited with a fresh copy. You can do this through File Manager or FTP if you can’t access your WordPress dashboard. We’ll explain how to do this in the next section.
But this is where the WordPress Activity Log can be your best friend! There, you can get a list of all the actions that occurred on your site, along with who performed each one and when it occurred. So, if you know that your website went down at 3:05 PM, you can see what happened immediately beforehand. This can also alert you to any nefarious activity taken by an unauthorized user.
Step 3: Deactivate or delete plugins
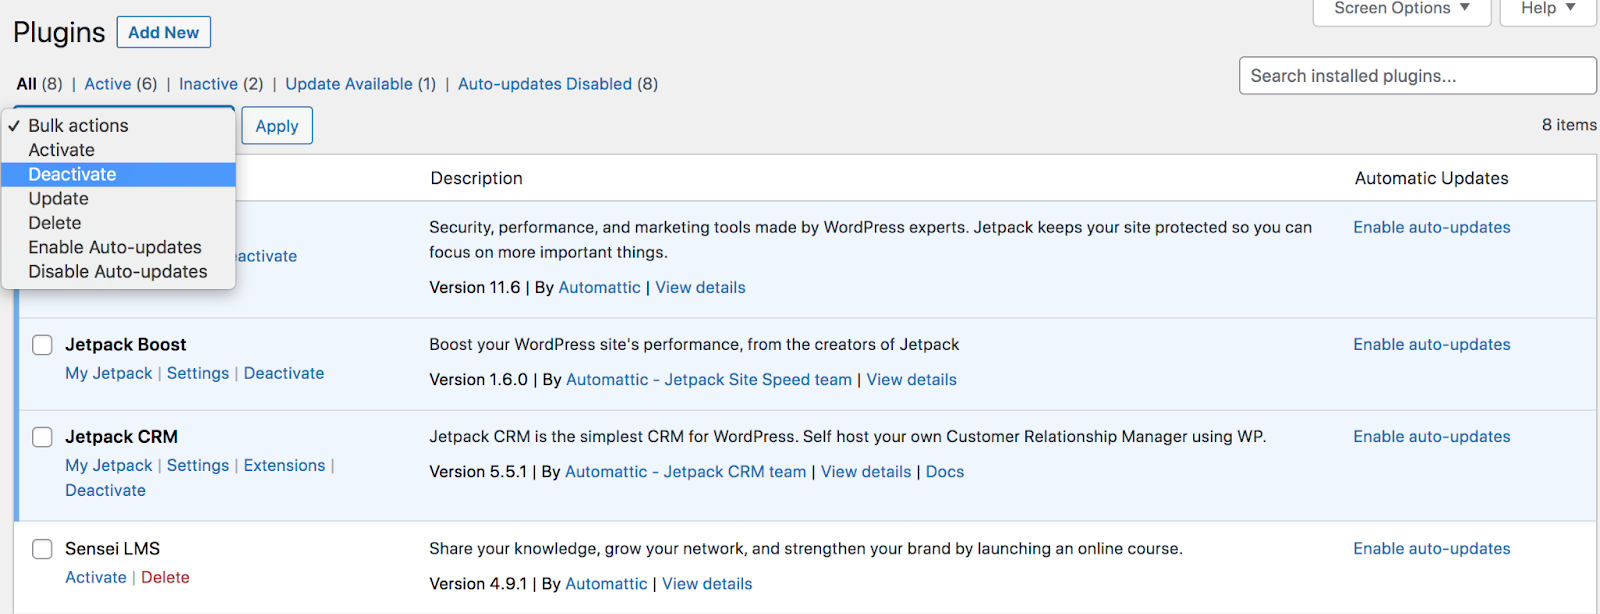
If you think a plugin may have caused your WordPress crash, but aren’t sure which one, it’s best to deactivate all your plugins at once. You can do this from your WordPress dashboard as long as you still have access.
Simply head to Plugins → Installed Plugins. Check the box next to “Plugin” to select all of the plugins at once. Then, in the Bulk actions dropdown, choose Deactivate.
If this fixes the problem you’re having with your site, then you know the root cause is a plugin. Reactivate them one by one until you identify the culprit. Now you can delete that plugin, find a replacement, roll back to a previous version, or reach out to the developer for support.
But if you can’t access your WordPress admin area, you’ll have to revert the changes through the File Manager or by using FTP. No matter which one you choose, navigate to the root folder of your website, typically called public_html.
Now, go to wp-content → plugins. Rename this folder to whatever you’d like — e.g. plugins.bak — to deactivate all of your plugins at once. Again, if this solves the problem, then you know it was caused by a plugin.

Rename the folder to its original state. Then, deactivate each plugin one by one by renaming it until you find the culprit. Again, your next step is to delete the plugin, find a replacement, roll back to a previous version, or reach out to the developer for support.
Step 4: Switch to a default theme
It’s possible that a theme update might conflict with WordPress core, or that there was a problem with your theme code in general. You can determine this by switching to a default theme, like Twenty Twenty-Two.
If you can access your WordPress dashboard, go to Appearance → Themes.

Find a default WordPress theme like Twenty Twenty-Two and hit Activate. If this solves the problem, then you may need to roll back your original theme, switch to a new theme, or reach out to the theme developer for help.
If you can’t log in to your WordPress dashboard, you’ll need to use either your host’s file manager or FTP to access your site files. Again, you’ll need to locate your wp-content folder.
Open the themes folder inside of it. Rename the directory for your current, active theme. This will force WordPress to activate a default theme instead. If this fixes your problem, then you can attribute it to your theme!
Pro tip: You can take care of steps 3 and 4 all at once using the Health Check & Troubleshooting plugin. This tool even enables you to troubleshoot in the backend while your site remains live and visible online!
Step 5: Install a fresh version of WordPress
Since a wrong line of code or a missing file can cause WordPress to crash, uploading fresh WordPress core files can potentially fix the problem. Start by downloading a new WordPress version.
Open up the zip file on your computer and remove the wp-content folder and wp-config.php file. It’s critical that you don’t replace these because they contain settings, plugins, themes, and other valuable data that’s specific to your website. As always, it’s also important that you have a backup on hand before you make major changes.
Now, connect to your site via FTP and replace the rest of the WordPress files. Once that process is finished, load your site and see if it’s working. If it is, great job! The problem is solved.
What to do if WordPress keeps crashing
You should now have a good idea of how to recover your site after a crash. If WordPress keeps crashing, here are some things to consider:
Ensure regular backups are in place
An easy-to-use WordPress backup and restoration system is the single best tool you can have on your side if your site’s experiencing issues. While it won’t solve the root cause of crashes (unless the issues can be solved by restoring a clean backup), it will make it easier to keep your site running and troubleshoot issues until there’s a fix.
Automated solutions like Jetpack VaultPress Backup are ideal in this situation, because even an experienced, careful developer can make mistakes when taking or restoring backups manually.
Some backup plugins offer weekly or daily backups. But if you’re experiencing frequent issues or just have lots of regular activity on your site (comments, sales, new posts, etc.), you’ll want to look for a real-time solution. This is once again where Jetpack VaultPress Backup shines — it saves every change on your site and keeps a detailed WordPress activity log so that you can restore to a specific point in time and never lose your work.
Backups are also an essential part of good WordPress site security — they allow you a way to recover from hacks and safeguard your files. But to make the most of this, backups should be stored off-site, on another server than where your site is hosted. This way, if the server is compromised, you can still access your backups and recover a clean version of your site. Jetpack VaultPress Backup stores files on a secure infrastructure used by WordPress.com and WordPress VIP clients. In other words, it’s fast, reliable, and secure.
Finally, backups are great, but if you can’t easily restore one, it’s not a complete solution. Make sure you test the restoration process of your chosen backup system. Jetpack VaultPress Backup can restore your site (even if it’s completely down), in just a click or two.
Update software in a staging environment
It’s important to update WordPress core, along with your themes and plugins, whenever new versions are available. These updates often include patches for security issues, and also ensure compatibility with other pieces of software on your site.
But the best and safest way to do this is using a staging environment. This is essentially a copy of your site that isn’t publicly accessible to your audience. You can test updates, code changes, and more without affecting your live site. Then, you can easily push those changes live when you know they’re safe.
Some hosting providers, like Bluehost, offer staging as part of their plans. But if your host doesn’t do this, you can always use a plugin like WP Staging.
Restrict user privileges
Be selective when it comes to granting access to your WordPress site, especially with user roles that allow people to make major changes. For example, Administrators have full permissions, and can do absolutely anything on your site. In general, it’s best to have just one administrator — you! — but if you decide to have more, make sure they’re trusted and experienced.
After all, if someone has full access to your website, they can use it for nefarious purposes, perform actions you don’t want them to, and even take down the site entirely.
So take some time to understand the permissions that come with each type of WordPress user role. Then, only assign the minimum necessary permissions required for each person to do their job. And if they stop working with you, remove their account.
You can edit user privileges in WordPress by going to Users → All Users.

Here, you can add new users, edit existing users, and change user roles by clicking on each individual account.
Check your browser and computer
If your site keeps going down just for you, it’s possible that there’s a problem with your computer or browser. In this case, your first step should be deleting your browser cache. This will ensure that you’re seeing the latest version of your site.
The instructions for this will depend on the browser you’re using. But let’s take a look at how to do this in Google Chrome.
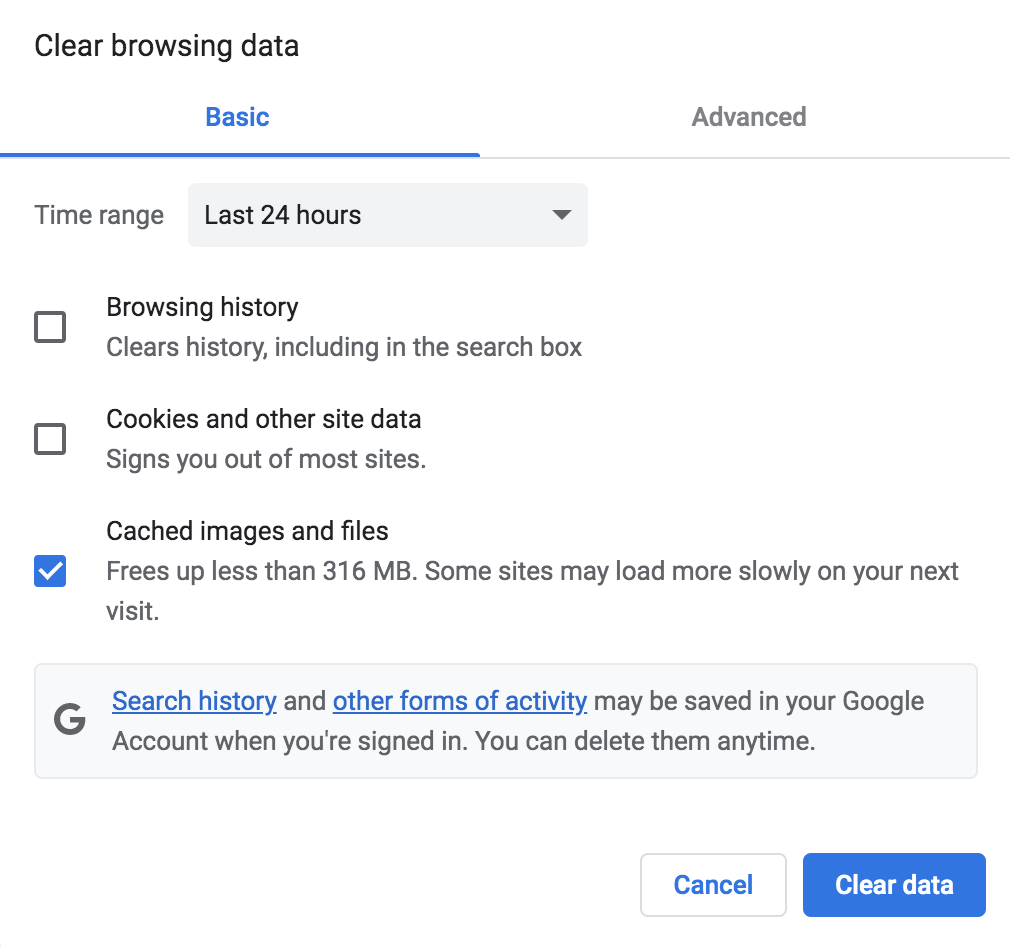
In your browser, click on History → Show Full History. Then, choose Clear Browsing Data in the left-hand menu. Check the box next to Cached images and files, and click the Clear data button.
If you’re still having problems, you may also need to update the version of your browser you have installed. Again, check with your specific provider for instructions.
Talk to your hosting provider
If your site regularly goes down, it’s worth seeking your host’s help. It’s possible that the cause could be a misconfigured server, lack of resources, or outdated software version (like PHP). They can help you identify and solve these types of problems.
You may need to upgrade your plan if you’re using more resources than are allotted to your site or even switch hosting providers entirely. See our list of recommended WordPress hosts for guidance.
Use an activity log
We’ve talked about an activity log a few times throughout this post, and that’s because it’s incredibly helpful when it comes to identifying problems. With a good WordPress activity log, you can see what happens right before your site goes down each time.
For example, perhaps you have WordPress auto-updates enabled, and your website crashes each time a specific plugin updates. This is a sign that you’ll need to switch plugins, turn off auto-updates for that specific tool, or reach out to its developer.
Or maybe you start to notice activity that you didn’t authorize. Then, there could have been a security breach on your site that you’ll need to lock down.
Jetpack’s activity log is the best option for WordPress because it integrates so seamlessly. It shows you all the information you need to know, including each action taken, its date and time, and the user who performed it. It also works with Jetpack VaultPress Backup, so you can restore a backup from right before a certain action took place.
Recover and restore WordPress after a crash
When working on your WordPress website, small mistakes can cause a crash. Fortunately, there are plenty of quick ways to recover. By identifying the cause of the issue, you can get your site back up and running in no time.
To recap, here are five steps to recover and restore your WordPress site after a crash:
- Restore a backup of your site using a plugin like Jetpack VaultPress Backup.
- Retrace your last steps.
- Deactivate plugins.
- Switch to a default theme.
- Install a fresh version of WordPress.
With Jetpack VaultPress Backup, you don’t need to worry about website crashes since it’s easy to restore your site quickly. Better yet, you can back up all your site files, including customer data and database files in real-time. Get started with Jetpack today!
