The Contact Info block lets you add your contact information (email address, physical address, phone number) to any post or page.
Requirements
The Contact Info block is available on all Jetpack-connected sites. It is a part of the Jetpack Blocks suite and is activated by default. See our Jetpack Blocks article to learn about the available blocks and how to activate them.
Jetpack Blocks require the Block Editor (also referred to as the Gutenberg editor). If you’ve installed the Classic Editor plugin, you will need to switch back to the Block Editor either by:
- Deactivating the Classic Editor: Go to Plugins → Installed Plugins in your WP Admin and deactivate the Classic Editor plugin.
- Enabling both editors: If you prefer flexibility, navigate to Settings → Writing in your WP Admin. Set Allow users to switch editors to Yes.
See Using Blocks and the Classic Editor for more details.
It may happen that an editor that comes with a custom theme or plugin prevents you from using the Block Editor. In that case, please contact the respective plugin or theme author for further assistance.
Adding the Contact Info block
You can add the Contact Info block by searching and/or selecting it from the Jetpack section of the block selector:

For more guidance on adding a block, please see Jetpack Blocks for detailed instructions.
The Contact Info block has 3 available child blocks:
- Email Address
- Phone Number
- Address
When you add the Contact Info block, one of each child block is added to your post/page:

You can then complete the relevant details, rearrange the child blocks, or remove any that you don’t need.

You can also add multiple child blocks, for example, if you have more than one phone number or email address.
Link to Google Maps
The Address child block includes a sidebar setting that lets you toggle whether to link your address to a Google Maps page for that address.
Enable Link Address to Google Maps to make your street address link to a Google Map showing that address:

Block Toolbar
Click on the block to display the block toolbar. The Contact Info block offers the following options in its toolbar:
- Wide width
- Full width

Block Settings
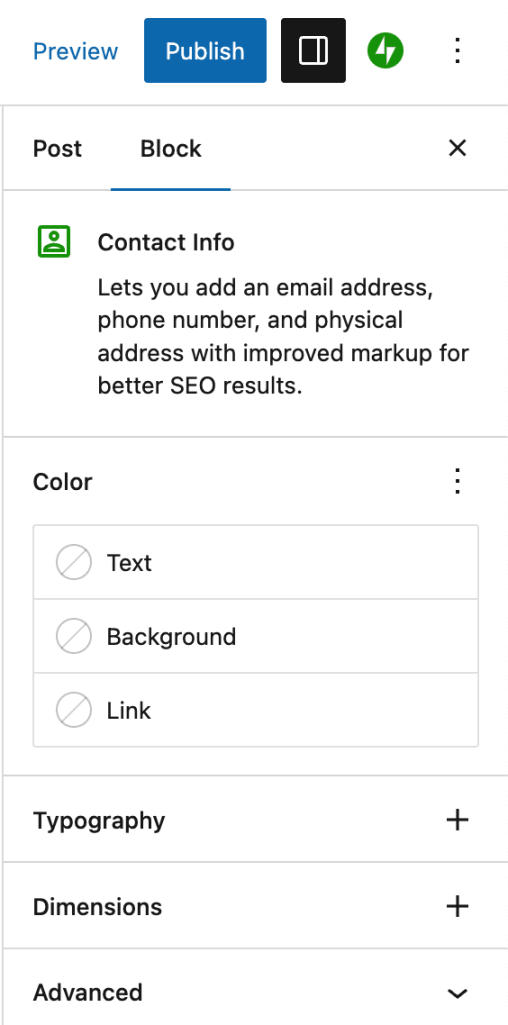
Every block has specific options in the editor sidebar and options found in the block toolbar. If you do not see the sidebar, click the ‘settings’ icon next to the Publish button.

Advanced
The advanced tab lets you add a CSS class to the parent Contact Info block and each child block, allowing you to write custom CSS and style the blocks as you see fit.

Still need help?
Please contact support directly. We’re happy to advise.
Privacy Information
The Contact Info block is activated by default. It cannot be deactivated and is always available to select from the Block selector.
| Data Used | |
|---|---|
| Site Owners / Users
None. |
Site Visitors
None. |
| Activity Tracked | |
| Site Owners / Users
None. |
Site Visitors
None. |
| Data Synced (Read More) | |
| Site Owners / Users
The contact information is synced as part of the post/page content. |
Site Visitors
None. |