During the purchase process, you will be asked what site you want to assign a license to. You can skip that step and activate it later, using the license key.
Each website requires its own Jetpack license. If you wish to use plans or bundles (like Jetpack Security, Creator, or Complete) on multiple sites, please purchase multiple licenses.
Purchase a plan
- Start at our pricing page to select the best product or bundle to power up your website.
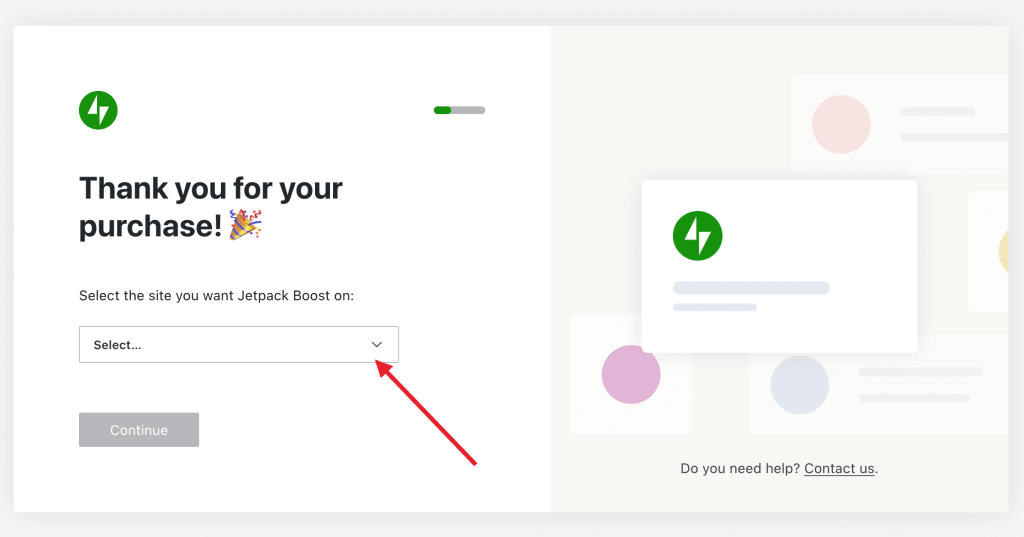
- Proceed through the checkout process until you get to a screen that says “Thank you for your purchase!”
- From the dropdown menu, choose the site that you wish to use the product on, or choose “I don’t see my site; let me configure it manually.”
- If you choose to configure the license manually, the next screen will show your license key. The key will also be sent to you via email; be sure to check your spam folder if you don’t see it in your inbox.
Install the plugin
If you haven’t already, you will need to install the Jetpack plugin you wish to use, either:
- From the WordPress.org plugin repository or
- From WP Admin Menu → Plugins → Add New → Search → Install → Activate.
Assign Administrator user for License activation
To activate a Jetpack license successfully, the WordPress.com / Cloud.Jetpack.com account you’re using must be linked to a WordPress Administrator user on your site.
Using a Contributor, Editor, or other lower-level user may lead to errors about “insufficient permissions” during activation
Before activating your license:
- Go to WP Admin → Users.
- Make sure your WordPress.com-connected account is assigned the Administrator role.
This ensures a smooth activation and prevents future issues with feature access.
Activate a license
Once you have your chosen Jetpack plugin installed on your site, activate your license:
- Go to WP Admin and click on Jetpack.
- Under the Jetpack menu, click on My Jetpack.
- Scroll down until you see Activate a License.

Confirm the license in the dropdown menu and select it. You can also choose to add your license manually. Whichever option you choose, make sure to click Activate once you are finished.
Where to find your license key
Your license key is available on your purchases page within your account.
- Go to WordPress.com/me
- Click Purchases.
- Click on the product you need the license key for.
If you purchased a backup license via Woo.com and need the license key, please check the email receipt of purchase. If you cannot find it, please contact support directly.
Error when activating a license
If the page goes blank or gets stuck preloading after submitting the license key, try using a different browser or clearing your browser’s cache.
If you see any of the following error messages when activating a license, please follow the steps listed to resolve it.
License activation error messages
This license is already active on your site.
Your license is active and ready to go. No troubleshooting needed; you can start using Jetpack!
This license is already active on another website.
Your license is active on a different website. If you would like to move it, please contact support. If you would like to use Jetpack on both sites, please purchase another license.
Your site already has an active Jetpack plan of equal or higher value.
Your website already has an active Jetpack plan. You can activate your license on another site, or cancel it for a refund.
The subscription is no longer active or has expired. Please purchase a new license.
Your subscription has expired. You will need to purchase a new license.
Unable to validate this license key.
There could be a typo. Please check the license from your purchase confirmation email and try again.
We’re sorry, [PRODUCT] is not compatible with multisite WordPress installations at this time.
Some Jetpack products do not work well with Multisite installations, so our system prevents them from being activated. Please activate it on a single-site installation, or cancel it for a refund.
Cookie check failed.
The license activation page has been left open for too long. Please refresh the page and re-enter your license key.
Activate a Jetpack CRM license as part of Jetpack Complete
If you have purchased Jetpack Complete and wish to activate your Jetpack CRM Entrepreneur license, please follow the steps on this documentation page. If you get stuck at any steps, you can contact support directly.
Still need help?
Please contact support. We’re happy to advise.
