With the Widget Visibility feature, you can control where widgets are shown or hidden.
Toggle widget visibility control option
You can toggle (activate/ deactivate) the widget visibility control option by following the steps listed below:
- Navigate to your Jetpack settings. To do this, log into your WordPress site’s WP Admin and click the Jetpack menu item in the left-hand menu.
- In the Jetpack settings, select the Writing tab.
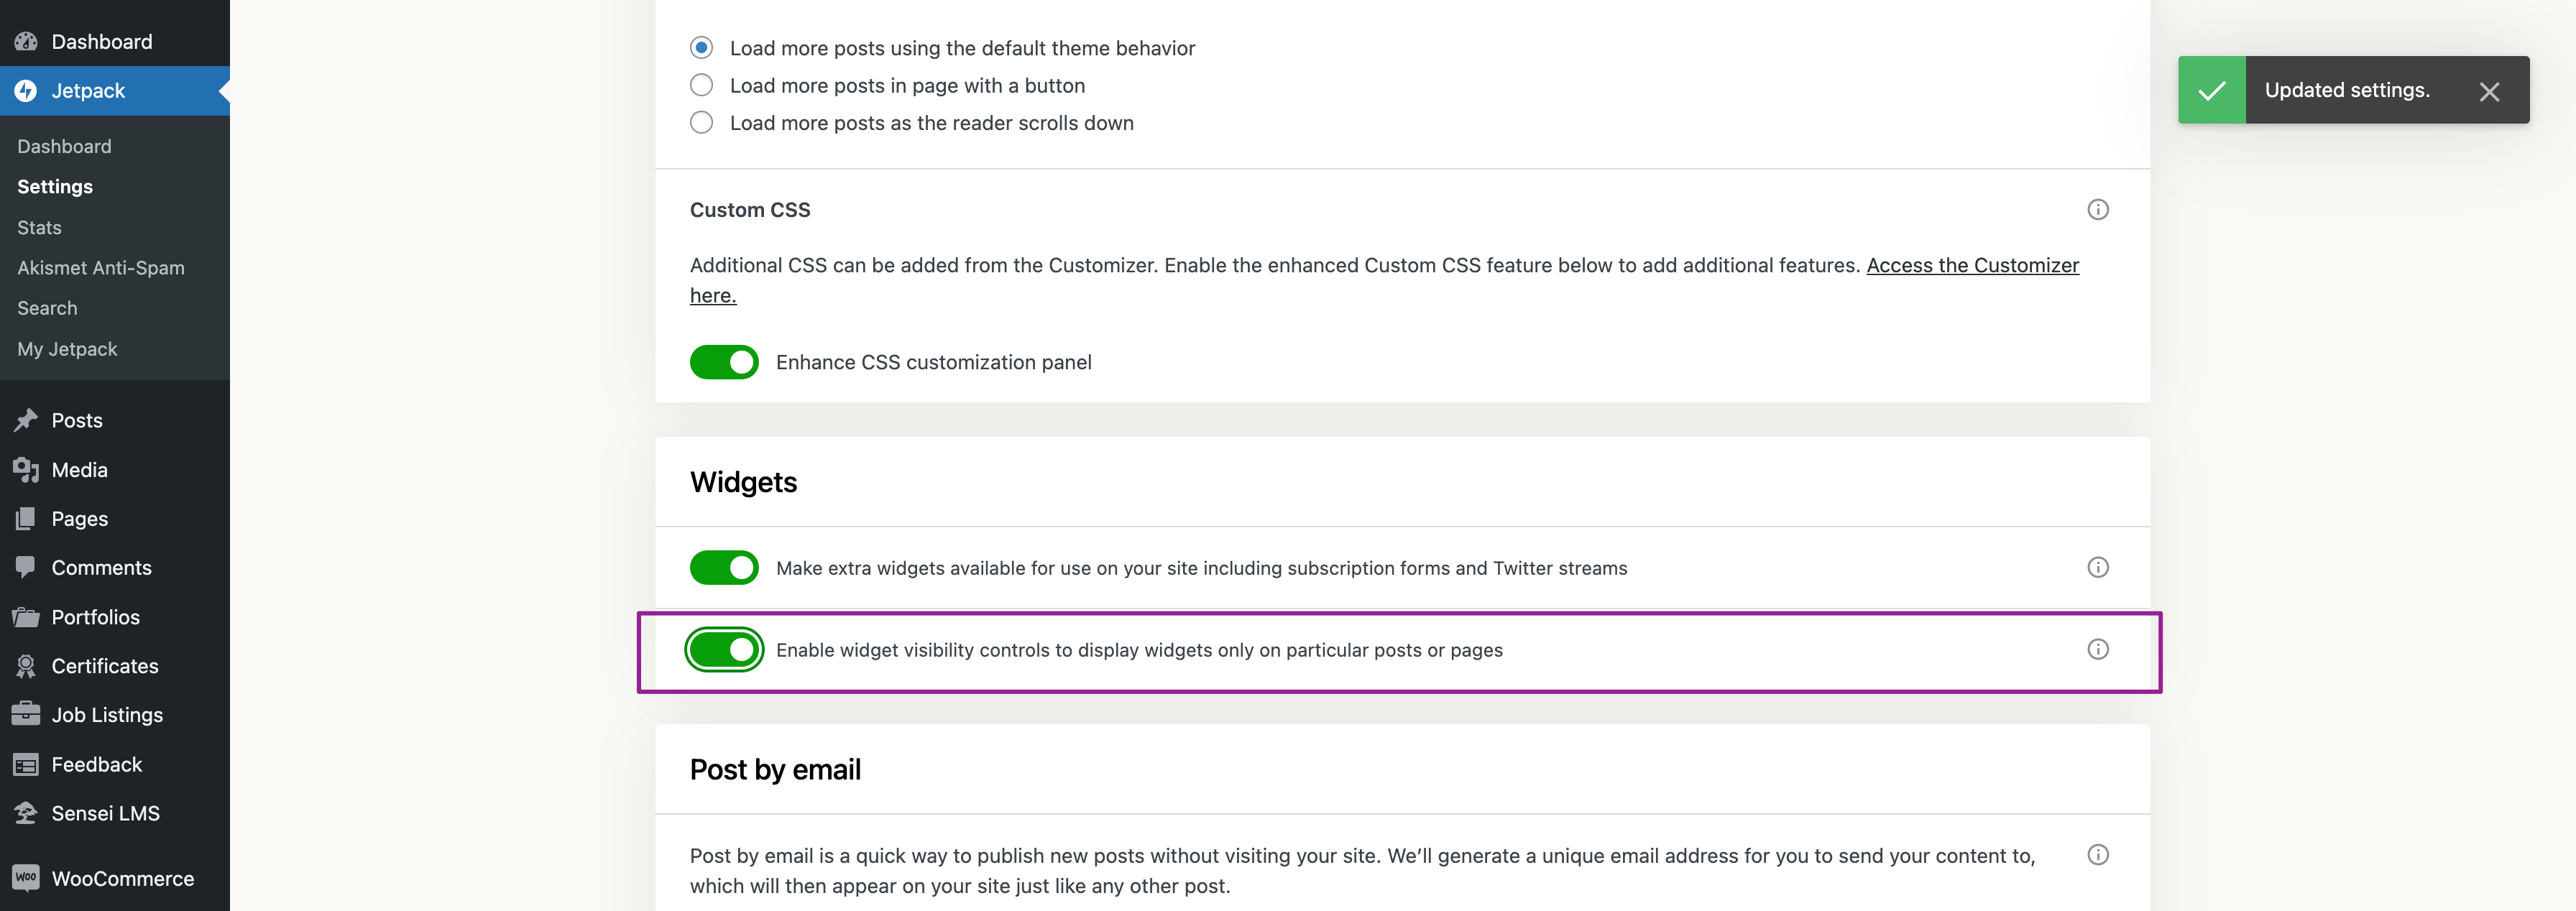
- Scroll down to find the Widgets section.
- In the Widgets section, you will find a switch labeled “Enable widget visibility controls to display widgets only on particular posts or pages.”
- Click on this switch to toggle the feature on or off.
Add or modify widget visibility rules
You can show or hide a widget based on rules or conditions you define. To add or modify visibility rules, follow these steps:
- To adjust the visibility of a widget, navigate to Appearance → Widgets from your WordPress dashboard.
- Find the widget you want to modify and click on it (the top-level block) to open its settings.
- Go to the bottom of the widget settings and find the Visibility button. Any visibility rules defined earlier will be shown there.
You can add new rules (by clicking the + icon) or edit existing ones. You can also remove an existing rule by clicking the x icon.

At the bottom of the rule list, you’ll find a checkbox labeled “Match all conditions.” This checkbox determines how your rules are connected and evaluated.
- If the checkbox is left unchecked (default setting), the widget visibility applies an “OR” logic to your rules. This means that the widget will show or hide if any one condition is met.
- If you check the box, it switches to an “AND” logic. This means the widget will show or hide only if all the conditions you have set are met simultaneously.
In other words, leaving “Match all conditions” unchecked means the widget will appear if any one of the defined rules is true. Checking “Match all conditions” means the widget will only appear if all the defined rules are true.
Widget visibility aspects
Widget visibility is controlled by eight aspects:
- Page type: You can choose to display or hide the widget on different types of pages, such as the front page, posts page, static pages, archive pages, custom post types, and so on.
- Category: This allows you to show or hide the widget on particular category pages.
- Tag: Similarly, you can set the widget to be visible on specific tag pages.
- Date: You can choose to display or hide widgets on selected date archive pages.
- Author: Visibility can also be controlled on author pages.
- User: You can use this to show or hide widgets for logged-in or logged-out users.
- Role: This allows you to display or hide widgets for different default or custom user roles.
- Taxonomy: You can also set widget visibility for custom taxonomy pages.
For example, if you wanted the Archive widget to only appear on category archives and error pages, choose “Show” from the first dropdown and then add two rules: “Page is 404 Error Page” and “Category is All Category Pages.”
As another example, if you don’t want the Archives widget to appear on search results pages, choose “Hide” and “Page is Search Results.”
Note: Each visibility rule is applied separately. For example, there isn’t a way to only display a widget on posts categorized as “Summer” and tagged with “Picnic.”
Privacy Information
Widget Visibility is deactivated by default. Widget Visibility can be activated/deactivated at any time by toggling the setting labeled Enable widget visibility controls to display widgets only on particular posts or pages at Jetpack → Settings → Writing.
| Data Used | |
|---|---|
| Site Owners / Users For activity tracking (detailed below): IP address, WordPress.com user ID, WordPress.com username, WordPress.com-connected site ID and URL, Jetpack version, user agent, visiting URL, referring URL, timestamp of event, browser language, country code. | Site Visitors
None. |
| Activity Tracked | |
| Site Owners / Users We track when and by which user the feature is activated and deactivated. We also track whether rules are added or removed within the widget settings and whether they are set as major or minor rules. | Site Visitors
None. |
| Data Synced (Read More) | |
| Site Owners / Users We sync a single option that identifies whether the feature is activated. | Site Visitors None. |
