Restore from a backup in just a few clicks.
With a paid Jetpack VaultPress Backup solution, you can use Jetpack VaultPress Backup to restore your site to a previous state. If you need to undo a change or go back to a certain point in time, Restore is for you.
We’ve developed Jetpack VaultPress Backup with WooCommerce in mind. You can safely restore your site to any past state — all orders and products will be kept current.
There are various ways to restore your site:
- Restore your website to a particular event;
- Restore your website to a particular day;
- Restore specific files or plugins;
- Download a backup and restore it manually.
You can restore your site either at Cloud.Jetpack.com or the WordPress.com dashboard, depending on which interface you typically use.
Before You Restore
To restore with Jetpack VaultPress Backup, you will need:
- A working WordPress site
- A healthy Jetpack connection.
If restoring your site initially fails over HTTP, try adding server credentials to your Jetpack Settings.
During restore, existing files with the same name will be overwritten, but files with unique names will not be removed. We do not delete anything but our helper files, which we must add to the site during the restore process.
However, it is important to note that your website’s database is completely replaced with the database from the backup you’re restoring from. So, any posts, pages, or other content you’ve added since the restore point date would be lost. You should make an export of this content before using our restore feature; then, you can import it back to your site after the restore.
It is not possible to interrupt or stop a restore once it starts. If you initiate a restore in error, please wait for it to complete, and then restore it again to the desired version.
The length of time for a restore to finish depends on many factors, such as the number of files in your site.
Restore via Cloud.Jetpack.com
To restore your website from the Cloud.Jetpack.com dashboard, please follow these steps:
- Go to Cloud.Jetpack.com and select the site you wish to restore.
- Open the site’s Activity Log if you are looking for a particular event and/or date range.
- Use the filters to search by Date Range and/or Activity Type (for example Plugins, Posts and Pages) you’d like to restore.
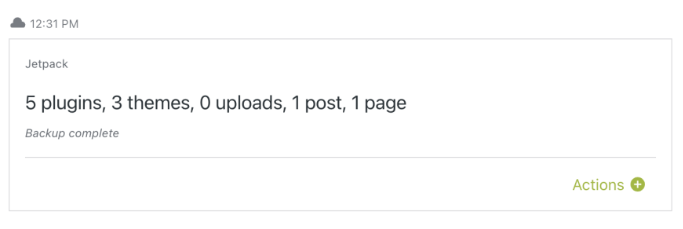
- Click Actions > Restore to this point, which will open the restore site dialog box.
- Alternatively, you can also navigate to VaultPress Backup. You’ll see the latest backup for your site or the scheduled time of your next one.
- From the restore dialog box, uncheck any boxes for items you don’t wish to restore. If you want to restore everything, leave all of the options checked and click Restore now.

Your restore will begin, and a progress bar will appear on the page. You will also receive email updates on the progress of your restore. When the restore has been completed, you’ll see a confirmation message.
Restore specific files
Want to revert back to an older version of only specific files? Or roll back to a previous version of a plugin? Perform a granular restore in these cases.
- Navigate to a daily Jetpack Backup in the Activity Log or in the Backup page.
- Click on the
Actions(+)and thenView files. - Browse all the files and select which ones you want to download or restore by checking the corresponding boxes.
- Confirm.
Exclude specific files from a restore
As well as restoring specific individual files from a backup, you can also choose which files you don’t want to restore.
- Navigate to a daily Jetpack Backup in the Activity Log or in the Backup page.
- Click on the
Actions (+)and thenView files. - Check the box at the top to select all files and folders.

- Browse files and folders and deselect the ones you want to exclude from the restore by unchecking the corresponding boxes.
- Click Restore selected files.
Restore when your site is completely down
If the website you want to restore is down or showing a fatal error, you can try these steps:
- Revert to a fresh installation of WordPress. Your host may have this option in the cPanel, but you may need to ask your host the best way to do this.
- Connect Jetpack.
- Attempt a Jetpack Restore by following the above steps.
- If that still does not work, you can will most likely have to proceed with a manual restore.
Download a Backup for manual restore
In the event that a one-click restore is not possible, you can download a backup for a manual restore like this:
- Go to Cloud.Jetpack.com or WordPress.com, depending on your choice.
- Open the Activity Log for your desired site.
- Use the filters to search by Date Range and/or Activity Type you’d like to restore.
- Click Download to open the backup download box.
- Uncheck any boxes for items you don’t want to include in your download. If you want to download everything, leave all of the boxes checked and click Create download.
- Jetpack will begin preparing your selected download. At the top of the Activity Log, you can follow the progress of your download.
- A message will appear at the top of the Activity Log when your backup download is ready. Click Download to download the backup. You will also receive an email with a link to the download when it’s complete.
Once you have downloaded the backup, you can use that to restore the site manually.
Jetpack VaultPress Backup and Jetpack Scan Support Articles
Still need help?
Please contact support. We’re happy to advise.
