Sign up subscribers to your site from any page, post, or widget area.
The Subscribe Block is a part of the Jetpack Blocks. See our Jetpack Blocks article to learn about the available blocks and how to activate them.
Jetpack Blocks require the Block Editor (also referred to as the Gutenberg editor). If you’ve installed the Classic Editor plugin, you have a few options:
- Deactivate the Classic Editor: Go to Plugins → Installed Plugins in your WP Admin and deactivate the Classic Editor plugin.
- Enable both editors: If you prefer flexibility, navigate to Settings → Writing in your WP Admin (not the menu under Jetpack settings). Set Allow users to switch editors to Yes. You will only see these options if you have the Classic Editor plugin installed and active.
Some custom themes or plugins may prevent you from using the Block Editor. In that case, please contact the support team for the plugin or theme for further assistance.
For more details, see Using Blocks and the Classic Editor.
Add a Subscribe Block
To use the Subscribe block, follow these steps:
- Enable Jetpack’s Subscriptions feature in Jetpack → Settings → Newsletter.
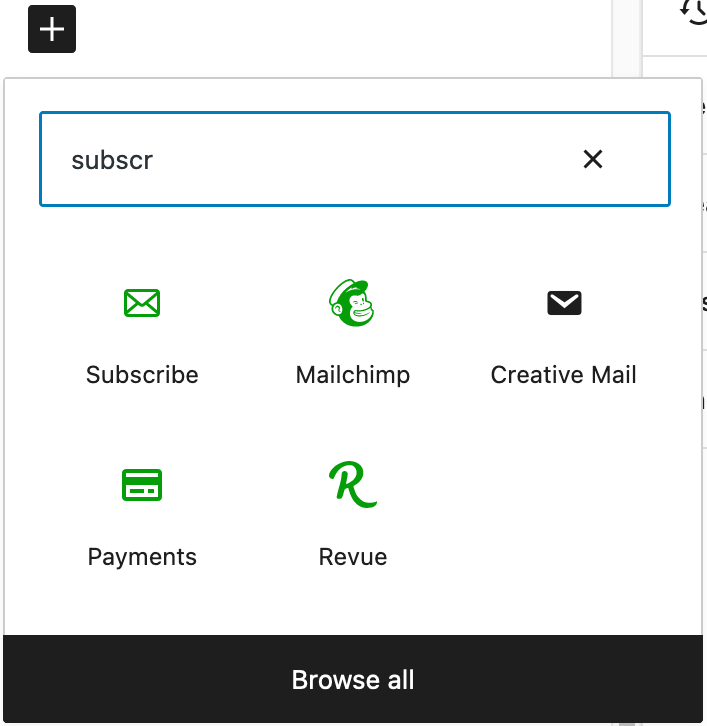
- Select the Subscribe Block from the block picker in the post/page editor or the template editor.
See the Jetpack Blocks page for more information on adding Jetpack blocks.
Change the subscribe block text
The Subscribe block shows default text for the button (“Subscribe”) and email field (“Type your email…”). To change this text, follow these steps:
- Click the Subscribe block.
- To change the button text, click on the button and type your new text.
- To change the email placeholder text, open the block settings, scroll to the Settings section, and enter your text in the “Input Placeholder Text” field.
When you view the subscription form on your site while logged in, the email field shows your WordPress.com email address. This is only visible to you — visitors see the standard placeholder text.
Change the subscribe block appearance
- Click the Subscribe block.
- Open the block settings.
- Adjust the following settings as needed:
- Color: Change the button color, button text color, and email box border color.
- Typography: Adjust the font size using preset options (S, M, L, XL, XXL) or enter a custom size.
- Border: Modify the shape and thickness of borders around the boxes.
- Spacing: Adjust the space inside the subscription box, between the email box and button, and the button width.
- Settings: Toggle “Place button on new line” to move the button below the email box.
- Styles: Choose from preset layouts, including a compact style or a button-only option.
Show subscriber counts
- Click the Subscribe block.
- Open the block settings in the sidebar.
- Scroll to the Settings section.
- Toggle on “Show subscriber count”.
- Optionally, toggle on “Include social followers in count” to include followers from your connected social media accounts. This is currently available for Facebook and LinkedIn. Follower counts from social networks may not always be exact, as some platforms count “Likes” rather than “Followers” (e.g., Facebook). Additionally, due to how social networks limit access to this data, the displayed number may be rounded for simplicity. For more accurate tracking, we recommend focusing on your email subscriber count.
Change the success message
- Click the Subscribe block.
- Open the block settings in the sidebar.
- Scroll to the Settings section.
- Enter your custom message in the “Success Message” field.
Subscribe to specific categories
To let visitors subscribe to specific newsletter categories, follow these steps:
- Click the Subscribe block.
- Open the block settings.
- Scroll to the Settings section.
- Select which newsletter categories you want visitors to be automatically subscribed to.
When visitors subscribe, they can choose which categories they want to receive email updates for
Add the Subscribe block to the Navigation block
Add the Subscribe Block to your Navigation Block to allow visitors to easily subscribe to your content:
- Head over to your WordPress Editor.
- Add the Navigation Block to your post or page.
- On the Navigation Block, choose the option to Add block.
- Add the Subscribe Block from the available list.
Add the Subscribe block at the end of each post
You can select the “Add the Subscribe Block at the end of each post” option from Jetpack → Settings → Newsletter → Subscriptions.
Note: Since the WordPress 6.5 release, if the Block Theme is enabled, you can edit how the Subscribe block looks by clicking the “Preview and edit” link (next to the toggle label), which will take you to the Single Post Editor.
This link won’t be available if you use a classic theme or a WordPress version lower than 6.5.
Please note that this feature is not available for pages and Custom Post Types.
Manage your subscribers
To view and manage your subscribers, follow these steps:
- Go to your site’s WP Admin.
- Navigate to Jetpack → Subscribers.
From this page, you can view your subscriber list, export subscriber data, and manage individual subscriptions. Learn more about managing your subscribers.
Still need help?
Please contact support. We’re happy to advise.
Privacy Information
| Data Used | |
|---|---|
| Site Owners / Users
To set up and process subscriptions, we use the subscriber’s email address, as well as the ID of the post or comment (depending on the specific subscription being processed).In the event of a new subscription being initiated, we also collect some basic server data, including all of the subscribing user’s HTTP request headers, the IP address from which the subscribing user is viewing the page, and the URI which was given in order to access the page ( Additionally, for toggle activity tracking (detailed below): IP address, WordPress.com user ID, WordPress.com username, WordPress.com-connected site ID and URL, Jetpack version, user agent, visiting URL, referring URL, timestamp of event, browser language, country code. |
Site Visitors
To set up and process subscriptions, we use the subscriber’s email address, as well as the ID of the post or comment (depending on the specific subscription being processed).In the event of a new subscription being initiated, we also collect some basic server data, including all of the subscribing user’s HTTP request headers, the IP address from which the subscribing user is viewing the page, and the URI which was given in order to access the page ( |
| Activity Tracked | |
| Site Owners / Users
Functionality cookies are set for a duration of 347 days to remember a visitor’s blog and post subscription choices if, in fact, they have an active subscription.Additionally, we track when, and by which user, the feature is activated and deactivated. We also track when, and which, configuration settings are modified. |
Site Visitors
Functionality cookies are set for a duration of 347 days to remember a visitor’s blog and post subscription choices if, in fact, they have an active subscription. |
| Data Synced (Read More) | |
| Site Owners / Users
We sync options that identify whether or not the feature is activated and how its available settings are configured. |
Site Visitors
None. |
