

Use the Jetpack Protect plugin
Last updated:
Scan your site for vulnerabilities and run Jetpack’s firewall with the standalone Jetpack Protect plugin.
This page covers the standalone plugin, which keeps its own Protect page. If your site runs the Jetpack plugin 16.4 or later without this plugin, see the Protect page in the Jetpack plugin.
Requirements for Jetpack Protect
- A web host that meets the WordPress host requirements.
- The latest version of WordPress. If your version of WordPress is out of date, you’ll see a prompt to automatically upgrade with a single click, or can upgrade manually.
- A WordPress.com account. Don’t have one yet? Sign up for one here, or create one when connecting Jetpack. You only need one WordPress.com account to access all our services (including Akismet, Crowdsignal, Gravatar, and WordPress.com itself). If you use any of these services, you already have a WordPress.com account to connect to Jetpack. You can reset your WordPress.com password if you need to.
- A publicly accessible WordPress site: no password protection or Coming Soon / Maintenance Mode plugin in use. Jetpack Protect will not work on a local environment.
- A publicly accessible XML-RPC file.
Install Jetpack Protect
To install Jetpack Protect via the WP Admin:
- Start at your WP Admin dashboard.
- Go to Plugins → Add New.
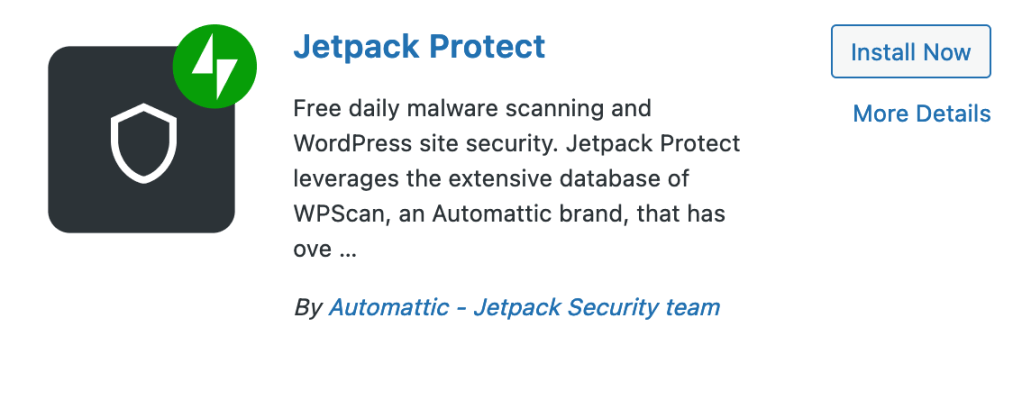
- Search for Jetpack Protect. The latest version will show in the search results.
The Jetpack Protect plugin can be installed alongside the Jetpack plugin. While both are active, the Jetpack menu shows the plugin’s Protect page instead of the one built into Jetpack. Click “Install Now“.
- Click Activate.
- Choose the Paid Plan for one-click threat fixes with threat history, automatic protection rules for the web application firewall, and other premium features. Or start for free.
- Your first scan will start.
- Once the scan is complete, your results will show on the Jetpack Protect page.
Check Protect results
Once you’ve activated the plugin and chosen your plan, your first scan will begin automatically. Going forward, daily scans run roughly every 24 hours. It is not possible to set a time for the automated daily scans.
The paid Scan plan sends you notifications any time there is a potential security warning. With the Free plan, you will need to check your Protect dashboard.
- Visit Jetpack → Protect in your WordPress admin panel to see the security threats found by the scanner.
- When the scanner finds a security threat, view the recommended actions on the Jetpack Protect dashboard to secure your sites.
- If you have upgraded to a paid Jetpack Scan plan, use the auto-fixer to resolve any threats. If you are on the Free plan, follow the recommendations given.
Browse your threat history
The threat history is a premium feature included in these paid plans: Jetpack Pro, Jetpack Complete, or Jetpack Scan. Existing Jetpack Security subscriptions also include threat history.
To access your threat history:
- Navigate to Jetpack → Protect.
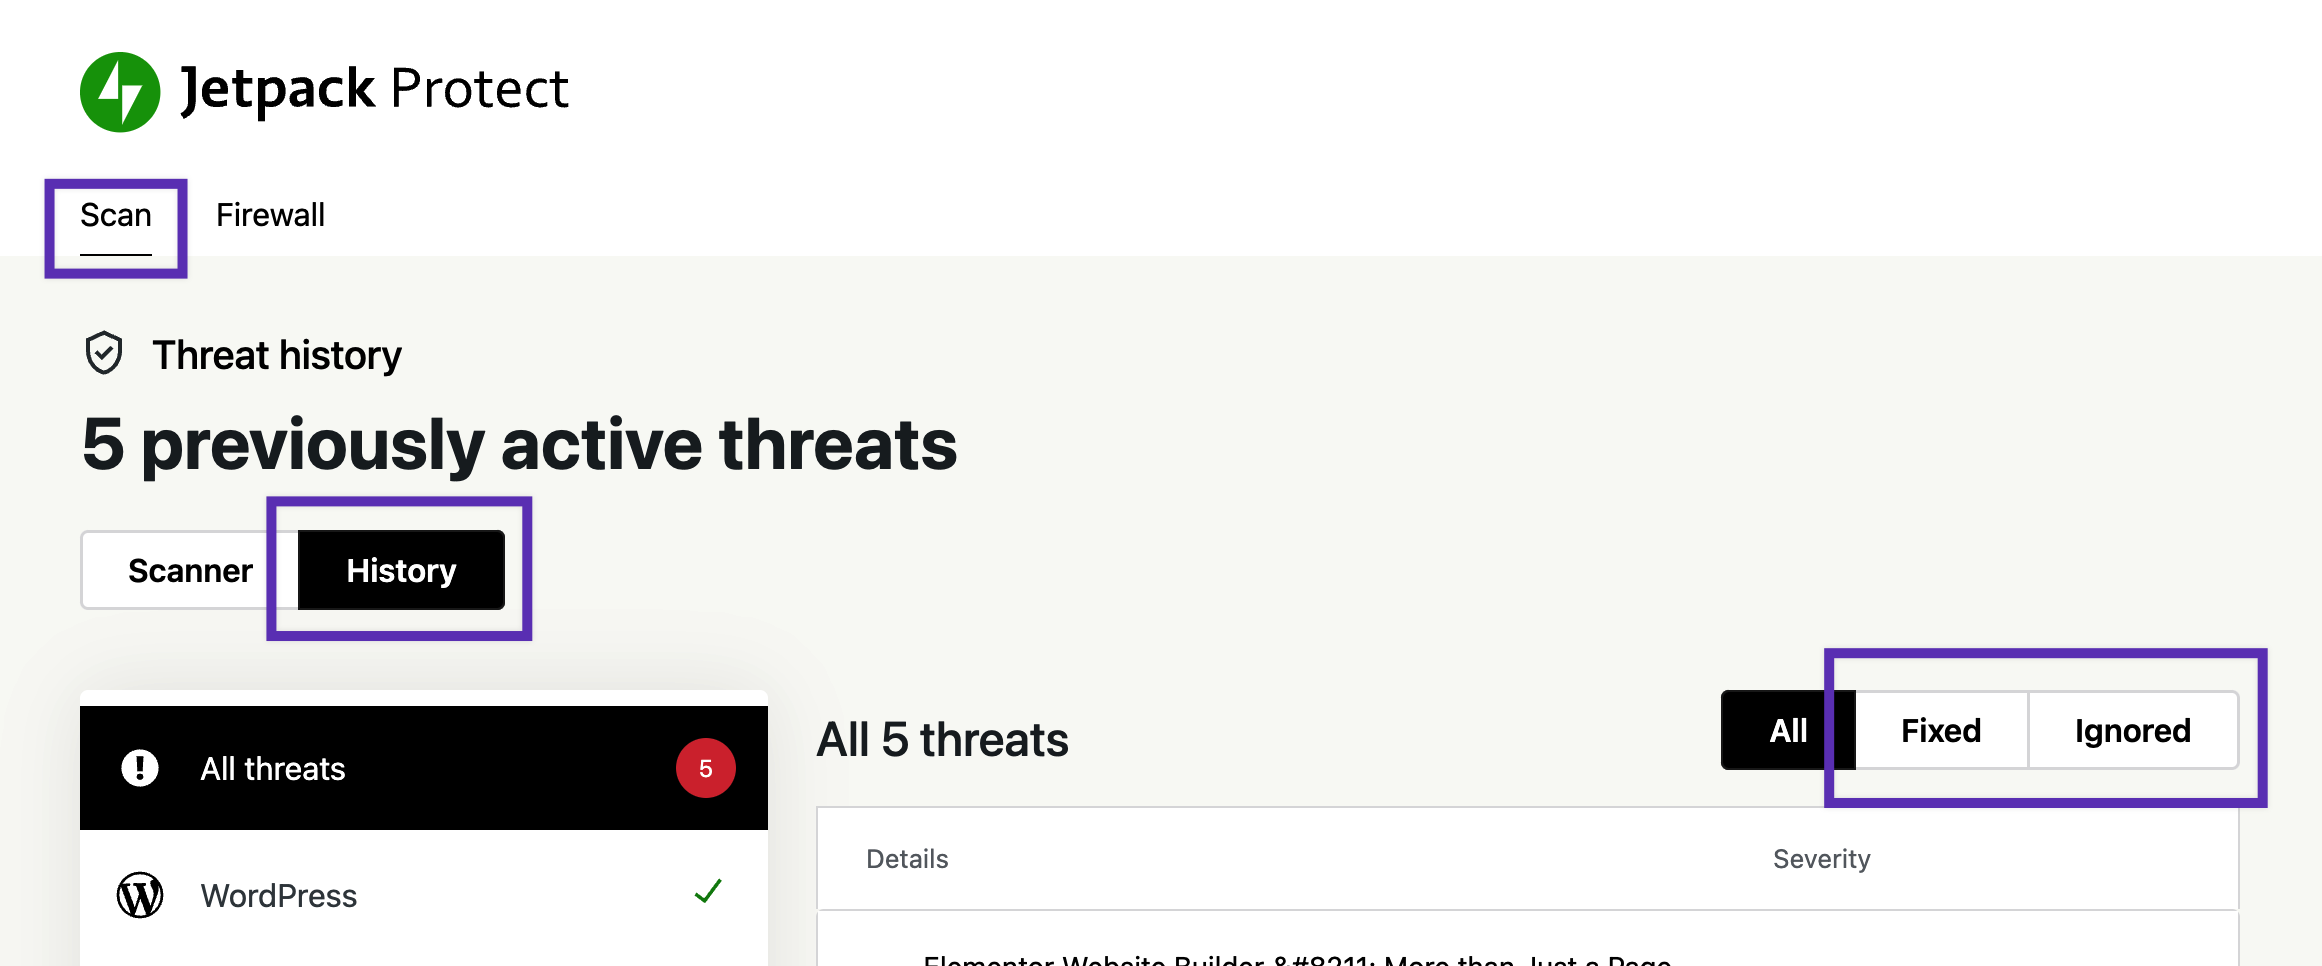
- In the Scan tab, click the History button.
- You can view All threats detected in the past and already addressed or switch to the filtered Fixed and Ignored views. Note that you will not see current, unaddressed threats in the History view. To see your current threats, switch from History to Scanner.
Unignore a threat
If you ignored a threat in the past, you can reconsider your decision. To unignore a threat:
- Navigate to Jetpack → Protect.
- In the Scan tab, click the History button.
- Switch to the Ignored filtered view and locate the threat you want to ignore.
- Expand the threat view and click the Unignore threat button. Confirm in the pop-up window.
- The threat will be ignored. It will disappear from the History view. You will find it in the Scanner view.
Use the firewall with the plugin
The Jetpack Protect plugin includes Jetpack’s web application firewall. To turn the firewall on and set it up in the plugin, see Jetpack Firewall in the Jetpack Protect Plugin.
Still need help?
Please contact support. We’re happy to advise.
Privacy Information
Jetpack Protect is deactivated by default. It can be activated at any time by installing the plugin and activating it. For general features and FAQs, please see our Jetpack Security features.
| Data Used | |
|---|---|
| Site Owners / Users We use the data synced for authentication of some APIs, to check themes, plugins, and WordPress version against the WPScan API in the free version of the plugin. | Site Visitors None. |
| Activity Tracked | |
| Site Owners / Users We track pageviews and clicks on pricing pages, clicks on upgrade prompts, and interactions with the application (example: what kinds of threats are clicked on). | Site Visitors None. |
| Data Synced (Read More) | |
| Site Owners / Users We sync data related to installed plugins and themes, and WordPress version. | Site Visitors None. |

