Feature Clip is an experimental Jetpack AI feature that generates a short video clip from any post, directly from the post editor. This guide explains how to create a clip, where to find it, and how to share or download it.
What is Feature Clip
Features Clip uses AI to turn your post content into a short video clip you can share on social media or download. The generated clip is a short video based on the content of your post. Feature Clips are saved to your site’s media library as MP4 files.
Feature Clip is currently in experimental preview, which means the feature is available for early access but may change as it develops. While it remains an experimental preview, generating clips won’t use any of your Jetpack AI credits during this period. Once Feature Clip moves out of experimental preview, standard credit usage will apply.
Requirements
To use Feature Clip, your site needs:
- Remaining credits in the Jetpack AI free plan or a paid subscription, such as Jetpack AI or Jetpack Complete.
- A hosting platform that supports video uploads.
- A published or draft post to generate a clip from.
Generate a clip from a post
- Open the post you want to create a clip from.
- Open the post settings sidebar.
- Scroll down to the Feature Clip section.
- Click Generate Clip:
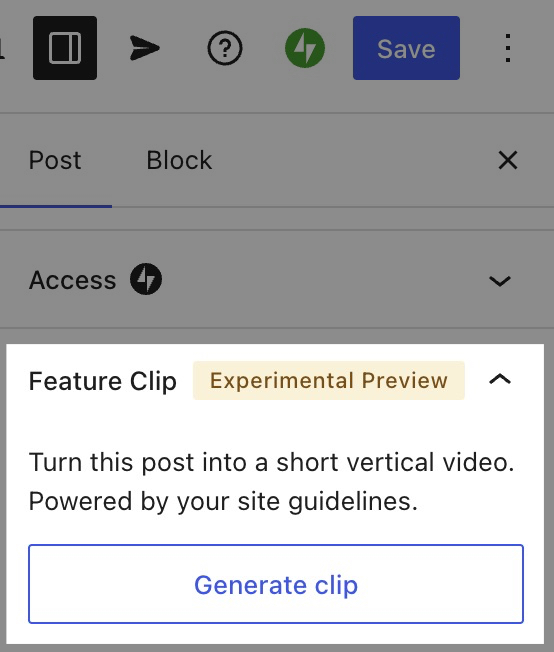
- Choose a style from the Style dropdown:
- Cinematic: Create an 8-second mood clip with instrumental audio.
- Highlights (coming soon): Build a 20-second recap clip using your post’s images and key points.
- Enter a custom prompt describing the video you’d like, or choose from one of the pre-made suggestions.
- Wait for the clip to generate. This can take 1 to 3 minutes.
- Once the video is created, it is automatically saved to your media library. Close the overlay by clicking the X in the top right corner.
Your clip is now visible in the Feature Clip section of the post settings sidebar.
What to expect from the experimental preview
Feature Clip is an early preview. Expect the feature to change as we gather feedback and improve the output.
- Clip length: Cinematic clips are 8 seconds long. Longer clips are planned but not yet supported.
- Aspect ratio: Clips are vertical (9:16) only, sized for Reels, Shorts, and TikTok.
- Generation time: Each clip takes one to three minutes to generate. Keep the modal open while it generates (the video will be lost if the modal is closed before the video has finished generating).
- Rate limit: You can generate up to 10 clips per site every 24 hours.
- Content safety: Some prompts or post content may be blocked by content safety filters. If a generation is blocked, adjust the prompt or the post content and try again.
View your Feature Clips
Every clip you generate saves to your site’s Media Library automatically.
To locate your video clips:
- Visit your site’s dashboard.
- Navigate to Media → Library.
- Your most recent clips will be shown first. You can change the “All media files” dropdown to Video to show only your site’s video files.
- Select your video to view its details, copy its URL, or download the file.
Sharing, downloading, and adding your clip to a post
After a clip has been generated, the Feature Clip section in the post settings sidebar gives you several options:
- Share opens your device’s share menu, where you can send the clip via AirDrop, Messages, Mail, Notes, or copy it to share elsewhere.
- Share to Instagram publishes the clip as an Instagram Reel if you have Instagram connected through Jetpack Social.
- Add to post inserts a Video block into your post with the clip embedded.
- Regenerate reopens the Jetpack AI overlay so you can create a new clip.
For developers
Developers who want to control whether the Feature Clip option appears on their site can use the jetpack_image_studio_can_generate_video_clips filter. See How to use actions and filters to customize Jetpack for general guidance on working with Jetpack hooks.
Still need help?
Please contact support. We’re happy to advise.
Privacy
Feature Clip uses Google Veo to generate video content. The post content is sent to the generation service to produce the clip. See the Jetpack AI privacy information for general Jetpack AI data handling.