This document explains how to install, activate, and connect Jetpack on your WordPress site. It covers the requirements you need, how to set up Jetpack from WP Admin, how to connect your WordPress.com account, and answers to common questions about the connection process.
Requirements to install and run Jetpack on a WordPress site
Before you install Jetpack, confirm that your site meets the following requirements:
- A web host that meets the minimum PHP (7.4 or higher) and MySQL (8.0 or higher), or MariaDB (10.5 or higher) versions specified in the WordPress host requirements.
- The latest version of WordPress. If your version of WordPress is out of date, you will see a prompt to upgrade automatically with a single click, or you can upgrade manually.
- A WordPress.com account. If you do not have one, sign up for a WordPress.com account, or create one during the Jetpack connection flow. For more detail, see why the WordPress.com connection is important for Jetpack. You only need one WordPress.com account to access all the services, including Akismet Anti-spam, Crowdsignal, Gravatar, and WordPress.com itself. If you use any of these services, you already have a WordPress.com account you can connect to Jetpack. If you need to, you can reset your WordPress.com password.
- A publicly accessible WordPress site: no password protection or Coming Soon / Maintenance Mode plugin in use.
- A publicly accessible XML-RPC file.
- If you have trouble connecting Jetpack after meeting all of the conditions above, see the list of known issues, and debug your connection. If you still have difficulty connecting Jetpack, see Fix Jetpack connection issues.
Install and set up Jetpack from WP Admin
You can install Jetpack from your site’s WP Admin. To install Jetpack from WP Admin, follow these steps:
- Go to Plugins → Add New.
- Search for Jetpack. The latest version appears in the search results. Look for “Jetpack – WP Security, Backup, Speed, & Growth” in the results.
- Click Install Now.
- Click Activate.
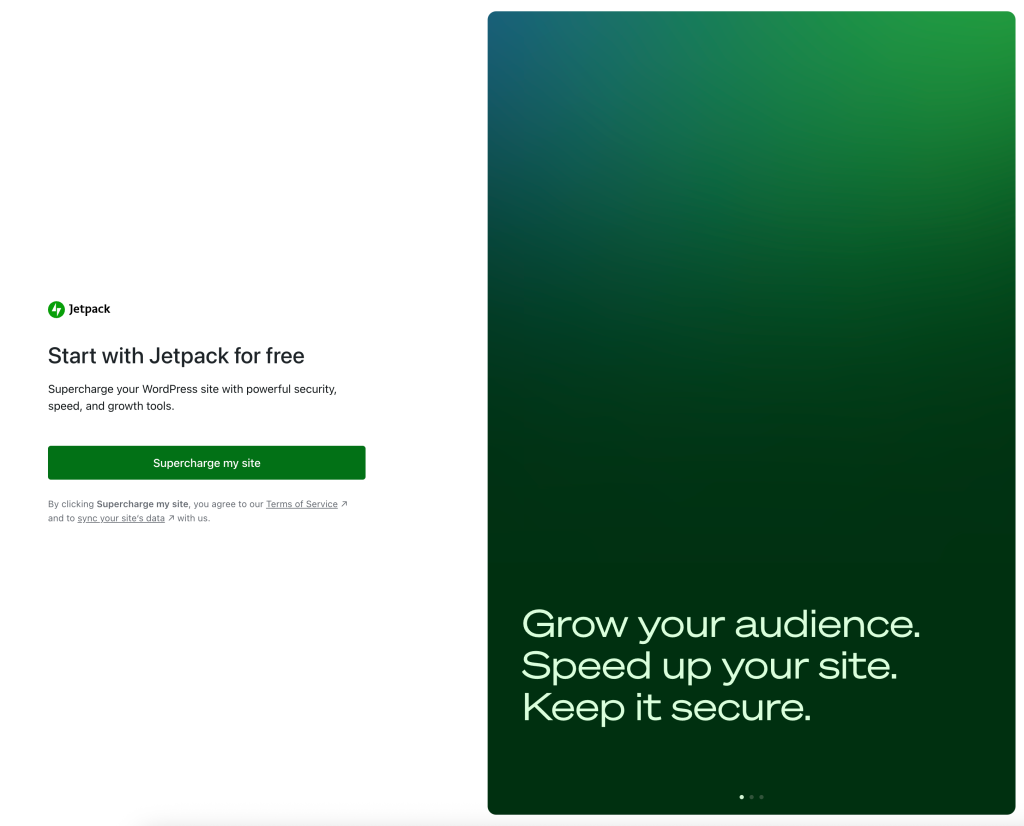
- After activating, you are prompted to set up Jetpack. Click Supercharge my site.
- When prompted, click Connect my site to connect your site to WordPress.com. This connection is required to use many Jetpack features. For more detail, see features that require a WordPress.com connection.
- After approving the connection to WordPress.com, you return to the My Jetpack section in WP Admin.
- To confirm that your site is connected to WordPress.com with your account, scroll to the bottom of the page and check the account connection under Connection.
Use an Administrator account to connect Jetpack
When you connect your site to WordPress.com during Jetpack setup, log in as a WordPress Administrator. Jetpack requires Administrator permissions to activate or manage any Jetpack plans without permission issues. An Administrator account also provides access to the complete set of Jetpack features. If you (address the reader directly) connecting Jetpack does not have Administrator privileges, some functionality is limited.
To check your role, follow these steps:
- In WP Admin, go to Users → All Users.
- Confirm that your WordPress user account is listed as Administrator.
If you are not an Administrator, log in with an Administrator account before connecting Jetpack.
Secondary administrators (not the Primary User) can link their own WordPress.com accounts without affecting the site connection. To link a secondary administrator account, follow these steps:
- Go to Settings → Connectors.
- Click Details on the WordPress.com card.
- Select Connect account.
The details panel also shows the Primary User’s WordPress.com name and login for reference.
Site-only vs user connection in My Jetpack
When Jetpack is first activated, your site may enter a site-only connection state. In this state, the site is connected to WordPress.com, but no specific WordPress.com user accounts are linked yet.
You can recognize the site-only connection state in My Jetpack by the following signs:
- A banner at the top says Missing user connection with a Connect your user account button.
- Many feature cards (such as Jetpack VaultPress Backup, Jetpack Social, VideoPress, and Jetpack AI Assistant) display Needs user account.
- At the bottom of the page, the Connection section shows Site connected with a link to Connect my account.
You can also view and manage connection status from Settings → Connectors. The WordPress.com card shows the current connection state:
- Connected — The site and the current user account are both linked to WordPress.com. Click Details to see the connected account’s display name, login, email, and which plugins are using the connection.
- Site connected — The site is registered with WordPress.com, but the current user account is not yet linked. Click Details, then Connect account to link your WordPress.com account.
- Not connected — The site has no WordPress.com connection. Click Connect to start the setup flow.
Why you need a user connection
A user connection links your individual WordPress.com account to the site connection. A user connection is required to:
- Unlock access to user-specific Jetpack Cloud features such as Jetpack VaultPress Backup, Jetpack Scan, and the Activity Log.
- Allow Jetpack features that require the WordPress.com user connection to start working.
- Establish the Primary User (Connection Owner). The first administrator who connects becomes the Primary User, with ownership of Jetpack data and control over support requests.
- Provide full functionality to the Jetpack Mobile App.
How to connect your user account
To connect your WordPress.com user account, follow these steps:
- In WP Admin, go to Jetpack → My Jetpack.
- Under Connection, find the Connect my account link or the Connect your user account button.
- Sign in with your WordPress.com credentials, or create an account if you do not have one.
- Approve the connection.
Once connected, your site moves from a site-only connection to a full site and user connection.
Jetpack installation frequently asked questions
This section answers common questions about installing and connecting Jetpack, including multisite installations, local installs, troubleshooting, language support, the reasons to connect, and Akismet Anti-spam setup.
What if I have a multisite installation?
Jetpack does not connect across a multisite network at once. If you use WordPress Multisite, you must connect Jetpack to WordPress.com separately on each site in the network where you want a Jetpack connection. Any Administrator for that site can create the Jetpack connection. The connection does not have to use a different Administrator user or a different WordPress.com user for each site.
Can I use Jetpack on a local WordPress install or a private site?
Yes. You can use many Jetpack features on a local or private site. To do so, enable Jetpack’s development mode.
How do I troubleshoot trouble connecting Jetpack to WordPress.com?
Start with the documentation on fixing Jetpack connection issues. If the issues persist, see the other troubleshooting documentation.
How do I install Jetpack in my language?
Once you have installed WordPress in your own language, Jetpack switches to your language automatically, as long as a translation file is available. For more detail, see how to install Jetpack in your language and contribute to translations.
Why should I connect Jetpack?
Jetpack provides several services for your WordPress site. The most popular are:
- Stats and analytics about your site traffic.
- Brute force attack protection (also called login protection) to protect from malicious login attempts.
- A free Content Delivery Network (CDN) that speeds up your images and photos automatically.
- Security tools including real-time backups, malware scanning, and spam protection for comment sections and forms.
How do I troubleshoot trouble installing or connecting Akismet Anti-spam to WordPress.com?
Some Jetpack plans include Akismet Anti-spam spam protection. If you have difficulty setting up Akismet Anti-spam, see the Akismet Anti-spam activation documentation.
Still need help?
Please contact support. We’re happy to advise.
