Now that you’ve signed up for Jetpack Manage, you can start adding your clients’ sites to your dashboard so that you can manage their Jetpack licenses and more.
Requirements
Before you can start adding your clients’ sites to your dashboard, you’ll need to make sure you have the following:
- A dedicated WP Admin user for your agency that has an Administrator role. WordPress.org has a great article about User Roles and Capabilities if you need clarification.
- Access to your dedicated WordPress.com account that is being used for Jetpack Manage.
- Each site should have Jetpack installed and meet the requirements for using Jetpack.
A note about WordPress Multisite networks
While Jetpack can be installed and used on multisite WordPress, there are some limitations. Jetpack VaultPress Backup, Jetpack Scan, Jetpack’s Web Application Firewall, Jetpack Akismet Anti-spam, and WordAds do not support multisite.
Brute Force Attack Protection can be used, but requires a network-level connection.
Add a new site to Jetpack Manage
To get started, you will need to be logged into the site’s WP Admin with your Administrator credentials and Cloud.Jetpack.com using your WordPress.com account that you’re using for Jetpack Manage. Once you’re logged in to both places (Pro Tip: it helps to have them open in separate tabs/windows in your browser), you’ll do the following:
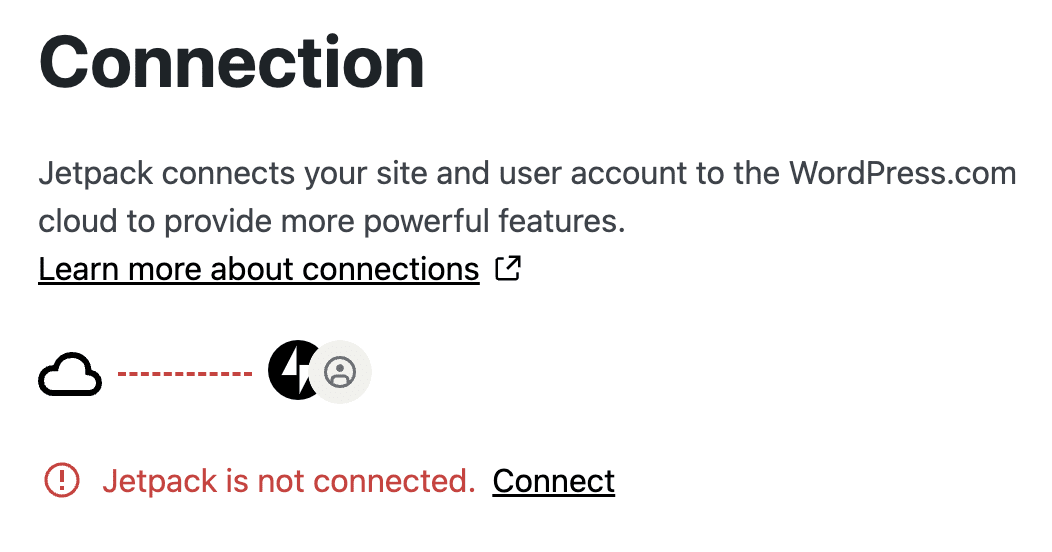
- In the WP Admin, go to Jetpack → My Jetpack and scroll to Connection.
- Click Connect.
- On the next screen, click Connect your user account.
- On the next screen, click Approve.
- The site should now appear in your Jetpack Manage Dashboard.
If you have additional sites to add, you’ll repeat these steps for each site.
Once you’ve added sites to Jetpack Manage, you are ready to start Adding Licenses to Sites in Your Dashboard.
Remove a site from Jetpack Manage
To remove a site from Jetpack Manage, you will need to disconnect the site from Jetpack.
Note: Disconnecting a site from Jetpack will disconnect any licenses that you have added to the site, but it does not cancel the licenses. You will still need to revoke the license(s) in Jetpack Manage.
Still need help?
Please contact support. We’re happy to advise.
