CSS sprites have been a cornerstone web performance technique since the HTTP/1.1 era — but are they still relevant today? This guide examines when CSS sprites genuinely improve WordPress site performance, and what modern alternatives can deliver better results.
Key takeaway: If your WordPress hosting supports HTTP/2 (over 95% do), CSS sprites likely won’t improve your site speed. We’ll show you how to evaluate whether sprites make sense for your specific use case, implement them correctly if needed, and explore superior modern alternatives like SVG sprites and optimized icon libraries.
Should you still use CSS sprites in 2026?
Before implementing CSS sprites on your WordPress site, you need to understand a fundamental shift in web technology. CSS sprites were designed to solve an HTTP/1.1 limitation: browsers could only request 6-8 files simultaneously from a server. Combining images reduced these requests, improving load times significantly.
However, over 95% of web traffic now uses HTTP/2 or HTTP/3, which supports multiplexing—simultaneously requesting hundreds of files without performance penalties. This means the primary benefit of CSS sprites is largely obsolete for modern websites.
When CSS sprites still make sense:
- Your hosting doesn’t support HTTP/2 (check with your provider)
- You’re combining 10+ tiny icons (under 1KB each) where PNG compression benefits outweigh flexibility costs
- You’re maintaining legacy systems with HTTP/1.1 infrastructure
When modern alternatives are better:
- Responsive designs requiring different image sizes (sprites break responsive workflows)
- Sites using HTTP/2 protocols (use SVG sprites, icon fonts, or optimized individual images instead)
- Projects requiring frequent icon updates (changing one icon means re-downloading the entire sprite)
For most WordPress sites today, SVG sprites or modern icon libraries offer better performance, scalability, and maintainability than traditional CSS sprites. The rest of this guide explains how to implement CSS sprites, but carefully evaluate whether you should before continuing.
What is a CSS sprite?
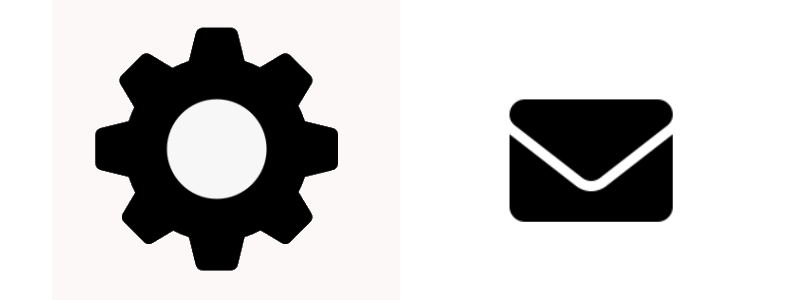
Creating a CSS sprite involves combining multiple images into one, and using CSS to show specific parts of the resulting image. Let’s say you have two icons you want to use in a website’s design: a gear and an envelope.
In traditional web design, the gear could stand for a settings menu and the envelope might send you to the contact page. You’d need two icon files, one for each item. Instead, here we have an image that combines both.
You can take that image and turn it into a CSS sprite, using code that looks like this:
.icon {
    width: 32px;  /* Width of each icon */
    height: 32px; /* Height of each icon */
    background-image: url('spriteimage.png'); /* Path to the sprite image */
    background-repeat: no-repeat;
}

.gear {
    background-position: 0 0; /* Coordinates of the gear icon in the sprite */
}

.envelope {
   background-position: -32px 0; /* Coordinates of the envelope icon in the sprite */
}
That code takes the image and defines the height and width for each icon. Then it adds the specific coordinates that indicate what parts of the image correspond to each icon.
Once you have both the image and the CSS on your site, you can use HTML to display the parts of the sprite you want. The code you’d need now would look something like this:
<div class="icon envelope"></div>

<div class="icon gear"></div>
Creating CSS sprites becomes more challenging when you’re dealing with bigger images (and more of them). This is because it can take more time to determine the proper dimensions for the images you want to display, and to work out the background-position values that correspond to each part of the sprite.
At this stage, you might be wondering what the point of CSS sprites is, if you can simply upload images in WordPress and place them wherever you want. With that in mind, it’s time to go over the pros and cons of this technique.
The pros of using CSS sprites for image combination
CSS sprites are popular in web development circles because they can lead to improved performance. Here’s how that works:
If you have a page that includes five images, browsers need to request and load each file separately. That’s not necessarily a bad thing, as most modern sites load dozens of files and execute many requests in the background as a page loads.
The problem is that the more requests the server needs to respond to, the slower the process as a whole can become. That means the page takes longer to load for visitors.
This can be a significant issue, as slow loading times are one of the primary reasons people leave a website. These days, visitors expect most sites to load in under two seconds. It’s painfully obvious if a site is feeling slow or sluggish and folks just don’t have the patience.
With a CSS sprite, the site only needs to load one image instead of five. The size of that image can be identical to the five separate files put together. But the server only needs to handle one request, which accelerates the process.
As a rule of thumb, anything you can do to improve your website’s performance is worthwhile. Even if you think your site loads fast, there’s always room for improvement. Using sprites can have an impact on page loading times, although it shouldn’t be the only optimization method you employ.
The cons of using CSS sprites
Although CSS sprites offer a way to improve your site’s performance, they’re not without drawbacks. In this section, we’ll explore the downsides of using sprites, so you’re fully informed and can decide whether it’s a technique you’d like to employ.
1. Inability to define image titles
There are hundreds of factors that can impact your site’s search engine optimization (SEO). Image files are one of them, as they provide search engines with basic information about the contents of each image.
To put it another way, if you display a picture on your site and the filename is dfgdsfnjsal.png, Google won’t have any idea what the image contains. That means it won’t appear in image results, and search crawlers can’t use it as context to learn about the page it’s embedded in.
As a rule of thumb, the filenames of the images you use on your website should be descriptive. If you’re uploading a photo of flowers, the file should be called something like blue-iris-flowers.png. The more of these descriptive names that are on your website, the more information you’re providing to search engines.
When you use a CSS sprite, you’re only adding a single file and filename to your site. The sprite can contain multiple images, but the filename is always the same. Since one name can’t accurately represent multiple images, you miss out on the ability to optimize this SEO factor.
Of course, image titles aren’t the only thing that influence SEO. If the rest of your site’s SEO is strong, this may not be a significant problem.
2. Inability to define image alt text
Alt text is also critical for helping search engines understand the content of images. This is text that describes an image, and most visitors won’t see it. However, search engine bots can read this text, as do visitors using screen readers.
Good alt text explains the contents of an image as clearly as possible. If you have an image of a sunny beach, the code for its alt text might look something like this:
<img src="sunny-beach.png" alt="A sunny beach with clear blue water, white sand, and palm trees.">The core image of a CSS sprite can have alt text. The problem is that you can’t include descriptions for all the images the sprite contains in that text, or identify which part of the sprite is currently being displayed.
This lack of alt text can be another blow to your website’s SEO. It also hurts accessibility for those using screen readers, making your site less accessible.
3. Technical proficiency required for manual code changes
If you’ve ever used CSS, you know that it has a high skill ceiling. It’s relatively easy to learn how to use CSS and make minor changes to a site. When you start dealing with more complex designs, though, the code can start to get very involved.
Whether this is a negative or not will depend on how comfortable you are using CSS. If you plan on using CSS sprites, you need to be comfortable enough to at least tinker with the code, understand how it works, and get the background-position values right for each part of the image.
This is something you can learn even if you’re not proficient with coding or interested in web development. Understanding how to use CSS code in WordPress can be an incredibly valuable skill if you plan on customizing your site. Alternatively, you can use a tool that simplifies the process (which will be discussed next).
How to combine images using CSS sprites (4 steps)
In this section, you’ll learn how to combine images using CSS sprites and use them in WordPress. Instead of creating the CSS sprites manually, we’ll use a tool that simplifies the process.
Step 1: Combine your images using a CSS sprite generator
To recap, creating CSS sprites manually involves combining multiple images into one (using an image editor). Then you have to write the CSS that takes that singular image file and divides it into multiple sprites.
This process isn’t that complex, but it can also be unnecessary, since there are tools that can do the work for you. Remember the example of the gear and envelope icons at the start of this article?
If you use the CSS Sprites Generator tool developed by Chris Coyier, all you have to do is upload the images that will make up the sprite, and the tool generates the necessary CSS for you.
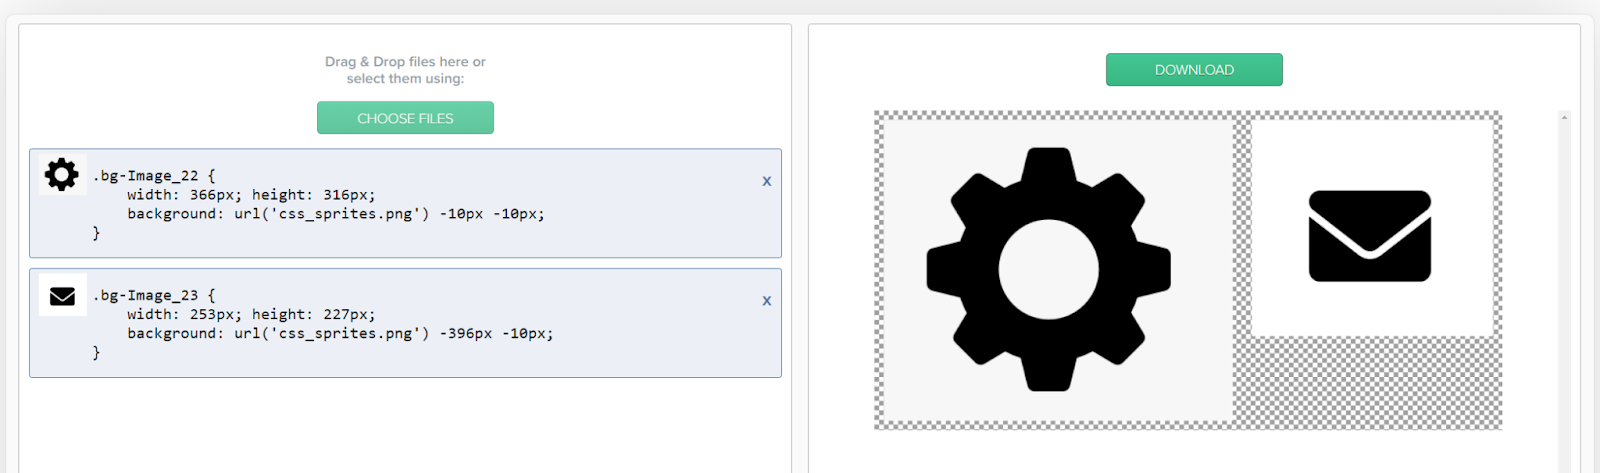
To use this tool, click on the Choose Files button and select the images you want to use for the sprite. Once you upload them, the generator will automatically combine them and display the CSS code you can use.
In the above example, the code the generator provides looks like this:
.gear {
    width: 366px; height: 316px;
    background: url('css_sprites.png') -10px -10px;
}

.envelope {
    width: 253px; height: 227px;
    background: url('css_sprites.png') -396px -10px;
}
Note that the code will vary depending on the dimensions of the images that make up the sprite. You can add as many images as you want using the generator, and it will combine them into a single file.
For the next steps, you’ll need two things. The first is the CSS sprite file, which you can get by clicking on the Download button to the right. You’ll also want to save the CSS the generator creates, since you’ll need it in a minute.
Step 2: Upload your CSS sprite image files to WordPress
To use a CSS sprite in WordPress, you’ll need to upload the corresponding file to your website. To do this, access the dashboard, go to Media → Add New Media File, and select the CSS sprite image file.

Remember that this file doesn’t contain CSS. That means you’ll need to add the code to WordPress separately.
For now, make sure the image loads correctly in the WordPress Media Library. Then it’s time to add the code that will make the CSS sprite work.
The easiest speed optimization plugin for WordPress
Jetpack Boost gives your site the same performance advantages as the world’s leading websites, no developer required.
Boost your site for freeStep 3: Add the CSS sprite code to WordPress
There are several ways to add custom CSS to WordPress.
If you’re using a block theme, navigate to Appearance → Editor in your WordPress dashboard. Then, click Styles, followed by the Edit Styles icon.

In the top right, click the vertical ellipses, then Additional CSS.
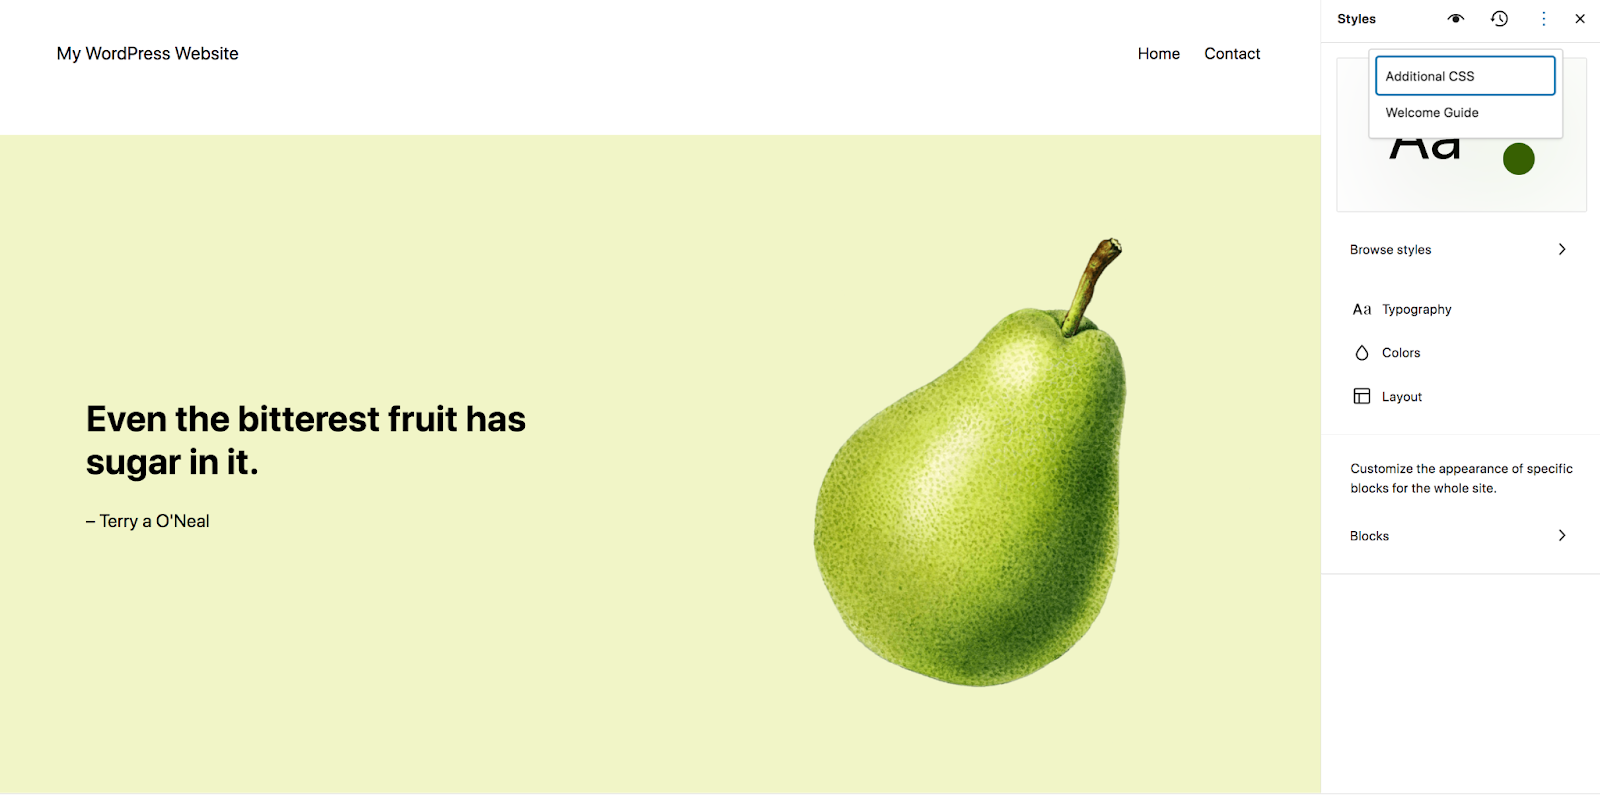
There, you can copy and paste any CSS you’d like.
If you’re still using a Classic theme, you can use the Customizer. The Customizer enables you to add site-wide CSS without requiring you to edit the active theme’s files.
To do this, go to Appearance → Customize in your dashboard. This will open the Customizer, which will display your site to the right and an options menu to the left.

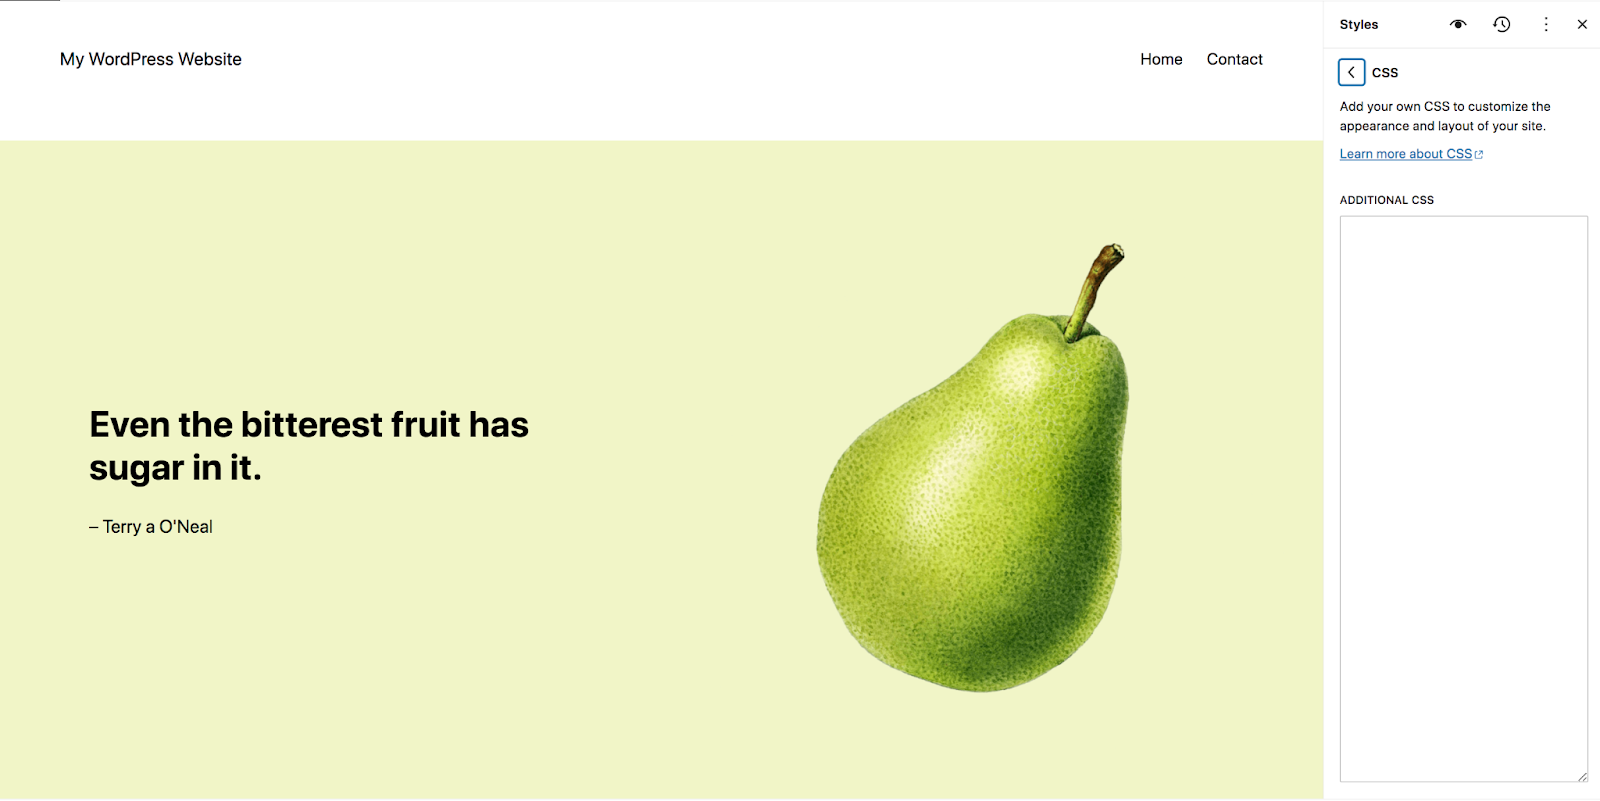
Select the option labeled Additional CSS. The menu will change to display a field where you can add your custom CSS.
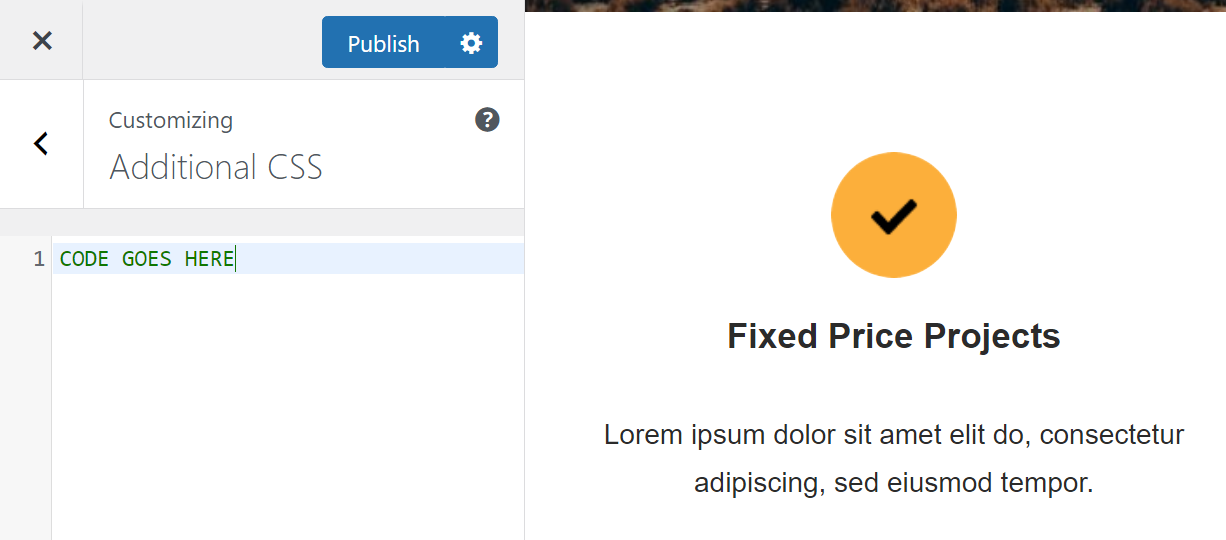
Copy and paste the code from the CSS Sprite Generator into this field. Remember that each image within the sprite should have its own code snippet. If you skip part of the code, you won’t be able to display the corresponding image using HTML.
Note that the code won’t change your site’s preview in any way. To see it in action, you’ll have to turn to the Block Editor.
Step 4: Display the images with HTML code
If you’re familiar with the WordPress Block Editor, you may know that there’s a block you can use to add custom HTML code to a page. That block is, appropriately, called Custom HTML.
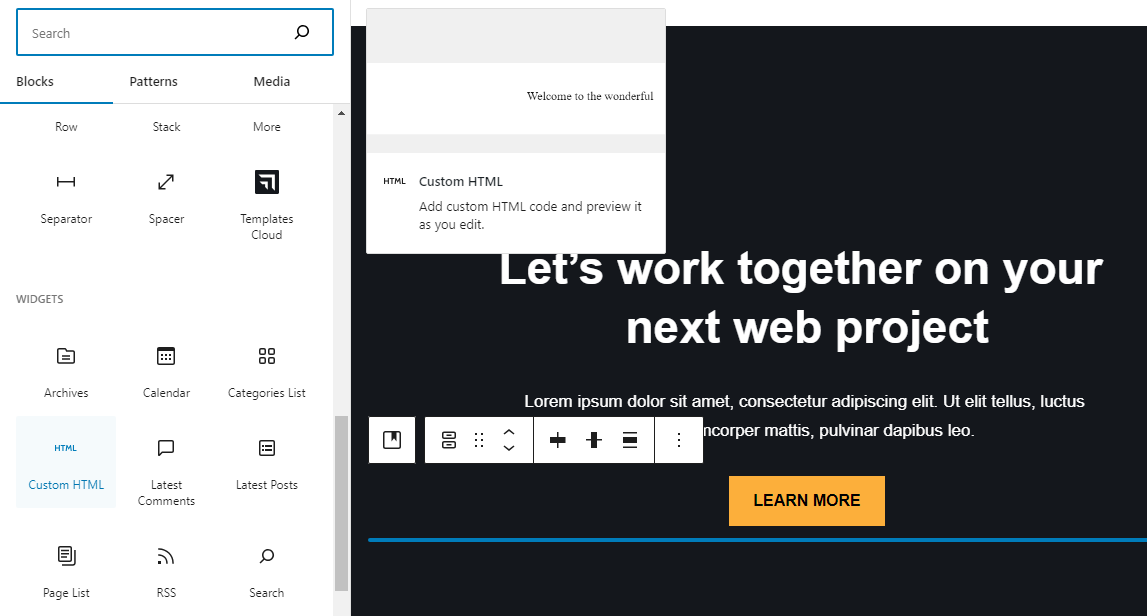
Select the Custom HTML block and place it wherever you want to display part of the CSS sprite. The editor will show a simple field prompting you to add the HTML code.
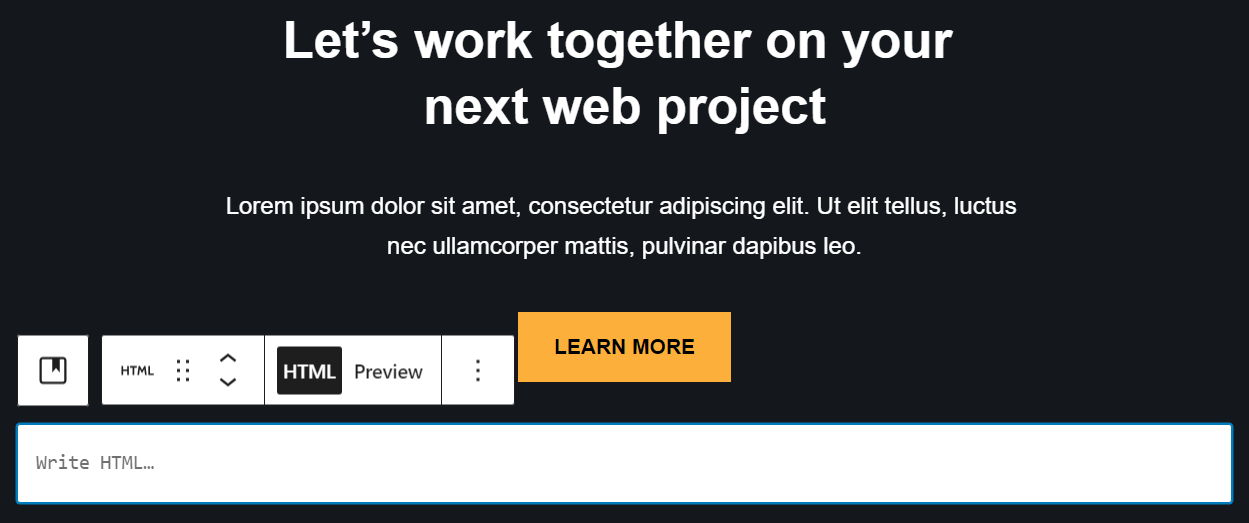
The code you’ll need to use will look like this:
<div class="name of the CSS class"></div>You need to replace the placeholder with the name of the class that corresponds to the part of the CSS sprite you want to display. Referring back to the earlier example, that class would be called something like “gear” or “envelope”. Note that you can change the names of these classes at any time by tweaking the CSS you added to WordPress using the Site Editor or Customizer.
The Custom HTML block won’t display the image in the editor. To see it, you’ll need to preview the page on the front end of your site. That’s it!
Troubleshooting common issues with CSS sprites
If you encounter technical issues while using CSS sprites, it will most likely involve their positioning or display. Here’s what to do in each common situation:
- Misaligned sprites. This happens if the positioning of the sprite isn’t correct. There’s some trial and error involved in determining the coordinates for a specific image within the sprite. If you’re having problems with misaligned items, consider using a CSS sprite generator that will create the CSS code for you.
- Overlapping sprites. Just as with misaligned sprites, this problem is typically the result of errors in the image coordinates. You can correct the code manually, or use a generator that creates the CSS code for you (including the correct positioning for each image).
- Images not displaying. Typically, this is due to an error in the CSS, or possibly because you’ve forgotten to upload the CSS sprite image. If the image is on your site and the CSS includes the correct path, it should appear when you add the corresponding HTML code to a page.
If you’re not comfortable writing CSS by hand, using a CSS sprite generator will take care of most technical issues for you.
The synergy between CSS sprites and Jetpack Boost
Jetpack Boost is an optimization solution for WordPress users. This tool enables you to measure your site’s performance score, and it can also help you optimize your site’s configuration to improve its speed.
One of the ways Jetpack Boost can improve site performance is by serving images using a content delivery network (CDN). The CDN will cache all images on your site to ensure that they load faster for visitors, and that includes your CSS sprite images.
You can also use Jetpack Boost to convert images to the WebP format, which reduces file sizes while still retaining good quality. In addition, this tool can resize images on your site to further optimize performance.
Plus, Jetpack Boost doesn’t just help with images. It can optimize your website’s CSS code (including the code for CSS sprites), and defer non-critical scripts so your site loads faster. Using Jetpack Boost in combination with CSS sprites is an excellent way to improve your site’s loading times and keep visitors around for longer.
Frequently asked questions
If you still have any questions left about CSS sprites and using them in WordPress, this section is aimed to answer them.
What are the main benefits of using CSS sprites in WordPress?
Using CSS sprites can help improve your site’s performance, by reducing the number of image requests its server has to process. That applies to any kind of website, not only those built with WordPress.
Are there any drawbacks or limitations to using CSS sprites?
Typically, CSS sprites are best used for smaller images like icons. Using them for larger image files can prove unwieldy.
You also lose out on some SEO benefits by using sprites. This is because sprite images all share the same filename, and you can’t add individual alt text to them.
How do CSS sprites improve website performance?
CSS sprites can improve website performance by reducing the number of image requests the server has to process. If you have a sprite that combines ten images, the browser only has to process one request to load the sprite, rather than ten separate requests. This helps the pages that contain the images load more quickly.
How does the use of CSS sprites impact SEO rankings?
CSS sprites remove some information from your site that search engine bots rely on. Your individual images won’t have their own filenames or alt text; only the single combined sprite will.
This shouldn’t be a significant problem as long as you use CSS sprites judiciously. They shouldn’t be used for all the images on your site, but rather for smaller and simpler ones that aren’t crucial for search engine bots to ‘see’.
Are CSS sprites mobile-friendly, and how do they affect responsive design?
CSS sprites can be particularly valuable on the mobile version of your website. Performance is especially important on handheld devices like phones, and smaller images and icons are more common on mobile sites. For those reasons, CSS sprites can be a valuable addition to your responsive design efforts.
How does Jetpack Boost complement the speed improvements from CSS sprites?
The performance improvements that CSS sprites provide only go so far. Plus, you can’t use this technique on all of your website’s images. For best effect, you should use CSS sprites alongside a more robust image optimization tool like Jetpack Boost, in order to keep your site running smoothly.
Jetpack Boost utilizes an image CDN that not only remotely serves files from robust servers, but can automatically resize and reformat your images to save load times. Jetpack Boost also helps with optimization by eliminating render-blocking resources and deferring non-essential scripts.
Optimize your WordPress website using Jetpack Boost
Using CSS sprites is a great way to help your site perform a little more smoothly. It won’t have an enormous impact, but every little improvement counts.
However, CSS sprites can’t be used for all of your site’s images. It’s a technique best employed for small and non-crucial images that don’t have a notable impact on SEO or accessibility, like icons.
For more robust optimization of all your website’s images (and more), you can turn to Jetpack Boost. This tool provides an array of key performance features, like an image CDN, image guide, and optimized CSS loading. Together, these features represent a powerful solution for keeping your site running fast at all times.
The easiest speed optimization plugin for WordPress
Jetpack Boost gives your site the same performance advantages as the world’s leading websites, no developer required.
Boost your site for free