The Extra Sidebar Widgets were initially designed for use with the Widgets screen (Classic Editor).
If your site is using the Block-based Widgets Editor, check out all the features you can add with the Jetpack Blocks.
Using Extra Sidebar Widgets
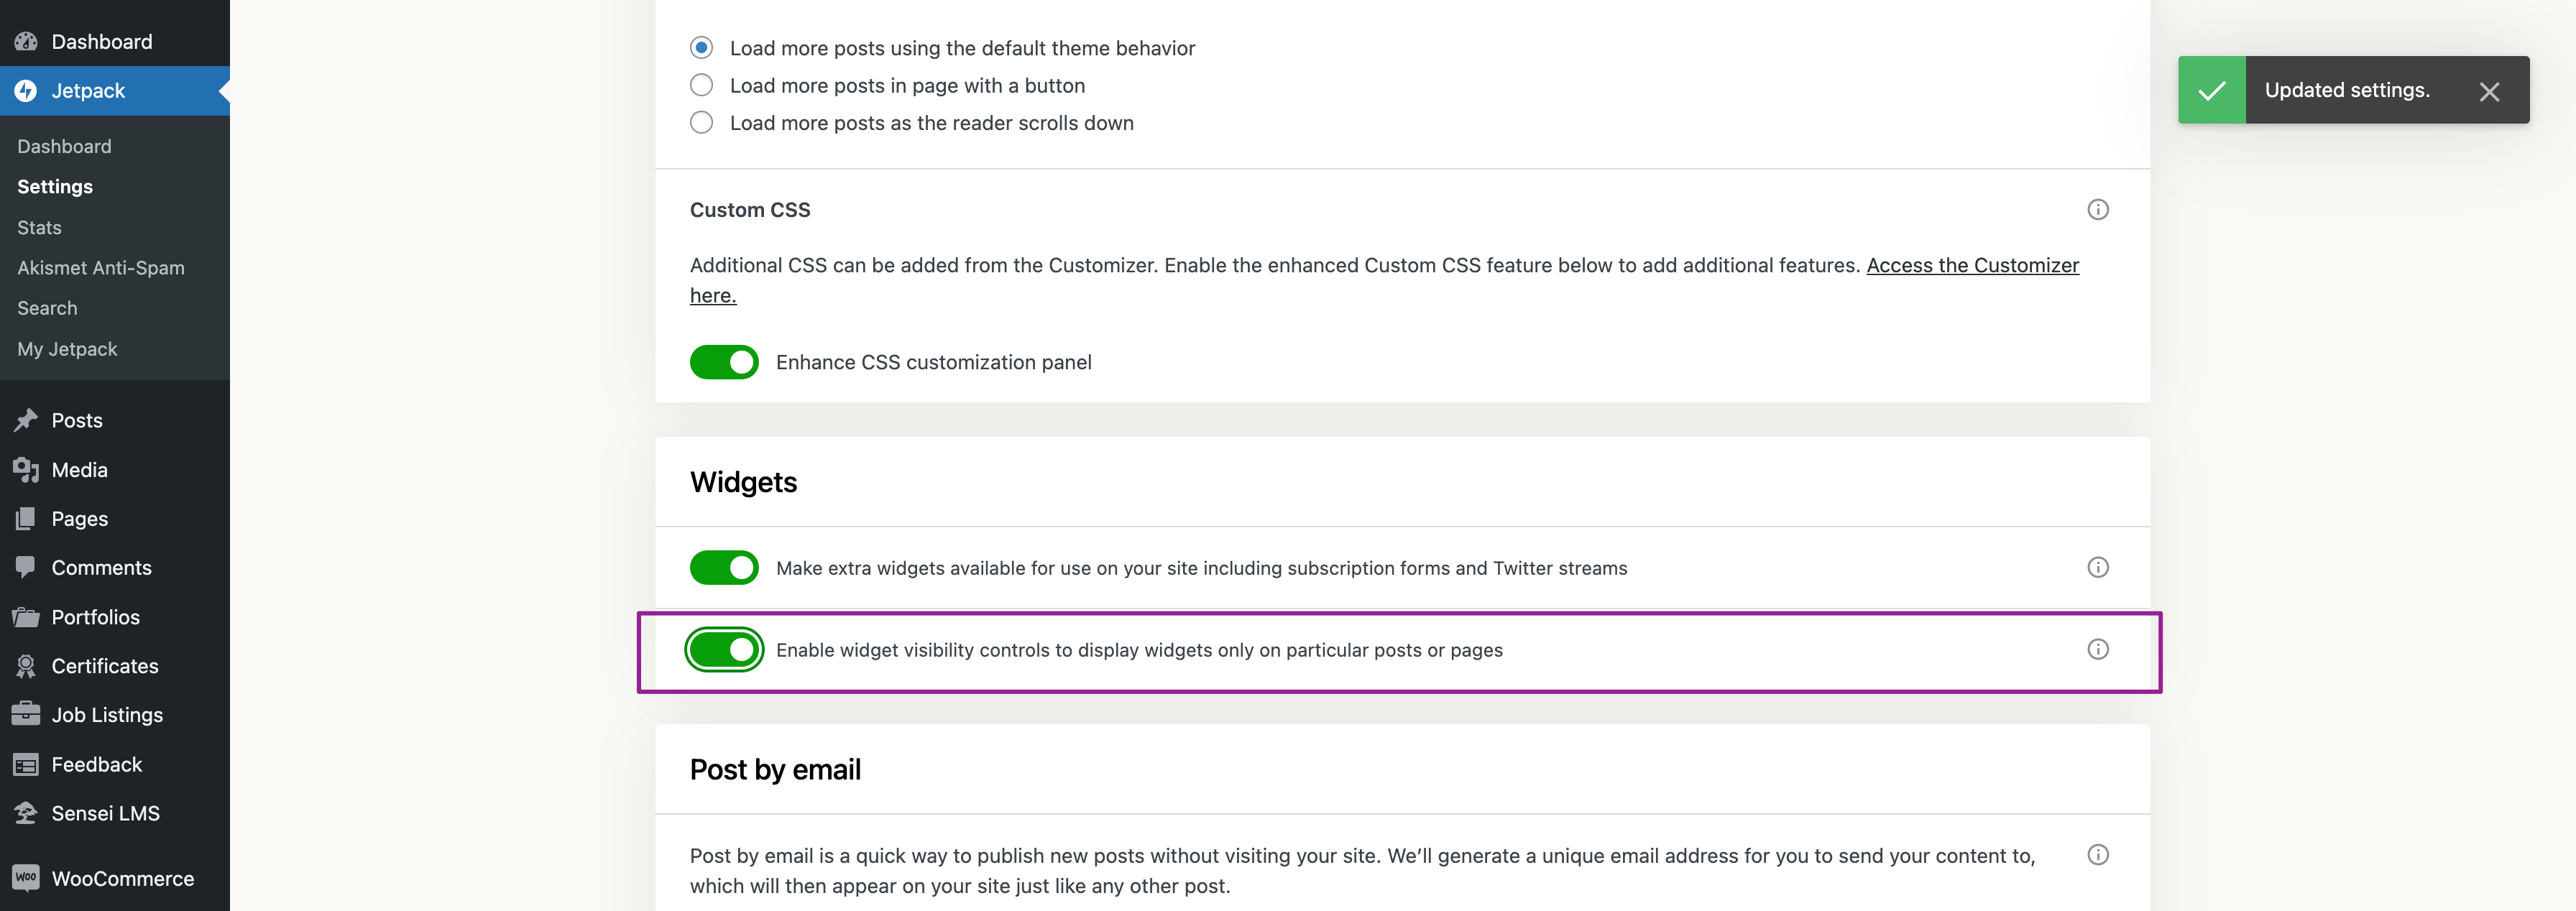
First, you’ll want to enable the feature under WP Admin → Jetpack → Settings → Writing, in the Widgets section, toggle on Make extra widgets available for use on your site including subscription forms and more.
Then, you can add the widgets by going to WP Admin → Appearance → Widgets.
If your site is using a classic theme (not a Block theme), an additional way to add widgets is through WP Admin → Appearance → Customize → Widgets.
Some widgets are not available by default as their usage is not optimal with Full Site Editing and the Block Editor, but if you wish, you can still access them with the Classic Widgets plugin.
List of Extra Sidebar Widgets
Here are the extra sidebar widgets available by default, and their equivalent block solution when available:
- Authors widget
- Blog Stats widget
- Cookies & Consent Banner (available with the Cookie Consent Block)
- Display WordPress Posts widget (available with the Latest Posts block or Post List block)
- Facebook Page Plugin (Facebook stopped supporting this for mobile devices)
- Flickr (Jetpack) widget
- Google Translate widget
- Goodreads widget
- Gravatar Profile widget
- Milestone widget
- RSS Links (available with the RSS block)
- Search widget (available with the Search block)
- Upcoming Events widget (available with the Google Calendar block)
The following extra sidebar widgets are not accessible by default, we recommend using the improved solutions offered through the default Block Editor or Jetpack Blocks when available:
- Ad widget — now available with the Ad Block
- Blog Subscriptions widget — now available with the Subscribe Block
- Contact Info & Map widget — now available with the Contact Info Block
- Instagram widget — now available with the Latest Instagram Posts Block
- Internet Defense League widget
- MailChimp Subscriber Popup — now available with the Mailchimp block
- My Community widget
- Pay with PayPal widget — now available with the Pay with PayPal block
- Social Icons widget — now available with the Social Icons Block
- Top Posts & Pages widget
- Twitter Timeline widget — now available with the Twitter Block
Still need help?
Please contact support. We’re happy to advise.
Privacy Information
Extra Sidebar Widgets are deactivated by default. This feature can be activated at Jetpack → Settings → Writing by toggling the Make extra widgets available for use on your site including subscription forms and more settings in the Widgets section.
| Data Used | |
|---|---|
| Site Owners / Users We use any information required for the actual configuration of any widgets. In some instances, this involves a user ID (via direct input or pulled from a URL or piece of code added to the widget configuration options): Flickr, Google+ Badge, Mailchimp Subscriber Popup, Goodreads, Twitter Timeline.Note that, if you add any such information when configuring widgets, any user on your site with widget management privileges will be able to access that information. Additionally, for activity tracking (detailed below): IP address, WordPress.com user ID, WordPress.com username, WordPress.com-connected site ID and URL, Jetpack version, user agent, visiting URL, referring URL, timestamp of event, browser language, country code. | Site Visitors None. |
| Activity Tracked | |
| Site Owners / Users We track when, and by which user, the feature is activated and deactivated. | Site Visitors None. |
| Data Synced (Read More) | |
| Site Owners / Users We sync an option that identifies whether or not the feature is activated. We also sync which specific widgets are currently used/active on your site. | Site Visitors None. |