Automatically publish each one of your blog posts on your Instagram business account with Jetpack Social‘s auto-sharing feature.
To connect Jetpack Social with Instagram, you need an Instagram business account that is linked to a Facebook Page. Follow these steps to create and link your Instagram business account.
Create an Instagram business account
If you don’t have an Instagram business account, follow these steps to create one:
- Log in to your Instagram account using a laptop or desktop
- Click Edit profile.
- Click Account type and tools from the left sidebar.
- Click Switch to professional account.
- Select Business and click Next; you’ll go through a few additional steps like choosing a category
- Add your contact details and tap Next. (You can skip this step if preferred.)
- You’ll see a confirmation that your Instagram account is a business one now, then click Done to finish the process.
Connect your Instagram business account with your Facebook Page
To connect the newly created Instagram page, you need to share login information. Follow these steps:
- Access the professional accounts settings at https://www.instagram.com/accounts/professional_account_tools
- Click See more in accounts center
- Click Connected experiences
- Select Logging in with accounts
- Click Add accounts and then Add Facebook account (Note: Only one Facebook Page can be connected to your business account.)
Switch to an Instagram Business Account
If you already have an Instagram Professional account and want to switch to a business account, follow these steps:
- Tap your profile picture in the bottom right to go to your profile.
- Tap the menu in the top right corner.
- Tap Creator tools and controls.
- Tap Switch account type.
- Tap Switch to business account and then tap Switch.
Manage Your Business Information
After setting up your business account, you can manage how your business information is displayed:
- Navigate to Edit profile > Profile display under Public business information.
- Choose whether to hide or display your category label and contact info.
- Tap Done.
Link your Instagram business account to a Facebook Page:
After setting up your Instagram business account, it is crucial to link it to a Facebook Page you manage. To do this:
- Visit Facebook linked profiles settings at https://www.facebook.com/settings/?tab=linked_profiles.
- Follow the prompts to connect your Instagram business account to the appropriate Facebook Page.
Connect your site to Instagram
Once you have an Instagram business account and connected it to a Facebook Page you manage, you can now connect your Jetpack Social to Instagram by following the steps below:
- From your site’s WP Admin, go to Jetpack → Social.
- Turn on the Automatically share your posts to social networks toggle.
- Click on the Connect an Account button.
- Find the Instagram Business and click the Connect button adjacent to it.
- Follow the indications to connect your Instagram Business account to your site through Jetpack social
- Click the Connect account button.
- Next, a dialogue box will appear, prompting you to authorize the connection. Click the Authorize button to do so.
- Confirm the connection on the following pop-up window by clicking on the Connect button.
By following these steps and setting the appropriate permissions, Jetpack Social will be authorized to manage your Instagram account(s) and share your content automatically.
Reconnect Instagram
If for some reason, the Instagram gets disconnected, you can re-establish the connection by following the steps below:
- From your site’s WP Admin, go to Jetpack → Social.
- Navigate to the Instagram connection and click the Connect button.
- On the next screen, click Continue if you’re already connected to your Facebook account or connect to the account you intend to use.
Make the Instagram connection available to all users
To make the Instagram connection available to all users of the blog (global), please follow the steps below:
- Access your site at Jetpack → Social
- Click the
⌄arrow next to the Instagram connection. - Click and enable Connection available to all administrators, editors, and authors
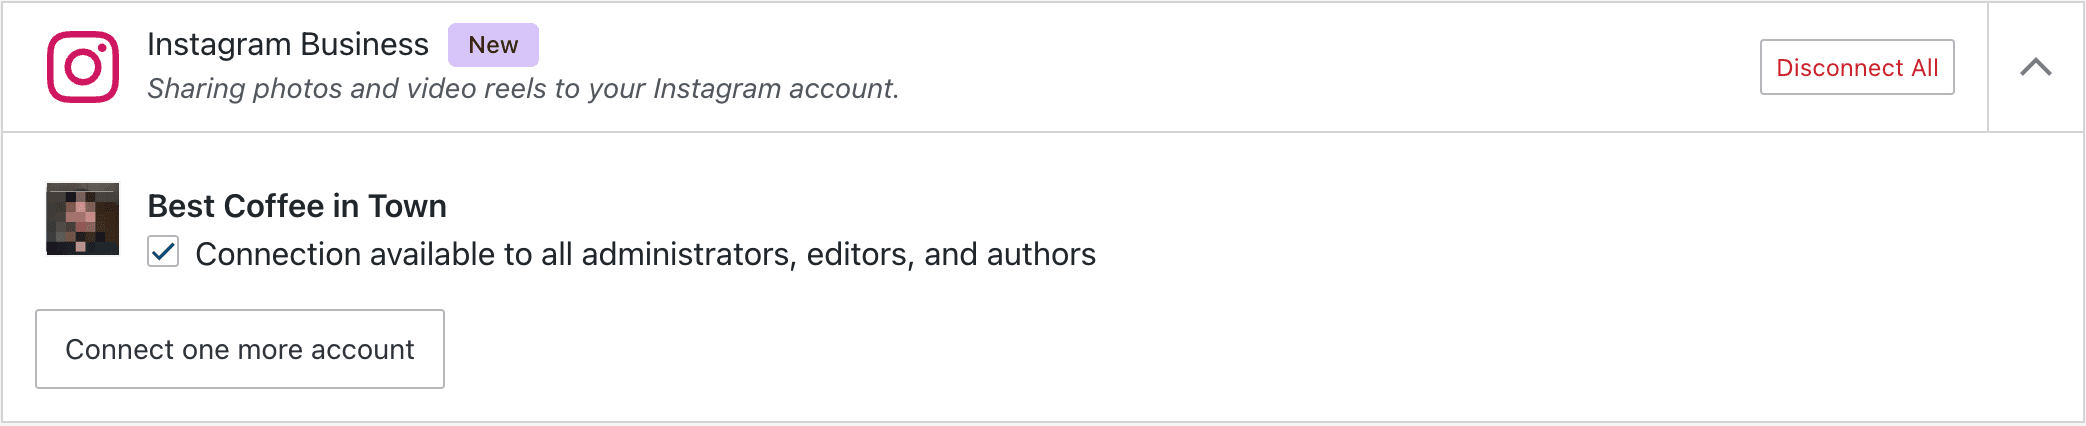
This will make sure that any other Jetpack-connected users will automatically publish through this Instagram connection when they publish a post on this site.
Troubleshoot Jetpack Social Instagram Business Connections
As a first step, check that your Jetpack connection is working properly – Jetpack Social will not work correctly otherwise. If you continue to have trouble with Jetpack Social, take a look at our Troubleshooting page.
Known Issue: Previously scheduled posts not sharing after Instagram reconnection
In certain situations, when Instagram is reconnected, posts that have already been scheduled to be published may not be shared as anticipated.
Status: Our team of developers is currently working to address this problem. It is a top priority for us, and we appreciate your patience while we work towards a solution.
Temporary Workaround: In the interim, we suggest you follow these steps to mitigate this issue:
- Switch the affected scheduled post back to ‘draft’.
- Remove the existing Instagram connection.
- Re-establish the Instagram connection.
- Change the status of the post from ‘draft’ to ‘scheduled’ again.
By following these steps, you can ensure that your posts are shared on Instagram as planned. We apologize for the inconvenience this may cause and thank you for your understanding while we work on resolving this issue.
Share to Instagram with Jetpack Social
Once you’ve connected your Instagram Business account to Jetpack Social, please see our guide on sharing your posts to Instagram with Jetpack Social for further guidance.
Still need help?
Please contact support. We’re happy to advise.
Jetpack Social: Related Support Articles
- Post to Tumblr with Jetpack Social
- Post to LinkedIn with Jetpack Social
- Post to Mastodon with Jetpack Social
- Post to your Instagram business account with Jetpack Social
- Post to Nextdoor with Jetpack Social
- Post to Threads with Jetpack Social
- Post to Bluesky with Jetpack Social
- Troubleshoot Jetpack Social
