The Jetpack Social plugin allows you to share your WordPress posts with your social networks. It provides all the features of Jetpack Social without needing to install the Jetpack plugin.
If you are looking for general information about the features of Jetpack Social, please see this page.
Requirements
- A web host that meets the WordPress host requirements.
- The latest version of WordPress. If your version of WordPress is out of date, you’ll see a prompt to automatically upgrade with a single click, or can upgrade manually.
- A WordPress.com account. Don’t have one yet? Sign up for one here, or create one during the Jetpack connection flow. You only need one WordPress.com account to access all our services (including Akismet, Crowdsignal, Gravatar, and WordPress.com itself). If you use any of these services, you already have a WordPress.com account to connect to Jetpack. You can reset your WordPress.com password if you need to.
- A publicly accessible WordPress site: no password protection or Coming Soon / Maintenance Mode plugin in use.
- A publicly accessible XML-RPC file.
How to Install the Jetpack Social plugin?
Installing Jetpack Social can be done from your site’s WP Admin. To install Jetpack Social via WP Admin:
- Start from the WP-admin dashboard.
- Navigate to Plugins → Add New.
- Search for Jetpack Social. The latest version will show in the search results.
- Once found, click Install Now and Activate.
- Complete the setup by connecting to Jetpack when prompted.
How to Enable Auto-Share?
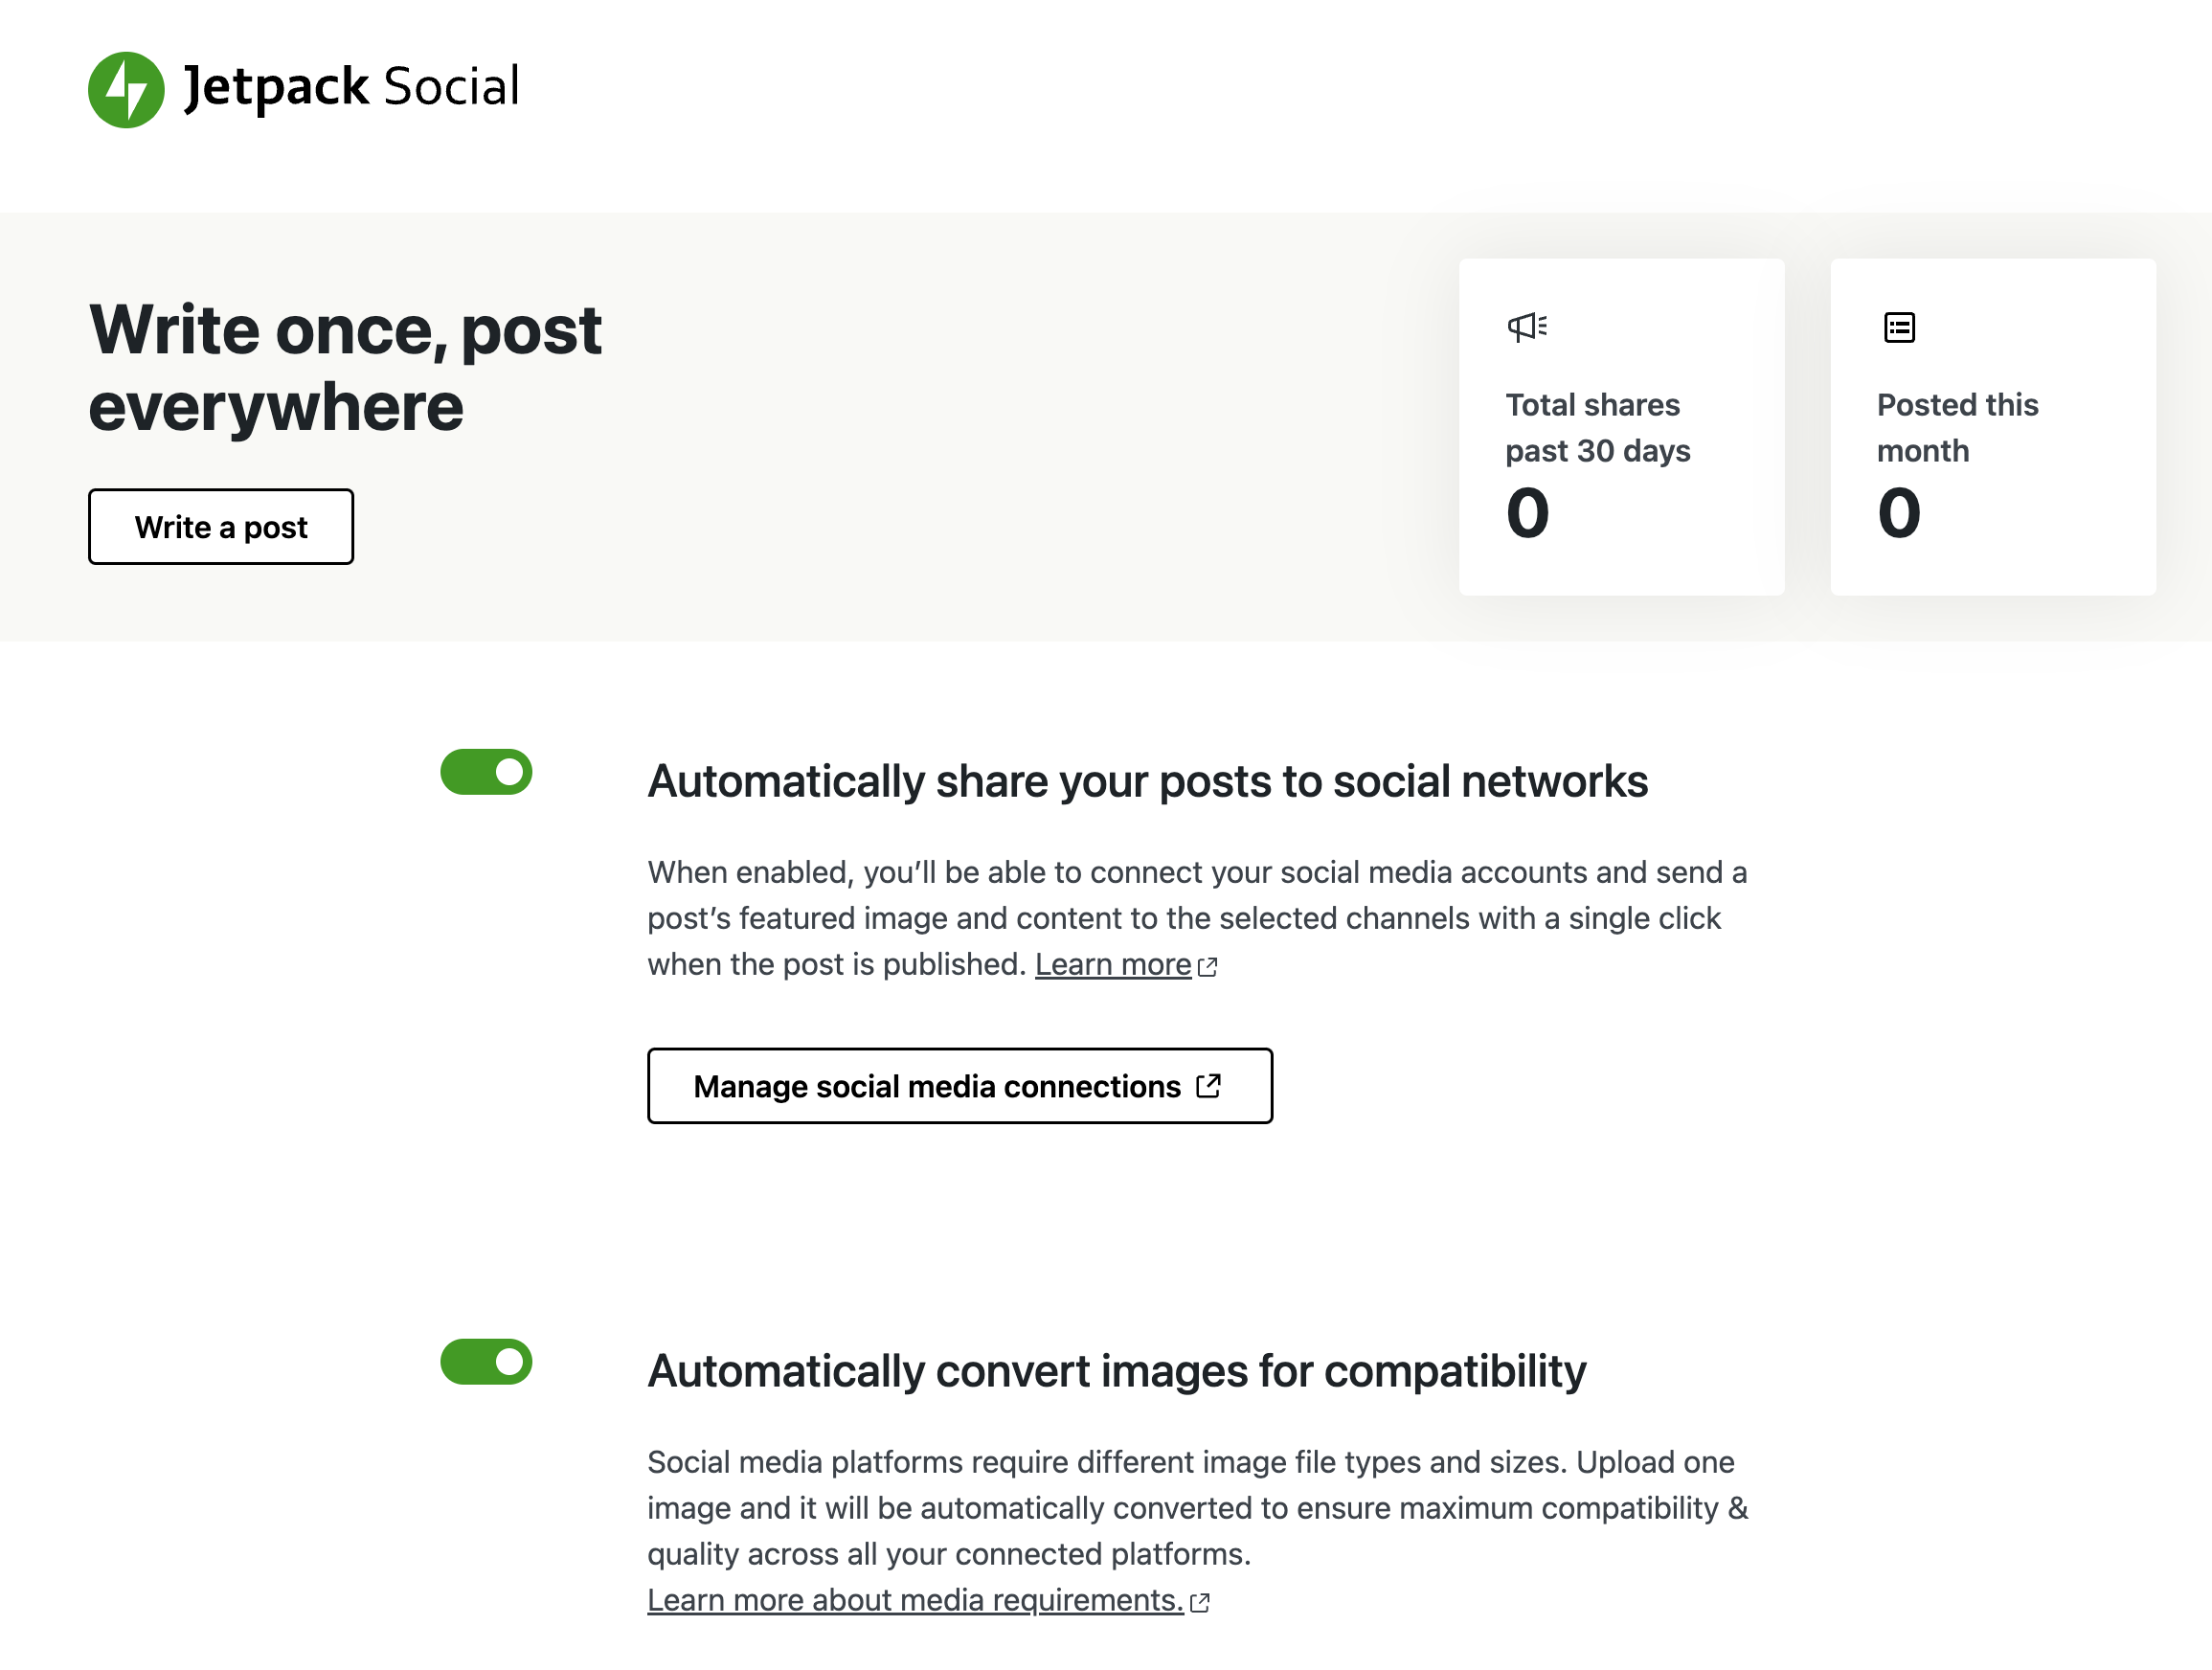
Once the Jetpack Social plugin is installed and activated, you will be able to enable the auto-share by following the steps:
- Start from the WP-admin dashboard.
- Navigate to Jetpack → Social.
- Toggle on “Automatically share your posts to social networks”.
How to Connect My Social Accounts?
In order to share your posts on social media, you first need to connect your social media accounts. You can do that by following the steps:
- Start from the WP-admin dashboard.
- Navigate to Jetpack → Social.
- Click “Manage social media accounts” and follow the instructions.”
You can connect to any of the following networks: Facebook, Instagram, Tumblr, LinkedIn and Mastodon. You can read more about each connection here.
How to Auto-Convert Images for Social Platforms?
Different social networks have varying image requirements for sharing. Let Jetpack auto-convert your images to meet these criteria. You can do that by using the “Automatically convert images for compatibility” toggle.
- Start from the WP-admin dashboard
- Navigate to Jetpack → Social.
- Toggle on “Automatically convert images for compatibility”.

Sharing
To configure the Jetpack Social options when writing a new post, click the green Jetpack icon at the top right of the editing sidebar.
You’ll then see the Social options under the Share this post section, where you can toggle social media connections, connect new services, and write a custom message to be used when your post is shared.
- Custom excerpt: The easiest way is to use the Custom Message option in the publishing options box prior to publishing your post.
Further reading: Sharing
My Jetpack
Jetpack Social includes My Jetpack – a dashboard for managing your Jetpack products and plans all in one place.

You can learn more about the My Jetpack dashboard on this support page.
Jetpack Social: Related Support Articles
Still need help?
Please contact support directly. We’re happy to advise.