
If you’re a WordPress developer or site owner, you’ve undoubtedly heard a lot of praise surrounding the Site Editor. This powerful tool enables users to edit every single component of their site — from headers and footers to templates — using blocks.
To take advantage of the Site Editor, however, you’ll need to have a block theme installed and activated on your site. The process of switching from a classic theme to a block theme may seem complicated, but will be more than worthwhile, whether you’re working on your own site or improving a client’s.
Let’s explore why you might want to switch to a block theme and how you can do so safely and efficiently.
What are the different theme options in WordPress?
There are several different types of themes that are available in WordPress, and understanding the difference will help you identify the best solution for your situation.
1. Classic themes
WordPress classic themes have been around the longest, and are built using PHP-based templates. They’re typically not as flexible as block themes, and site owners use the Customizer and widget areas to make design changes. Classic themes are typically more difficult to customize, especially for global site elements and templates.
If you’ve been working in the WordPress community for very long, you’re certainly familiar with classic themes.

2. Block themes
Block themes are built with HTML templates that are entirely composed of blocks. Instead of using widgets and the Customizer, site owners employ the Site Editor to make changes. This allows for a lot more flexibility, enabling users to edit everything from headers and footers to templates with blocks.
WordPress has supported block themes since Version 5.9, and there are some excellent options to choose from.
3. Hybrid themes
A hybrid theme is exactly what it sounds like — a mix of classic and block themes. They provide some of the traditional editing experiences from classic themes, alongside more advanced tools from block themes.
Essentially, hybrid WordPress themes are classic themes that have incorporated one or more aspects of block themes (e.g. the Site Editor or theme.json file).
4. Universal themes
Universal themes allow users to take full advantage of the Site Editor, but can also be set up to use classic WordPress elements like the Customizer and widget areas. These are designed to essentially “bridge the gap” between block and classic themes.
Why switch to a block theme?
Now that we’ve touched on the different types of themes, we’ll look at why it’s worth switching from a classic to a block theme.
1. Improved performance
Performance is always top of mind when building a website since it impacts everything from user experience to conversions and search engine rankings. Block themes are typically faster than classic themes because they load styles just for the rendered blocks on the page.
In many cases, you can also avoid heavy plugins that weigh down your site, using built-in functionality from the WordPress block editor instead.
2. Ease of updating and making changes
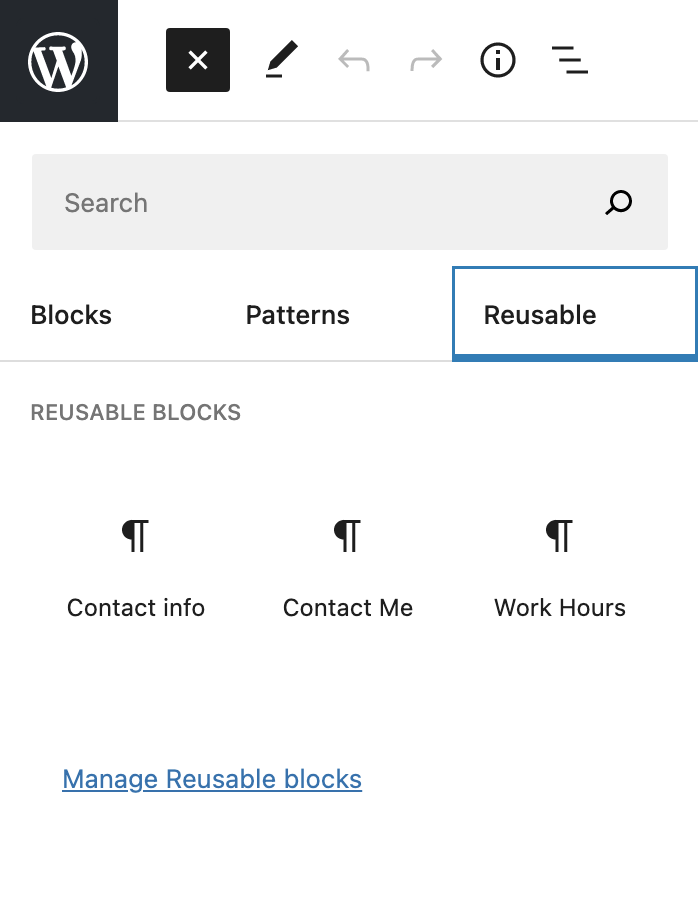
When you can edit absolutely everything with blocks, the design and updating process is simpler and faster. Developers can build WordPress websites and make changes for their clients in less time by dragging and dropping blocks instead of editing classic theme templates. And thanks to features like reusable blocks, you can work smarter, not harder.
Website owners can also make changes to their WordPress site — even templates for blog posts, product pages, and 404 pages — without having to work with code. This means they’re less likely to break their website and, at the same time, can avoid heavy page builder plugins.
3. The ability to keep up with the future of WordPress
Block themes and the Site Editor are a major part of the direction that WordPress is moving. These tools open up endless online possibilities for everyone, including those who wouldn’t consider themselves to be “tech-savvy.”
As Matt Mullenweg said, “[It] meets our challenges and opportunities head on while simultaneously benefiting everyone who makes a living working in the WP ecosystem. It’s about a lot more than just blocks.”
As such, these features are constantly in development and improving. With each iteration, they’re more powerful and effective for both site owners and developers. With WordPress continuing to move in this direction, don’t get left behind.
4. The ability to edit all parts of your site using blocks
We’ve touched on this a bit so far, but flexibility is definitely one of the biggest benefits of using a block theme. In addition to building pages and posts with blocks, you can customize nearly all parts of your website, including:
- Headers and footers
- Page and post templates
- Cart and Checkout pages
- Product and archive pages
- 404 and search pages
This provides a much better experience for developers — who want to save time for themselves and their clients — and site owners, no matter their experience level. Plus, it enables you to craft a truly unique WordPress website design that goes beyond out-of-the-box templates without having to spend a lot of time editing code.
5. Built-in accessibility tools
The Site Editor was built with accessibility in mind. Accessibility features like Skip to content, keyboard navigation, and landmarks are generated automatically without developers needing to add any code at all. With these responsibilities taken out of theme developers’ hands, it’s easier for themes to be usable for all.
6. The ability to more easily switch themes in the future if needed
With classic themes, you’re much more dependent on theme components like static templates, widgets, and page builders. If you want to switch themes, it requires a lot of work, often involving recreating much (if not all) of your site.
However, if you go ahead and make the switch from a classic to a block theme, changing themes in the future will be much simpler.
Because everything — even templates and global site elements like headers and footers — will be block-based, you won’t need to recreate them each time you switch themes.
What are the practical steps to take before switching?
Ready to switch from a classic to a block theme? There are a few steps to take first to ensure that things go smoothly.
1. Back up your site
It’s always important to have a backup of your site on hand before making any major changes. If something goes wrong, or if you simply want to revert your actions, a copy of your site will be invaluable.
While you can do this manually, the best solution is to use a real-time backup plugin like Jetpack VaultPress Backup. This tool saves a copy of your website each time you make a change, so you always have one on hand. And you can easily and quickly restore a backup even if your website is completely down.
2. Test in a staging environment
It’s critical that you switch to a block theme within a staging environment. This will give you a safe place to make all your changes and ensure that everything’s working properly while your WordPress website remains usable. Then, once you’re ready, you can easily push your website with the new theme live.
Many hosting providers include staging environments in their hosting packages. Alternatively, you can use a plugin like WP Staging.
Learn more about creating a staging site.
3. Copy your widget content
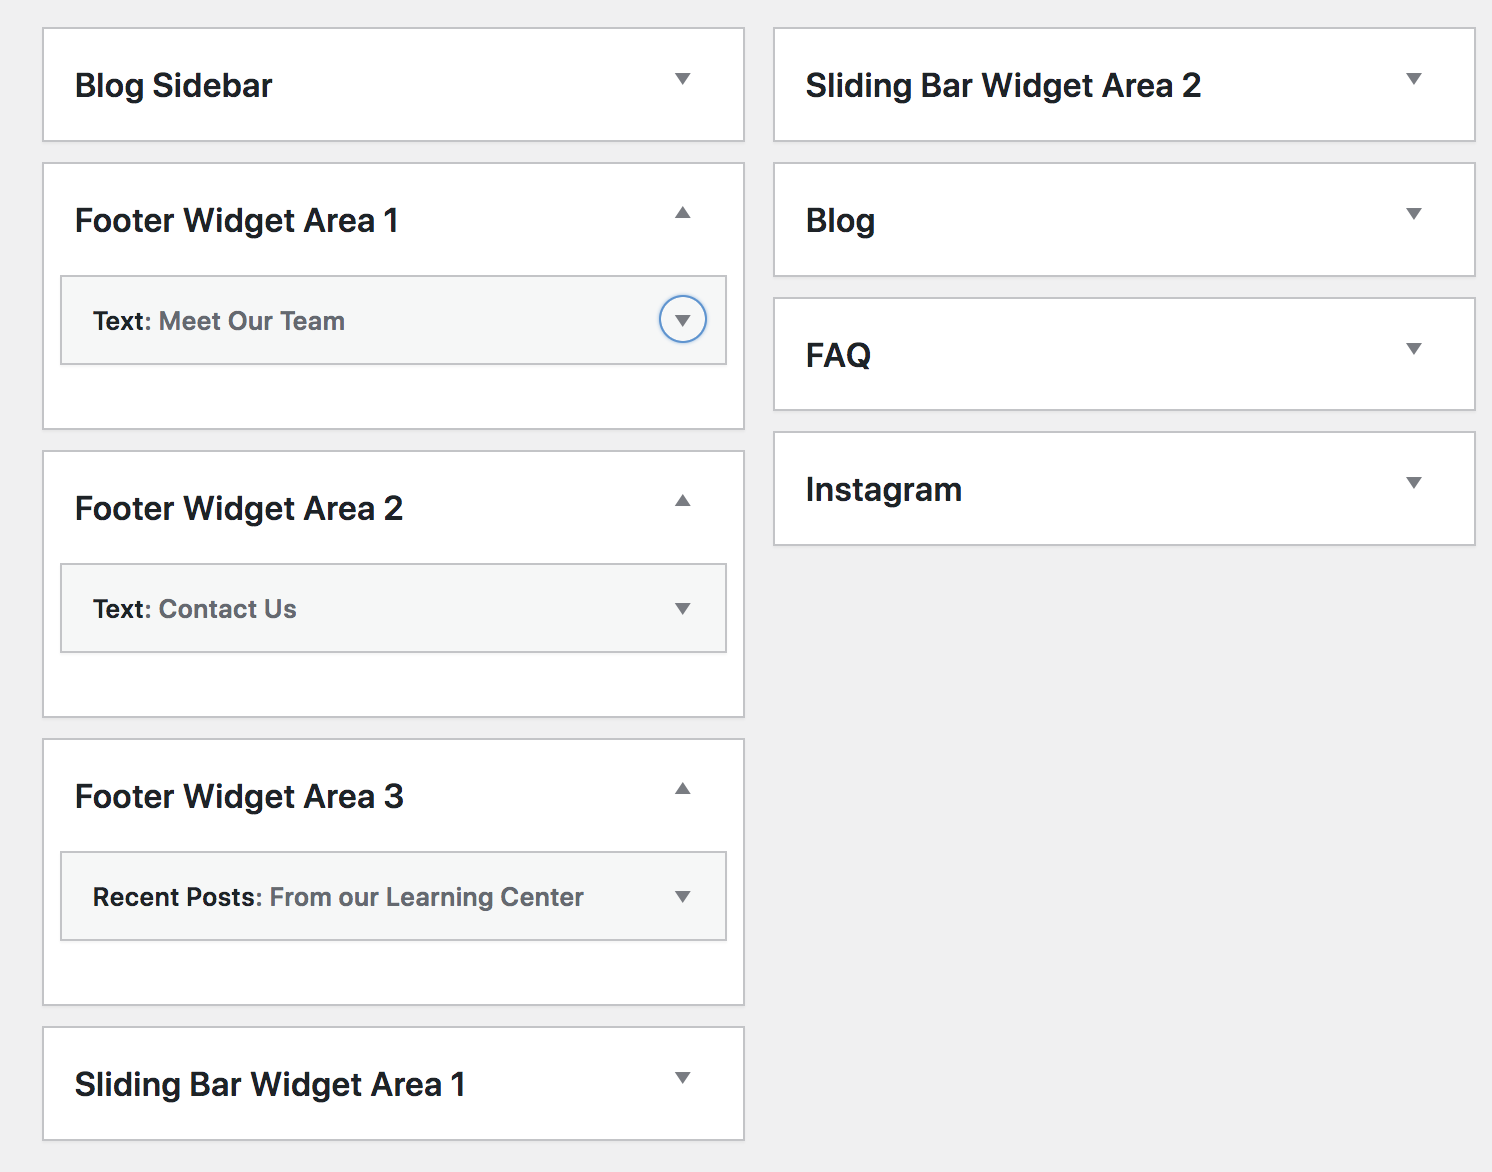
Widgets are an important part of classic themes, but aren’t used in block themes. So, take the time to save any widget content that you’d like to keep.
If you have a widgetized homepage template, for example, copy any text that you’d like to keep and save it for future reference. Or, perhaps you have a powerful call to action for an email newsletter in your sidebar. You’ll want to save all of this information, so you can recreate it in your block theme.
4. Ensure that your plugins are compatible
Make sure that any plugins you’re using work well with the block theme you’re switching to. In many cases, this won’t be a problem.
But if, for example, your WordPress website is built using a theme-specific page builder, you won’t be able to use that tool with the new block theme. Or, if a plugin works using widgets, you’ll need to confirm that it also has blocks available that provide the same functionality.
Here are some other cases in which plugins may not work with your block theme:
- Tools that are designed for editing the classic menus rather than the Navigation block
- Plugins for managing comments that don’t work with the comment blocks
- Tools that were built for using the WordPress Customizer
However, as we mentioned earlier, the majority of established WordPress plugins are adapting to work seamlessly with block themes, the Site Editor, and the future of WordPress.
5. Save any custom code
Check for any custom code you might have created in your current theme files. For example, you might have added PHP to the functions.php file or CSS to the style.css file.
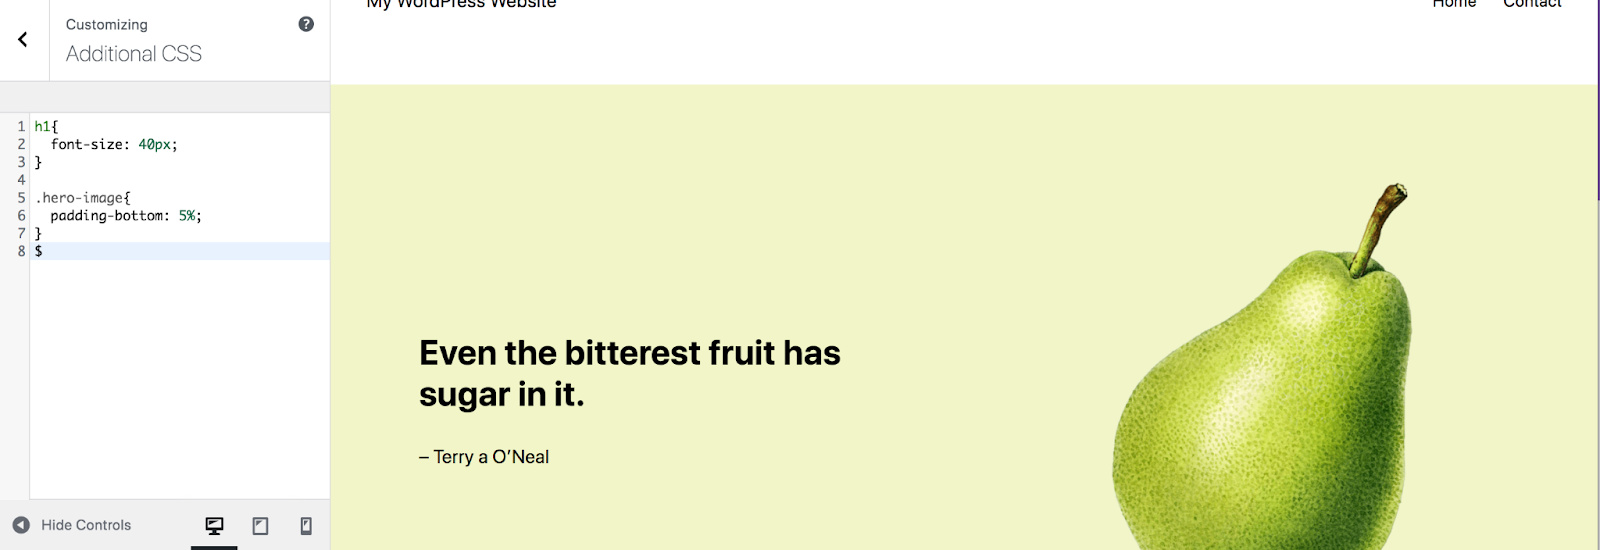
Also copy anything you added to the Additional CSS section of the WordPress Customizer and any tracking codes you might be using, such as the Facebook Pixel.
How to switch from a classic theme to a block theme in WordPress
Have everything saved and backed up? Then let’s get started!
This process will be very dependent on the classic theme you were using, along with the block theme you switch to. Some transitions will take more work, especially if your website was built largely using widgets and custom code.
So, understand that the steps below are a framework, and you may need to play around within them to achieve exactly what you’re looking for.
1. Choose and activate your new block theme
Your first step is to install and activate your block theme. Remember, you should be doing this in a staging environment so that your live site is not affected.
If you haven’t selected a block theme, there are great options to choose from, including a plethora of free ones in the WordPress.org theme repository.
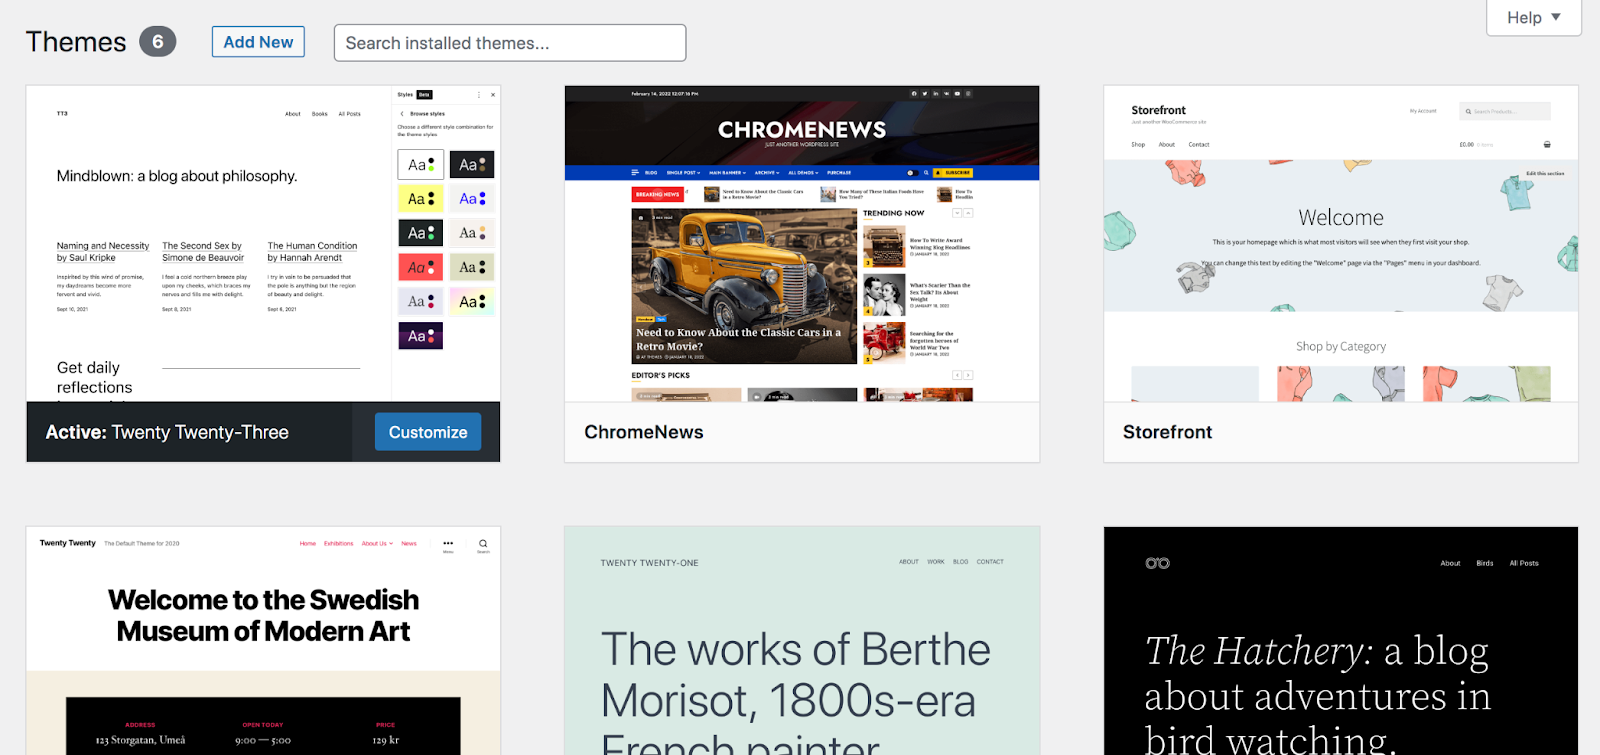
Go to Appearance → Themes, then slick Add New at the top. There, you can scroll through a variety of themes, search for one by name, and even preview a theme by hovering over it and selecting Preview.

Simply click Activate once you’ve made your selection. For the purposes of this example, we’ll be using the Twenty Twenty-Three theme.

2. Set up sitewide styles
Your next task is to set up the styles for your theme. This allows you to choose how certain aspects of your WordPress website will look on a sitewide level.
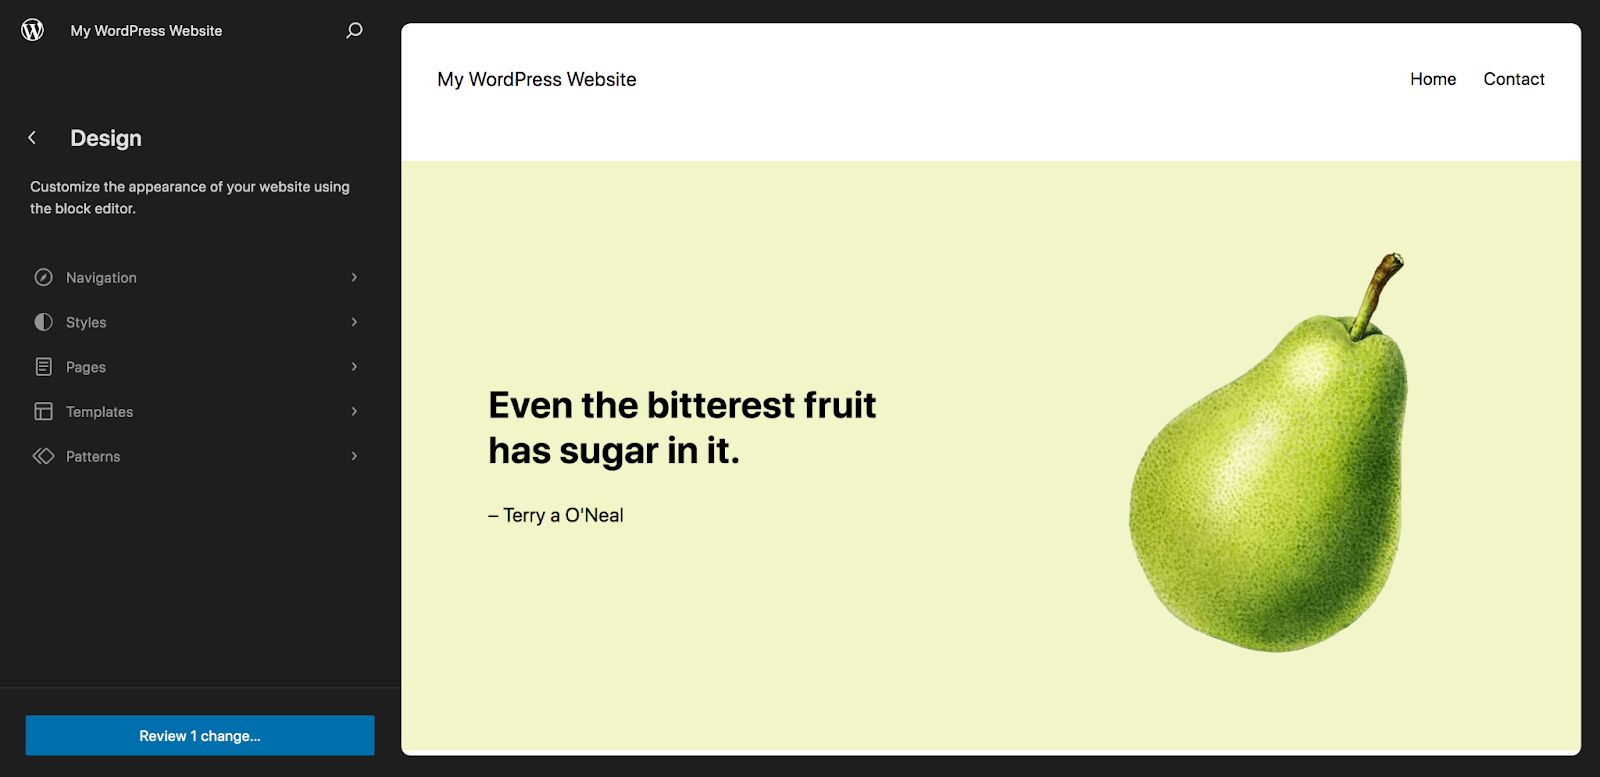
To do this, go to Appearance → Editor. This will open the Site Editor. Then, click Styles in the left-hand menu.
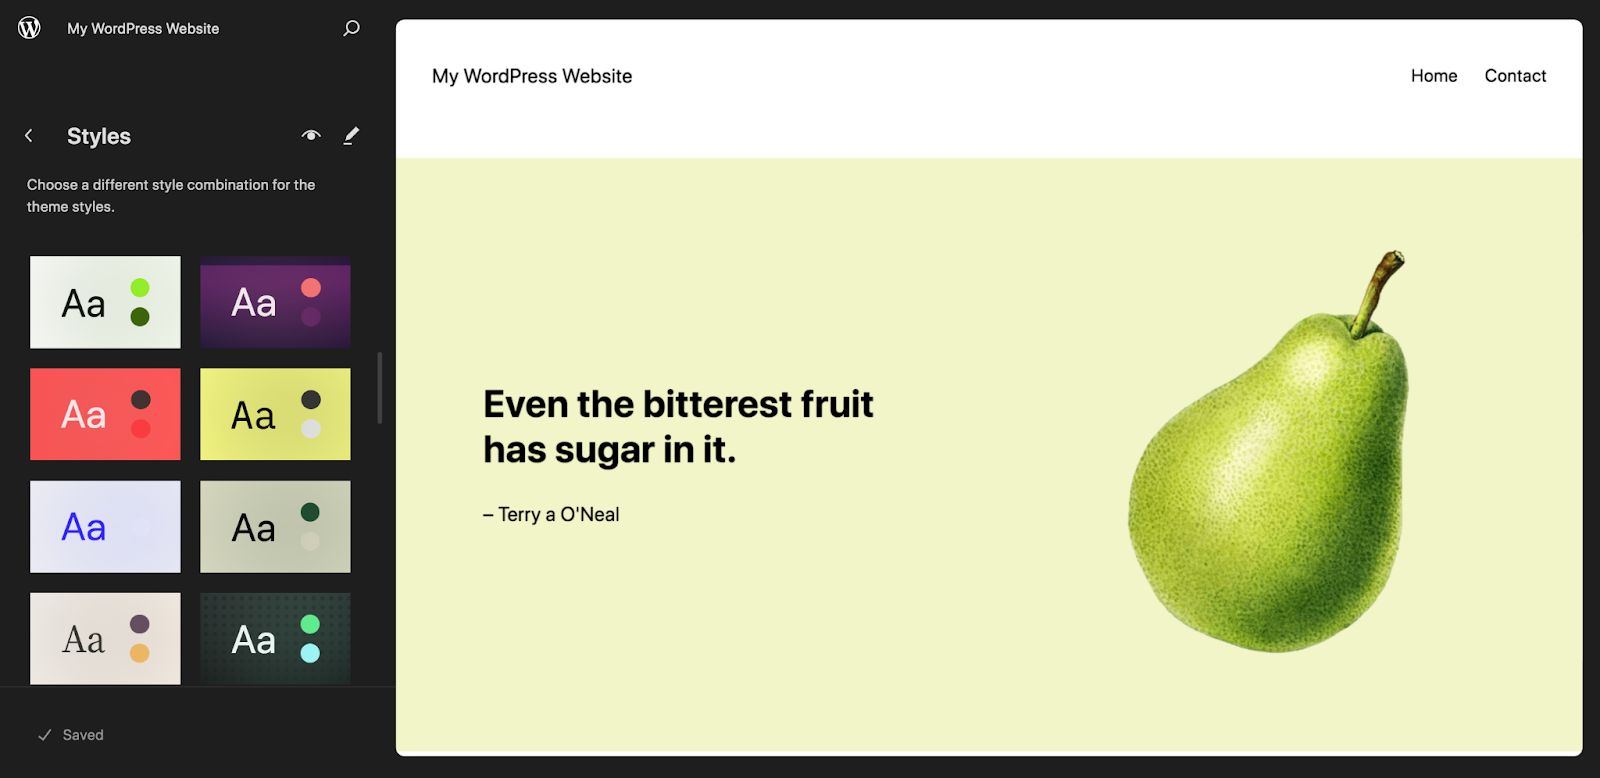
Let’s take a closer look at the options that are available to you. First, you’ll see a grid of pre-built style collections that you can toggle between and preview on the right side of the page. You can implement one of these if you’d like, to give you a head start on the design of your site.
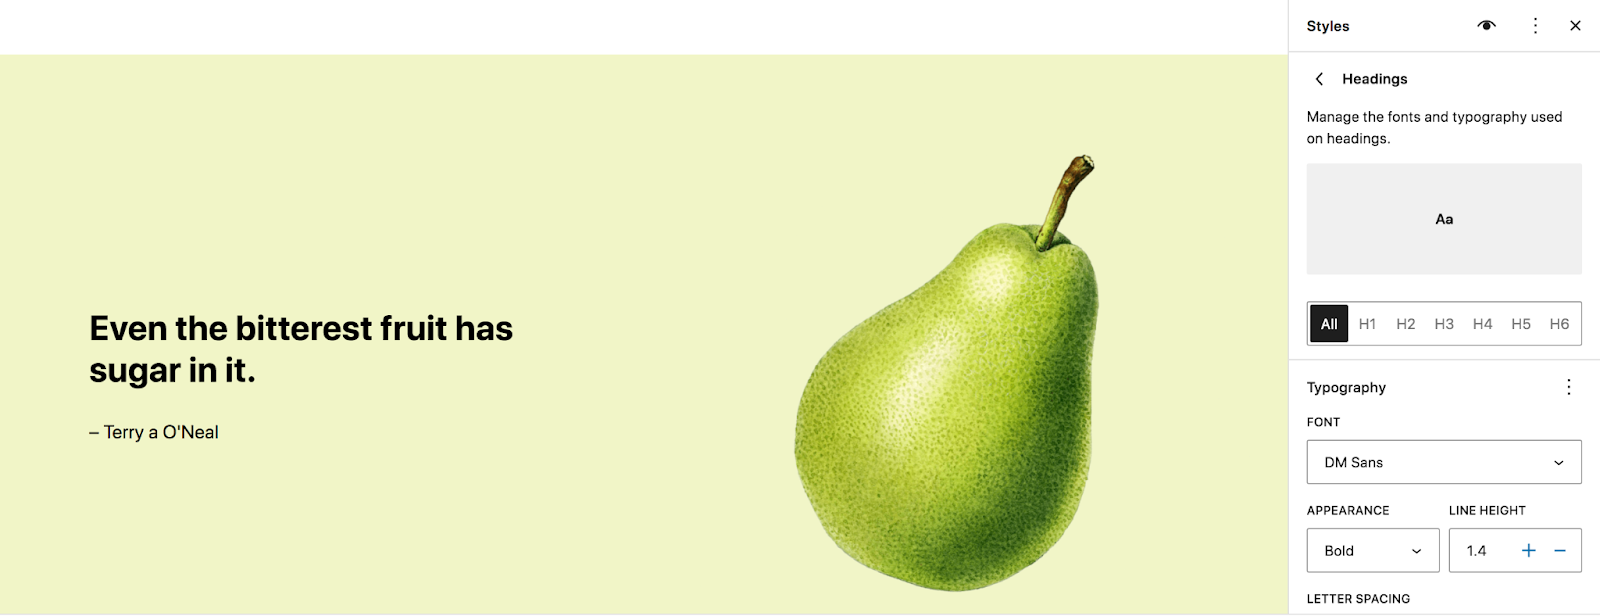
Now, click the pencil icon next to Styles. This will open a new menu on the right side of the page. Click Typography to see all the global options for fonts and text color. You can edit settings like the font family, appearance, line height, and size for everything from paragraphs to headings and buttons.
The Colors panel lets you set a color palette for your site, and make color decisions for the background, text, links, buttons, and more.

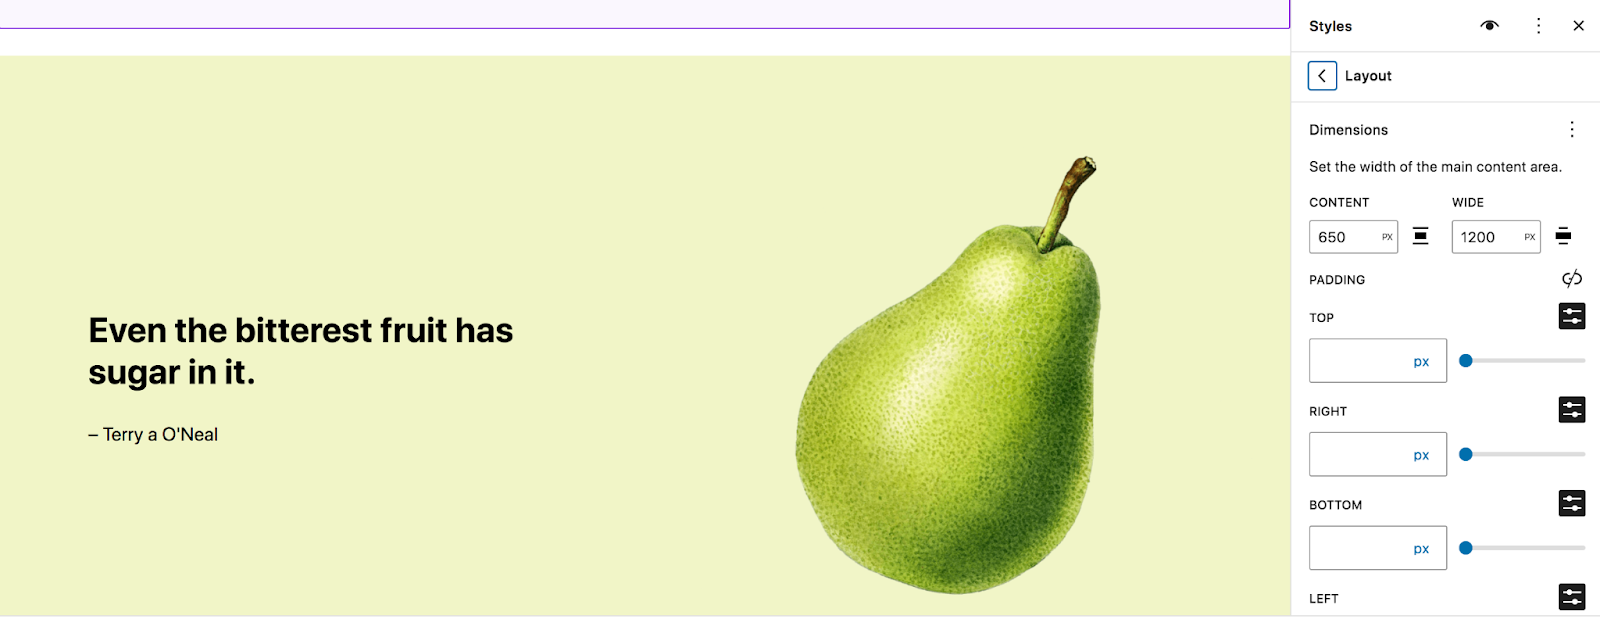
In the Layout section, set options like content area width and padding.
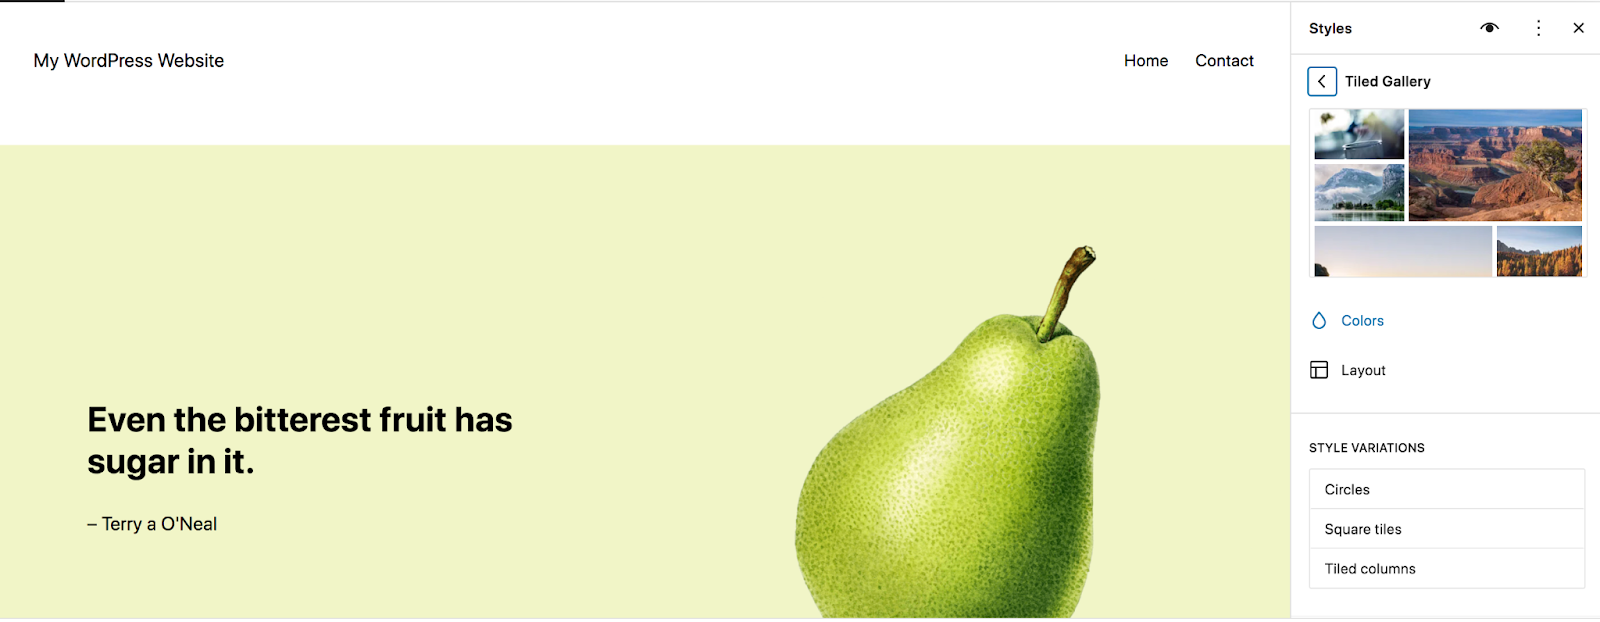
Click Blocks at the bottom of the Styles panel for options that apply to specific blocks. Remember that any changes you make here will apply to blocks on a global level.
Let’s use the Tiled Gallery block as an example. When you click on this in the list of blocks, you’ll see settings for colors, layouts, and style variations. You can also add custom CSS that’s specific to this block.
Being able to style blocks and site elements on a global level saves you a lot of development time and ensures that you can achieve a consistent look across your site. Spend some time here to get the style settings the way you’d like, whether you’re working to emulate the original classic theme you were using or are moving on to a new design entirely.
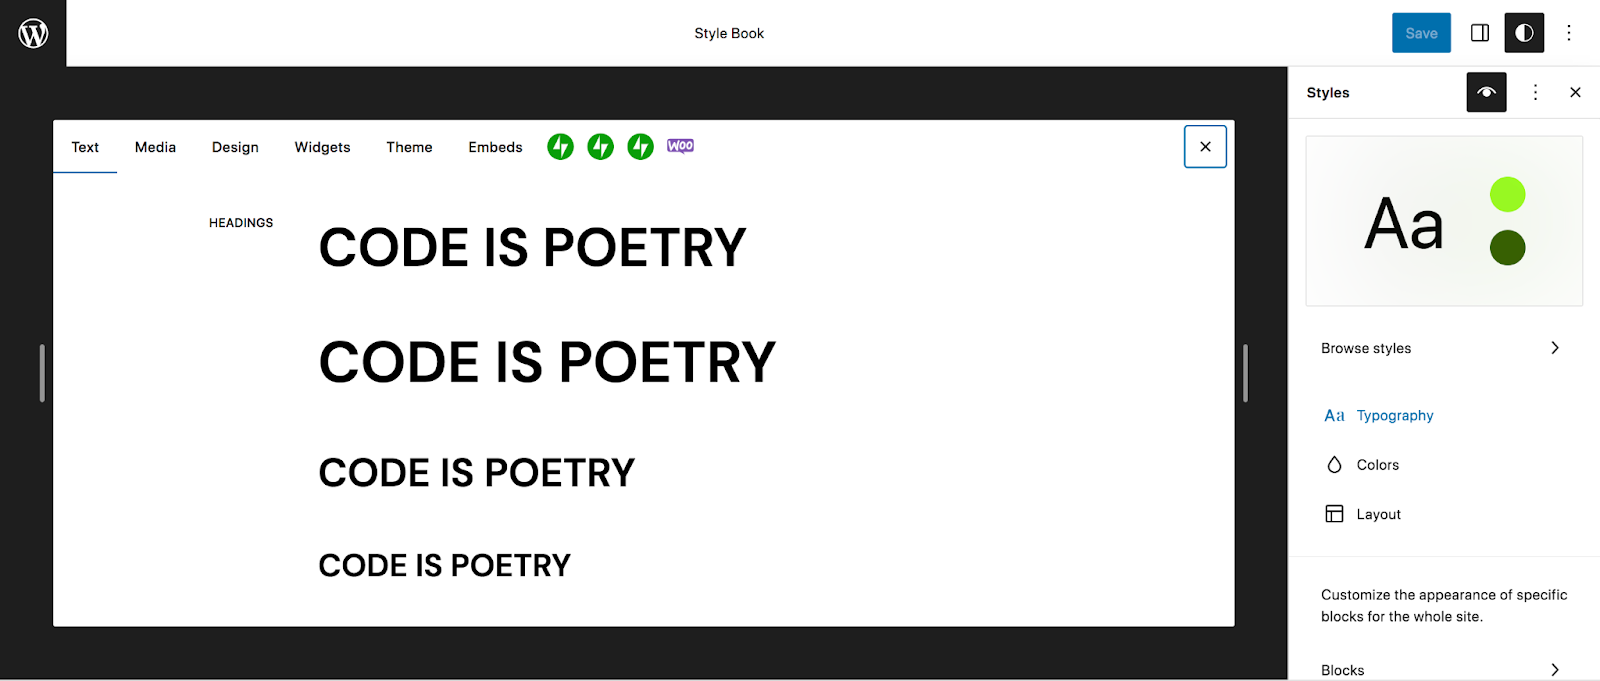
One of the most interesting features of the Style panel is the Style Book, which you can access by clicking on the eye icon in the top right. This allows you to preview all the design changes you make across a wide variety of elements and blocks, like headings, paragraphs, quotes, tables, and more.
3. Build the framework of your site
Now that you have your styles in place, it’s time to build the framework of your site, including your:
- Header and footer
- Site navigation/menus
- Templates for blog posts, pages, ecommerce content, etc.
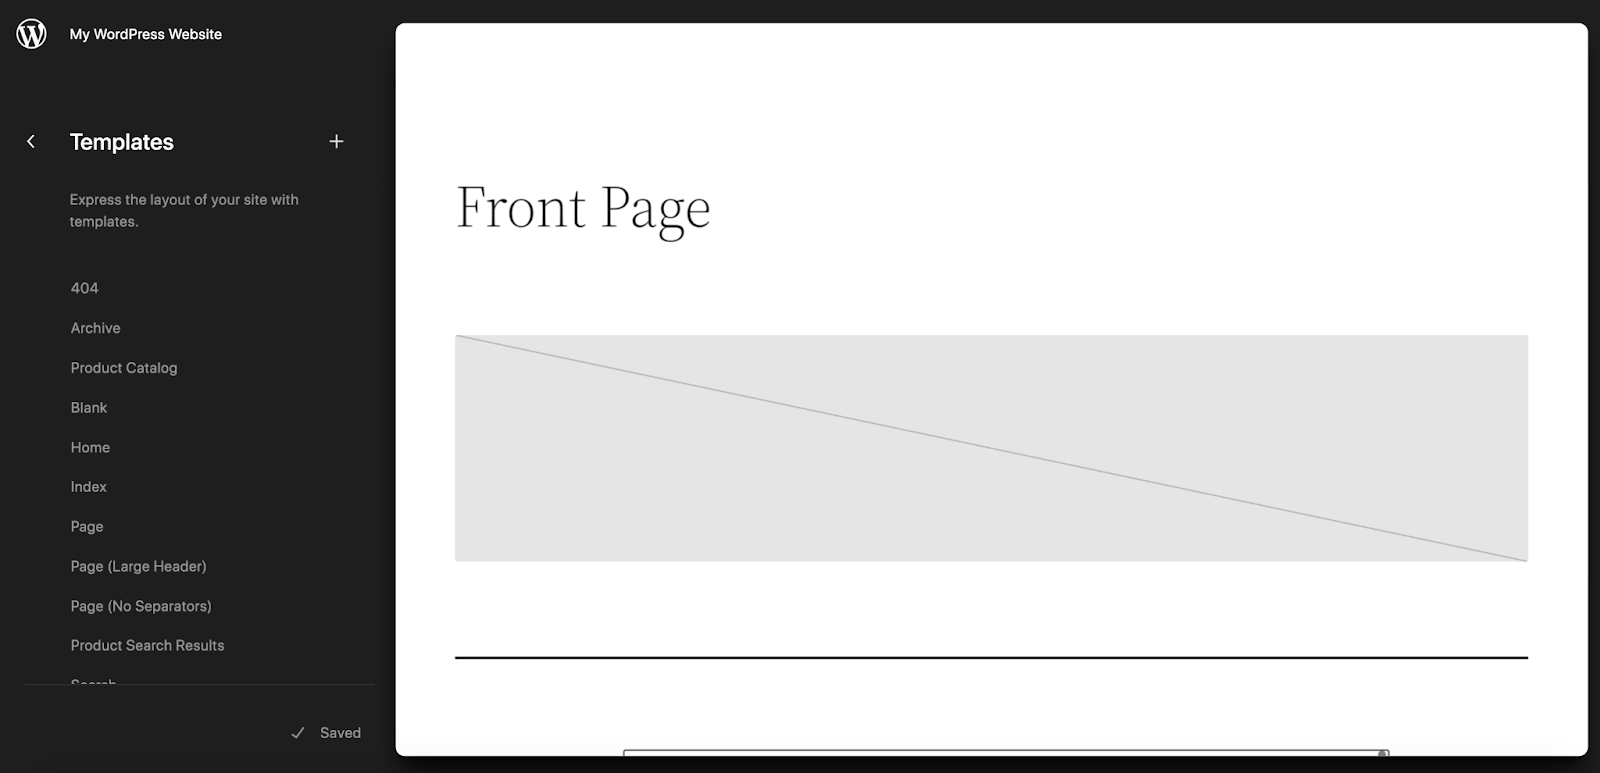
You can access all of these by going to Appearance → Editor in the WordPress dashboard. You’ll see several options, including Templates and Patterns. Templates are page layouts for site content like blog posts, archives pages, and products. In the Patterns section, you’ll find template parts, which include elements like headers and footers. These will all vary based on the theme you’re using.
Let’s look at the header, for example. Click on Patterns → Header, then select your specific header. You can now edit this using blocks. In this example, the header has a Site Title Block and a Navigation block.

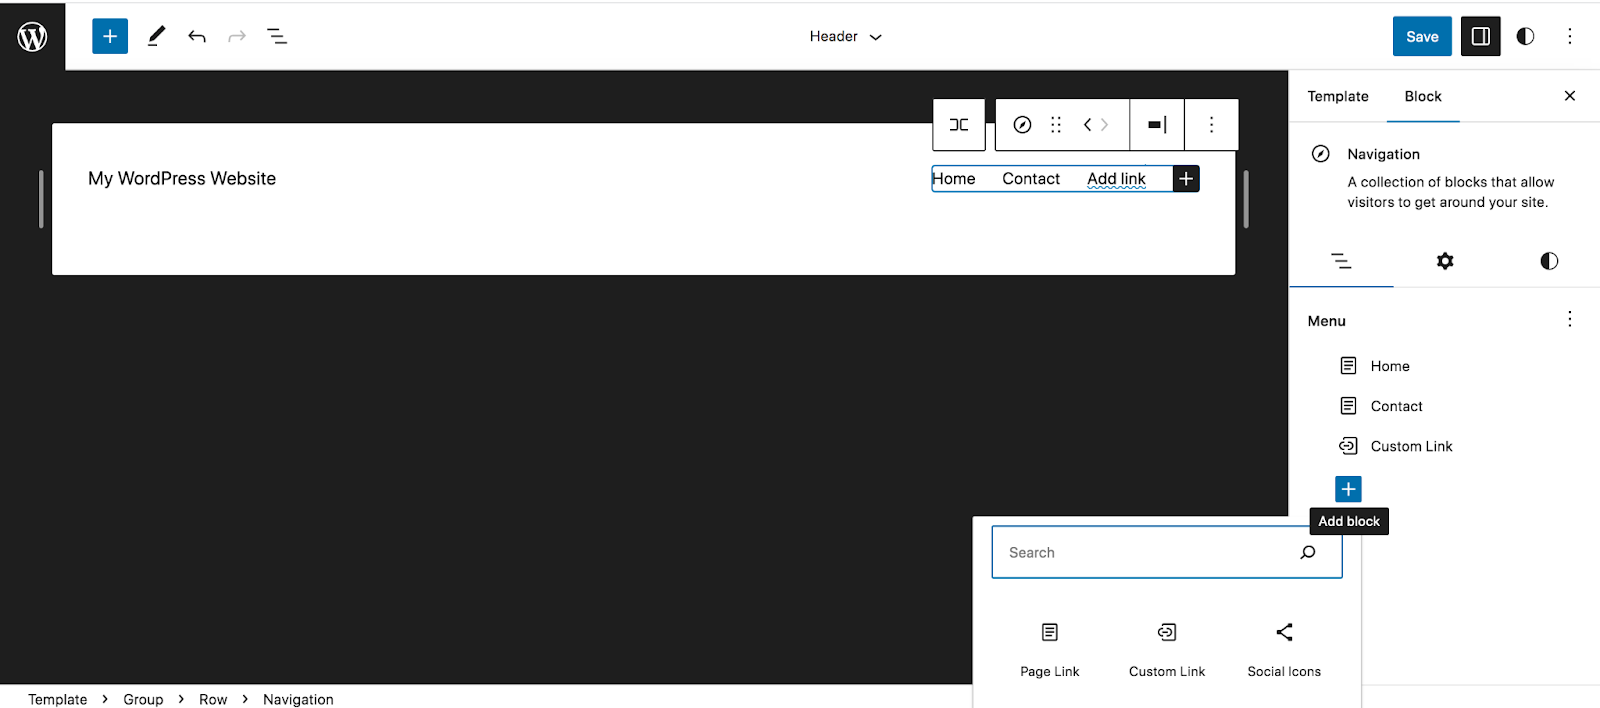
You’ll use the Navigation block to create your site navigation, rather than going to Appearance → Menus as you did with a classic theme.
When you click on the Navigation Block, options will appear in a menu on top of the block, and in the Settings panel on the right side of the page. In that Settings panel, you’ll see the pages that are in your menu listed out. Click the + icon, followed by Page Link or Custom Link to add pages to the menu.
You can use the other tabs in the Settings panel to style the menu and make other design and functionality changes to the site’s navigation.
Then, you can add blocks to the header just as you would with the block editor that you’re already familiar with. For example, you may want to add a search bar or social media icons.
Once you’re happy with the header, go through any other template parts — like your footer — and get those to the place you’d like them to be.
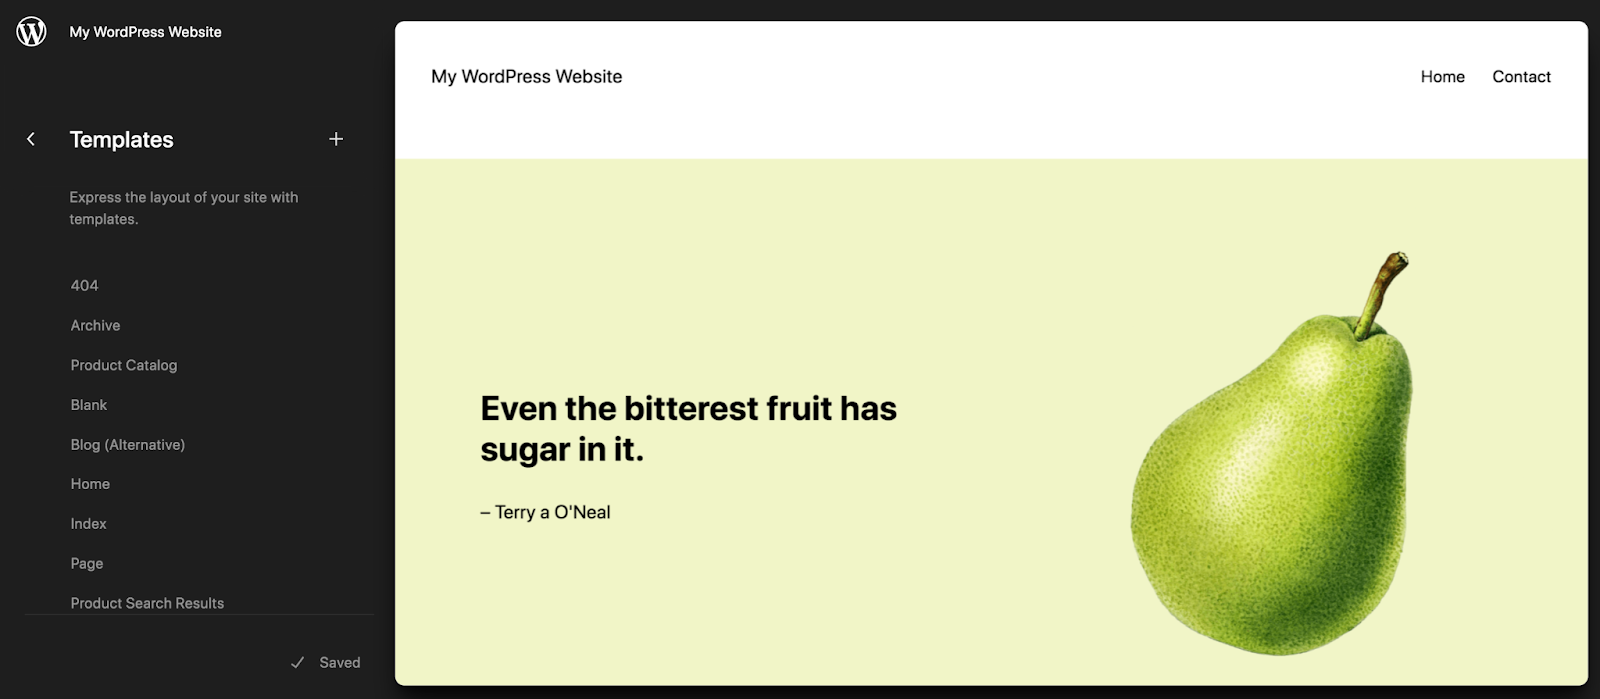
Now, let’s take a look at a template. Go to Appearance → Editor → Templates. In our example, we’re going to choose the Single template, which is the layout for blog posts.

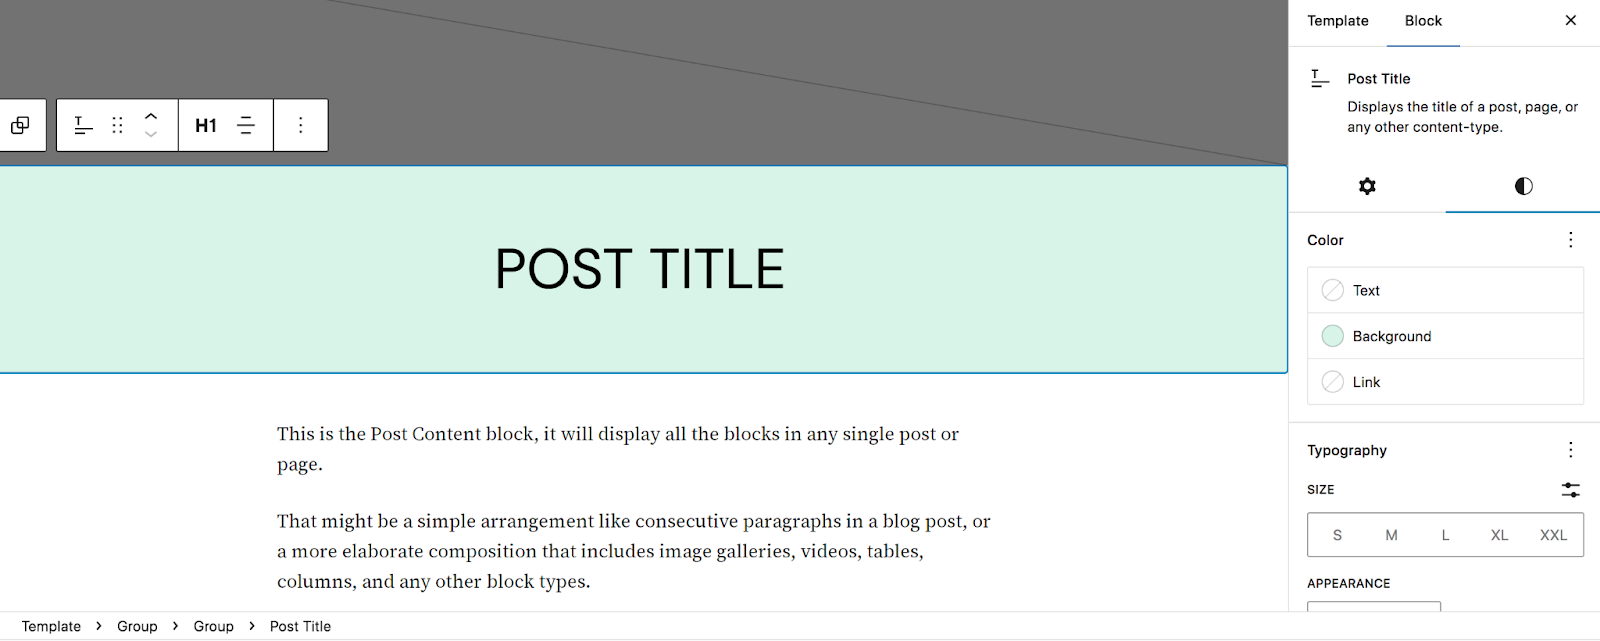
Once you open the template, you’ll see that you can edit it just as you would any other page or post that uses the block editor. You’ll have some default blocks already added, such as the Featured Image block, Post Title block, and Post Content block. You can make changes to these, move them around, and style them as you wish.
But you can also add blocks that will appear on all the blog posts across your website. For example, you might add a call to action that directs readers to an email newsletter signup form, a contact page, or a product for sale.

Edit this template, along with any others that you’d like, saving your changes as you go.
If your classic theme was heavily dependent on widgets, you can also use the Widget Importer tool to make the migration process easier. You can watch a full tutorial video from the Learn WordPress blog.
Learn more about using the block editor and site editor here.
4. Rebuild or tweak any pages and posts, as necessary
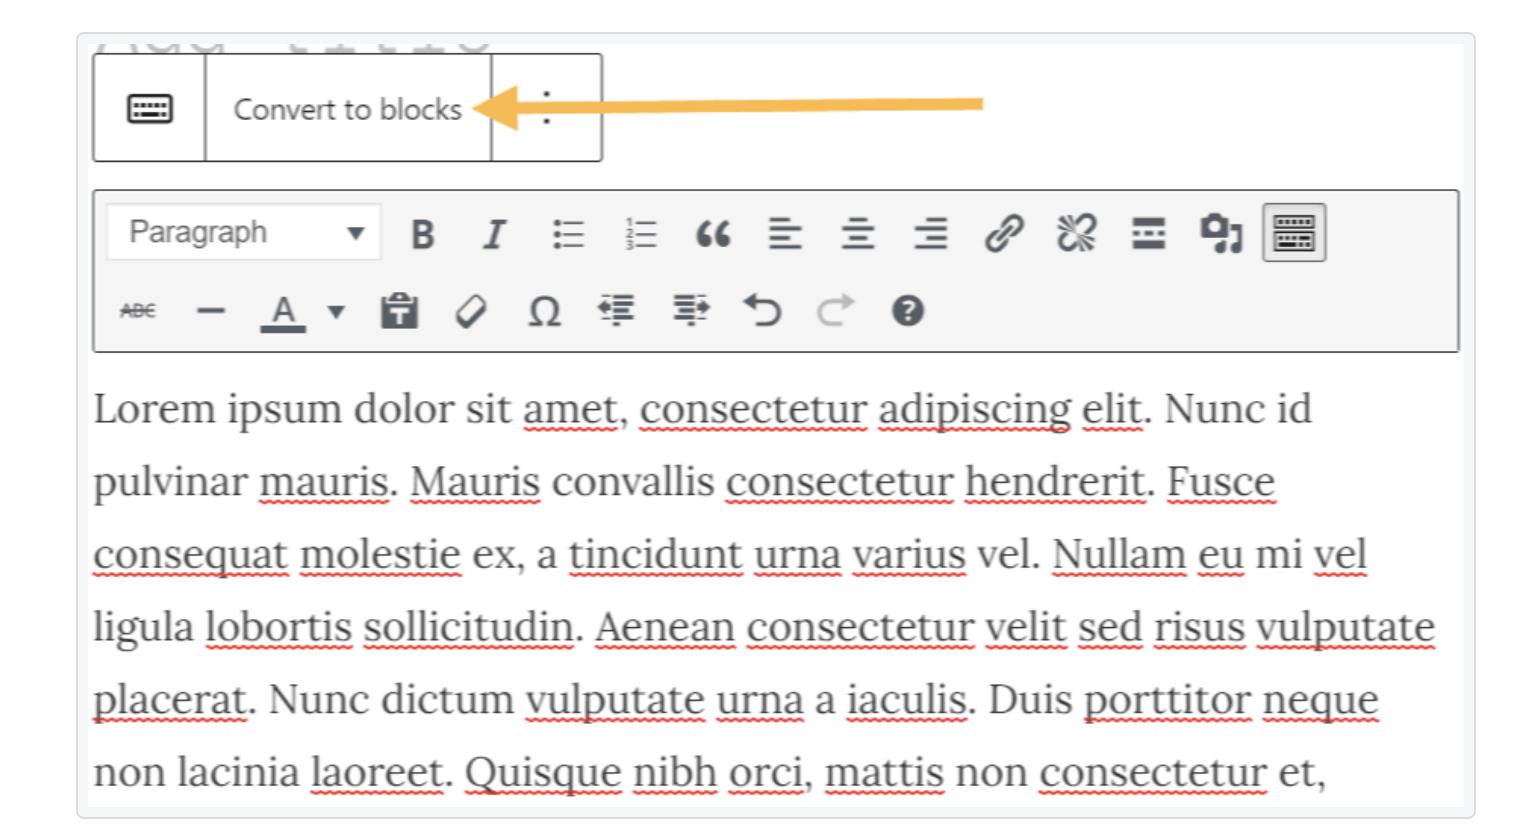
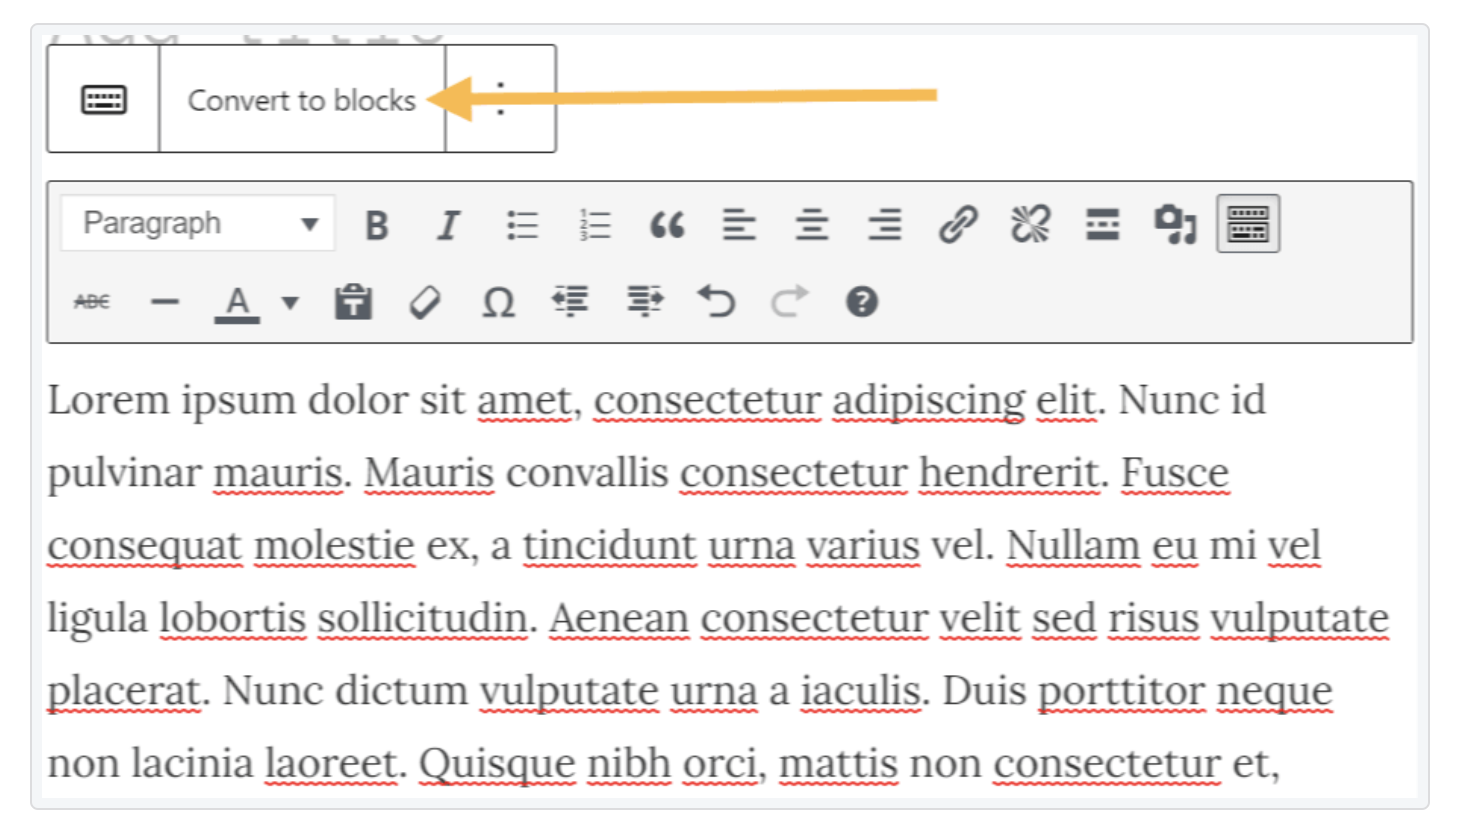
If your pages were built using the block editor or the classic editor, they’ll likely need little to no work when migrating to a block theme. Content created with the classic editor will automatically appear in a Classic block. You can select the Classic block, then click Convert to blocks to separate the content into blocks.
You may need to make some tweaks and changes to blocks here and there. Take some time to go through your pages and posts and make sure that everything is to your liking.
5. Remove any unused plugins
You never want to install plugins you don’t need. And if you no longer need some of the plugins you have installed already — either because you’ve replaced the functionality with that of your block theme or because they’re not compatible — make sure to deactivate and delete them.
Unnecessary plugins can pose a security liability and slow down your WordPress website.
6. Test the site in full
Once you’re happy with how things look on your site, go through and test everything. Look at your pages on various screen sizes, test functionality like forms and payments, and ensure that everything works the way that you or your client prefer.
7. Push the new website design live
Now, use your staging environment to push the changes and new theme live. And your migration from a classic to a block theme is complete!
Frequently asked questions about switching from a classic theme to a block theme
Do you have some additional questions? Here are answers to some commonly-asked ones.
What if I’m not ready to fully switch to a block theme?
If you’re nervous about making the switch, you can take a more gradual approach. For example, you could choose a hybrid or universal theme that ties in some elements of a block theme while still allowing for classic theme features.
However, block themes are the future of WordPress and are quickly becoming the norm. In most scenarios, it’s best to go ahead and adopt these themes and get to know them as soon as possible.
How do you convert the classic editor to blocks?
When switching to the block editor, content created with the classic editor will automatically be turned into a Classic block. When you select this block, you’ll see a menu appear with the option to Convert to blocks. This will automatically separate the content into the appropriate blocks.
In some cases, you may need to make some tweaks to get your content exactly the way you’d like.
How can I change my theme without losing content?
When you switch themes, all the content from your posts, pages, products, and other post types will remain in place. The same thing goes for your media library and any information saved in your database. Switching themes will simply change the layout and design of your site.
That being said, it’s always best to create a full backup of your site before switching themes. You should also work in a staging environment so that your live site is not affected.
What’s the difference between a classic theme and a block theme?
With classic themes, site owners and developers use the WordPress Customizer and widget areas to make design and layout changes. Classic themes are built using PHP, and aren’t as flexible and easy to use as block themes.
In contrast, block themes use HTML-based templates that are made up of blocks. To make changes, site owners use the Site Editor and Global Styles, which enables them to edit every single part of their site using blocks. This means that they can make changes to everything from headers and footers to templates without editing any code.
What’s the difference between the Gutenberg Editor and the Site Editor?
If you’ve heard the term “Gutenberg,” you may be wondering how that differs from words like “block editor” and “site editor.” In general, these mean the same thing — the tools that enable WordPress users to edit their site with blocks.
However, the name “Gutenberg” was used for the specific project of developing and implementing blocks in WordPress. This name is being retired as the project nears completion, with WordPress using “block editor” and “site editor” as the permanent names for these tools.
The Gutenberg plugin is a free plugin from WordPress that allows site owners to test features before they’re released as part of WordPress core.
Where can I learn more about block themes?
There are several places that you can learn more about block themes and the block editor:
- Learn WordPress, which is chock-full of tutorials and videos
- WordPress.org documentation, which includes detailed guides
- WordPress.tv, which lets you view a video tutorial for numerous aspects of WordPress
- A Complete Guide to the Block Editor, a detailed post from Jetpack that contains everything you need to know about the block editor
Once you’ve made the transition, maximize your site’s performance, security, and marketing potential with a free plugin with premium options like Jetpack.
